

Grow Mint in Containers and unlock a world of fresh, fragrant possibilities right at your fingertips! Have you ever dreamed of stepping outside your door and snipping fresh mint for a refreshing mojito, a flavorful tea, or a vibrant addition to your favorite dishes? I know I have! But the thought of mint taking over my entire garden always held me back. That’s where the magic of container gardening comes in.
Mint, with its rich history dating back to ancient Egypt where it was used for medicinal purposes and in religious ceremonies, is a wonderfully versatile herb. However, its enthusiastic growth habit can quickly turn a garden dream into a garden nightmare. This is where our DIY guide shines! We’ll show you exactly how to grow mint in containers, keeping its vigorous nature contained while still enjoying its delightful benefits.
Why is this DIY trick so essential? Because everyone deserves access to fresh herbs without the fear of horticultural chaos! Growing mint in containers allows you to control its spread, ensuring it doesn’t invade your precious flowerbeds or vegetable patches. Plus, it’s incredibly easy and rewarding, even for beginner gardeners. So, let’s dive in and discover the secrets to cultivating a thriving mint oasis, one container at a time!
Growing Mint in Containers: A Beginner’s Guide
Hey there, fellow plant enthusiasts! I’m so excited to share my experience with growing mint in containers. Mint is such a versatile herb – perfect for teas, cocktails, cooking, and even just adding a fresh scent to your home. But, let’s be honest, mint can be a bit of a bully in the garden, spreading like wildfire and taking over everything in its path. That’s why growing it in containers is the perfect solution! It keeps the mint contained and allows you to enjoy its wonderful benefits without the worry of it becoming an invasive pest. So, let’s dive in!
Why Grow Mint in Containers?
Before we get started, let’s quickly recap why container gardening is ideal for mint:
* Control: As I mentioned, mint is a vigorous grower. Containers prevent it from spreading uncontrollably.
* Mobility: You can easily move your mint plant to different locations depending on the season or your needs. Need more sun? Just move the pot!
* Soil Control: You have complete control over the soil composition, ensuring your mint gets the nutrients it needs.
* Aesthetics: Potted mint adds a touch of greenery and freshness to patios, balconies, and even indoor spaces.
* Easy Harvesting: Harvesting is a breeze when your mint is conveniently located in a container.
What You’ll Need
Okay, let’s gather our supplies. Here’s what you’ll need to get started:
* Mint Plant or Cuttings: You can purchase a starter plant from a nursery or propagate your own from cuttings. I’ll explain both methods.
* Container: Choose a pot that’s at least 12 inches in diameter and 12 inches deep. Mint likes room to grow. Make sure it has drainage holes!
* Potting Mix: Use a high-quality potting mix that drains well. Avoid using garden soil, as it can become compacted in containers.
* Watering Can or Hose: For watering your mint.
* Optional: Slow-release fertilizer, plant labels, gardening gloves.
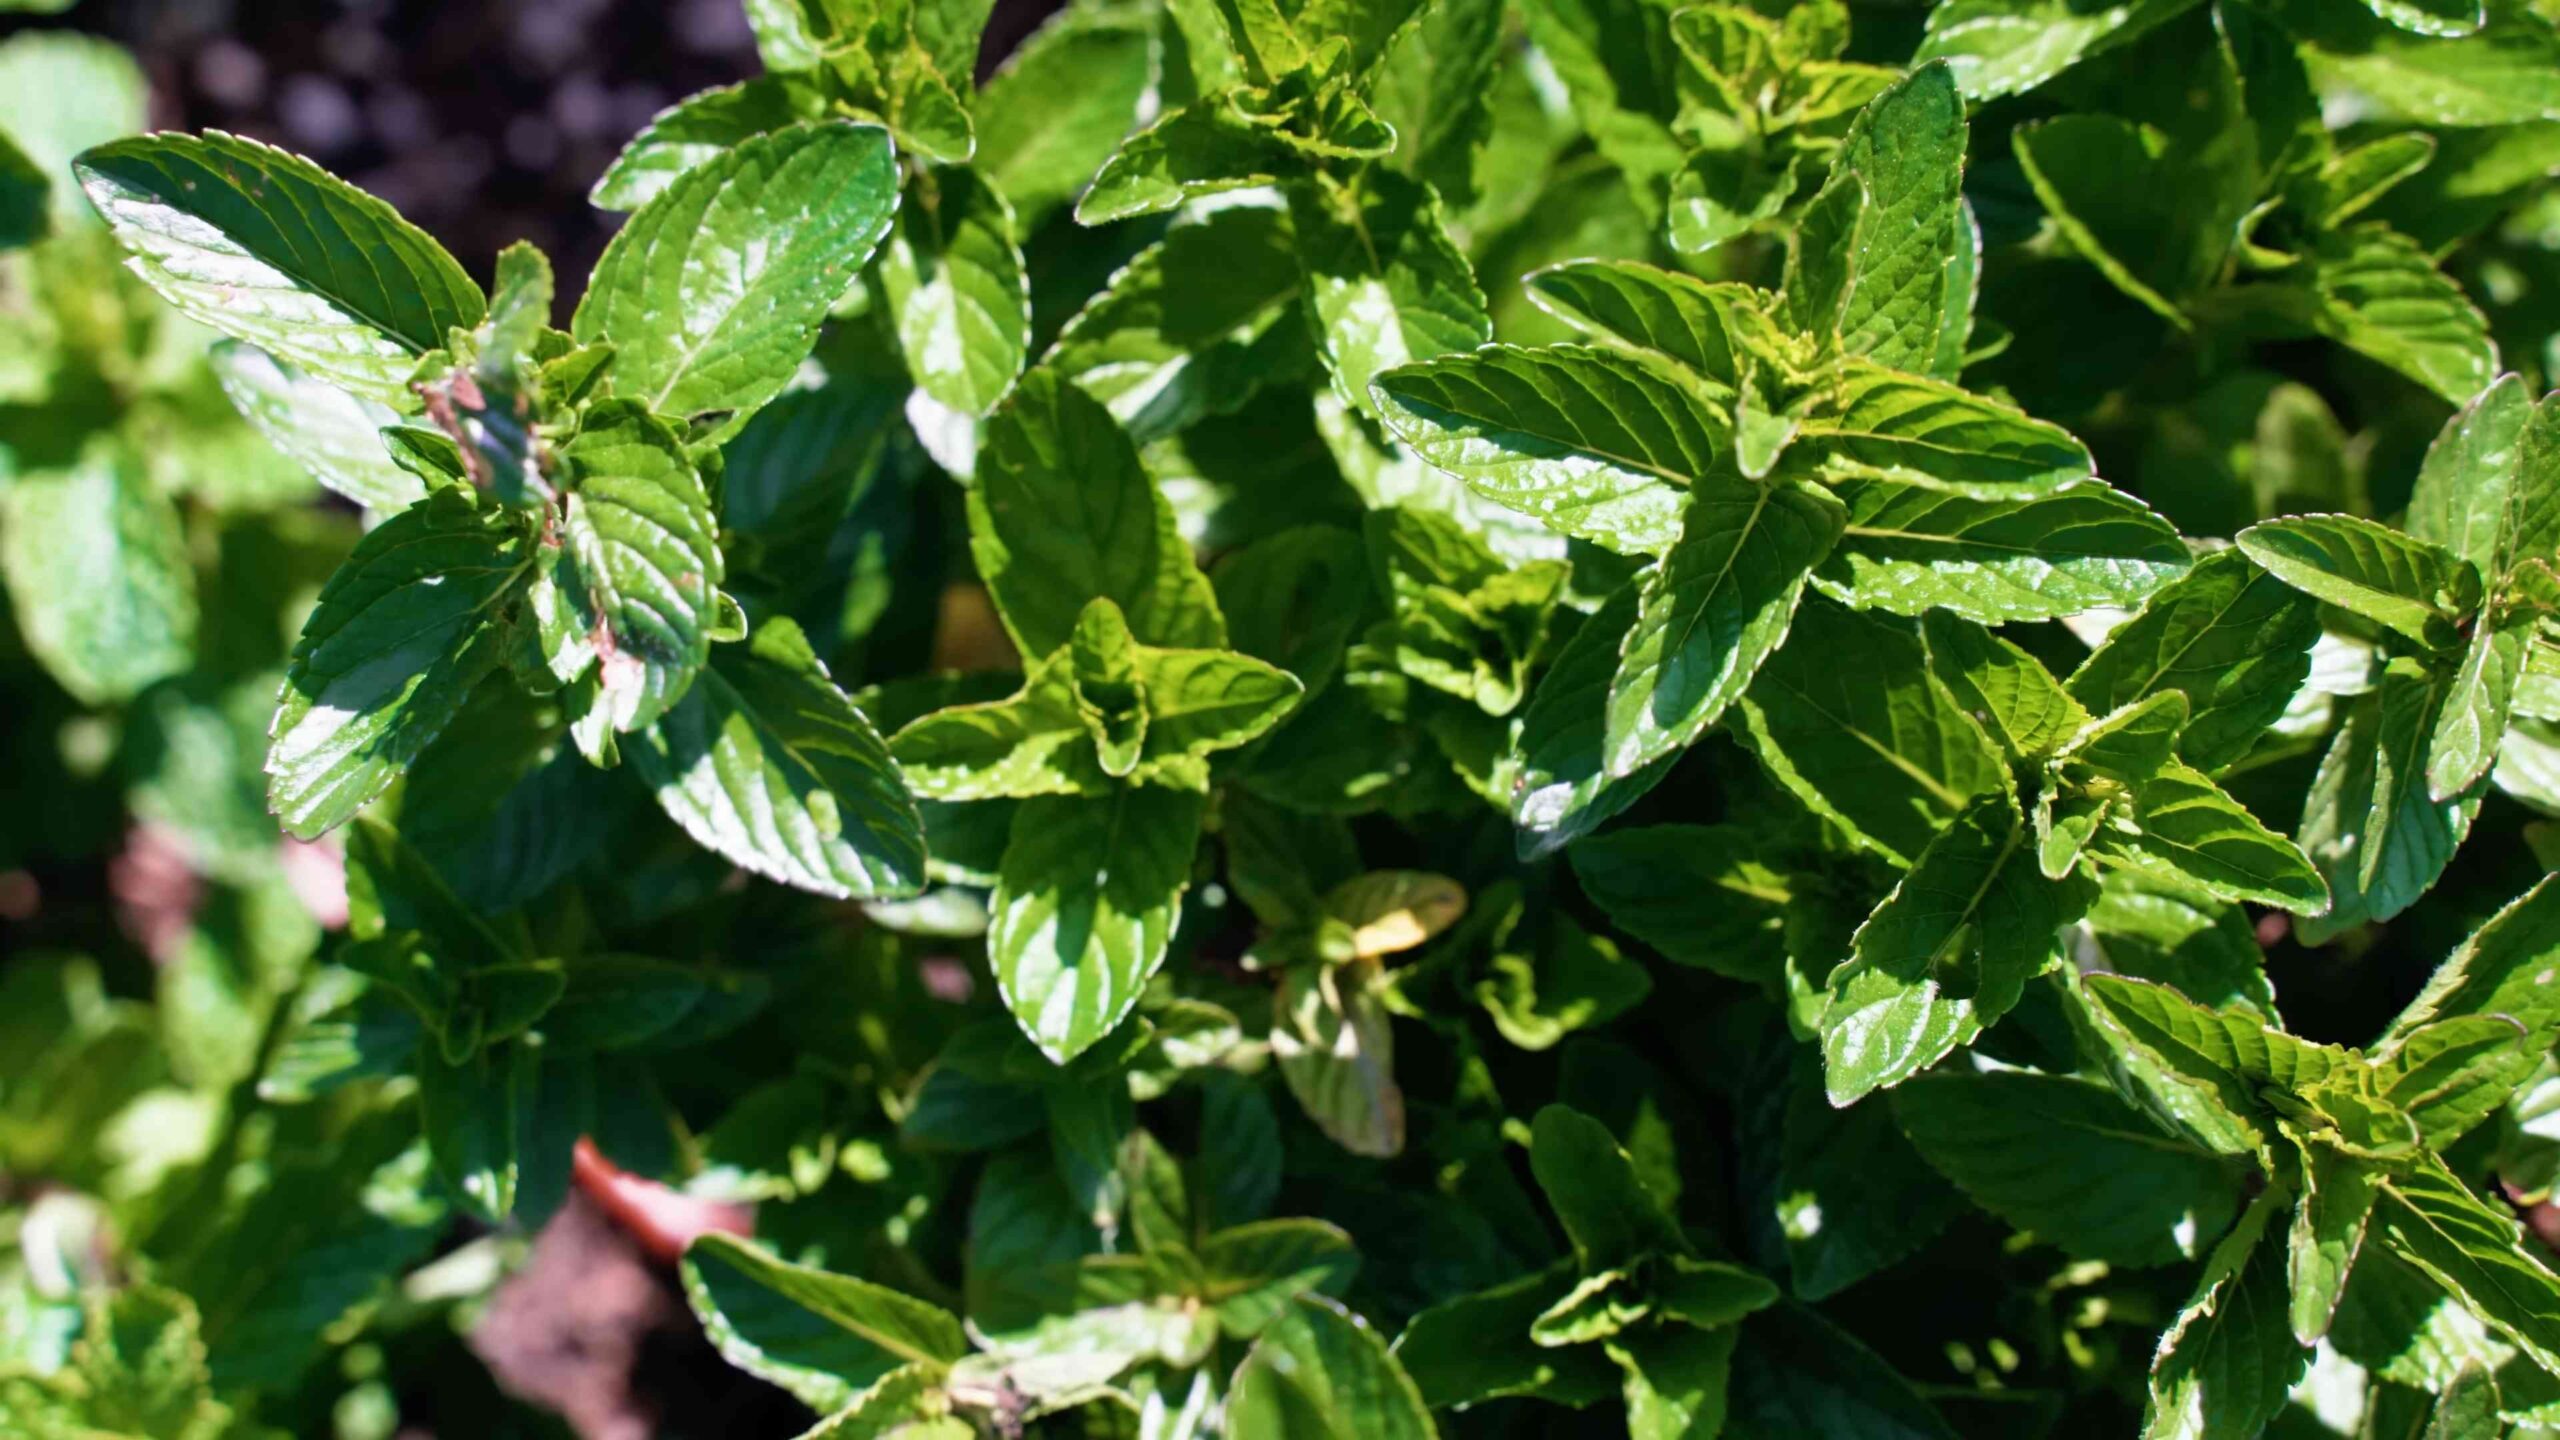
Choosing Your Mint Variety
There are so many different types of mint to choose from! Here are a few popular options:
* Peppermint: Classic mint flavor, great for teas and desserts.
* Spearmint: Milder flavor, often used in savory dishes and cocktails.
* Chocolate Mint: A fun variety with a hint of chocolate flavor.
* Apple Mint: Fruity and refreshing, perfect for salads and drinks.
* Orange Mint: Citrusy aroma and flavor.
I personally love growing peppermint and spearmint because they are so versatile. But feel free to experiment and find your favorite!
Propagating Mint from Cuttings (Optional)
If you already have a mint plant or know someone who does, you can easily propagate new plants from cuttings. Here’s how:
1. Take Cuttings: Using clean scissors or pruning shears, cut stems that are about 4-6 inches long. Make the cut just below a leaf node (the point where leaves grow from the stem).
2. Remove Lower Leaves: Remove the leaves from the bottom 1-2 inches of the stem. This will prevent them from rotting when you put the cutting in water.
3. Rooting in Water: Place the cuttings in a glass or jar filled with water. Make sure the water covers the nodes where you removed the leaves.
4. Find a Sunny Spot: Place the glass in a bright, indirect sunlight location.
5. Change the Water: Change the water every 1-2 days to keep it fresh.
6. Wait for Roots: In a week or two, you should see roots starting to grow.
7. Planting: Once the roots are about an inch long, you can plant the cuttings in your container.
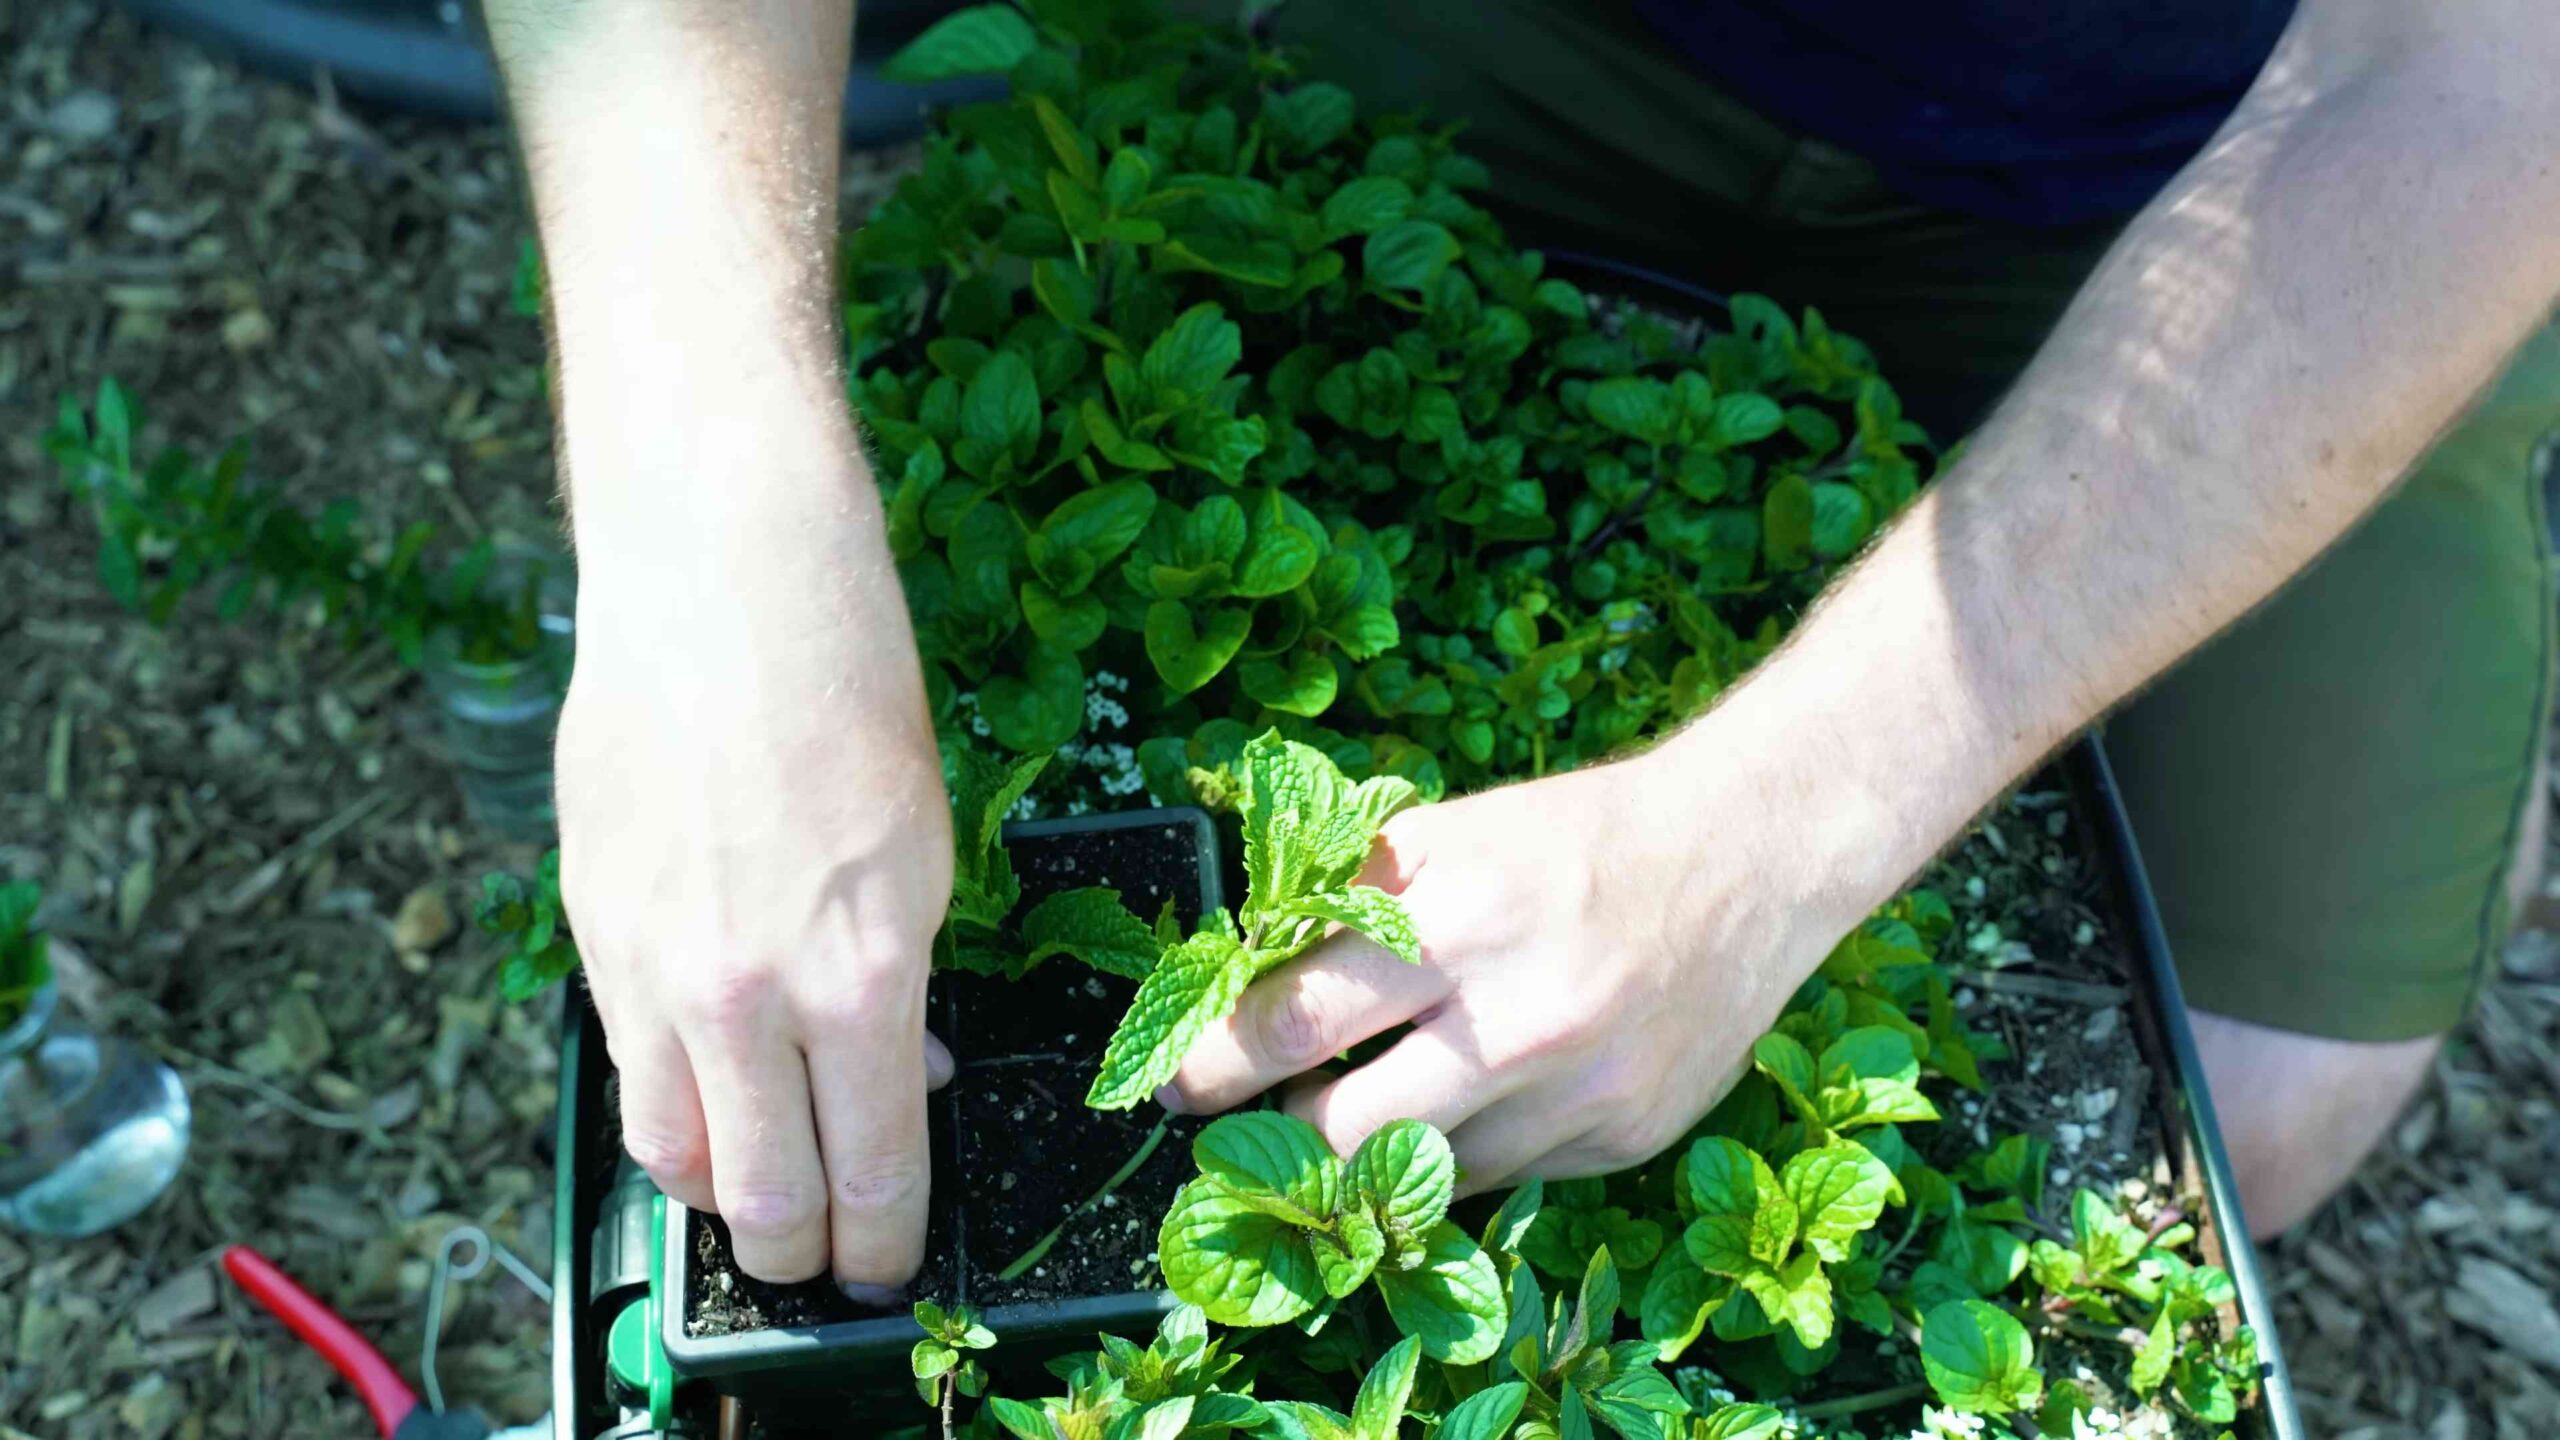
Planting Your Mint
Now for the fun part – planting! Whether you’re using a starter plant or cuttings, the process is similar.
1. Prepare the Container: Fill your container with potting mix, leaving about an inch or two of space at the top.
2. Create a Hole: Dig a hole in the center of the potting mix that’s large enough to accommodate the root ball of your starter plant or the roots of your cuttings.
3. Plant the Mint: Gently remove the starter plant from its nursery pot and loosen the roots slightly. Place the plant in the hole and backfill with potting mix. If you’re using cuttings, carefully place them in the hole and cover the roots with potting mix.
4. Water Thoroughly: Water the soil thoroughly until water drains out of the drainage holes. This helps settle the soil and ensures the roots are well-hydrated.
5. Add Slow-Release Fertilizer (Optional): If you’re using slow-release fertilizer, sprinkle it around the base of the plant according to the package instructions. This will provide a steady supply of nutrients over time.
Caring for Your Container Mint
Now that your mint is planted, it’s time to learn how to care for it. Mint is relatively easy to grow, but here are a few key things to keep in mind:
* Sunlight: Mint prefers partial shade to full sun. In hot climates, it’s best to provide some afternoon shade to prevent the leaves from scorching. I’ve found that morning sun and afternoon shade works best in my area.
* Watering: Keep the soil consistently moist, but not soggy. Water when the top inch of soil feels dry to the touch. Avoid overwatering, as this can lead to root rot.
* Fertilizing: Feed your mint plant every 2-4 weeks with a balanced liquid fertilizer. You can also use a slow-release fertilizer.
* Pruning: Regular pruning is essential for keeping your mint plant healthy and productive. Pinch off the top leaves to encourage bushier growth. You can also remove any yellowing or dead leaves.
* Pest Control: Mint is generally pest-resistant, but it can occasionally be affected by aphids or spider mites. If you notice any pests, spray the plant with insecticidal soap or neem oil.
* Overwintering: In colder climates, you’ll need to protect your mint plant from frost. You can either bring the container indoors or insulate it with burlap or bubble wrap.
Harvesting Your Mint
Harvesting mint is easy and rewarding! You can start harvesting as soon as the plant has established itself, usually a few weeks after planting.
1. Choose Stems: Select stems that are healthy and have plenty of leaves.
2. Cut Stems: Using scissors or pruning shears, cut the stems about an inch or two above the soil level.
3. Harvest Regularly: The more you harvest, the more the plant will grow! Regular harvesting encourages bushier growth and prevents the plant from becoming leggy.
Using Your Fresh Mint
Now for the best part – using your fresh mint! Here are just a few ideas:
* Tea: Steep fresh mint leaves in hot water for a refreshing and soothing tea.
* Cocktails: Add mint to mojitos, mint juleps, and other cocktails.
* Cooking: Use mint in salads, sauces, and desserts.
* Garnish: Garnish dishes and drinks with fresh mint sprigs.
* Potpourri: Dry mint leaves and use them in potpourri.
Troubleshooting
Even with the best care, you might encounter a few problems. Here are some common issues and how to fix them:
* Yellowing Leaves: This could be caused by overwatering, underwatering, or nutrient deficiencies. Adjust your watering schedule and fertilize the plant if necessary.
* Leggy Growth: This is usually caused by insufficient sunlight. Move the plant to a sunnier location or prune it back to encourage bushier growth.
* Pests: As mentioned earlier, aphids and spider mites can sometimes be a problem. Treat the plant with insecticidal soap or neem oil.
* Root Rot: This is caused by overwatering. Make sure the container has drainage holes and allow the soil to dry out slightly between waterings.
Dividing Your Mint Plant
After a year or two, your mint plant may become overcrowded in its container. When this happens, it’s time to divide the plant. This is a great way to rejuvenate the plant and create new plants to share with friends or family.
1. Remove the Plant: Gently remove the mint plant from its container.
2. Separate the Roots: Using your hands or a sharp knife, carefully separate the root ball into two or more sections. Make sure each section has healthy roots and stems.
3. Replant: Replant each section in its own container filled with fresh potting mix.
4. Water Thoroughly: Water the
Conclusion
So, there you have it! Growing mint in containers isn’t just a gardening project; it’s an invitation to a world of fresh flavors, aromatic experiences, and sustainable living, all within the confines of your own space. We’ve explored the reasons why this DIY trick is an absolute must-try, from the plant’s invasive nature making container gardening essential for control, to the sheer abundance of culinary and household uses that a thriving mint plant provides.
Think about it: no more overpriced, wilted mint from the grocery store. Instead, you’ll have a vibrant, readily available source of fresh mint leaves just steps away, ready to elevate your mojitos, brighten your salads, and infuse your teas with invigorating flavor. The satisfaction of snipping off a sprig of mint that you nurtured from a tiny seedling or cutting is truly unparalleled.
But the benefits extend beyond the kitchen. Imagine the soothing aroma of mint wafting through your home, naturally repelling insects and creating a calming atmosphere. Picture yourself crafting homemade mint-infused cleaning solutions, free from harsh chemicals and brimming with natural freshness. The possibilities are truly endless.
This isn’t just about growing a plant; it’s about embracing a lifestyle.
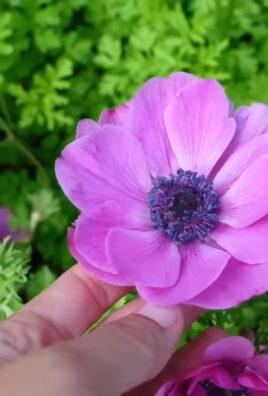
Now, let’s talk variations. While we’ve focused on general mint cultivation, remember that the world of mint is vast and diverse. Experiment with different varieties like peppermint, spearmint, chocolate mint, or even apple mint. Each offers a unique flavor profile and aroma, allowing you to tailor your container garden to your specific preferences. Consider companion planting as well. Mint thrives alongside other herbs like rosemary and basil, creating a synergistic ecosystem within your containers. You can also add some flowering plants to attract pollinators and add beauty to your mint garden.
Don’t be afraid to get creative with your containers, too. While terracotta pots are classic and effective, you can also repurpose old buckets, baskets, or even teacups to create a unique and personalized display. Just ensure that your chosen container has adequate drainage to prevent waterlogging.
Ready to embark on your mint-growing adventure?
We wholeheartedly encourage you to give this DIY trick a try. It’s a simple, rewarding, and incredibly versatile project that will bring joy and flavor to your life. Remember to follow the tips and guidelines we’ve shared, and don’t be afraid to experiment and adapt as you go.
And most importantly, we want to hear about your experiences! Share your successes, your challenges, and your creative variations in the comments below. Let’s build a community of mint enthusiasts, sharing our knowledge and inspiring each other to grow the best mint possible. Let us know what kind of container you used, what variety of mint you planted, and what delicious creations you’ve made with your homegrown harvest. Your insights could be invaluable to other aspiring mint growers.
So, grab your containers, your soil, and your mint seedlings, and get ready to experience the magic of growing your own mint. We can’t wait to see what you create! Remember, successful **mint cultivation** is within your reach, and the rewards are well worth the effort. Happy gardening!
Frequently Asked Questions (FAQ)
1. What kind of container is best for growing mint?
The best container for growing mint is one that provides adequate drainage and is large enough to accommodate the plant’s root system. Terracotta pots are a popular choice because they allow for good airflow and drainage. However, plastic pots, ceramic pots, and even repurposed containers like buckets or baskets can also be used successfully. The key is to ensure that the container has drainage holes to prevent waterlogging, which can lead to root rot. A container that is at least 12 inches in diameter and 12 inches deep is generally recommended to give the mint plant enough room to grow. Consider the material of the container as well. Dark-colored containers can heat up quickly in direct sunlight, potentially damaging the roots, so lighter colors are often preferred.
2. What type of soil should I use for growing mint in containers?
Mint thrives in well-draining, fertile soil. A good potting mix specifically formulated for containers is ideal. Avoid using garden soil, as it can be too heavy and compact, hindering drainage and root growth. You can also create your own potting mix by combining equal parts of peat moss (or coconut coir), perlite, and compost. The peat moss or coconut coir helps retain moisture, the perlite improves drainage, and the compost provides essential nutrients. Adding a slow-release fertilizer to the potting mix at planting time can also help ensure healthy growth. Regularly replenishing the soil with compost or liquid fertilizer throughout the growing season will keep your mint plant thriving.
3. How much sunlight does mint need?
Mint prefers partial shade to full sun. Ideally, it should receive at least 4-6 hours of sunlight per day. In hotter climates, afternoon shade is beneficial to prevent the leaves from scorching. If you’re growing mint indoors, place it near a sunny window or supplement with artificial grow lights. Insufficient sunlight can result in leggy growth and reduced flavor. Observe your mint plant closely and adjust its location as needed to ensure it’s receiving the optimal amount of light. If the leaves start to turn yellow or brown, it could be a sign of too much direct sunlight.
4. How often should I water my mint plant?
Mint prefers consistently moist soil, but it’s important to avoid overwatering. Water your mint plant when the top inch of soil feels dry to the touch. During hot, dry weather, you may need to water it more frequently. Ensure that the container has good drainage to prevent waterlogging. Overwatering can lead to root rot, which can kill the plant. Check the drainage holes after watering to make sure water is flowing freely. If the leaves start to wilt or turn yellow, it could be a sign of either underwatering or overwatering, so adjust your watering schedule accordingly.
5. How do I prevent mint from becoming invasive in a container?
Even in a container, mint can still spread aggressively through its roots. To prevent it from becoming too crowded, prune the plant regularly by snipping off stems and leaves as needed. This will also encourage bushier growth. You can also divide the plant every year or two to prevent it from becoming root-bound. To do this, carefully remove the plant from the container, divide the root ball into smaller sections, and replant each section in a separate container. This will not only prevent overcrowding but also rejuvenate the plant and promote new growth.
6. What are some common pests and diseases that affect mint, and how can I control them?
Mint is generally a hardy plant, but it can be susceptible to certain pests and diseases. Common pests include aphids, spider mites, and whiteflies. These can be controlled with insecticidal soap or neem oil. Diseases like powdery mildew and rust can also affect mint, especially in humid conditions. To prevent these diseases, ensure good air circulation around the plant and avoid overhead watering. If you notice signs of disease, remove the affected leaves and treat the plant with a fungicide. Regularly inspecting your mint plant for pests and diseases will help you catch problems early and prevent them from spreading.
7. How do I harvest mint leaves?
Harvest mint leaves by snipping off stems just above a leaf node. This will encourage the plant to branch out and produce more leaves. You can harvest mint leaves throughout the growing season, but the flavor is typically strongest before the plant flowers. Avoid harvesting more than one-third of the plant at a time, as this can stress the plant and slow down its growth. Freshly harvested mint leaves can be used immediately or stored in the refrigerator for a few days. To dry mint leaves, hang them upside down in a cool, dry place or use a dehydrator.
8. Can I grow mint indoors year-round?
Yes, you can grow mint indoors year-round, provided you provide it with adequate light and moisture. Place the container near a sunny window or supplement with artificial grow lights. Water the plant regularly, keeping the soil consistently moist but not waterlogged. Maintain a temperature between 65-75°F (18-24°C). You may need to adjust your watering schedule and lighting depending on the season and the humidity levels in your home. Regularly pruning the plant will also help keep it healthy and productive.
9. What are some creative ways to use my homegrown mint?
The possibilities for using homegrown mint are endless! Use it to flavor beverages like mojitos, iced tea, and lemonade. Add it to salads, soups, and sauces for a refreshing twist. Use it to make mint jelly, mint chocolate chip ice cream, or mint-infused simple syrup. You can also use mint to make homemade cleaning solutions, air fresheners, and insect repellents. Experiment with different recipes and find your favorite ways to enjoy the fresh, vibrant flavor of your homegrown mint.
10. What varieties of mint are best for container gardening?
While most mint varieties can be grown in containers, some are better suited than others due to their growth habits and flavor profiles. Spearmint is a classic choice with a refreshing, slightly sweet flavor. Peppermint has a stronger, more intense flavor and is often used in teas and desserts. Chocolate mint has a unique chocolatey aroma and flavor. Apple mint has a fruity aroma and is great for salads and beverages. Corsican mint is a low-growing variety that can be used as a ground cover or in hanging
Leave a Comment