

Grow Shallots at Home and unlock a world of culinary possibilities right in your backyard! Have you ever dreamt of snipping fresh, flavorful shallots just moments before adding them to your favorite dish? Well, dream no more! This DIY guide will empower you to cultivate these delightful alliums with ease, regardless of your gardening experience.
Shallots, with their delicate onion-garlic flavor, have been prized for centuries. Originating in Central or Southwest Asia, they’ve journeyed across continents, becoming a staple in cuisines worldwide. From the fragrant stocks of French cuisine to the vibrant curries of Southeast Asia, shallots add a unique depth of flavor that’s simply irreplaceable. I’ve always been fascinated by how such a small bulb can pack such a powerful punch!
But why should you bother growing your own? In today’s world, where freshness and sustainability are increasingly important, knowing exactly where your food comes from is a huge advantage. Plus, store-bought shallots can sometimes be expensive or lack the vibrant flavor you’re looking for. With this DIY trick, you can grow shallots at home organically, saving money and ensuring a constant supply of these culinary gems. Imagine the satisfaction of harvesting your own shallots, knowing you nurtured them from tiny bulbs to flavorful ingredients. Let’s get started and transform your garden into a shallot haven!
Growing Shallots at Home: A Beginner’s Guide
Hey there, fellow gardening enthusiasts! I’m so excited to share my experience with growing shallots at home. Shallots are like the sophisticated cousins of onions and garlic, adding a delicate, slightly sweet flavor to your dishes. Plus, they’re surprisingly easy to grow, even if you’re a complete beginner like I was! This guide will walk you through everything you need to know to cultivate your own shallot bounty.
Choosing Your Shallots and Preparing for Planting
Before we get our hands dirty, let’s talk about selecting the right shallots and getting your garden ready.
* Choosing Your Shallots: You have two main options: buying shallot sets (small, immature bulbs) or using shallots from the grocery store. I’ve had success with both! If you’re using grocery store shallots, make sure they’re firm, healthy, and haven’t started to sprout yet. Organic shallots are often a better bet, as they’re less likely to be treated with sprout inhibitors.
* Timing is Key: Shallots are typically planted in the fall (September-November in most temperate climates) for a summer harvest. You can also plant them in early spring (February-April), but your harvest might be a bit smaller. I prefer fall planting because it gives the shallots a head start before the hot summer months.
* Location, Location, Location: Shallots need at least 6 hours of sunlight per day. Choose a spot in your garden that gets plenty of sunshine.
* Soil Preparation: This is crucial! Shallots need well-drained soil that’s rich in organic matter. Amend your soil with compost, aged manure, or other organic materials. I like to add a generous amount of compost to my garden beds before planting anything.
* Soil pH: Shallots prefer a slightly acidic to neutral soil pH (around 6.0 to 7.0). You can test your soil pH with a simple soil testing kit from your local garden center.
Planting Your Shallots: A Step-by-Step Guide
Alright, let’s get planting! This is the fun part.
1. Prepare the Planting Bed: Loosen the soil in your chosen area to a depth of about 12 inches. Remove any rocks, weeds, or debris.
2. Create Planting Rows: Create rows that are about 12 inches apart. This will give your shallots enough room to grow and spread.
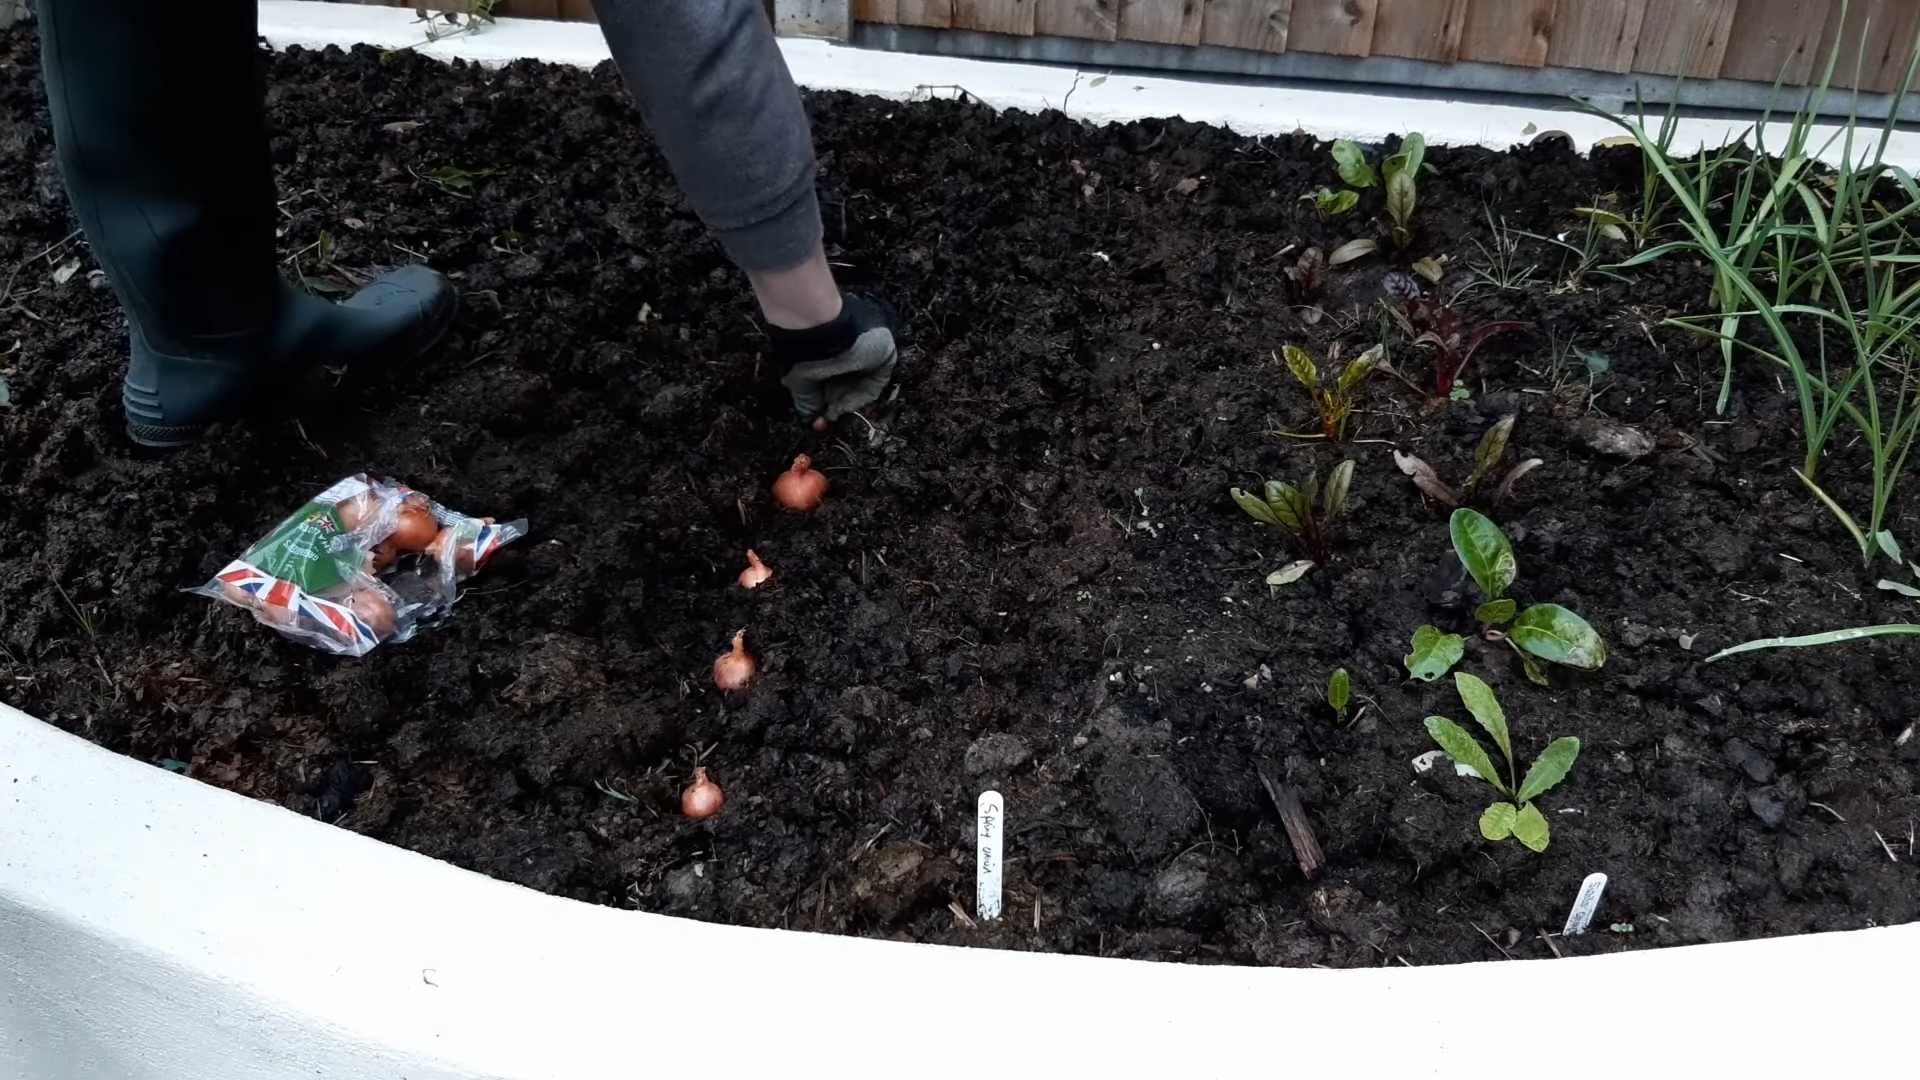
3. Dig Planting Holes: Dig holes that are about 4-6 inches apart within each row. The holes should be about 2-3 inches deep.
4. Plant the Shallots: Place each shallot bulb in a hole, pointy side up. Cover the bulb with soil, leaving the very tip of the bulb exposed. This helps prevent rot.
5. Water Thoroughly: After planting, water the area thoroughly. This will help settle the soil and encourage root growth.
6. Mulch (Optional): I highly recommend adding a layer of mulch around your shallots. Mulch helps retain moisture, suppress weeds, and regulate soil temperature. Straw, shredded leaves, or wood chips are all good options.
Caring for Your Shallots: Watering, Weeding, and Feeding
Now that your shallots are planted, it’s time to give them some TLC.
* Watering: Shallots need consistent moisture, especially during dry periods. Water deeply whenever the top inch of soil feels dry to the touch. Avoid overwatering, as this can lead to bulb rot.
* Weeding: Keep your shallot bed free of weeds. Weeds compete with shallots for nutrients and water. Hand-pull weeds regularly, being careful not to disturb the shallot bulbs.
* Fertilizing: Shallots are relatively light feeders, but they will benefit from a boost of nutrients. I like to side-dress my shallots with a balanced organic fertilizer a few weeks after planting and again in the spring. Look for a fertilizer that’s high in phosphorus and potassium, which promote bulb development. Bone meal and wood ash are also great natural sources of these nutrients.
* Pest and Disease Control: Shallots are generally pest-resistant, but they can be susceptible to onion thrips and onion maggots. Keep an eye out for these pests and take action if you see them. Insecticidal soap or neem oil can be effective treatments. To prevent fungal diseases, ensure good air circulation around your plants and avoid overhead watering.
Harvesting Your Shallots: When and How
The moment you’ve been waiting for! Harvesting your shallots is the reward for all your hard work.
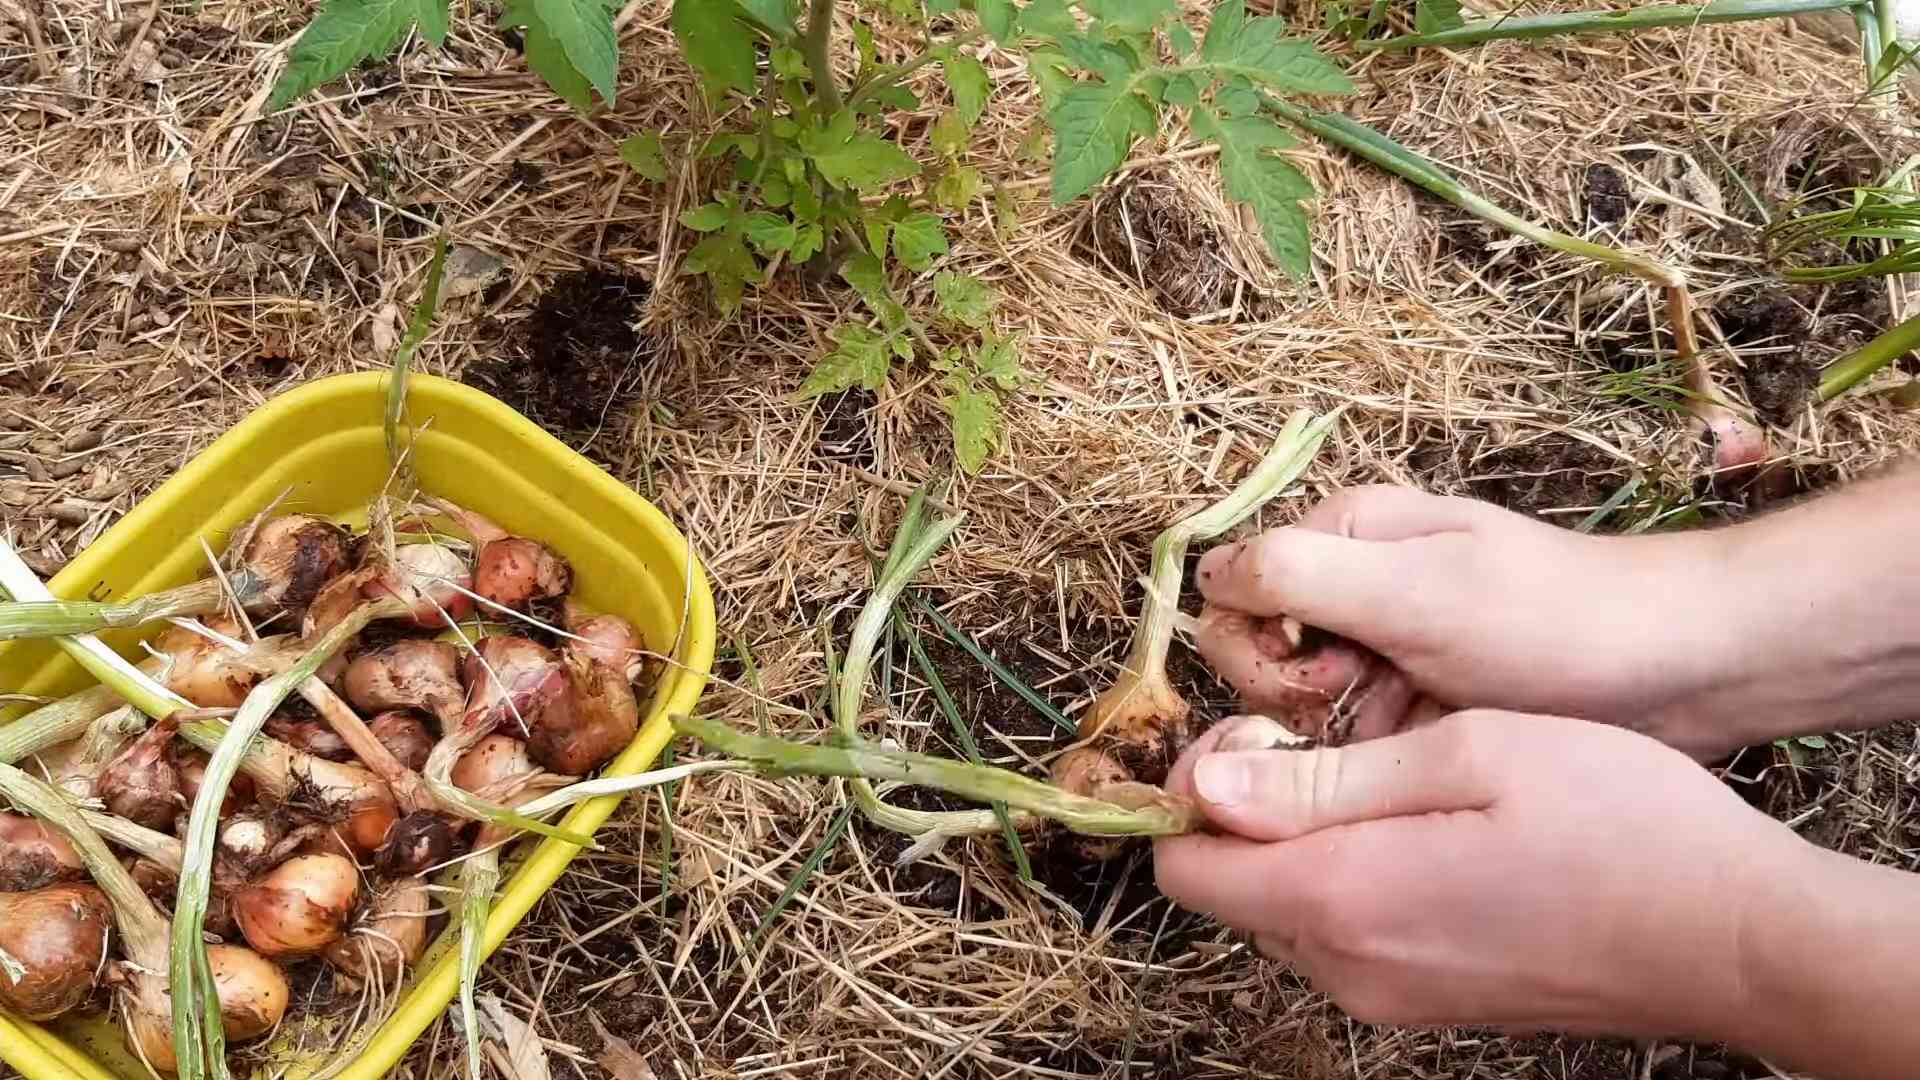
* When to Harvest: Shallots are typically ready to harvest when the tops start to turn yellow and fall over. This usually happens in mid-summer. You can also harvest them earlier for green shallots (scallions), but the bulbs will be smaller.
* How to Harvest: Gently loosen the soil around the shallot bulbs with a garden fork or trowel. Carefully lift the bulbs from the soil.
* Curing Your Shallots: After harvesting, cure your shallots in a warm, dry, well-ventilated place for about 2-3 weeks. This allows the outer skins to dry and toughen, which helps prevent rot during storage. I like to spread my shallots out on a screen or in a shallow box.
* Storing Your Shallots: Once cured, store your shallots in a cool, dry, dark place. A mesh bag or a well-ventilated container is ideal. Properly cured and stored shallots can last for several months.
Troubleshooting: Common Problems and Solutions
Even with the best care, you might encounter some challenges along the way. Here are a few common problems and how to address them:
* Bulb Rot: This is usually caused by overwatering or poor drainage. Make sure your soil is well-drained and avoid overwatering. If you see signs of bulb rot, remove the affected plants immediately to prevent the disease from spreading.
* Onion Thrips: These tiny insects can suck the sap from shallot leaves, causing them to turn silvery and distorted. Spray with insecticidal soap or neem oil.
* Onion Maggots: These pests can damage the roots and bulbs of shallots. Use row covers to prevent adult flies from laying eggs near your plants.
* Bolting: Bolting is when shallots send up a flower stalk prematurely. This can happen if the plants are stressed by heat or drought. Remove the flower stalk as soon as you see it to encourage bulb development.
Propagating Shallots: Expanding Your Garden
One of the coolest things about shallots is that they multiply! Each bulb you plant will produce a cluster of new bulbs. You can save some of these bulbs to plant next year, expanding your shallot patch.
* Saving Shallots for Planting: Choose the largest, healthiest bulbs to save for planting. Store them in a cool, dry, dark place until planting time.
* Dividing Shallot Clusters: When you harvest your shallots, you’ll notice that they grow in clusters. You can divide these clusters into individual bulbs for planting.
Enjoying Your Harvest: Culinary Uses for Shallots
Now for the best part: enjoying the fruits (or rather, bulbs) of your labor! Shallots are incredibly versatile in the kitchen.
* Raw: Finely chop shallots and add them to salads, salsas, or vinaigrettes.
* Sautéed: Sauté shallots in butter or olive oil and use them as a base for sauces, soups, or stews.
* Roasted: Roast shallots whole or halved with other vegetables for a delicious side dish.
* Pickled: Pickle shallots for a tangy condiment.
* Shallot Oil: Infuse oil with shallots for a flavorful cooking oil.
Growing shallots at home is a rewarding experience that will add a touch of gourmet flavor to your cooking. With a little bit of planning and care, you can enjoy a bountiful harvest of these delicious bulbs. Happy gardening!
Conclusion
So, there you have it! Growing shallots at home is not only surprisingly simple, but it’s also incredibly rewarding. Imagine the satisfaction of snipping fresh, flavorful shallots from your own garden, knowing exactly where they came from and how they were grown. Forget those expensive, often lackluster shallots from the grocery store. With this easy DIY trick, you can have a constant supply of these culinary gems right at your fingertips.
But why is this a must-try? Beyond the cost savings and the superior flavor, growing your own shallots connects you to the food you eat. It’s a small act of self-sufficiency that can bring a surprising amount of joy. Plus, it’s a fantastic way to reduce your environmental impact by cutting down on transportation and packaging.
Ready to take your shallot game to the next level? Consider these variations:
* Container Gardening: If you’re short on space, don’t worry! Shallots thrive in containers. Choose a pot that’s at least 6 inches deep and wide, and use a well-draining potting mix. This is perfect for balconies, patios, or even a sunny windowsill.
* Different Varieties: Experiment with different shallot varieties to find your favorite flavor profile. French Grey shallots are known for their delicate taste, while Jersey shallots offer a bolder, more pungent flavor.
* Companion Planting: Plant shallots alongside other vegetables like carrots, beets, and chamomile. These companions can help deter pests and improve the overall health of your garden.
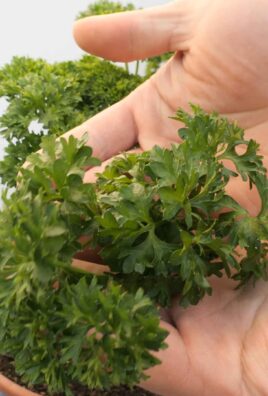
* Shallot Greens: Don’t forget about the greens! Shallot greens are delicious and can be used like chives or scallions in salads, soups, and dips. Harvest them regularly to encourage bulb growth.
We’ve given you the tools and the knowledge; now it’s time to get your hands dirty! We are confident that you will find that growing shallots at home is easier than you think. Don’t be afraid to experiment, adapt the method to your specific environment, and most importantly, have fun!
We’d love to hear about your experiences. Share your shallot-growing journey with us in the comments below. Tell us about your successes, your challenges, and any tips you’ve discovered along the way. Let’s build a community of shallot enthusiasts and inspire others to embrace the joys of homegrown goodness. So, go ahead, give it a try, and let the shallot adventures begin!
Frequently Asked Questions (FAQ)
What are the best conditions for growing shallots?
Shallots thrive in well-drained soil and full sun, which means at least 6-8 hours of direct sunlight per day. The soil should be rich in organic matter. Before planting, amend the soil with compost or well-rotted manure to improve drainage and fertility. Shallots prefer a slightly acidic to neutral soil pH, ideally between 6.0 and 7.0. If your soil is heavy clay, consider adding sand or perlite to improve drainage. Proper drainage is crucial to prevent bulb rot.
How often should I water my shallots?
Water your shallots regularly, especially during dry periods. Aim to keep the soil consistently moist but not waterlogged. Overwatering can lead to bulb rot, so it’s essential to monitor the soil moisture levels. A good rule of thumb is to water deeply when the top inch of soil feels dry to the touch. Reduce watering as the shallots mature and the bulbs begin to swell. During the final weeks before harvest, withhold water altogether to encourage the bulbs to dry out and develop a papery skin.
When is the best time to plant shallots?
The best time to plant shallots depends on your climate. In colder regions, plant shallots in early spring, as soon as the ground can be worked. This allows the shallots to establish themselves before the heat of summer. In milder climates, you can plant shallots in the fall for a spring harvest. Fall planting allows the shallots to overwinter and get a head start on growth in the spring. Regardless of when you plant, make sure the soil temperature is at least 40°F (4°C) for optimal germination.
How do I know when my shallots are ready to harvest?
Shallots are typically ready to harvest when the tops begin to turn yellow and fall over. This usually occurs in late summer or early fall, depending on when you planted them. Once the tops have fallen over, stop watering the shallots to allow the bulbs to dry out. After a week or two, carefully dig up the shallots, being careful not to damage the bulbs. Gently brush off any excess soil and allow the shallots to cure in a warm, dry place for several weeks. Curing helps to harden the outer skins and improve their storage life.
Can I grow shallots from seed?
While it is possible to grow shallots from seed, it is more common and generally easier to grow them from sets (small, immature bulbs). Shallot seeds can be slow to germinate and may take longer to mature than sets. If you choose to grow shallots from seed, start them indoors 8-10 weeks before the last expected frost. Transplant the seedlings outdoors once the weather has warmed and the soil is workable.
How do I store shallots after harvesting?
Proper storage is essential for extending the shelf life of your homegrown shallots. After curing, store shallots in a cool, dry, and well-ventilated place. A mesh bag or basket is ideal for allowing air to circulate around the bulbs. Avoid storing shallots in the refrigerator, as the humidity can cause them to sprout or rot. Under the right conditions, shallots can be stored for several months. Check them periodically and discard any that show signs of spoilage.
What are some common pests and diseases that affect shallots?
Shallots are generally resistant to pests and diseases, but they can be susceptible to certain problems. Onion thrips, onion maggots, and nematodes are common pests that can damage shallots. To prevent pest infestations, practice crop rotation, use row covers, and introduce beneficial insects to your garden. Diseases such as downy mildew, white rot, and botrytis can also affect shallots. To prevent diseases, ensure good air circulation, avoid overwatering, and use disease-resistant varieties.
Can I use shallot greens in cooking?
Absolutely! Shallot greens are a delicious and versatile ingredient that can be used in a variety of dishes. They have a mild oniony flavor and can be used as a substitute for chives or scallions. Chop the greens finely and add them to salads, soups, dips, and omelets. You can also use them as a garnish for grilled meats and vegetables. Harvesting the greens regularly will encourage bulb growth, so don’t be afraid to snip them off as needed.
How do I prevent shallots from bolting (flowering)?
Bolting, or flowering, can occur when shallots are exposed to prolonged periods of cold weather or stress. Bolting can reduce the size and quality of the bulbs. To prevent bolting, choose varieties that are well-suited to your climate and avoid planting too early in the spring. Ensure that the shallots receive adequate water and nutrients, and protect them from extreme temperature fluctuations. If you notice any flower stalks developing, remove them promptly to redirect the plant’s energy back into bulb growth.
What kind of fertilizer should I use for shallots?
Shallots benefit from regular fertilization to promote healthy growth and bulb development. Use a balanced fertilizer with equal amounts of nitrogen, phosphorus, and potassium (e.g., 10-10-10) at planting time. Side-dress the shallots with a nitrogen-rich fertilizer (e.g., ammonium nitrate) every few weeks during the growing season to encourage leafy growth. Avoid over-fertilizing, as this can lead to excessive foliage growth at the expense of bulb development. Organic fertilizers, such as compost tea or fish emulsion, are also excellent options for feeding shallots.


Leave a Comment