

Grow Squash Vertically and unlock a world of gardening possibilities! Are you dreaming of a bountiful squash harvest but limited by space? I get it! I used to think my tiny backyard meant no homegrown squash for me. But then I discovered the magic of vertical gardening, and it completely changed the game.
For centuries, cultures around the globe have employed vertical gardening techniques, from the hanging gardens of Babylon to the simple bean trellises of indigenous communities. This isn’t just a trendy new fad; it’s a time-tested method of maximizing space and yield. Think about it – squash vines can sprawl and take over your entire garden! But by training them upwards, you reclaim valuable ground space for other veggies and flowers.
This DIY guide is your ticket to a thriving vertical squash garden. We’ll walk you through everything you need to know, from choosing the right squash varieties to building a sturdy support system. Imagine harvesting plump, juicy squash right from your own vertical garden – it’s easier than you think! Plus, growing squash vertically not only saves space but also improves air circulation, reduces the risk of pests and diseases, and makes harvesting a breeze. So, let’s ditch the sprawling vines and grow squash vertically for a healthier, more productive garden!
Growing Squash Vertically: A DIY Guide to Maximize Your Harvest
Hey there, fellow gardeners! Are you dreaming of a bountiful squash harvest but short on space? Well, I’ve got just the trick for you: vertical squash gardening! It’s a fantastic way to save space, improve air circulation, and even make harvesting easier. Trust me, once you try it, you’ll be hooked. Let’s dive into how you can build your own vertical squash garden.
Why Grow Squash Vertically?
Before we get our hands dirty, let’s quickly touch on why vertical gardening is so awesome for squash:
* Space Saving: This is the big one! If you have a small garden, balcony, or even just a sunny patio, vertical gardening lets you grow more in less space.
* Improved Air Circulation: By lifting the squash off the ground, you’ll improve air circulation around the plants. This helps prevent fungal diseases like powdery mildew, which can be a real pain.
* Easier Harvesting: No more bending over and searching through sprawling vines! Your squash will be hanging at a more convenient height, making harvesting a breeze.
* Pest Control: Vertical gardening can make it harder for ground-dwelling pests to reach your precious squash.
* Aesthetic Appeal: Let’s be honest, a vertical garden just looks cool! It adds a unique and eye-catching element to your outdoor space.
Choosing the Right Squash Variety
Not all squash varieties are created equal when it comes to vertical gardening. You’ll want to choose varieties that are more compact and produce smaller fruits. Here are a few of my favorites:
* Zucchini: Bush varieties of zucchini are perfect. Look for terms like “bush” or “compact” in the description.
* Yellow Squash: Similar to zucchini, choose bush varieties for the best results.
* Delicata Squash: This smaller winter squash is a good option for vertical gardening.
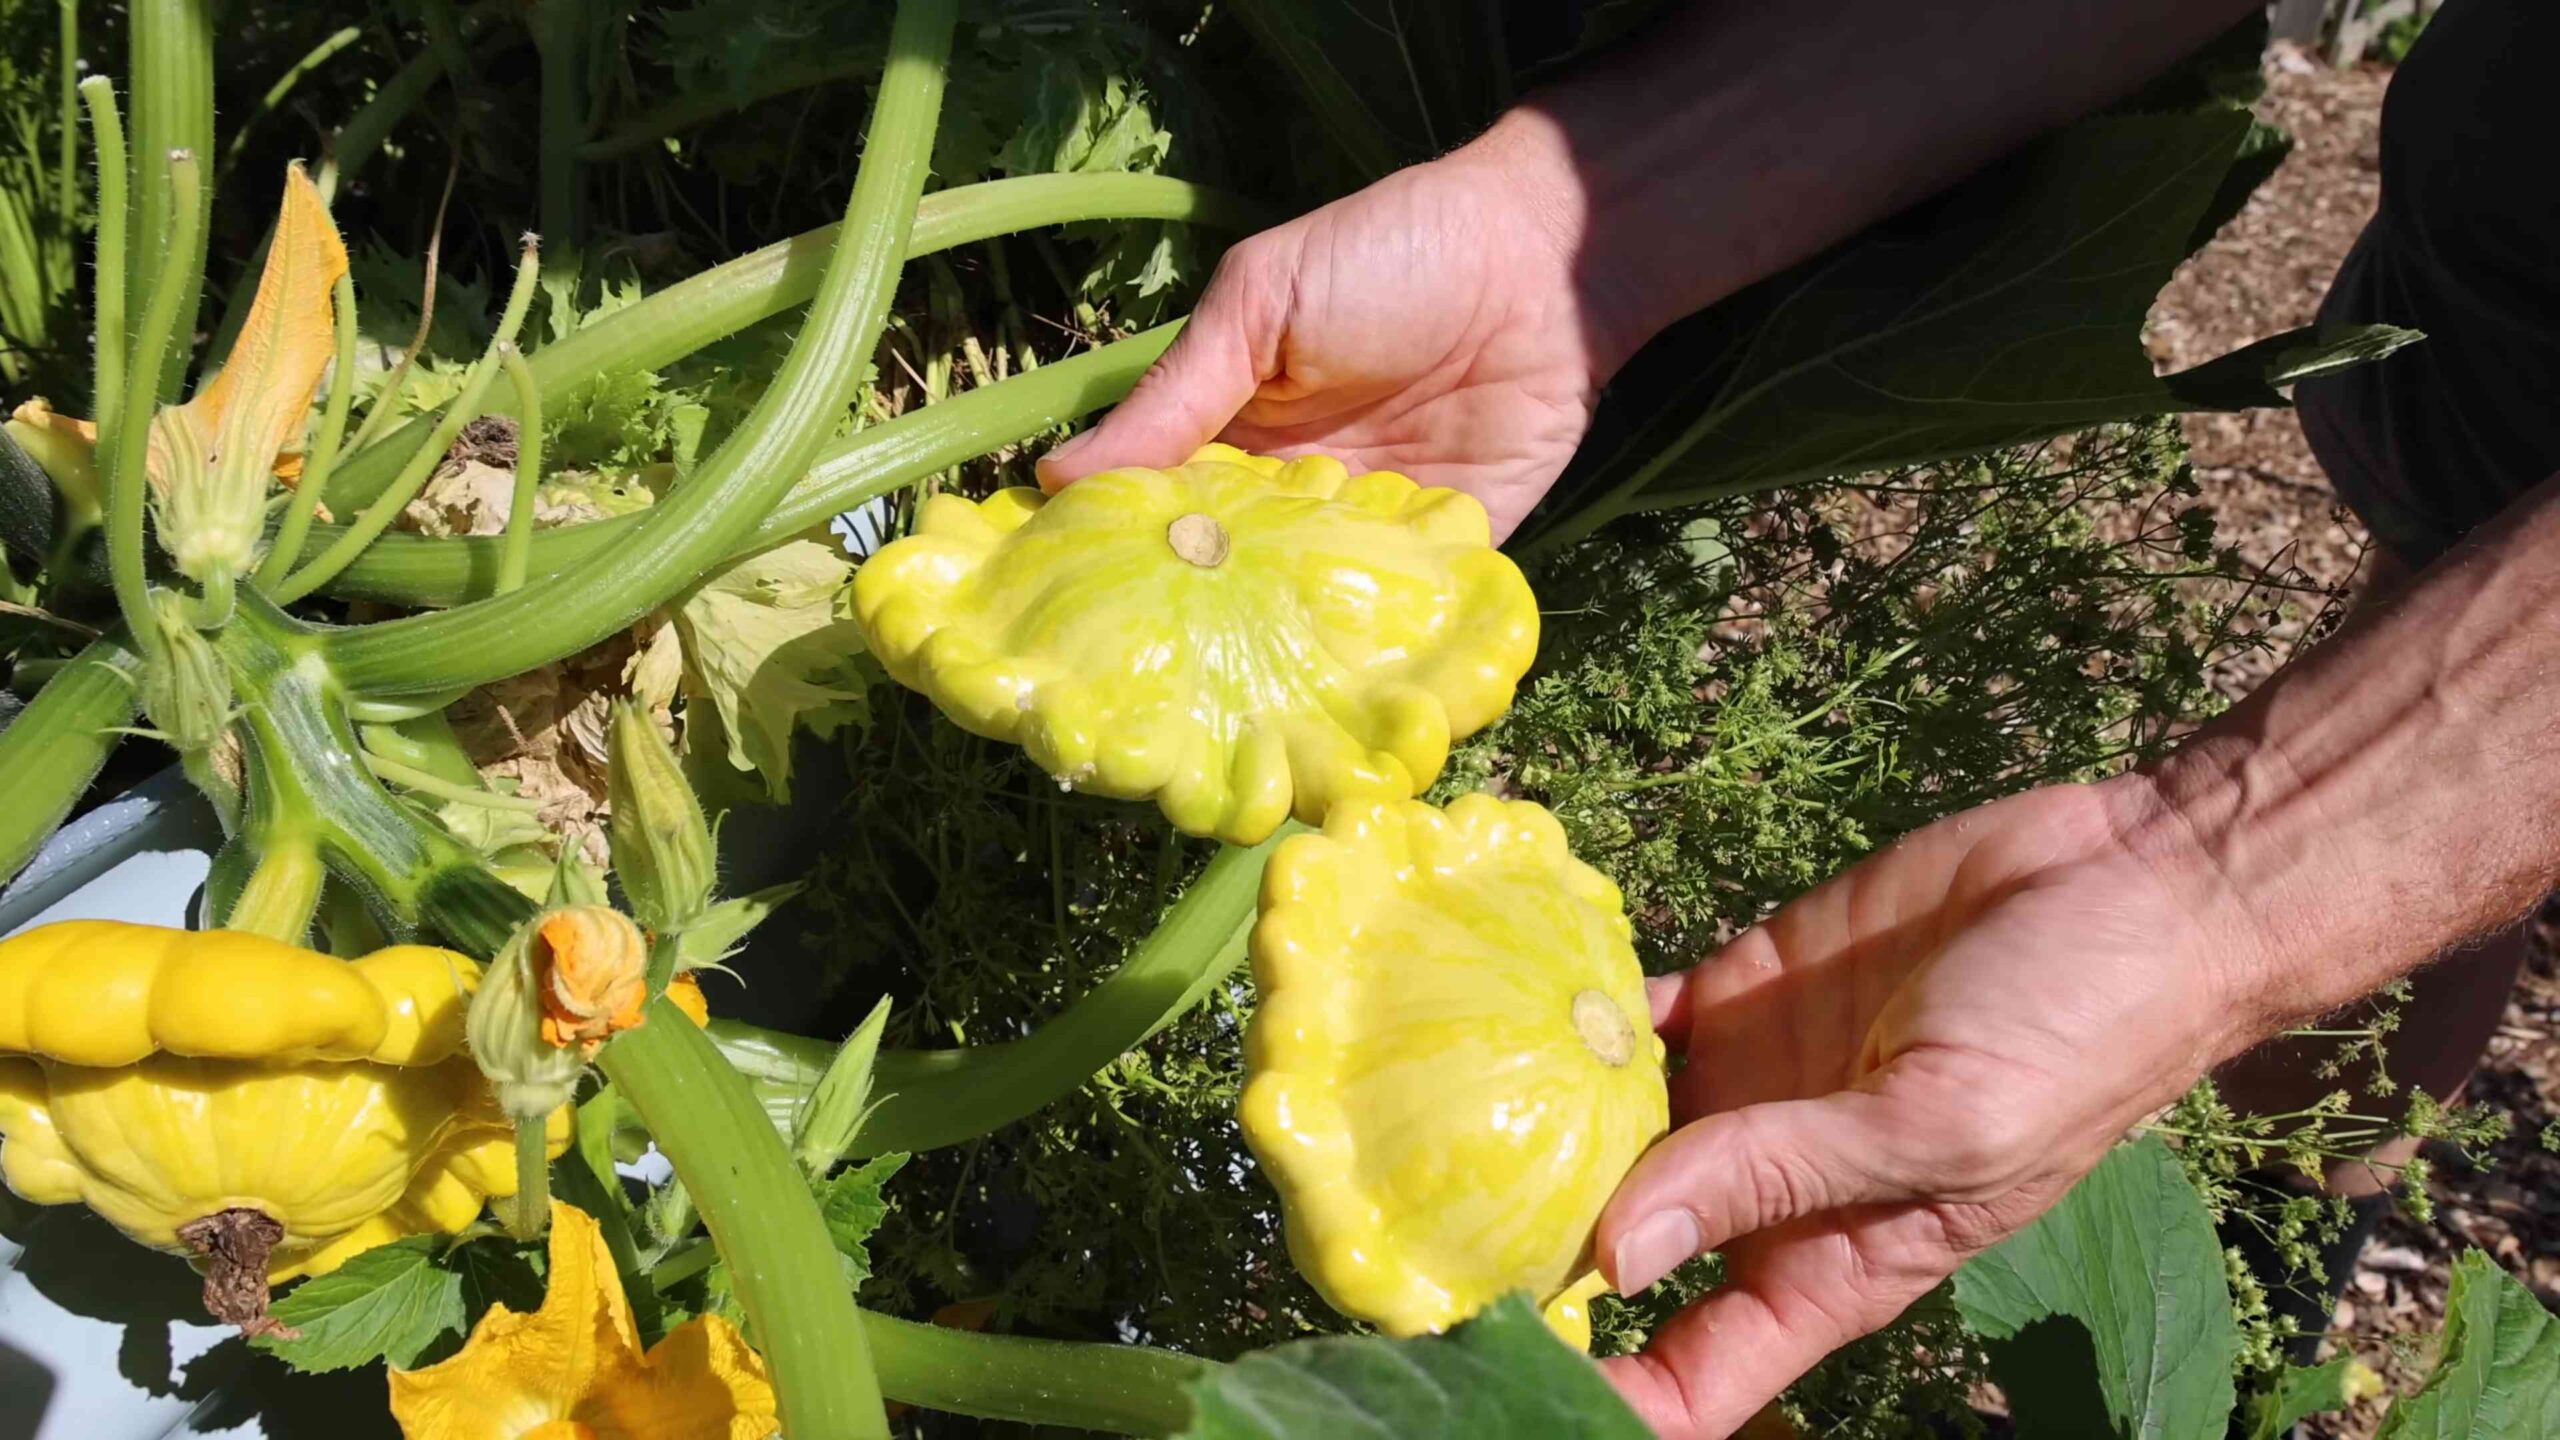
* Patty Pan Squash: These cute, saucer-shaped squash are relatively compact and easy to manage.
* Smaller Pumpkins: Miniature pumpkin varieties like ‘Jack Be Little’ can also be grown vertically, but they’ll need extra support.
Avoid large, sprawling varieties like butternut squash or hubbard squash, as they’ll be too heavy and difficult to support.
Building Your Vertical Support System
There are several ways to create a vertical support system for your squash. Here are a few options, ranging from simple to more elaborate:
* Trellis: A simple trellis is a great option for lighter squash varieties like zucchini and yellow squash. You can buy a pre-made trellis or build your own from wood or metal.
* A-Frame Trellis: An A-frame trellis provides more support and stability than a single trellis. It’s a good choice for slightly heavier squash varieties.
* Cattle Panel Arch: This is a sturdy and attractive option. Simply bend a cattle panel into an arch and secure it to the ground.
* DIY Tower: You can build a tower using wood, bamboo, or even repurposed materials like pallets. This is a great option if you want a more customized look.
* Hanging Baskets: For very small squash varieties, you can even grow them in hanging baskets!
For this guide, I’m going to focus on building a simple and sturdy A-frame trellis, as it’s a good balance of ease of construction and support.
Materials You’ll Need for an A-Frame Trellis
* Lumber: You’ll need six pieces of lumber. I recommend using treated lumber to prevent rot. Here’s what I suggest:
* Four 6-foot long 2x4s (for the legs)
* Two 4-foot long 2x4s (for the crossbars)
* Screws: 3-inch exterior wood screws
* Drill: With a screwdriver bit
* Saw: To cut the lumber (if needed)
* Measuring Tape: To ensure accurate cuts
* Level: To make sure the trellis is level
* Staple Gun and Landscape Fabric (Optional): To create a climbing surface
Step-by-Step Instructions: Building Your A-Frame Trellis
Alright, let’s get building! Here’s how to construct your A-frame trellis:
Phase 1: Assembling the A-Frames
1. Cut the Lumber (If Necessary): If your lumber isn’t already the correct length, use your saw to cut it to the dimensions listed above.
2. Create the First A-Frame: Take two of the 6-foot long 2x4s. Stand them up so they form an “A” shape. The top ends should meet, and the bottom ends should be spread apart about 3-4 feet.
3. Secure the Top: Use your drill and screws to attach the two 2x4s together at the top. Drive the screws in at an angle for a stronger connection.
4. Repeat for the Second A-Frame: Repeat steps 2 and 3 with the remaining two 6-foot long 2x4s to create your second A-frame.
Phase 2: Connecting the A-Frames
1. Position the A-Frames: Stand both A-frames upright, parallel to each other, and about 4 feet apart.
2. Attach the Crossbars: Take one of the 4-foot long 2x4s and position it horizontally between the two A-frames, near the top. The crossbar should connect to the inside of each A-frame leg.
3. Secure the Crossbar: Use your drill and screws to attach the crossbar to each A-frame leg.
4. Repeat for the Second Crossbar: Repeat steps 2 and 3 with the remaining 4-foot long 2×4, attaching it to the A-frames near the bottom.
Phase 3: Adding a Climbing Surface (Optional)
1. Cut the Landscape Fabric: Cut pieces of landscape fabric to fit the sides of the A-frame. The size will depend on the dimensions of your trellis.
2. Attach the Fabric: Use your staple gun to attach the landscape fabric to the inside of the A-frame. Make sure the fabric is taut and secure. This will give your squash vines something to grip onto as they climb.
Phase 4: Setting Up Your Trellis
1. Choose a Sunny Location: Select a spot in your garden that receives at least 6-8 hours of sunlight per day.
2. Prepare the Soil: Amend the soil with compost or other organic matter to improve drainage and fertility.
3. Position the Trellis: Place the A-frame trellis in your chosen location. Make sure it’s stable and secure. You can use stakes to anchor it to the ground if needed.
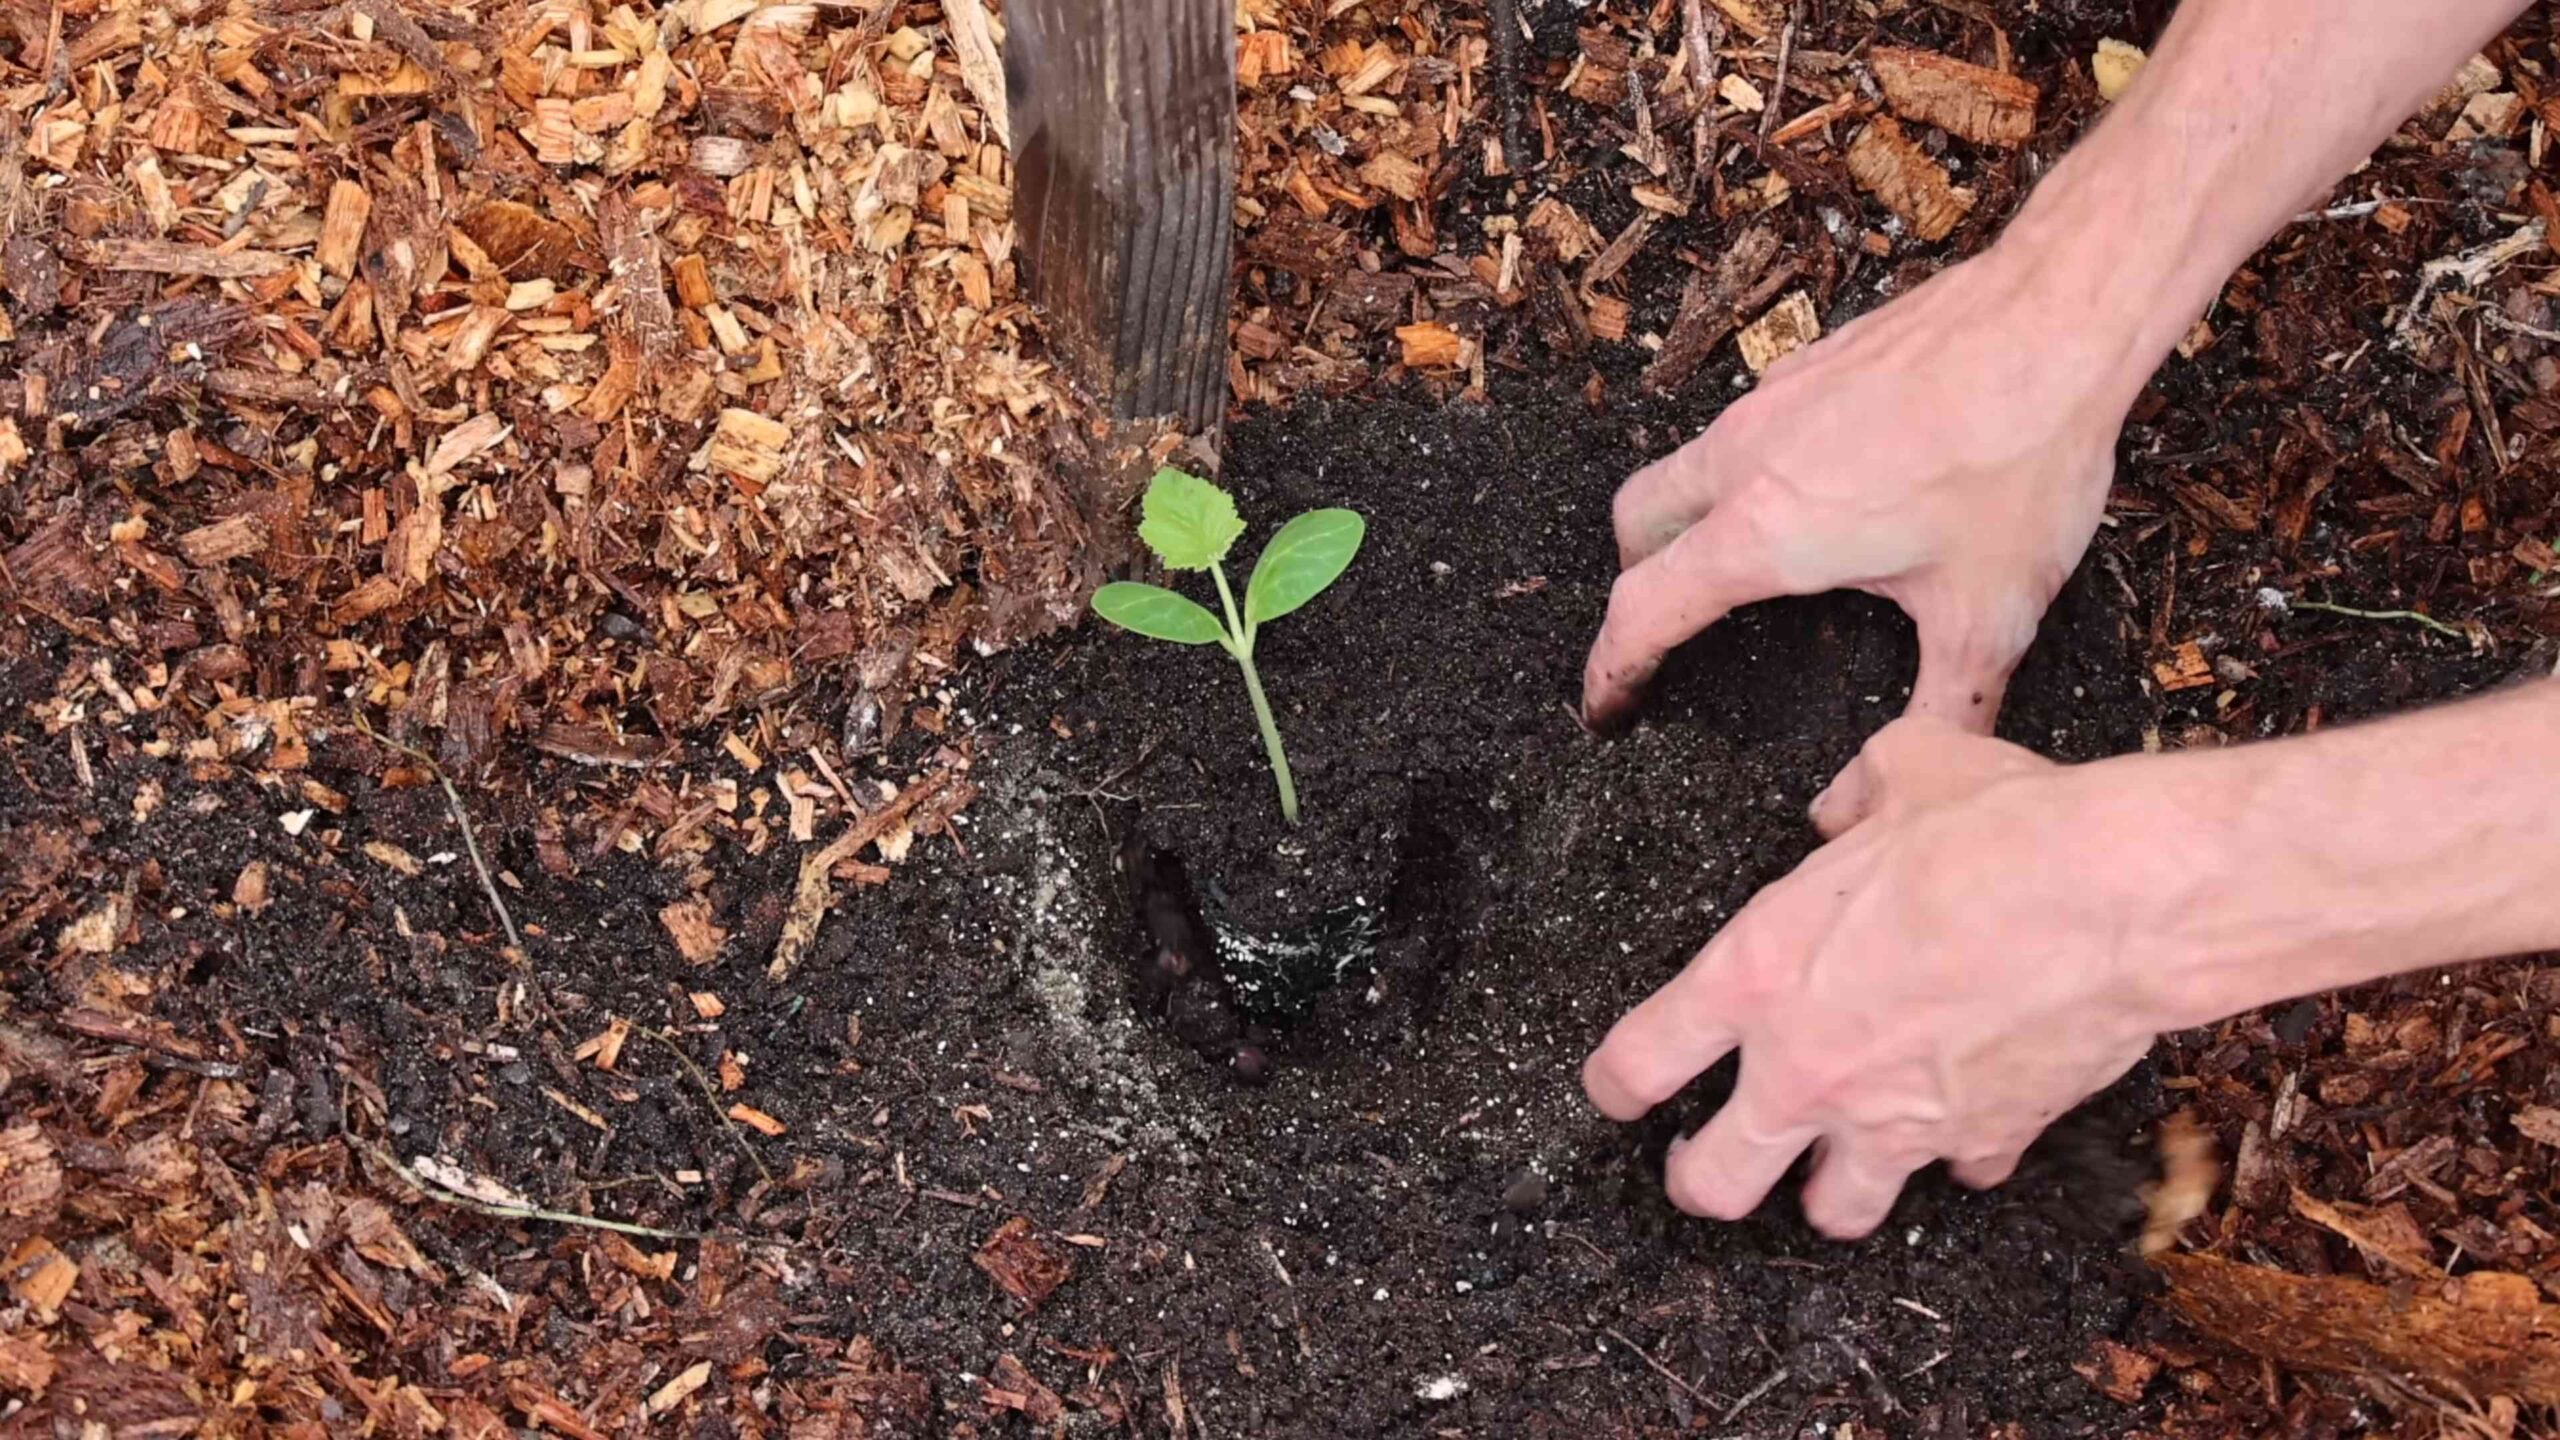
Planting Your Squash
Now for the fun part: planting your squash!
1. Start Seeds Indoors (Optional): You can start your squash seeds indoors 3-4 weeks before the last expected frost. This will give them a head start.
2. Direct Sow Seeds: Alternatively, you can direct sow your squash seeds directly into the garden after the last frost.
3. Planting Depth: Plant your squash seeds about 1 inch deep.
4. Spacing: Space your squash plants about 18-24 inches apart at the base of the trellis.
5. Water Thoroughly: Water the newly planted seeds or seedlings thoroughly.
Caring for Your Vertical Squash Garden
Once your squash plants are in the ground, here’s how to keep them happy and healthy:
* Watering: Squash plants need consistent moisture, especially during hot weather. Water deeply whenever the top inch of soil feels dry.
* Fertilizing: Feed your squash plants with a balanced fertilizer every 2-3 weeks.
* Training the Vines: As your squash vines grow, gently guide them up the trellis. You can use plant ties or twine to secure them if needed.
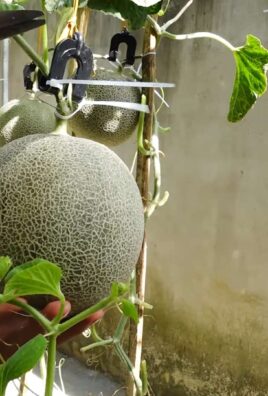
* Supporting the Fruit: As your squash fruits develop, they may need extra support, especially if you’re growing larger varieties. You can use slings made from pantyhose or netting to support the fruit and prevent it from breaking off the vine.
* Pest and Disease Control: Keep an eye out for common squash pests like squash bugs and squash vine borers. Use organic pest control methods like hand-picking or insecticidal soap to control them. Also, watch out for fungal diseases like powdery mildew. Improve air circulation and use a fungicide if necessary.
* Pruning: Prune away any yellowing or diseased leaves to improve air circulation and prevent the spread of disease.
Harvesting Your Squash
The moment you’ve been waiting for! Here’s how to harvest
Conclusion
So, there you have it! Growing squash vertically isn’t just a gardening trend; it’s a game-changer for maximizing your yield, minimizing garden pests, and adding a touch of architectural beauty to your outdoor space. We’ve explored the ins and outs of this space-saving technique, from choosing the right varieties to constructing sturdy supports and providing the necessary care.
Why is this DIY trick a must-try? Because it addresses several common gardening challenges simultaneously. Limited space? Vertical gardening is your answer. Struggling with squash vine borers? Lifting your plants off the ground makes them less accessible to these pesky critters. Tired of sprawling vines taking over your garden? Vertical growth keeps everything contained and organized. Plus, let’s be honest, a wall of vibrant squash is simply stunning!
But the beauty of this method lies in its adaptability. Feel free to experiment with different support structures. Instead of a traditional trellis, consider repurposing old ladders, creating a living wall with pallets, or even building a teepee-style support. For smaller squash varieties, hanging baskets can also be a charming option.
And don’t limit yourself to just one type of squash! Try growing a mix of zucchini, yellow squash, and even smaller pumpkins vertically for a diverse and visually appealing harvest. Remember to adjust your watering and fertilizing schedule based on the specific needs of each variety.
Ready to transform your garden and enjoy a bountiful harvest of delicious squash? We wholeheartedly encourage you to give this DIY trick a try. It’s a rewarding project that will not only enhance your gardening experience but also provide you with fresh, homegrown produce all season long.
We’re confident that you’ll be amazed by the results. But more importantly, we want to hear about your experience! Share your photos, tips, and challenges in the comments below. Let’s create a community of vertical squash growers and learn from each other’s successes and failures. Together, we can unlock the full potential of this innovative gardening technique and enjoy the fruits (or rather, vegetables) of our labor. So, grab your seeds, build your supports, and get ready to grow squash vertically like a pro!
Frequently Asked Questions (FAQ)
What types of squash are best suited for vertical growing?
Not all squash varieties are created equal when it comes to vertical gardening. Bush varieties, which naturally grow in a compact form, are generally not suitable. The best candidates are vining varieties, particularly those with smaller fruits. Some excellent choices include:
* Zucchini: Black Beauty, Costata Romanesco, and other compact zucchini varieties are well-suited.
* Yellow Squash: Early Crookneck and other smaller yellow squash varieties thrive vertically.
* Spaghetti Squash: While the fruits can be heavy, with proper support, spaghetti squash can be successfully grown vertically.
* Delicata Squash: This smaller winter squash is a great option for vertical gardens.
* Patty Pan Squash: These unique, saucer-shaped squash are relatively lightweight and easy to manage vertically.
* Smaller Pumpkins: Baby Boo and other miniature pumpkin varieties can add a festive touch to your vertical garden.
Avoid larger, heavier squash varieties like Hubbard or Butternut, as they may be too heavy for most support structures.
How do I provide adequate support for my vertical squash plants?
The key to successful vertical squash growing is providing sturdy and reliable support. Here are a few options:
* Trellises: A strong wooden or metal trellis is a classic choice. Ensure the trellis is tall enough to accommodate the mature height of your chosen squash variety.
* Cages: Tomato cages can work well for smaller squash varieties, providing support as the plant grows.
* Arbors: An arbor creates a beautiful and functional support structure for vining squash.
* DIY Structures: Get creative and build your own support using materials like bamboo poles, repurposed ladders, or pallets.
* Slings: For heavier fruits, consider using slings made from fabric or netting to provide additional support and prevent the vines from breaking.
Regardless of the support structure you choose, make sure it is securely anchored to the ground to withstand wind and the weight of the growing plants.
How often should I water and fertilize my vertical squash plants?
Vertical squash plants tend to dry out more quickly than those grown on the ground, so regular watering is crucial. Check the soil moisture daily and water deeply whenever the top inch feels dry. During hot, dry weather, you may need to water more frequently.
Fertilize your vertical squash plants every 2-3 weeks with a balanced fertilizer. Look for a fertilizer with an NPK ratio of 10-10-10 or similar. You can also supplement with compost tea or other organic fertilizers.
How do I prevent and control pests and diseases in my vertical squash garden?
Growing squash vertically can help reduce the risk of certain pests and diseases, but it’s still important to take preventative measures. Here are some tips:
* Choose disease-resistant varieties: Select squash varieties that are known to be resistant to common diseases like powdery mildew.
* Provide good air circulation: Proper spacing between plants and good airflow can help prevent fungal diseases.
* Inspect plants regularly: Check your plants regularly for signs of pests or diseases.
* Use organic pest control methods: If you spot pests, try using organic pest control methods like insecticidal soap or neem oil.
* Remove infected leaves: If you notice any leaves with signs of disease, remove them promptly to prevent the spread.
* Companion planting: Plant companion plants like marigolds or nasturtiums to deter pests.
How do I harvest my vertical squash?
Harvest your squash when it is mature and the skin is firm. The exact timing will depend on the variety. For summer squash like zucchini and yellow squash, harvest when they are young and tender. For winter squash like spaghetti squash and delicata, harvest when the skin is hard and the stem is dry.
Use a sharp knife or pruners to cut the squash from the vine, leaving a short stem attached. Handle the squash carefully to avoid bruising.
Can I grow squash vertically in containers?
Yes, you can grow squash vertically in containers, but you’ll need to choose a large container (at least 20 gallons) and provide adequate support. Make sure the container has good drainage and use a high-quality potting mix. Water and fertilize regularly, as container-grown plants tend to dry out and deplete nutrients more quickly.
What if my squash vines are not climbing the support structure?
Sometimes, squash vines need a little encouragement to start climbing. Gently guide the vines towards the support structure and tie them loosely with twine or plant ties. Once the vines start to climb on their own, you can remove the ties.
Is vertical squash growing suitable for all climates?
Vertical squash growing can be successful in a wide range of climates, but it’s important to consider your local growing conditions. In hot climates, provide shade during the hottest part of the day to prevent the plants from overheating. In cooler climates, start your seeds indoors and transplant them outdoors after the last frost.
What are the benefits of growing squash vertically compared to traditional methods?
Growing squash vertically offers several advantages:
* Space-saving: Maximizes garden space, making it ideal for small gardens or balconies.
* Improved air circulation: Reduces the risk of fungal diseases.
* Pest control: Makes plants less accessible to ground-dwelling pests like squash vine borers.
* Easier harvesting: Makes it easier to harvest the squash without bending over.
* Aesthetic appeal: Adds a beautiful and unique element to your garden.


Leave a Comment