

Grow Your Own Pineapple: Imagine plucking a juicy, sun-ripened pineapple straight from your own backyard! Sounds like a tropical dream, right? Well, it’s more attainable than you might think. This isn’t just about having a cool-looking plant; it’s about experiencing the incredible satisfaction of nurturing something from humble beginnings to a delicious, homegrown treat.
Pineapples, originally native to South America, have a rich history, symbolizing hospitality and welcome. Think about it – a pineapple was often the centerpiece of a grand feast, a sign of abundance and generosity. Now, you can bring that same spirit of abundance to your own home.
In this DIY guide, I’m going to share some simple yet effective tricks to help you grow your own pineapple, even if you don’t have a sprawling tropical garden. Let’s face it, store-bought pineapples can be expensive, and sometimes, they just don’t have that fresh, vibrant flavor. Plus, knowing exactly where your food comes from and how it was grown is becoming increasingly important to many of us. This DIY project is not only a fun and rewarding hobby, but it’s also a step towards a more sustainable and self-sufficient lifestyle. So, grab a pineapple top, and let’s get started!
Grow Your Own Pineapple: A Tropical Treat From Your Kitchen!
Hey there, fellow plant enthusiasts! Ever dreamt of harvesting your own juicy pineapple right from your backyard (or even your windowsill)? Well, guess what? It’s totally doable, and I’m here to guide you through the process. It might seem intimidating, but trust me, with a little patience and the right steps, you’ll be enjoying homegrown pineapple in no time. Let’s dive in!
What You’ll Need: The Pineapple Starter Kit
Before we get started, let’s gather our supplies. This is a pretty low-cost project, which is always a win in my book!
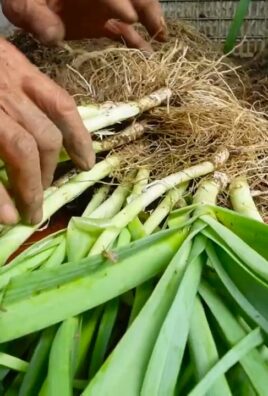
* A Fresh Pineapple: This is the most important ingredient! Look for a ripe pineapple with healthy, green leaves. The fruit should be fragrant and slightly soft to the touch. Avoid pineapples with brown or damaged leaves.
* A Sharp Knife: A good, sharp knife is essential for cleanly removing the top of the pineapple.
* A Glass or Jar: This will be used to root the pineapple top. Make sure it’s wide enough to accommodate the base of the top.
* Water: Tap water is fine, but filtered water is even better.
* Potting Mix: A well-draining potting mix is crucial for planting the rooted pineapple top. I like to use a mix specifically formulated for tropical plants.
* A Pot: Choose a pot that’s at least 6 inches in diameter. The bigger, the better, as pineapples need room to grow.
* Optional: Rooting Hormone: While not strictly necessary, rooting hormone can help speed up the rooting process.
* Optional: Gardening Gloves: Protect your hands from the pineapple’s prickly leaves.
Phase 1: Preparing the Pineapple Top
This is where the magic begins! We’re going to carefully separate the top of the pineapple from the fruit and prepare it for rooting.
1. Twist or Cut Off the Top: The easiest way to remove the top is to firmly grasp the leaves and twist them off the fruit. If that doesn’t work, use your sharp knife to carefully cut the top off, about an inch or two below the base of the leaves.
2. Remove Excess Fruit: It’s crucial to remove all the fruit flesh from the base of the pineapple top. Any remaining fruit can rot and cause the top to fail. Use your knife to carefully scrape away any remaining fruit.
3. Peel Away Lower Leaves: Gently peel away the bottom few layers of leaves from the base of the pineapple top. This will expose the nodes where the roots will emerge. Aim to remove about an inch or two of leaves.
4. Let it Dry: This is an important step! Allow the pineapple top to dry out for a few days (2-3 days is ideal). This helps to prevent rot. Place it in a cool, dry place, away from direct sunlight. You’ll notice the cut end will callous over.
Phase 2: Rooting the Pineapple Top in Water
Now it’s time to encourage those roots to grow! This is a relatively simple process, but it requires patience.
1. Place the Pineapple Top in Water: Fill your glass or jar with water. Make sure the water level is high enough to submerge the base of the pineapple top, but not so high that it covers the remaining leaves.
2. Find a Sunny Spot: Place the glass or jar in a warm, sunny location. A windowsill is perfect!
3. Change the Water Regularly: Change the water every few days (every 2-3 days is ideal) to prevent bacteria from growing. This will also help to keep the water fresh and oxygenated.
4. Wait for Roots to Grow: This is the waiting game! It can take several weeks (usually 4-8 weeks) for roots to emerge. Be patient! You’ll start to see small, white roots growing from the base of the pineapple top.
5. Monitor Root Growth: Once the roots are about 2-3 inches long, it’s time to move on to the next phase.
Phase 3: Planting Your Rooted Pineapple Top
Congratulations! You’ve successfully rooted your pineapple top. Now it’s time to give it a permanent home in a pot.
1. Prepare the Pot: Fill your pot with well-draining potting mix. Leave about an inch or two of space at the top of the pot.
2. Plant the Pineapple Top: Carefully remove the pineapple top from the water. Gently create a hole in the center of the potting mix and plant the pineapple top, making sure the roots are covered.
3. Water Thoroughly: Water the potting mix thoroughly until water drains out of the bottom of the pot.
4. Find a Sunny Location: Place the pot in a warm, sunny location. Pineapples need at least 6 hours of sunlight per day.
5. Water Regularly: Water the pineapple plant regularly, allowing the soil to dry out slightly between waterings. Avoid overwatering, as this can lead to root rot.
6. Fertilize Regularly: Feed your pineapple plant with a balanced fertilizer every few weeks during the growing season (spring and summer). Follow the instructions on the fertilizer label.
Phase 4: Caring for Your Pineapple Plant
Now that your pineapple plant is established, it’s time to provide it with the care it needs to thrive.
1. Sunlight: As mentioned before, pineapples need plenty of sunlight. If you live in a climate with limited sunlight, you may need to supplement with a grow light.
2. Watering: Water your pineapple plant regularly, but avoid overwatering. Allow the soil to dry out slightly between waterings.
3. Fertilizing: Feed your pineapple plant with a balanced fertilizer every few weeks during the growing season.
4. Temperature: Pineapples thrive in warm temperatures (between 65°F and 85°F). Protect your plant from frost.
5. Humidity: Pineapples prefer high humidity. If you live in a dry climate, you can increase humidity by misting the plant regularly or placing it on a pebble tray filled with water.
6. Repotting: As your pineapple plant grows, you may need to repot it into a larger pot. Repotting is usually necessary every year or two.
7. Pest Control: Keep an eye out for pests, such as mealybugs and spider mites. If you notice any pests, treat them with an appropriate insecticide.
Phase 5: Encouraging Your Pineapple to Fruit
This is the most exciting part! Getting your pineapple plant to fruit can take some time (usually 2-3 years), but it’s well worth the wait.
1. Maturity: Your pineapple plant needs to be mature enough to produce fruit. This usually takes 2-3 years.
2. Ethylene Gas: Pineapples are stimulated to fruit by ethylene gas. You can encourage your pineapple plant to fruit by placing a ripe apple or banana near the plant. The ripening fruit will release ethylene gas.
3. Bagging: You can also try bagging the pineapple plant with a clear plastic bag for a few days. This will trap the ethylene gas and increase its concentration.
4. Watering with Epsom Salts: Some gardeners recommend watering the pineapple plant with a solution of Epsom salts (1 tablespoon per gallon of water) to encourage fruiting.
5. Patience: The most important thing is to be patient! It can take several months for a pineapple to develop after it’s been stimulated to fruit.
Phase 6: Harvesting Your Pineapple
The moment you’ve been waiting for! Harvesting your own homegrown pineapple is a truly rewarding experience.
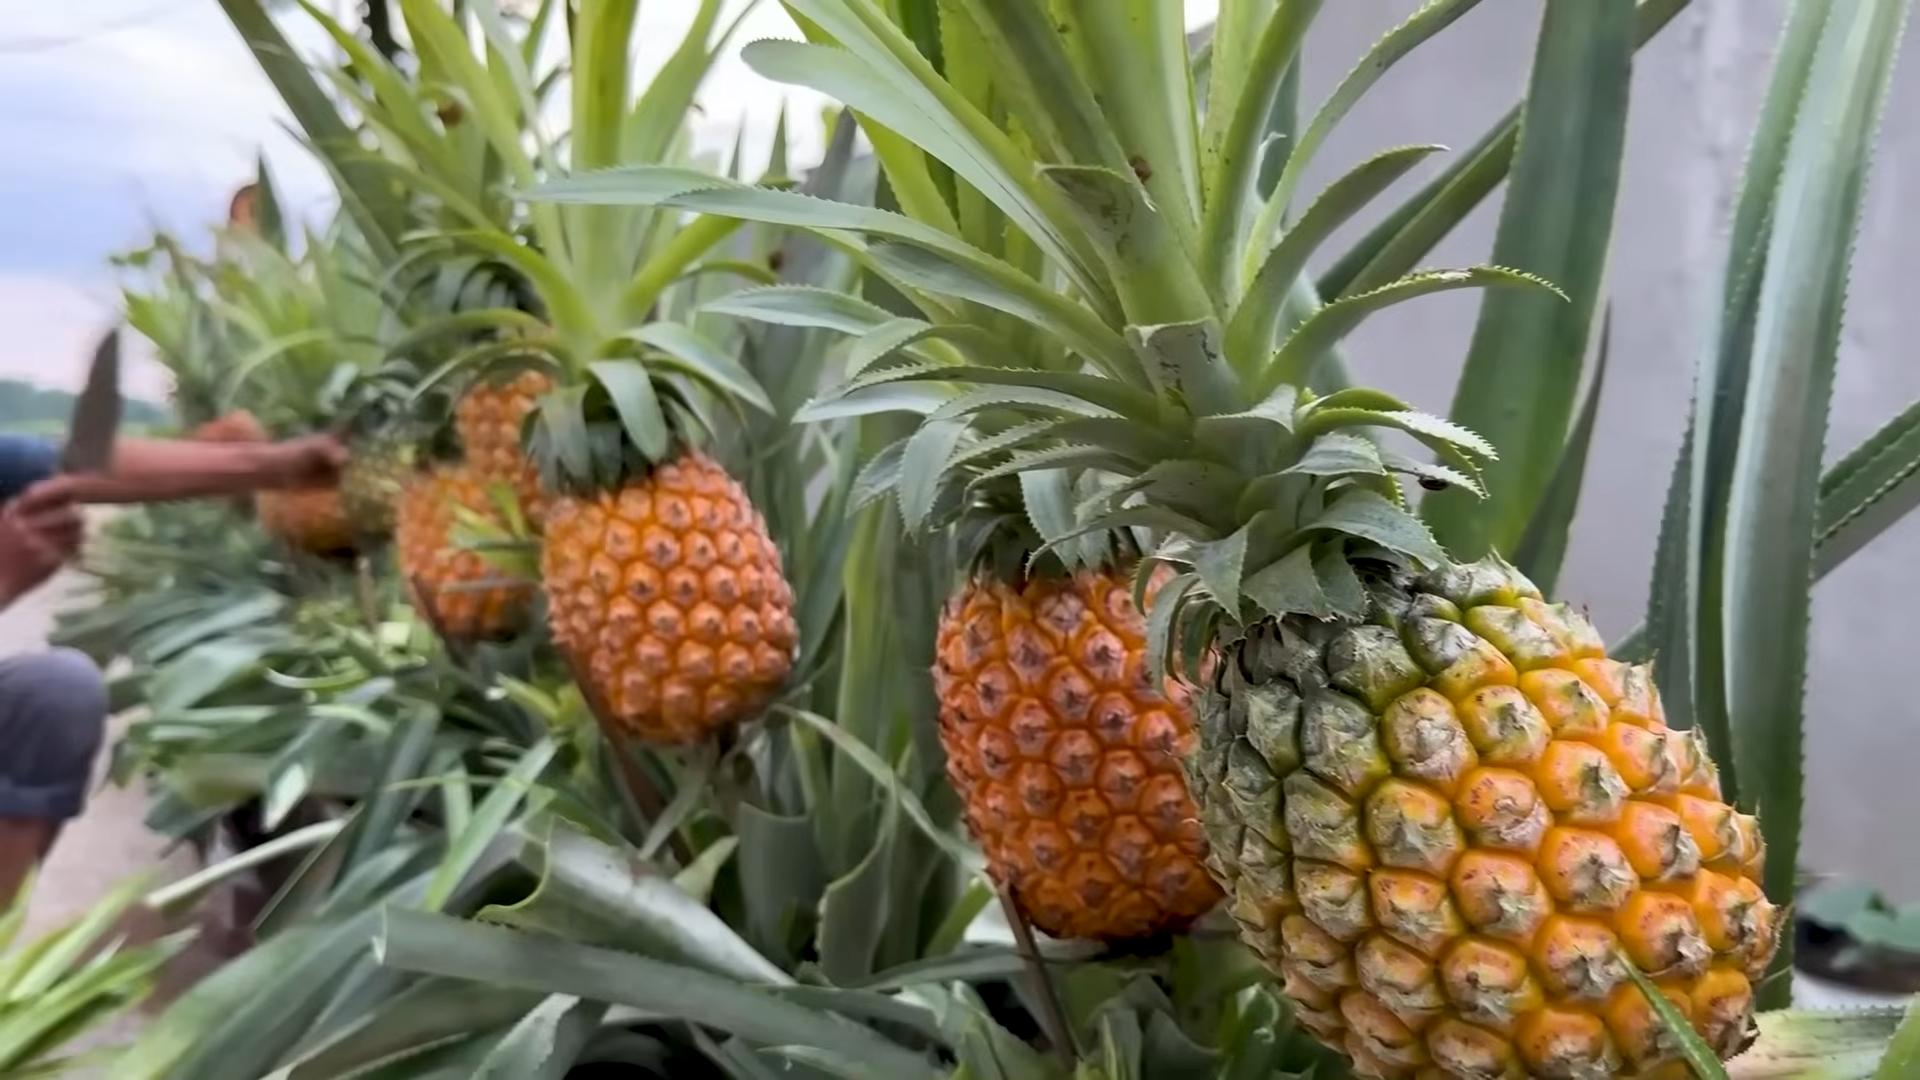
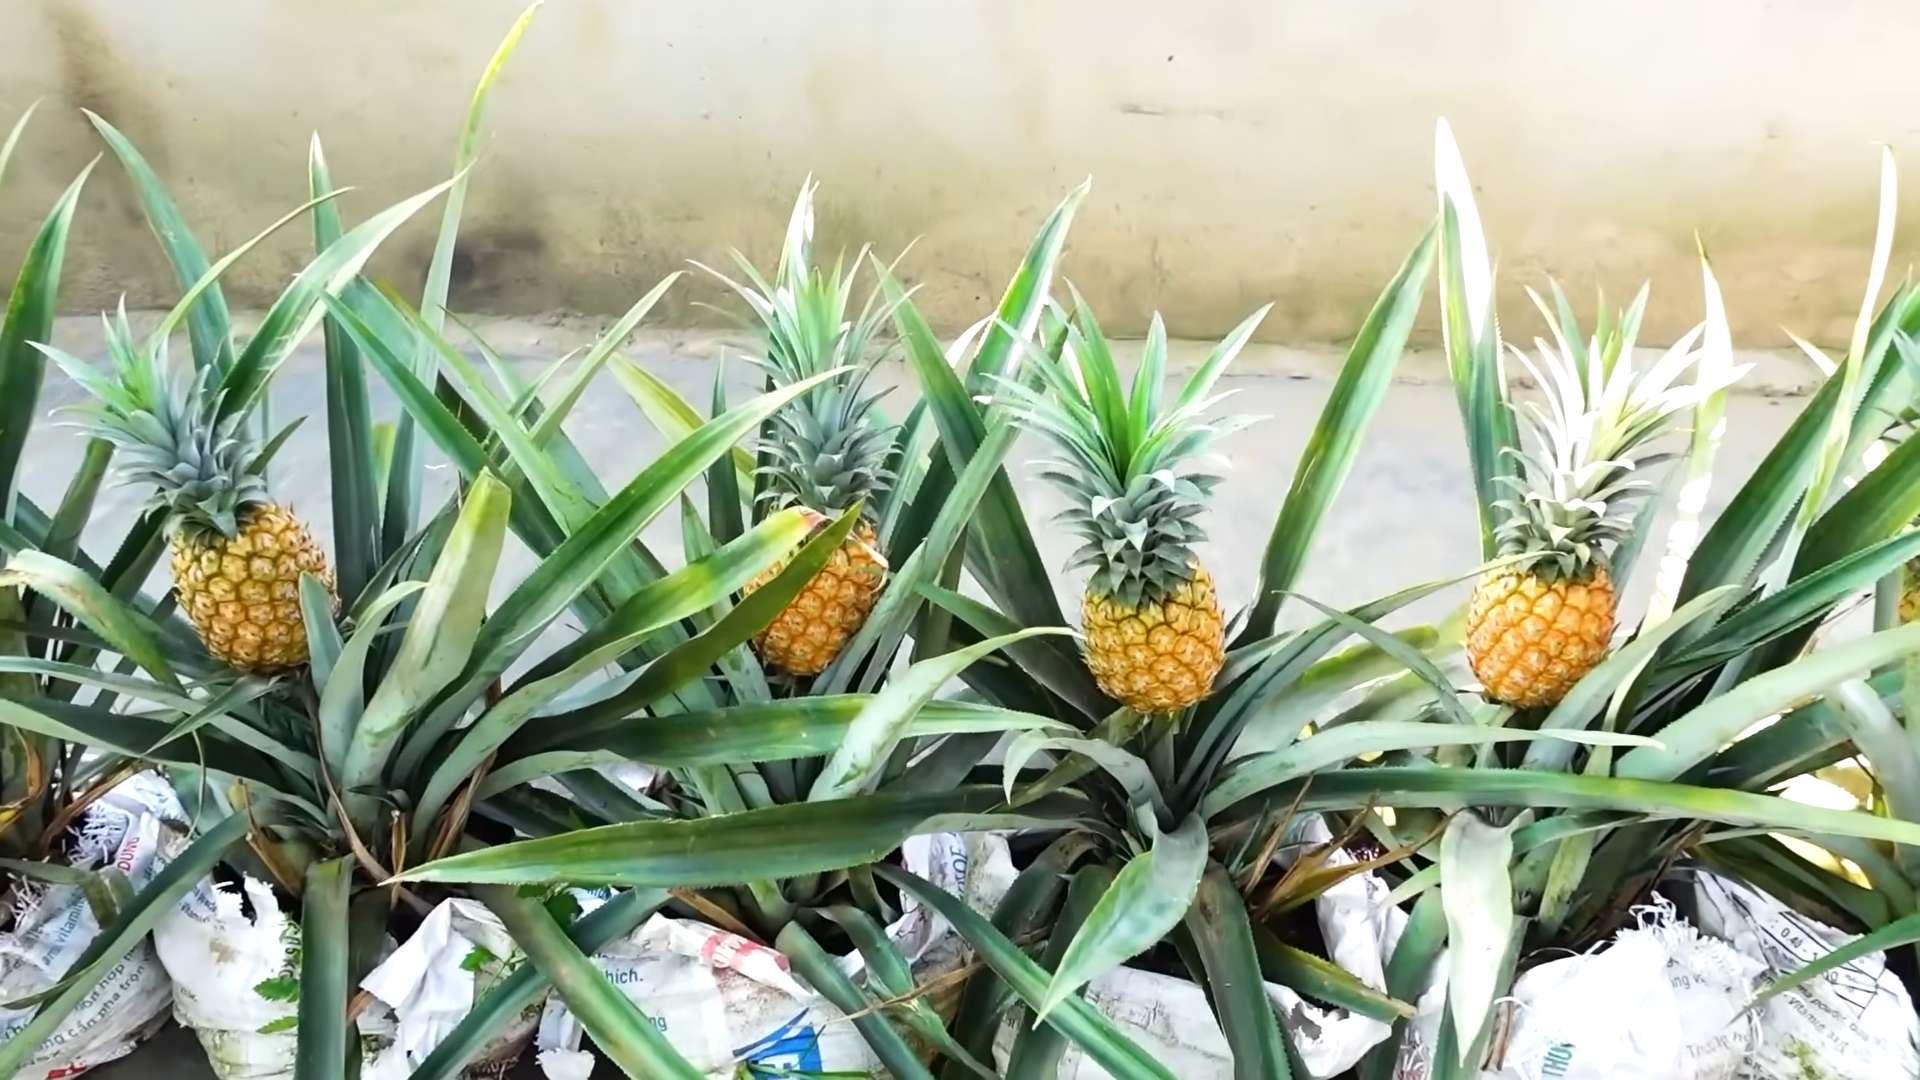
1. Ripeness: A ripe pineapple will have a fragrant aroma and will be slightly soft to the touch. The color of the fruit will also change from green to yellow or golden.
2. Harvesting: Use a sharp knife to cut the pineapple from the plant.
3. Enjoy! Enjoy your delicious, homegrown pineapple!
Troubleshooting: Common Pineapple Growing Problems
Even with the best care, you might encounter some problems along the way. Here are a few common issues and how to address them:
* Yellowing Leaves: This could be a sign of overwatering, underwatering, or nutrient deficiency. Adjust your watering schedule and fertilize regularly.
* Brown Leaf Tips: This is often caused by dry air. Increase humidity by misting the plant or placing it on a pebble tray.
* Root Rot: This is caused by overwatering. Make sure your potting mix is well-draining and avoid overwatering.
* No Fruit: Be patient! It can take several years for a pineapple plant to fruit. Make sure your plant is getting enough sunlight and fertilizer. Try stimulating fruiting with ethylene gas.
Final Thoughts: A Tropical Adventure in Your Home
Growing your own pineapple
Conclusion
So, there you have it! Growing your own pineapple from the crown of a store-bought fruit isn’t just a fun project; it’s a rewarding journey that connects you to the food you eat in a profound way. Forget the mystery of where your produce comes from – with a little patience and care, you can cultivate your very own tropical delight right at home.
Why is this DIY trick a must-try? Because it’s sustainable, educational, and ultimately, delicious! You’re reducing food waste by repurposing something you’d normally throw away. You’re learning about plant propagation and the fascinating life cycle of a pineapple. And, most importantly, you’re setting yourself up for the unparalleled satisfaction of harvesting a pineapple you nurtured from its humble beginnings. Imagine the bragging rights!
But the fun doesn’t stop there. Consider these variations to spice things up:
* Hydroponic Pineapple: For those with limited space or a penchant for modern gardening, try growing your pineapple hydroponically. This method involves suspending the roots in nutrient-rich water, eliminating the need for soil.
* Container Gardening Experiment: Experiment with different types of potting mixes to see which yields the best results. A well-draining mix is crucial, but you can play around with adding perlite, vermiculite, or even coconut coir to find the perfect blend.
* Fruiting Stimulation: Once your pineapple plant is mature (around 2-3 years old), you can encourage fruiting by placing an apple core near the base of the plant or by using ethylene gas. This is a fun experiment to try and can speed up the fruiting process.
Ultimately, the success of your DIY pineapple growing adventure hinges on your dedication and willingness to learn. Don’t be afraid to experiment, adapt, and troubleshoot along the way. Remember, even if your first attempt isn’t perfect, you’ll gain valuable knowledge that will help you succeed next time.
We wholeheartedly encourage you to embark on this exciting journey of growing your own pineapple. It’s a project that’s perfect for individuals, families, and classrooms alike. And once you’ve tasted the sweet, tangy flavor of a homegrown pineapple, you’ll never look at store-bought pineapples the same way again.
So, grab a pineapple, follow our simple steps, and get ready to experience the joy of watching your very own tropical fruit come to life. And most importantly, we want to hear about your experience! Share your photos, tips, and stories with us in the comments below. Let’s create a community of pineapple enthusiasts and inspire others to embrace the magic of DIY gardening. Happy growing! Let us know if you have any questions about growing your own pineapple.
Frequently Asked Questions (FAQ)
How long does it take to grow a pineapple from a crown?
Growing a pineapple from a crown is a patience-testing endeavor! Generally, it takes anywhere from 2 to 3 years for a pineapple plant grown from a crown to produce fruit. The exact timeframe depends on various factors, including climate, sunlight exposure, soil quality, and watering habits. Warmer climates with plenty of sunshine will generally see faster growth. Remember, consistency is key!
What is the best type of pineapple to use for growing?
Any commercially available pineapple can be used to grow a new plant, but some varieties may be more readily available in your area. Look for pineapples with healthy, green crowns. Avoid pineapples with brown, wilted, or damaged leaves, as these may not root successfully. The variety of pineapple doesn’t significantly impact the growing process, so choose one that you enjoy eating!
How much sunlight does a pineapple plant need?
Pineapple plants thrive in bright, sunny locations. They need at least 6 hours of direct sunlight per day to grow and produce fruit. If you live in a region with limited sunlight, consider using a grow light to supplement natural light. Insufficient sunlight can lead to slow growth and reduced fruit production.
What kind of soil is best for growing pineapples?
Pineapples require well-draining soil to prevent root rot. A sandy loam soil is ideal, but you can also use a potting mix specifically formulated for cacti and succulents. This type of mix typically contains ingredients like perlite and vermiculite, which improve drainage. Avoid heavy clay soils, as they retain too much moisture.
How often should I water my pineapple plant?
Water your pineapple plant regularly, especially during the growing season (spring and summer). Allow the soil to dry out slightly between waterings. Overwatering can lead to root rot, so it’s crucial to ensure proper drainage. In the winter, reduce watering frequency as the plant’s growth slows down.
How do I know when my pineapple is ripe?
Determining when a pineapple is ripe can be tricky, but there are a few telltale signs. The pineapple should have a vibrant golden-yellow color, and the eyes (the individual segments of the fruit) should be relatively flat. The pineapple should also have a sweet, fragrant aroma. You can also gently tug on one of the leaves near the top of the fruit; if it comes off easily, the pineapple is likely ripe.
Can I grow a pineapple indoors?
Yes, you can grow a pineapple indoors, especially if you live in a climate with cold winters. However, you’ll need to provide the plant with adequate sunlight or a grow light. Choose a pot that is large enough to accommodate the plant’s root system, and ensure that the pot has drainage holes. Indoor-grown pineapples may take longer to fruit than those grown outdoors.
What are some common problems when growing pineapples?
Some common problems when growing pineapples include root rot (caused by overwatering), mealybugs, and scale insects. Root rot can be prevented by using well-draining soil and avoiding overwatering. Mealybugs and scale insects can be controlled with insecticidal soap or neem oil. Regularly inspect your plant for signs of pests or diseases.
Do I need to fertilize my pineapple plant?
Yes, fertilizing your pineapple plant is essential for healthy growth and fruit production. Use a balanced fertilizer (e.g., 10-10-10) diluted to half strength. Fertilize every 2-3 months during the growing season. Avoid over-fertilizing, as this can damage the plant.
How do I encourage my pineapple plant to fruit?
Even with optimal care, sometimes pineapple plants need a little encouragement to fruit. A common trick is to expose the plant to ethylene gas. You can do this by placing an apple core near the base of the plant and covering it with a plastic bag for a few days. The apple releases ethylene gas, which can stimulate flowering. You can also purchase ethylene-releasing products specifically designed for this purpose.
Leave a Comment