

Growing Anemones Tips can unlock a world of vibrant color and delicate beauty right in your own backyard! Have you ever dreamt of transforming your garden into a painter’s palette, bursting with jewel-toned blooms that dance in the breeze? Well, anemones, with their captivating cup-shaped flowers, are your answer. These beauties have been admired for centuries, even finding their way into Greek mythology, where they’re said to have sprung from the tears of Aphrodite.
But let’s be honest, sometimes gardening feels more like a chore than a joy, right? That’s where these DIY tricks and hacks come in! I’m here to share my secrets to successfully growing anemones, even if you don’t have a green thumb (yet!). From prepping the soil to protecting them from pests, I’ll guide you through every step.
Why do you need these growing anemones tips? Because everyone deserves a garden that brings them joy, and anemones are surprisingly easy to grow once you know the tricks. Plus, imagine the satisfaction of cutting your own fresh flowers for a beautiful bouquet! So, let’s ditch the gardening guesswork and dive into the world of anemones together. Get ready to create a stunning display that will have your neighbors green with envy!
Growing Anemones: A DIY Guide to Vibrant Blooms
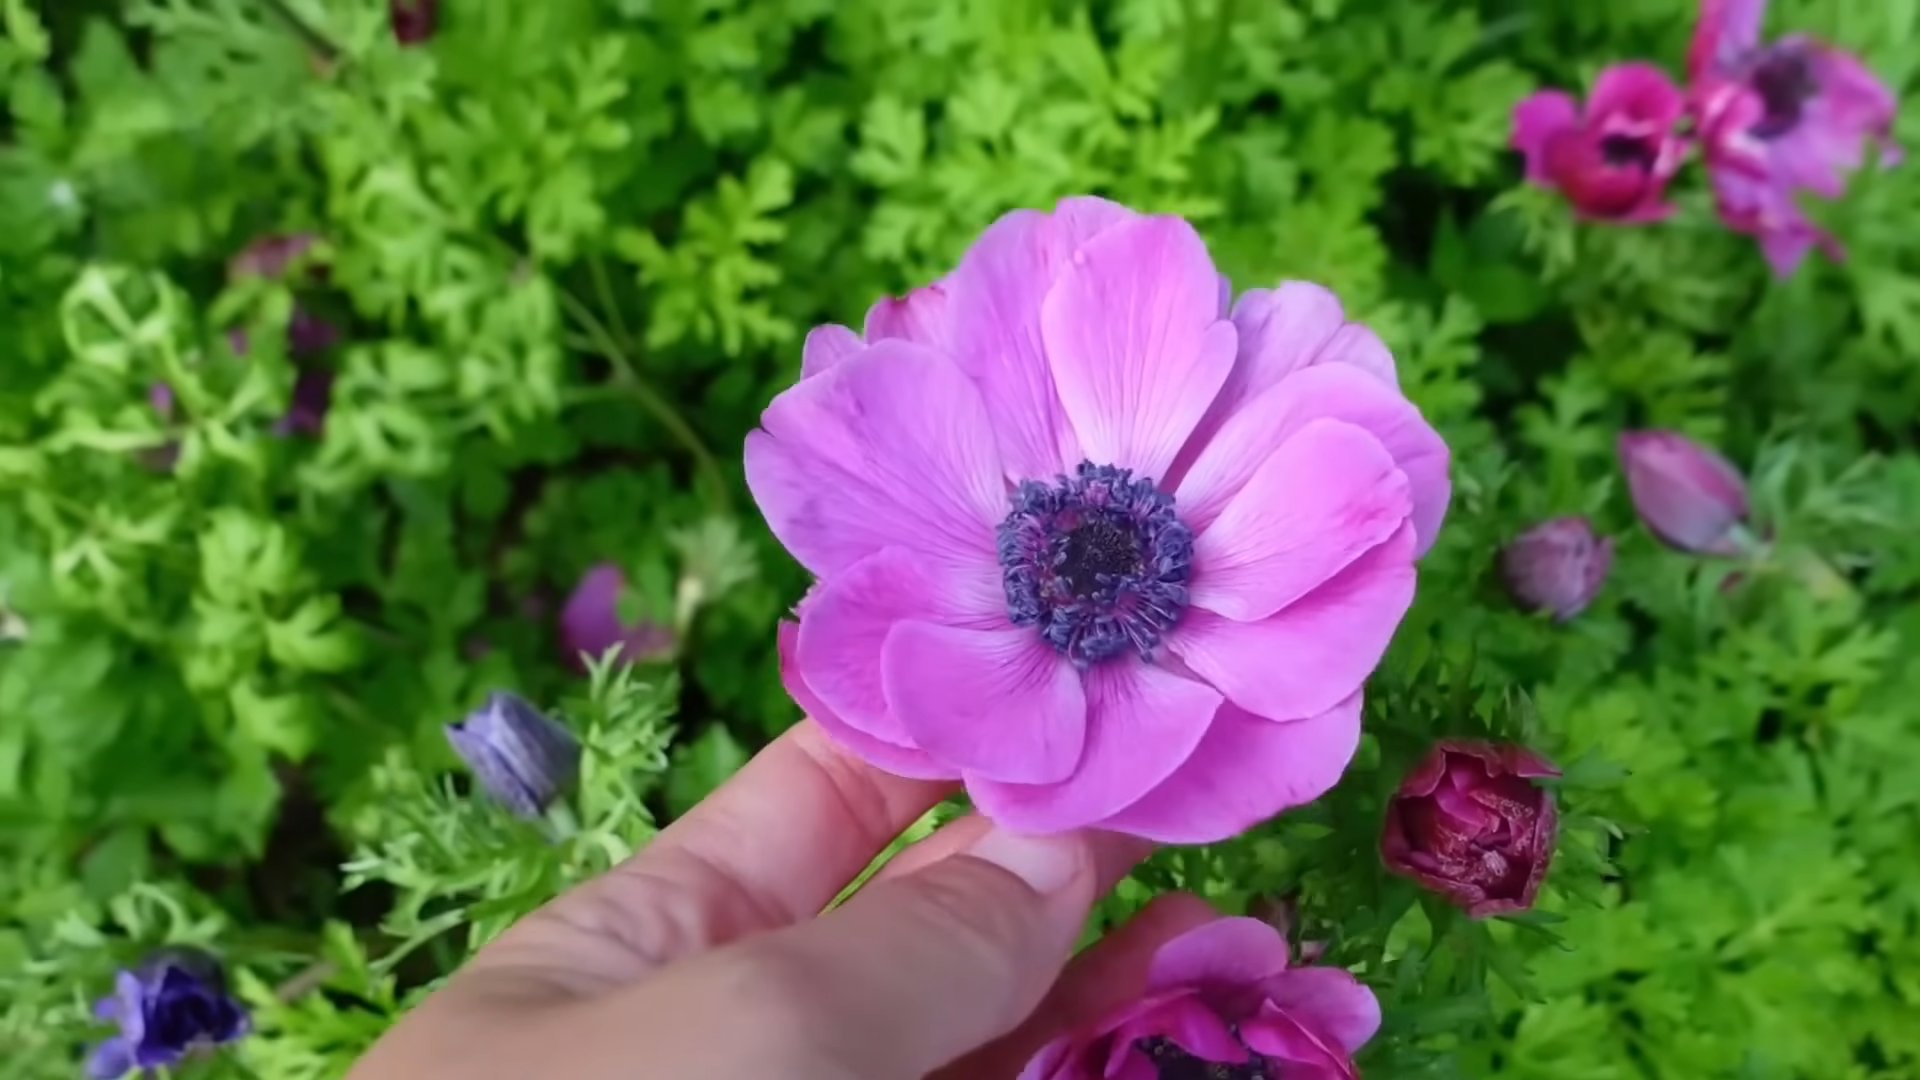
Anemones, with their poppy-like blooms and vibrant colors, are a fantastic addition to any garden. They bring a burst of life, especially in the spring and fall. While they might seem a bit finicky, with the right knowledge and a little patience, you can successfully grow these beauties yourself. I’m going to walk you through everything I’ve learned about growing anemones, from choosing the right bulbs to ensuring they thrive year after year.
Choosing and Preparing Your Anemone Bulbs (Corms)
Anemones actually grow from corms, which look like small, shriveled pebbles. Don’t let their appearance fool you; these little guys hold the key to stunning flowers!
* Selecting Healthy Corms: Look for corms that are firm and plump. Avoid any that are soft, mushy, or show signs of mold. Larger corms generally produce more flowers.
* Soaking the Corms: This is a crucial step! Anemone corms are notoriously dry and need to be rehydrated before planting.
1. Fill a bowl with lukewarm water.
2. Place the corms in the water and let them soak for 2-4 hours. You’ll notice they start to plump up as they absorb the water. Some people even soak them overnight, but I’ve found 2-4 hours is usually sufficient.
3. Change the water every hour or so to keep it fresh.
4. After soaking, you’ll see they’ve almost doubled in size! This rehydration is essential for successful germination.
Planting Your Anemone Corms
Now that your corms are nice and plump, it’s time to get them in the ground (or a pot!).
* Choosing the Right Location: Anemones prefer a sunny spot with well-draining soil. They need at least 6 hours of sunlight per day. If you live in a warmer climate, a location with partial shade during the hottest part of the day is ideal.
* Preparing the Soil: Anemones thrive in well-draining soil. Amend your soil with compost or other organic matter to improve drainage and fertility. If you’re planting in pots, use a high-quality potting mix.
* Planting Depth and Spacing:
1. Dig a hole about 2-3 inches deep.
2. Place the corm in the hole with the pointy side facing down. It can be tricky to tell which side is which, so if you’re unsure, plant it on its side. The plant will figure it out!
3. Space the corms about 3-4 inches apart.
4. Cover the corms with soil and gently water them.
Caring for Your Anemones
Once planted, anemones need consistent care to flourish.
* Watering: Keep the soil consistently moist, but not waterlogged. Water deeply when the top inch of soil feels dry. Avoid overhead watering, as this can promote fungal diseases.
* Fertilizing: Feed your anemones with a balanced fertilizer every 2-3 weeks during the growing season. I like to use a liquid fertilizer diluted to half strength.
* Mulching: Apply a layer of mulch around your anemones to help retain moisture, suppress weeds, and regulate soil temperature.
* Deadheading: Remove spent flowers to encourage more blooms. Simply cut the stem back to the base of the plant.
* Pest and Disease Control: Keep an eye out for common pests like aphids and slugs. Treat infestations promptly with insecticidal soap or other appropriate methods. Anemones can also be susceptible to fungal diseases, so ensure good air circulation and avoid overwatering.
Overwintering Anemones
How you overwinter your anemones depends on your climate.
* In Mild Climates (Zones 7-10): Anemones can often be left in the ground over winter. Cut back the foliage after it dies back and apply a layer of mulch to protect the corms from frost.
* In Colder Climates (Zones 3-6): Anemones are not reliably hardy in colder climates and need to be lifted and stored over winter.
1. After the foliage dies back, carefully dig up the corms.
2. Gently brush off any excess soil.
3. Allow the corms to dry for a few days in a cool, dry place.
4. Store the corms in a paper bag or cardboard box filled with peat moss or vermiculite.
5. Keep the corms in a cool, dark, and dry place over winter.
6. Replant the corms in the spring after the last frost.
Troubleshooting Common Anemone Problems
Even with the best care, you might encounter some challenges when growing anemones. Here are a few common problems and how to address them:
* Corms Not Sprouting: This is often due to insufficient soaking or planting in poorly draining soil. Make sure you soak the corms thoroughly before planting and amend your soil to improve drainage.
* Yellowing Leaves: This can be caused by overwatering, underwatering, or nutrient deficiencies. Check the soil moisture and adjust your watering accordingly. Fertilize your anemones with a balanced fertilizer to address any nutrient deficiencies.
* Lack of Blooms: This can be caused by insufficient sunlight, poor soil, or improper watering. Make sure your anemones are getting at least 6 hours of sunlight per day, amend your soil with compost, and water consistently.
* Fungal Diseases: Anemones are susceptible to fungal diseases like powdery mildew and botrytis. Ensure good air circulation, avoid overhead watering, and treat affected plants with a fungicide.
Propagating Anemones
While anemones are typically grown from corms, you can also propagate them from seed, although it’s a more challenging process.
* Collecting Seeds: Allow the seed heads to dry on the plant. Once they are dry and brown, carefully collect the seeds.
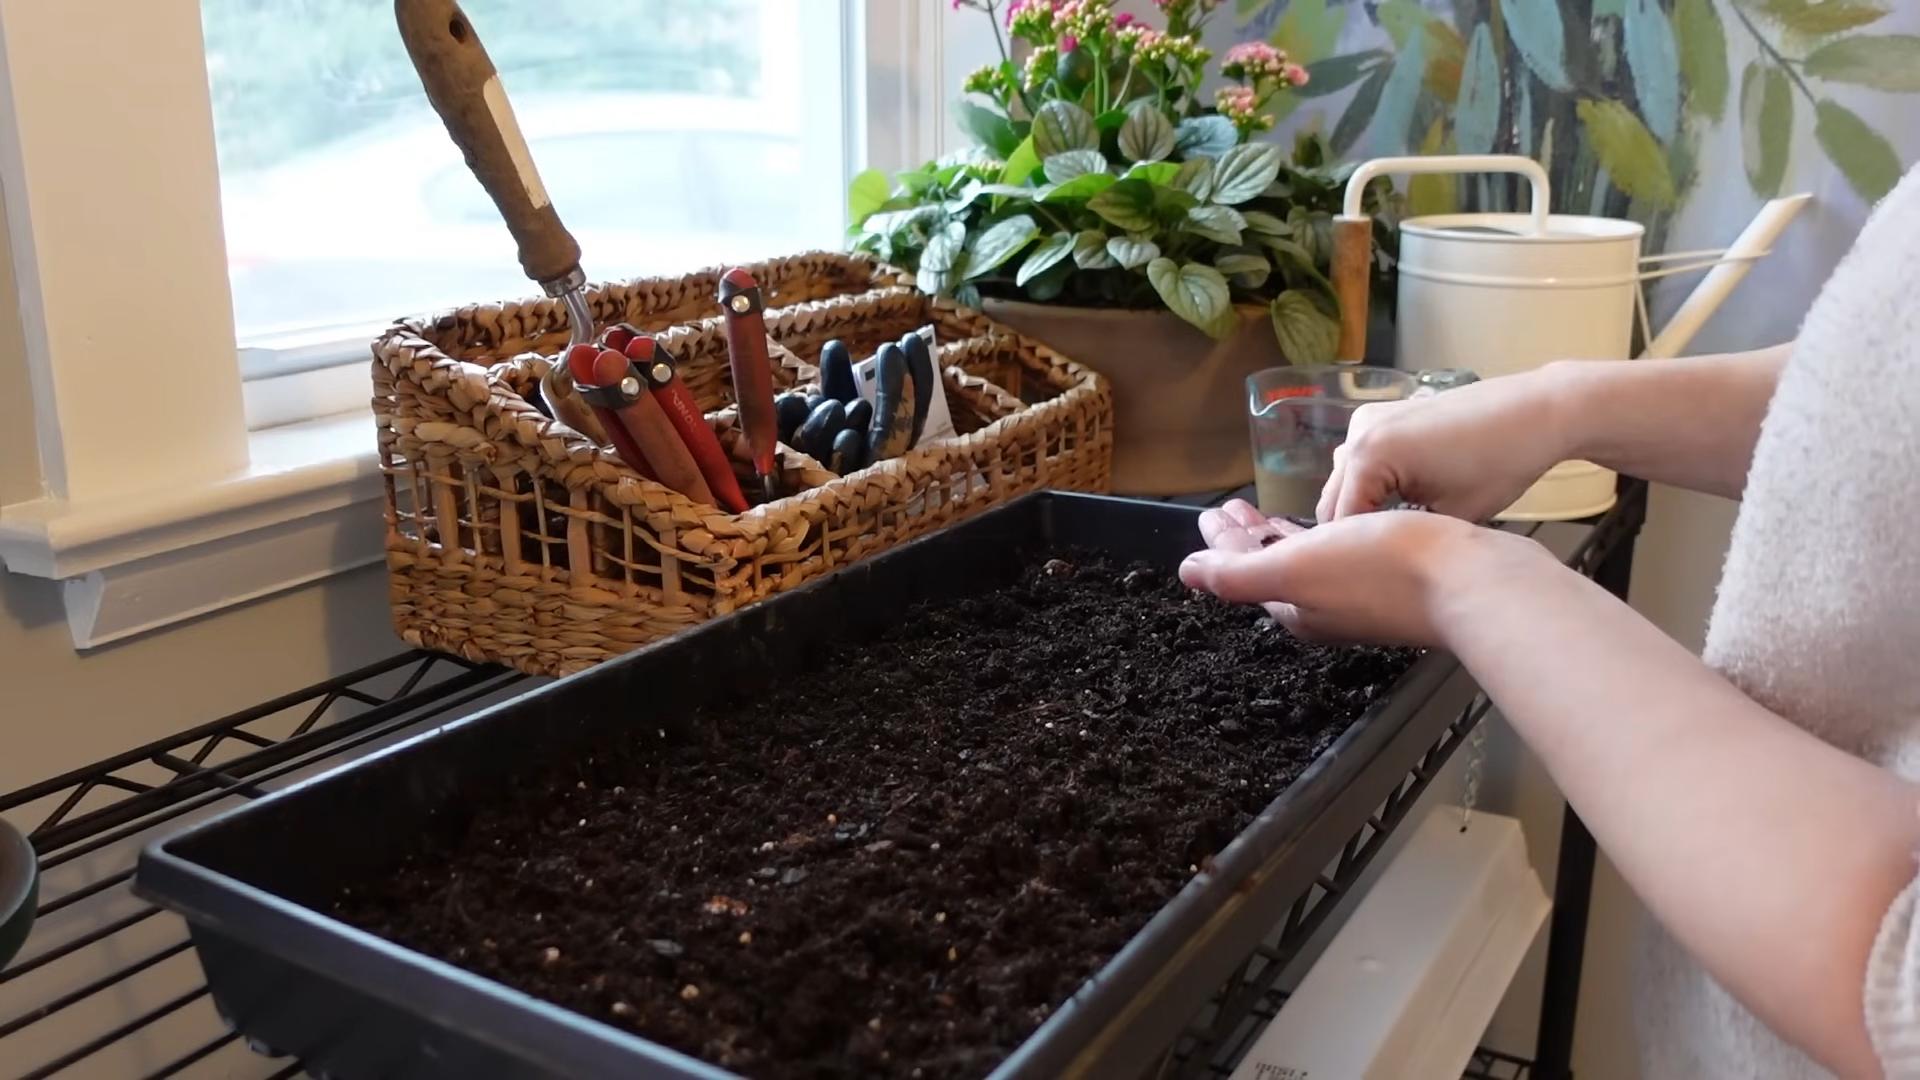
* Sowing Seeds: Anemone seeds need a period of cold stratification to germinate. Sow the seeds in a seed tray filled with seed-starting mix in the fall.
* Cold Stratification: Place the seed tray in a refrigerator for 4-6 weeks.
* Germination: After cold stratification, move the seed tray to a warm, bright location. Keep the soil consistently moist. Germination can take several weeks.
* Transplanting: Once the seedlings are large enough to handle, transplant them into individual pots.
* Growing On: Grow the seedlings in a sunny location and water regularly. It may take a year or two for the plants to mature and bloom.
Choosing Anemone Varieties
There are many different varieties of anemones to choose from, each with its own unique characteristics. Here are a few popular options:
* Anemone coronaria (Poppy Anemone): This is the most common type of anemone, known for its vibrant, poppy-like blooms. Popular varieties include ‘De Caen’ and ‘St. Brigid’.
* Anemone blanda (Grecian Windflower): This variety is smaller and more delicate than Anemone coronaria, with daisy-like flowers.
* Anemone hupehensis (Japanese Anemone): This variety blooms in the fall and is known for its tall, elegant stems and delicate pink or white flowers.
* Anemone nemorosa (Wood Anemone): This variety is native to Europe and is known for its delicate white flowers that bloom in the spring.
Creating Stunning Displays with Anemones
Anemones are incredibly versatile and can be used in a variety of garden settings.
* Border Plantings: Plant anemones along the edges of your garden beds to add a pop of color.
* Container Gardening: Anemones thrive in containers, making them perfect for patios and balconies.
* Cut Flowers: Anemones make excellent cut flowers, lasting for several days in a vase.
* Companion Planting: Plant anemones with other spring-blooming bulbs like tulips and daffodils for a stunning display.
Tips for Success
Here are a few extra tips to help you succeed with growing anemones:
* Start with Quality Corms: Invest in high-quality corms from a reputable source.
* Soak Thoroughly: Don’t skip the soaking step! It’s essential for successful germination.
* Provide Good Drainage: Anemones hate wet feet, so ensure your soil is well-draining.
* Water Consistently: Keep the soil consistently moist, but not waterlogged.
* Fertilize Regularly: Feed your anemones with a balanced fertilizer during the growing season.
* Protect from Pests and Diseases: Keep an eye out for common pests and diseases and treat them promptly.
Conclusion
So, there you have it! Growing anemones doesn’t have to be a daunting task. With a little patience and the right approach, you can transform your garden into a vibrant display of these captivating blooms. This DIY trick, focusing on mimicking their natural environment and providing optimal drainage, is a game-changer for anemone cultivation. It’s not just about planting bulbs; it’s about creating a thriving ecosystem where these delicate flowers can flourish.
Why is this DIY trick a must-try? Because it addresses the most common pitfalls that lead to anemone failure: soggy soil and improper dormancy. By pre-soaking the corms, providing excellent drainage, and understanding their dormancy needs, you’re setting your anemones up for success from the very beginning. This method dramatically increases your chances of seeing those cheerful, poppy-like flowers gracing your garden.
Looking to add your own personal touch? Consider these variations:
* Color Combinations: Experiment with different anemone varieties to create stunning color combinations. Mix vibrant reds and purples with delicate whites and pinks for a truly eye-catching display.
* Container Gardening: This DIY trick works wonders in containers too! Just ensure your pots have adequate drainage holes and use a well-draining potting mix. This is perfect for those with limited garden space or who want to enjoy anemones on their patios or balconies.
* Successive Planting: Extend your anemone bloom season by planting corms in stages, a few weeks apart. This will ensure a continuous supply of flowers throughout the spring and early summer.
* Companion Planting: Plant anemones alongside other spring-blooming bulbs like tulips and daffodils for a harmonious and colorful garden display. They also pair well with low-growing groundcovers that help retain moisture in the soil.
Don’t be afraid to experiment and find what works best for your specific climate and garden conditions. Remember, gardening is a journey of learning and discovery.
We wholeheartedly encourage you to try this DIY trick for growing anemones. It’s a simple yet effective way to unlock the beauty of these enchanting flowers. We’re confident that you’ll be amazed by the results.
But the real magic happens when you share your experiences! We’d love to hear about your anemone-growing journey. Did this DIY trick work for you? What variations did you try? What challenges did you face, and how did you overcome them? Share your tips, photos, and stories in the comments below. Let’s create a community of anemone enthusiasts and help each other cultivate thriving gardens filled with these delightful blooms. Your insights could be invaluable to other gardeners embarking on their own anemone adventures. So, get planting, get experimenting, and get sharing! Let’s spread the joy of growing anemones together!
Frequently Asked Questions (FAQ)
What exactly are anemone corms, and why do they need soaking?
Anemone corms are underground storage organs, similar to bulbs, but they are dry and shriveled when you first receive them. Soaking them in water for several hours (typically 4-6 hours) rehydrates them, which is crucial for initiating the sprouting process. Think of it as waking them up from their dormant state. Without proper soaking, the corms may struggle to absorb moisture from the soil, leading to poor germination or even rotting. This pre-soaking step is a cornerstone of successful anemone cultivation.
How do I know if my anemone corms are still viable?
Even with soaking, some corms may not sprout. A good way to test viability is to gently squeeze the soaked corm. It should feel firm and plump. If it feels mushy or hollow, it’s likely rotten and should be discarded. Also, look for any signs of mold or decay. Healthy corms will have a relatively clean appearance. Remember, it’s always better to start with healthy corms to maximize your chances of success.
What type of soil is best for growing anemones?
Anemones thrive in well-draining soil that is rich in organic matter. Heavy clay soil can lead to waterlogging and root rot, which is detrimental to anemones. Amend your soil with compost, peat moss, or other organic materials to improve drainage and fertility. A slightly acidic to neutral soil pH (around 6.0 to 7.0) is ideal. If you’re unsure about your soil pH, you can easily test it with a soil testing kit available at most garden centers.
How much sunlight do anemones need?
Anemones prefer a location that receives full sun to partial shade. In hotter climates, providing some afternoon shade can help prevent the flowers from fading too quickly. Aim for at least 6 hours of direct sunlight per day for optimal blooming. However, in areas with intense summer heat, a bit of shade during the hottest part of the day can be beneficial.
When is the best time to plant anemone corms?
The best time to plant anemone corms depends on your climate. In regions with mild winters, you can plant them in the fall for spring blooms. In colder climates, it’s best to plant them in the spring after the danger of frost has passed. This allows the corms to establish themselves before the onset of winter. Check your local gardening resources for specific planting recommendations for your area.
How deep should I plant the anemone corms?
Plant the anemone corms about 1-2 inches deep, with the pointed end facing down. If you’re unsure which end is the pointed end, plant them on their side – they will eventually figure out which way to grow. Space the corms about 3-4 inches apart to allow for adequate growth and air circulation.
How often should I water anemones?
Water anemones regularly, especially during dry periods. Keep the soil consistently moist, but avoid overwatering, which can lead to root rot. Once the plants have finished blooming and the foliage starts to die back, gradually reduce watering. During their dormancy period, anemones prefer dry conditions.
Do anemones need fertilizer?
Anemones benefit from regular fertilization, especially during their active growth period. Use a balanced fertilizer (e.g., 10-10-10) or a fertilizer specifically formulated for flowering plants. Apply the fertilizer according to the package instructions. Avoid over-fertilizing, as this can lead to excessive foliage growth at the expense of flowers.
How do I care for anemones after they bloom?
After the anemones have finished blooming, allow the foliage to die back naturally. This allows the plant to store energy for the next growing season. Once the foliage has completely withered, you can cut it back to the ground. In colder climates, you may need to lift the corms and store them in a cool, dry place over the winter.
Are anemones deer resistant?
Anemones are generally considered to be deer resistant, but deer may still nibble on them if other food sources are scarce. If deer are a problem in your area, you may need to protect your anemones with fencing or deer repellent.
Can I grow anemones in containers?
Yes, anemones can be successfully grown in containers. Choose a pot that is at least 6 inches deep and has good drainage holes. Use a well-draining potting mix and water regularly. Container-grown anemones may need more frequent watering and fertilization than those grown in the ground.
What are some common problems that affect anemones?
Some common problems that affect anemones include root rot, fungal diseases, and pests such as aphids and slugs. Proper drainage, good air circulation, and regular monitoring can help prevent these problems. If you notice any signs of disease or pests, treat them promptly with appropriate fungicides or insecticides.
How do I encourage anemones to rebloom?
To encourage anemones to rebloom, provide them with proper care, including regular watering, fertilization, and deadheading (removing spent flowers). In some cases, anemones may not rebloom in the same year, but they should return the following spring.
What are the different types of anemones?
There are many different types of anemones, including *Anemone coronaria* (Poppy Anemone), *Anemone blanda* (Grecian Windflower), and *Anemone hupehensis* (Japanese Anemone). Each type has its own unique characteristics and growing requirements. Research the specific type of anemone you are growing to ensure you are providing it with the best possible care.


Leave a Comment