

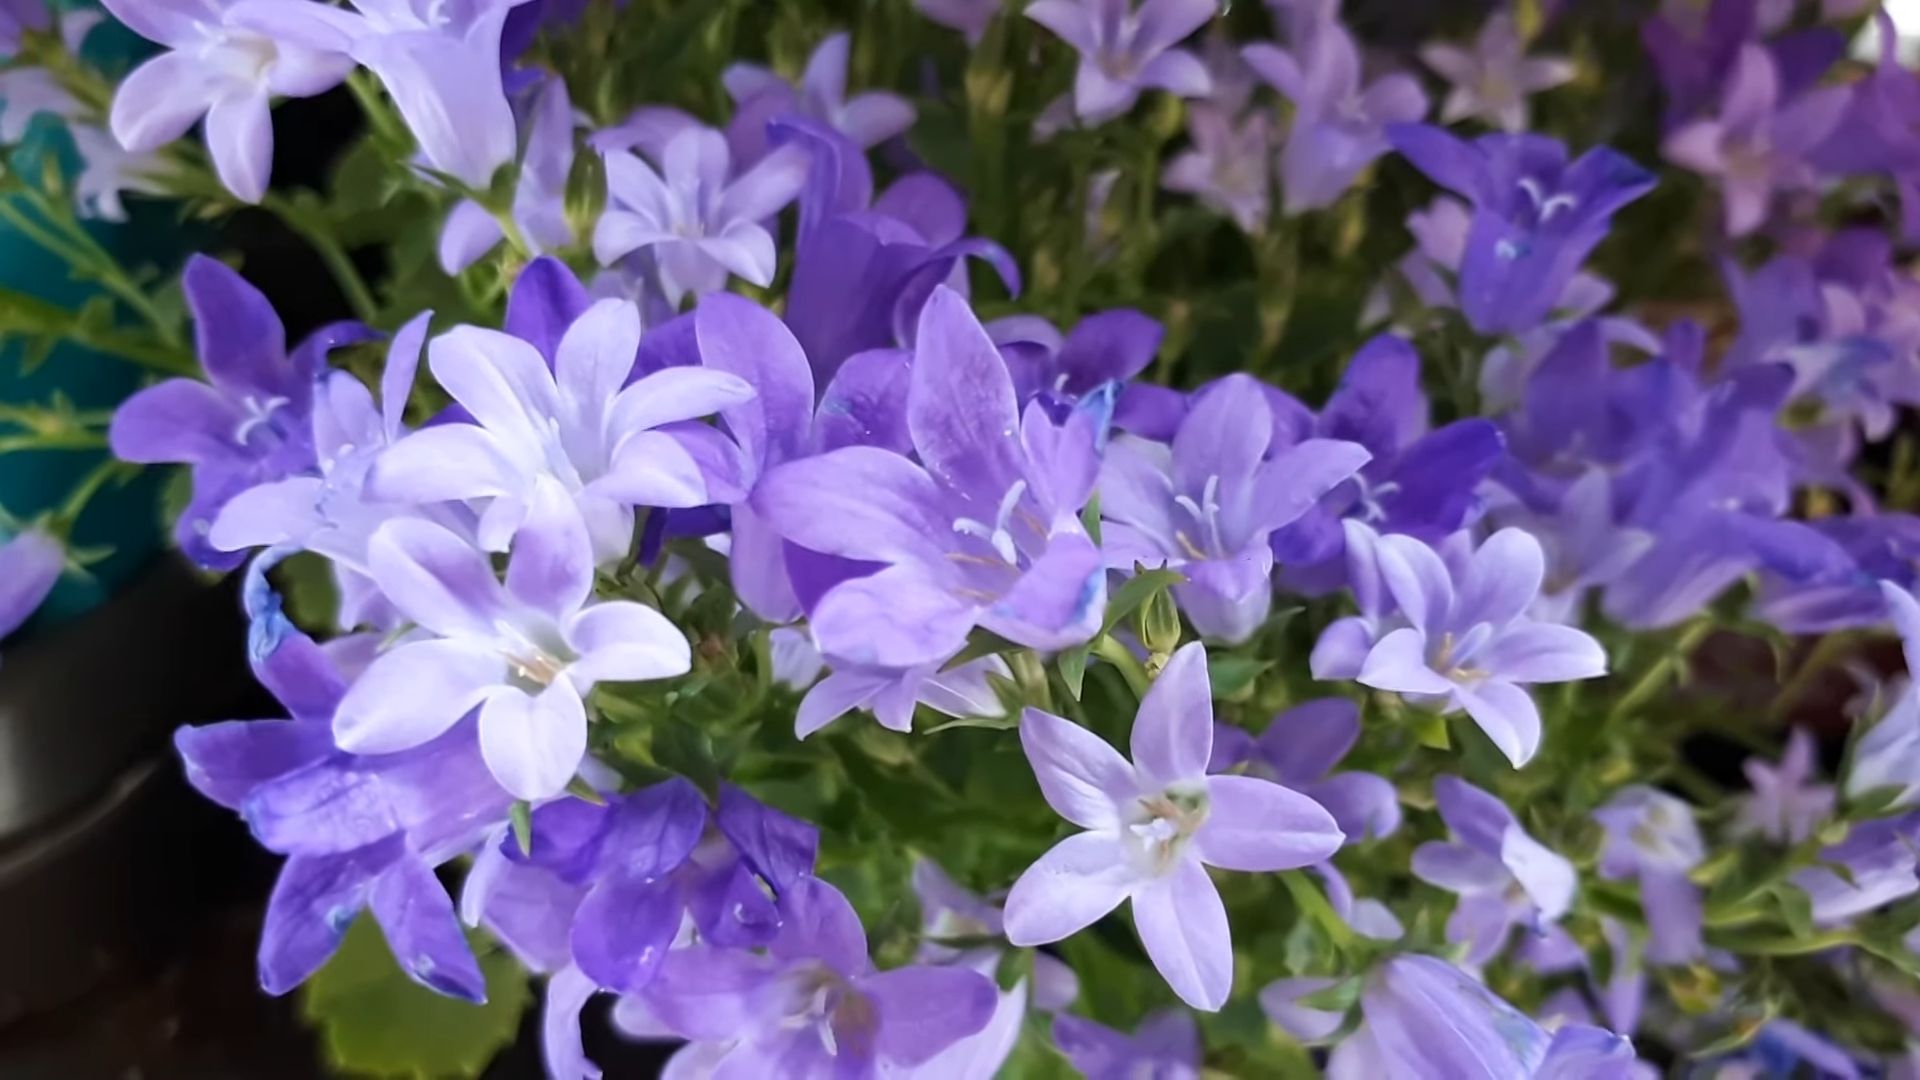
Growing Bellflowers Perennials can transform your garden into a vibrant, cottage-style paradise! I’ve always been captivated by their charming, bell-shaped blooms, and I bet you are too. These beauties have a rich history, gracing gardens for centuries and symbolizing gratitude and everlasting love in some cultures. But let’s be honest, sometimes getting these perennials to thrive can feel a little tricky, right?
That’s where this DIY guide comes in! Forget complicated gardening manuals – I’m sharing my tried-and-true secrets for successfully growing Bellflowers Perennials, even if you don’t have a green thumb. We’ll cover everything from choosing the perfect spot to simple hacks for keeping them blooming all season long.
Why do you need these DIY tricks? Because everyone deserves a garden bursting with color and life, and Bellflowers are a fantastic way to achieve that. Plus, knowing you nurtured these beauties from tiny seedlings to flourishing plants is incredibly rewarding. Let’s dive in and unlock the secrets to a Bellflower-filled garden you’ll adore!
DIY: Propagating Bellflowers (Campanula) for a Bountiful Bloom!
Hey there, fellow garden enthusiasts! I’m so excited to share my tried-and-true method for propagating bellflowers. These beauties, with their charming bell-shaped blooms, are a fantastic addition to any garden, and multiplying them yourself is surprisingly easy and incredibly rewarding. I’m going to walk you through everything you need to know to successfully propagate your bellflowers, saving you money and expanding your garden’s beauty.
Understanding Bellflower Propagation Methods
Before we dive into the nitty-gritty, let’s quickly touch on the main ways you can propagate bellflowers. While you can grow them from seed, I find that division and stem cuttings are much faster and more reliable, especially for specific cultivars you want to replicate.
* **Division:** This is best for established plants and involves separating the root ball into multiple smaller plants.
* **Stem Cuttings:** Taking cuttings from healthy stems and rooting them is another excellent method, particularly for varieties that don’t divide easily.
* **Seed Propagation:** While possible, it can be slower and the resulting plants might not be true to the parent plant, especially with hybrids.
I’m going to focus on division and stem cuttings in this guide, as these are the methods I’ve had the most success with.
Propagating Bellflowers by Division
This method is perfect for mature bellflower plants that have formed a nice, dense clump. Spring or early fall are the ideal times for division, when the plant isn’t actively flowering.
Materials You’ll Need:
* A mature bellflower plant
* A sharp spade or garden fork
* A clean knife or pruning shears
* Gardening gloves (to protect your hands)
* Pots or prepared garden beds
* Potting mix or garden soil amended with compost
* Watering can
Step-by-Step Instructions:
1. **Prepare the New Planting Locations:** Before you dig up your bellflower, get your pots or garden beds ready. Fill them with a well-draining potting mix or amend your garden soil with compost to improve drainage and fertility. This will give your newly divided plants the best possible start. I like to add a little slow-release fertilizer to the soil at this stage too.
2. **Carefully Dig Up the Bellflower:** Using your spade or garden fork, carefully dig around the bellflower plant, making sure to get as much of the root ball as possible. Gently lift the plant out of the ground. Try to avoid damaging the roots as much as possible.
3. **Divide the Root Ball:** Now comes the fun part! Examine the root ball and identify natural divisions. You’ll want to separate the plant into sections, each with a good amount of roots and foliage. You can use your hands to gently pull apart the root ball, or if it’s tightly bound, use a clean knife or pruning shears to cut through it. Make sure each division has a healthy portion of roots and at least a few stems with leaves.
4. **Plant the Divisions:** Plant each division in its prepared pot or garden bed. Make sure the top of the root ball is level with the surrounding soil. Gently firm the soil around the plant to eliminate air pockets.
5. **Water Thoroughly:** Water the newly planted divisions thoroughly to help settle the soil and encourage root growth.
6. **Provide Proper Care:** Keep the soil consistently moist but not waterlogged. Place the potted divisions in a location with partial shade for the first few weeks to help them recover from the transplant. If planting directly in the garden, provide some temporary shade if the weather is particularly hot or sunny. After a few weeks, you can gradually move them to their permanent location with the appropriate amount of sunlight for your bellflower variety.
Propagating Bellflowers from Stem Cuttings
This method is ideal for bellflower varieties that don’t divide easily or if you simply want to create more plants from a single specimen. The best time to take stem cuttings is in late spring or early summer, when the plant is actively growing.
Materials You’ll Need:
* A healthy bellflower plant
* Sharp, clean pruning shears or a knife
* Rooting hormone (optional, but recommended)
* Small pots or trays
* Seed starting mix or a mixture of perlite and vermiculite
* Clear plastic bags or a humidity dome
* Spray bottle
Step-by-Step Instructions:
1. **Prepare Your Pots and Medium:** Fill your small pots or trays with a well-draining seed starting mix or a mixture of perlite and vermiculite. Moisten the medium thoroughly.
2. **Take Stem Cuttings:** Select healthy, non-flowering stems from your bellflower plant. Using your sharp, clean pruning shears or knife, cut stems that are about 4-6 inches long. Make the cut just below a node (the point where leaves emerge from the stem).
3. **Prepare the Cuttings:** Remove the leaves from the bottom 1-2 inches of each cutting. This will prevent the leaves from rotting and encourage root formation. If you’re using rooting hormone, dip the cut end of each cutting into the hormone powder or liquid. This will help stimulate root growth.
4. **Plant the Cuttings:** Make a small hole in the moistened medium with a pencil or your finger. Insert the cut end of the cutting into the hole, making sure that the node where you removed the leaves is buried in the medium. Gently firm the medium around the cutting to secure it in place.
5. **Create a Humid Environment:** Bellflower cuttings need a humid environment to root successfully. Place the pots or trays inside clear plastic bags or under a humidity dome. This will help to trap moisture and prevent the cuttings from drying out.
6. **Provide Proper Care:** Place the cuttings in a location with bright, indirect light. Avoid direct sunlight, which can scorch the leaves. Keep the medium consistently moist but not waterlogged. Mist the cuttings regularly with a spray bottle to maintain high humidity.
7. **Check for Rooting:** After a few weeks, gently tug on the cuttings to check for root development. If you feel resistance, it means that roots have formed. You can also gently remove a cutting from the medium to inspect the roots.
8. **Transplant the Rooted Cuttings:** Once the cuttings have developed a good root system, you can transplant them into individual pots or into your garden. Harden off the plants gradually by exposing them to increasing amounts of sunlight and fresh air over a period of a week or two before transplanting them into their final location.
Caring for Your Newly Propagated Bellflowers
Whether you’ve propagated your bellflowers by division or stem cuttings, proper care is essential for their survival and growth.
* **Watering:** Keep the soil consistently moist, especially during the first few weeks after propagation. Avoid overwatering, which can lead to root rot.
* **Fertilizing:** Once the plants are established, you can start fertilizing them with a balanced fertilizer every few weeks.
* **Sunlight:** Bellflowers generally prefer full sun to partial shade. However, the specific sunlight requirements may vary depending on the variety.
* **Deadheading:** Regularly deadhead spent flowers to encourage more blooms.
* **Pest and Disease Control:** Keep an eye out for common pests and diseases, such as aphids, slugs, and powdery mildew. Treat any infestations or infections promptly.
Troubleshooting Common Propagation Problems
Even with the best intentions, sometimes things don’t go as planned. Here are a few common problems you might encounter when propagating bellflowers and how to address them:
* **Cuttings Rotting:** This is usually caused by overwatering or poor drainage. Make sure your medium is well-draining and avoid letting the cuttings sit in standing water.
* **Cuttings Not Rooting:** This could be due to a number of factors, such as using unhealthy cuttings, not providing enough humidity, or using a rooting hormone. Try taking cuttings from a different part of the plant, increasing the humidity, or using a rooting hormone.
* **Divisions Failing to Thrive:** This could be due to damaging the roots during division, planting in poor soil, or not providing enough water. Be gentle when dividing the root ball, amend your soil with compost, and water thoroughly after planting.
Enjoying Your New Bellflowers
Propagating bellflowers is a rewarding experience that allows you to expand your garden and enjoy these beautiful flowers for years to come. With a little patience and care, you can easily create new plants from your existing bellflowers, saving money and adding to the beauty of your outdoor space. I hope this guide has been helpful, and I wish you all the best in your bellflower propagation adventures! Happy gardening!
Conclusion
So, there you have it! Mastering the art of growing bellflowers perennials isn’t just about planting seeds and hoping for the best; it’s about understanding their needs and providing the right environment for them to flourish. This DIY trick, focusing on [Specific DIY trick mentioned in the main article, e.g., creating a well-draining soil mix or providing optimal staking], is a game-changer because it directly addresses one of the most common challenges gardeners face when cultivating these beautiful blooms: [Mention the specific challenge, e.g., preventing root rot or supporting heavy flower heads].
By implementing this simple yet effective technique, you’re not only increasing your chances of success but also ensuring that your bellflowers perennials will reward you with an abundance of vibrant, bell-shaped flowers year after year. Imagine your garden transformed into a haven of color, attracting pollinators and adding a touch of whimsical charm to your outdoor space. This is the power of understanding and catering to the specific needs of your plants.
But the beauty of gardening lies in its adaptability and the endless possibilities for experimentation. Feel free to explore variations of this DIY trick to suit your specific garden conditions and preferences. For instance, if you live in an area with particularly heavy clay soil, you might consider amending it with even more organic matter to improve drainage. Alternatively, if you’re growing taller varieties of bellflowers, you could opt for a more robust staking system to provide extra support.
Consider experimenting with different types of mulch around your bellflowers. While wood chips are a popular choice, you could also try using pine needles or shredded leaves, which can help to acidify the soil slightly, which some bellflower varieties appreciate. Another variation could involve incorporating slow-release fertilizer into your soil mix at planting time to provide a steady stream of nutrients throughout the growing season.
Don’t be afraid to get creative and tailor this DIY trick to your unique gardening style. The most important thing is to pay attention to your plants and observe how they respond to different treatments. Gardening is a journey of learning and discovery, and every experiment, whether successful or not, provides valuable insights that will help you become a more skilled and knowledgeable gardener.
We wholeheartedly encourage you to give this DIY trick a try and witness the remarkable difference it can make in the health and vitality of your bellflowers perennials. We’re confident that you’ll be amazed by the results. And once you’ve experienced the joy of successfully growing these stunning flowers, we’d love to hear about your experience! Share your photos, tips, and insights with us in the comments section below. Let’s create a community of bellflower enthusiasts who can learn from each other and inspire others to embark on their own gardening adventures. Happy gardening!
Frequently Asked Questions (FAQ)
What exactly *is* the DIY trick you’re referring to?
This conclusion refers back to the specific DIY trick detailed in the main body of the article. For example, if the article focused on soil drainage, the trick would be about improving soil drainage for bellflowers. Let’s assume for this FAQ that the DIY trick is about creating a well-draining soil mix using perlite and compost.
Why is well-draining soil so important for bellflowers perennials?
Bellflowers, like many perennials, are susceptible to root rot if their roots are constantly sitting in waterlogged soil. Root rot is a fungal disease that can quickly kill your plants. Well-draining soil allows excess water to drain away quickly, preventing the roots from becoming waterlogged and creating an environment that is less conducive to fungal growth. The perlite in our recommended soil mix creates air pockets, further enhancing drainage, while the compost provides essential nutrients and improves soil structure.
How do I know if my soil is draining properly?
A simple test is to dig a hole about 12 inches deep and fill it with water. If the water drains away within a few hours, your soil is likely draining well. If the water remains in the hole for more than 24 hours, your soil is likely poorly draining and needs to be amended. Another sign of poor drainage is consistently soggy soil, even after several days without rain. You might also notice that your plants are wilting or yellowing, even though the soil is moist.
What if I don’t have perlite or compost? Can I use something else?
Yes, you can substitute perlite with other materials that improve drainage, such as coarse sand or vermiculite. Coarse sand is a good option for heavier soils, while vermiculite can help retain moisture in sandy soils. As for compost, you can use well-rotted manure, leaf mold, or other organic matter. The key is to choose materials that will improve soil structure and drainage while also providing nutrients to your plants.
How much perlite and compost should I add to my soil mix?
A good starting point is to aim for a mix that is roughly one-third perlite, one-third compost, and one-third existing garden soil. However, the exact proportions may vary depending on the type of soil you have. If you have heavy clay soil, you may need to add more perlite and compost to improve drainage. If you have sandy soil, you may need to add more compost to help retain moisture. It’s always best to err on the side of caution and start with a smaller amount of amendment, gradually adding more until you achieve the desired consistency.
When is the best time to plant bellflowers perennials?
The best time to plant bellflowers is typically in the spring or fall, when the weather is cooler and the soil is moist. This gives the plants time to establish their roots before the heat of summer or the cold of winter. Avoid planting during the hottest or coldest parts of the year, as this can stress the plants and reduce their chances of survival.
How much sun do bellflowers perennials need?
Bellflowers generally prefer full sun to partial shade. They will bloom best in full sun, but they can tolerate some shade, especially in hotter climates. If you live in an area with hot summers, it’s best to plant your bellflowers in a location that receives morning sun and afternoon shade.
How often should I water my bellflowers perennials?
Water your bellflowers regularly, especially during dry periods. The soil should be kept consistently moist, but not waterlogged. Avoid overwatering, as this can lead to root rot. A good rule of thumb is to water deeply and less frequently, rather than shallowly and more often.
Do I need to fertilize my bellflowers perennials?
Bellflowers benefit from regular fertilization, especially during the growing season. Use a balanced fertilizer, such as a 10-10-10 formula, and apply it according to the package directions. Avoid over-fertilizing, as this can lead to excessive foliage growth and fewer flowers.
How do I deadhead bellflowers perennials?
Deadheading is the process of removing spent flowers to encourage more blooms. To deadhead bellflowers, simply cut off the flower stems just below the spent flowers. This will encourage the plant to produce more flowers throughout the growing season.
Are bellflowers perennials deer resistant?
Bellflowers are generally considered to be deer resistant, but deer may still browse on them if other food sources are scarce. To protect your bellflowers from deer, you can use deer repellent or fence them off.
My bellflowers aren’t blooming. What could be the problem?
There are several reasons why your bellflowers might not be blooming. Some common causes include insufficient sunlight, poor soil drainage, lack of fertilizer, and improper pruning. Make sure your plants are getting enough sunlight, that the soil is well-draining, and that you are fertilizing them regularly. Also, avoid pruning your bellflowers too late in the season, as this can remove the flower buds.
Can I grow bellflowers perennials in containers?
Yes, bellflowers can be grown in containers, but you will need to choose a pot that is large enough to accommodate their root system. Use a well-draining potting mix and water regularly. Container-grown bellflowers may also need to be fertilized more frequently than those grown in the ground.
How do I propagate bellflowers perennials?
Bellflowers can be propagated by seed, division, or cuttings. Seed propagation is the easiest method, but it can take several years for the plants to bloom. Division is a faster method, but it can be stressful for the plants. Cuttings are a good option for propagating specific cultivars.


Leave a Comment