

Growing Carrots in Containers might sound like a challenge, especially if you’re short on garden space, but trust me, it’s totally doable and incredibly rewarding! Imagine plucking fresh, vibrant carrots right from your patio or balcony – the taste is simply unmatched. For centuries, gardeners have adapted their techniques to cultivate food in limited spaces, from ancient rooftop gardens to modern urban farms. This resourceful spirit is what inspires us to find innovative solutions, like container gardening.
Let’s face it, not everyone has access to a sprawling backyard. Apartment living, small balconies, or even just a desire for a more manageable garden can lead us to explore alternative methods. That’s where the magic of growing carrots in containers comes in! This DIY guide will walk you through everything you need to know, from choosing the right container and soil to nurturing your little carrot seedlings into crunchy, delicious snacks.
Why should you bother with this DIY trick? Because fresh, homegrown carrots are sweeter, crisper, and packed with more nutrients than anything you’ll find at the grocery store. Plus, there’s something incredibly satisfying about nurturing a plant from seed to harvest. So, grab your gardening gloves, and let’s get started on your container carrot adventure! I promise, you’ll be amazed at how easy and fun it is.
Growing Carrots in Containers: A Bumper Crop on Your Balcony!
Hey there, fellow gardening enthusiasts! Dreaming of crisp, sweet carrots fresh from your own “garden,” even if you only have a balcony or patio? Well, dream no more! Growing carrots in containers is totally doable, and I’m here to walk you through every step. Forget those misshapen, forked carrots from the store – get ready for homegrown goodness!
Choosing the Right Container and Soil
This is where the magic begins! Carrots need space to stretch their roots, so container size is crucial.
* Deep is Key: Opt for containers that are at least 12 inches deep, but 18-24 inches is even better. This gives your carrots plenty of room to grow long and straight. Think about using large pots, raised beds (if you have the space), or even repurposed tubs.
* Drainage is a Must: Make sure your container has drainage holes! Carrots hate soggy feet. If your container doesn’t have enough holes, drill a few extra.
* Material Matters (Sort Of): Plastic, terracotta, or even fabric pots will work. Terracotta pots dry out faster, so you’ll need to water more frequently. Fabric pots are great for aeration and drainage.
* Soil is the Foundation: Forget garden soil! It’s usually too heavy and compacted for carrots. You need a light, fluffy, well-draining potting mix.
* My Favorite Mix: I like to use a mix of equal parts peat moss (or coconut coir), perlite, and compost. This provides good drainage, aeration, and nutrients.
* Avoid Rocks and Clumps: Sift your potting mix to remove any rocks, clumps, or large pieces of debris. These can obstruct the carrot roots and cause them to fork or split.
Selecting Your Carrot Varieties
Not all carrots are created equal, especially when it comes to container gardening!
* Short and Sweet: Choose shorter, rounder varieties like ‘Thumbelina,’ ‘Parisian,’ or ‘Little Finger.’ These are perfect for containers because they don’t need as much depth.
* Intermediate Options: ‘Danvers Half Long’ or ‘Nantes’ varieties can also work well, but make sure your container is deep enough.
* Avoid Long Varieties: Steer clear of long, slender varieties like ‘Imperator,’ as they’re more likely to become misshapen in containers.
* Consider Color: Why not try a mix of colorful carrots? Purple, yellow, and white carrots add a fun twist to your harvest!
Planting Your Carrot Seeds
Now for the fun part – getting those seeds in the soil!
1. Moisten the Soil: Before planting, thoroughly moisten your potting mix. You want it to be damp, but not soggy.
2. Sow Seeds Sparsely: Carrot seeds are tiny, so it’s easy to over-sow. Sprinkle the seeds thinly over the surface of the soil, about 1/4 inch apart.
3. Cover Lightly: Gently cover the seeds with a thin layer (about 1/4 inch) of potting mix or vermiculite.
4. Water Gently: Water the soil gently with a watering can or spray bottle to avoid disturbing the seeds.
5. Keep it Moist: Keep the soil consistently moist until the seeds germinate. You can cover the container with plastic wrap or a humidity dome to help retain moisture.
6. Germination Time: Carrot seeds can take anywhere from 7 to 21 days to germinate, depending on the temperature and moisture levels. Be patient!
Thinning Your Carrot Seedlings
This is a crucial step that many beginners overlook! Thinning ensures that your carrots have enough space to grow properly.
1. Wait for True Leaves: Once your seedlings have developed their first set of “true leaves” (the leaves that look like miniature carrot leaves), it’s time to thin.
2. Thin to 1-2 Inches Apart: Carefully thin the seedlings, leaving about 1-2 inches between each plant. You can use small scissors to snip the unwanted seedlings at the soil line, or gently pull them out.
3. Don’t Disturb the Roots: Be careful not to disturb the roots of the remaining seedlings when thinning.
4. Successive Thinnings: You may need to thin your carrots again as they grow larger, leaving about 3-4 inches between each plant.
Caring for Your Container Carrots
Consistent care is key to a successful carrot harvest!
* Sunlight is Essential: Carrots need at least 6 hours of sunlight per day. Place your container in a sunny location. If you don’t have enough sunlight, you can supplement with grow lights.
* Watering Regularly: Water your carrots regularly, especially during hot, dry weather. The soil should be consistently moist, but not waterlogged. Check the soil moisture by sticking your finger into the soil – if it feels dry an inch or two down, it’s time to water.
* Fertilizing Lightly: Carrots are not heavy feeders, but they do benefit from occasional fertilization. Use a balanced, water-soluble fertilizer diluted to half strength every 2-3 weeks. Avoid fertilizers that are high in nitrogen, as this can promote leafy growth at the expense of root development.
* Weed Control: Keep your container free of weeds. Weeds compete with carrots for nutrients and water. Gently pull out any weeds that appear.
* Protect from Pests: Carrots can be susceptible to pests like carrot rust flies and aphids. Inspect your plants regularly for signs of pests. You can use insecticidal soap or neem oil to control pests.
* Mulching (Optional): Adding a layer of mulch, such as straw or wood chips, can help retain moisture, suppress weeds, and regulate soil temperature.
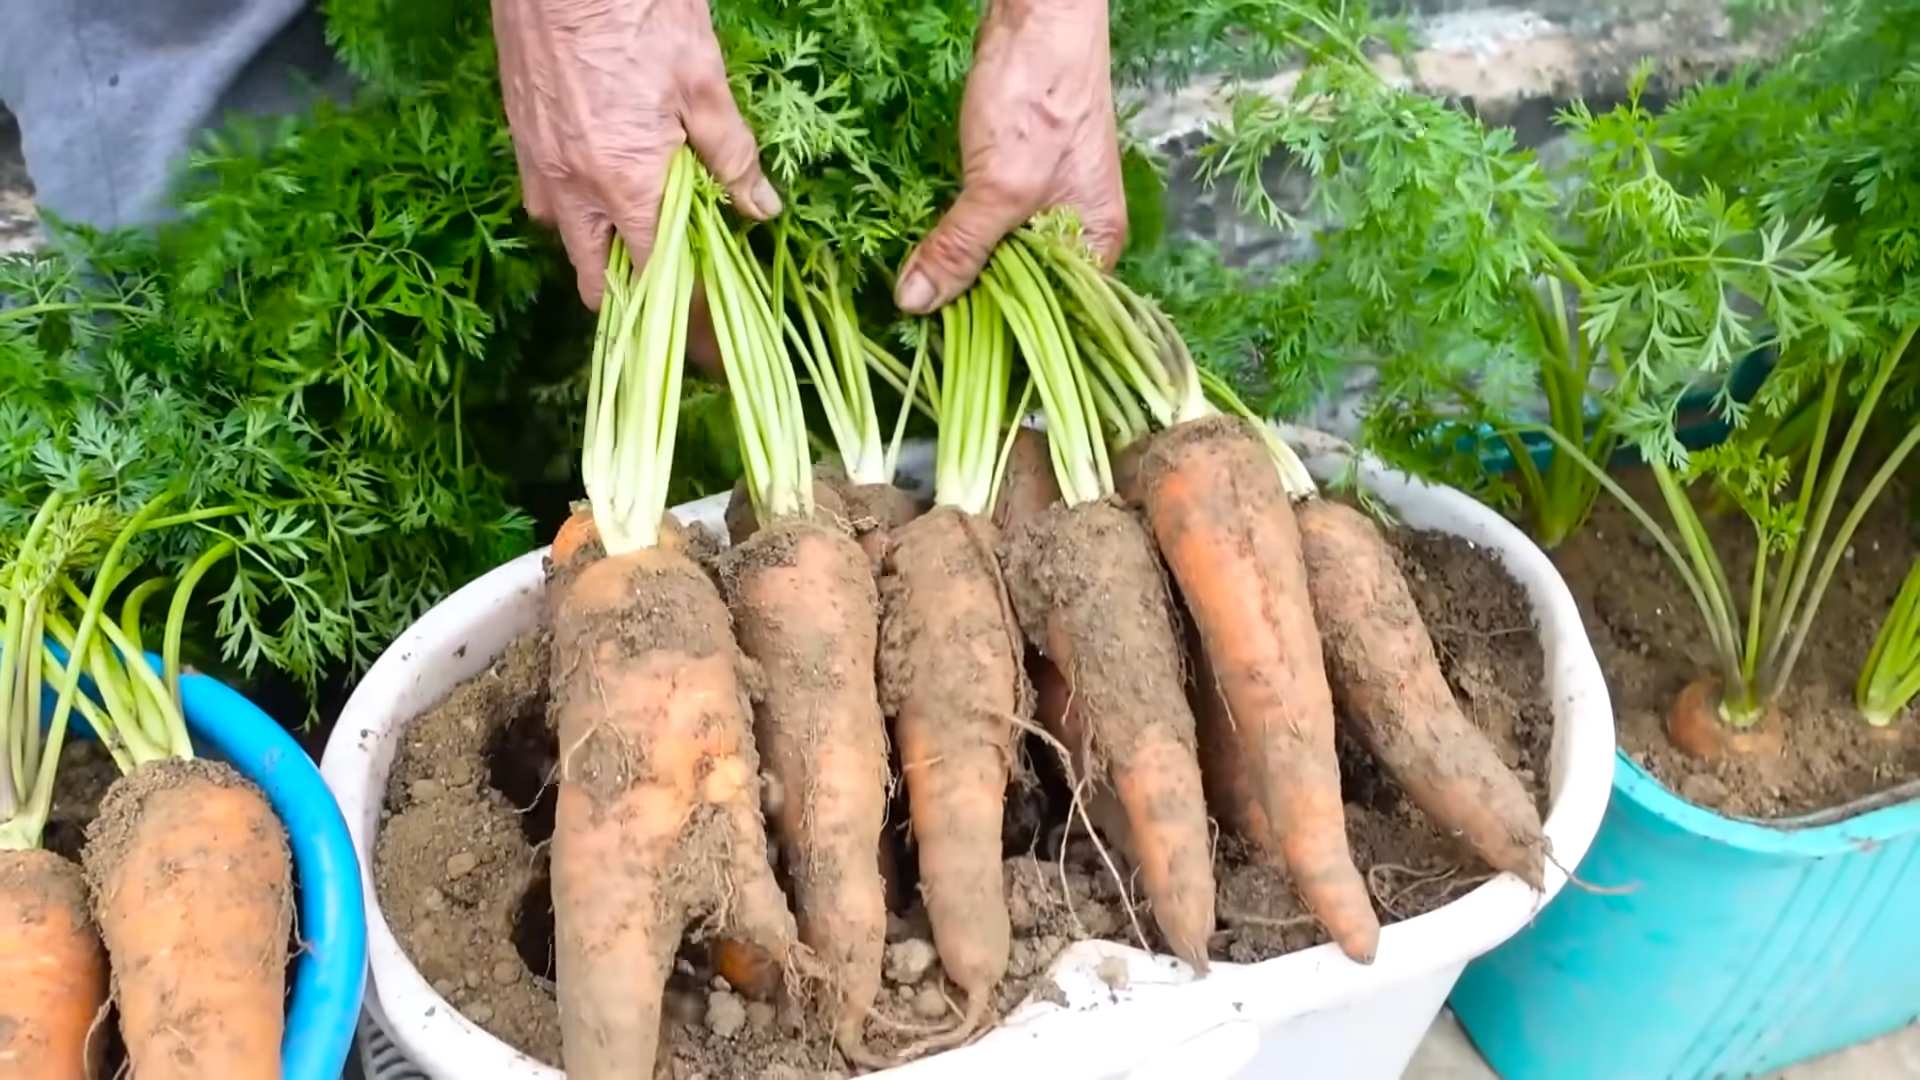
Harvesting Your Container Carrots
The moment you’ve been waiting for!
1. Check Maturity: Carrots are typically ready to harvest 60-80 days after planting, depending on the variety. Check the seed packet for specific maturity dates.
2. Look for Size: You can also check the size of the carrots by gently brushing away some of the soil around the top of the root.
3. Harvest Carefully: To harvest, gently loosen the soil around the carrot with a trowel or fork. Then, grasp the carrot by the base of the leaves and pull it straight up.
4. Water Before Harvesting: Watering the soil a few hours before harvesting can make it easier to pull the carrots out.
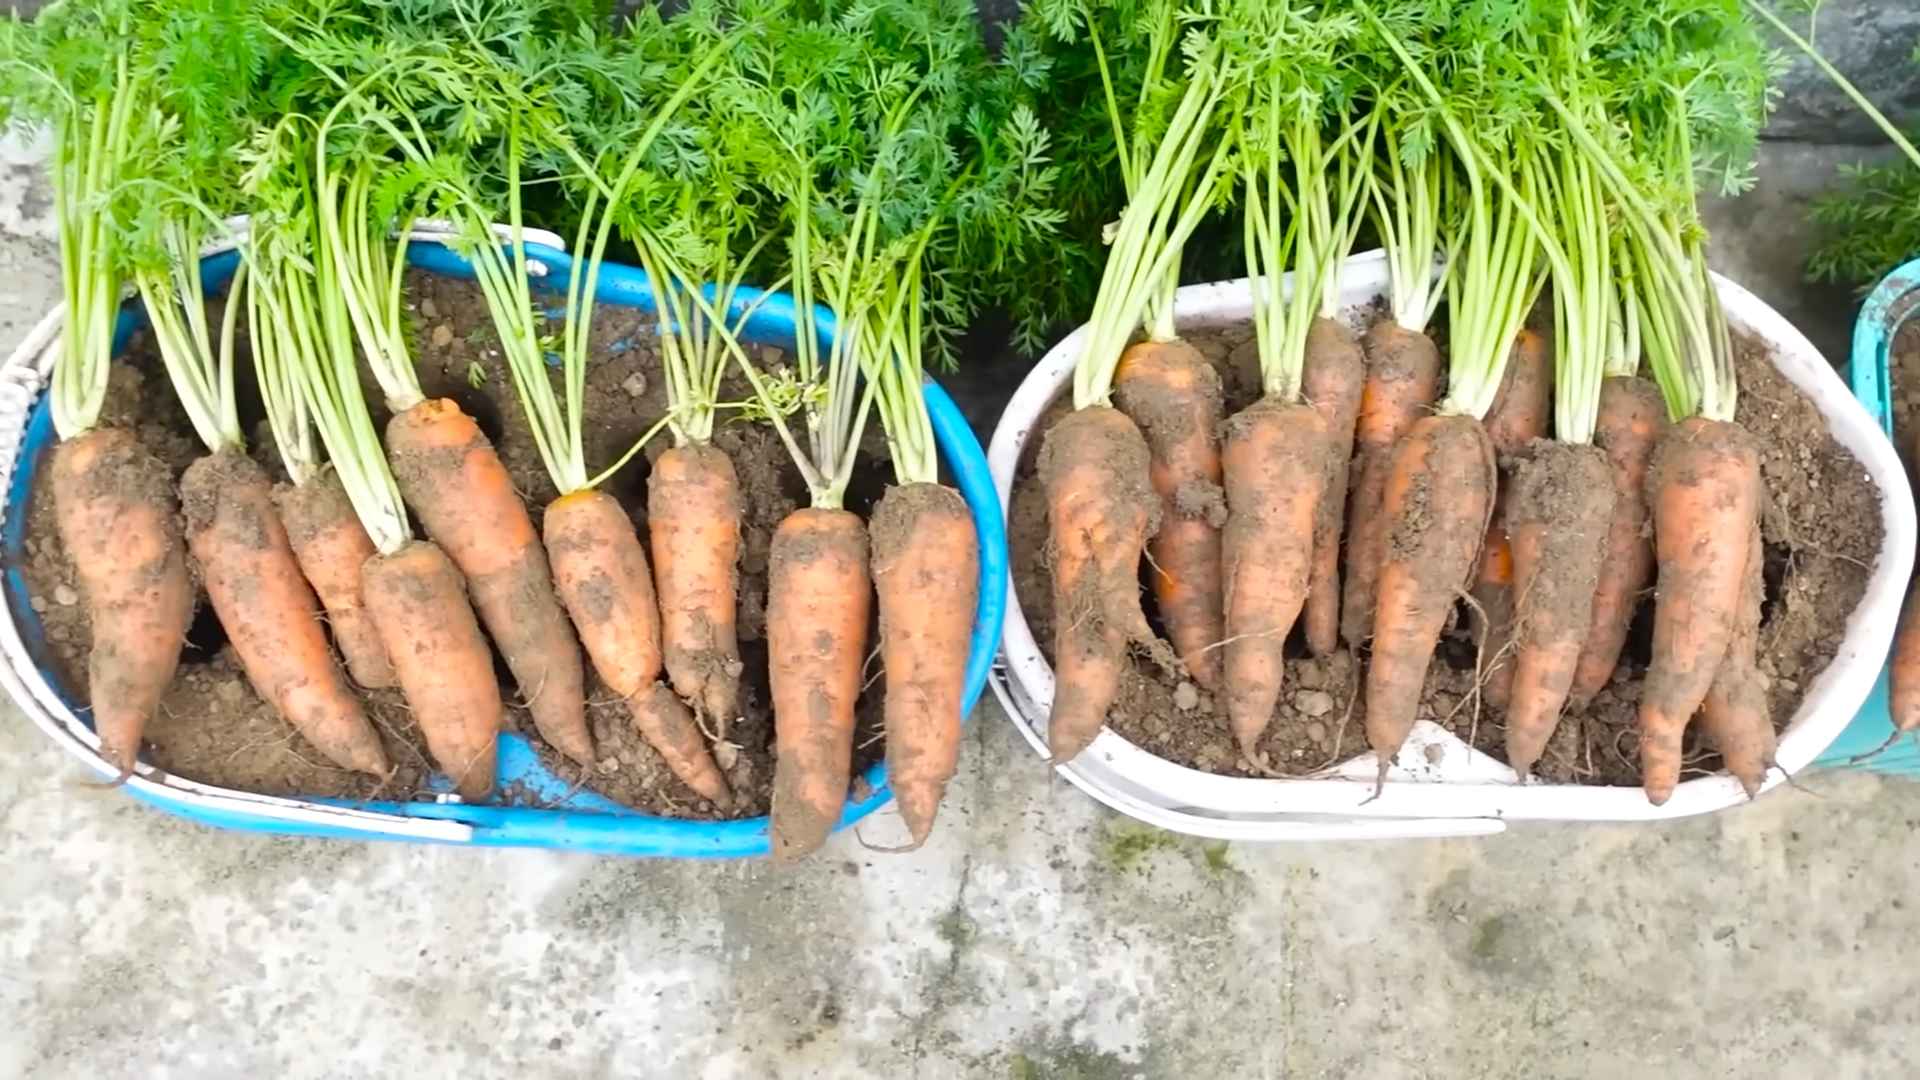
5. Enjoy Your Harvest! Wash your carrots thoroughly and enjoy them fresh from the garden. They’ll taste so much better than store-bought carrots!
Troubleshooting Common Problems
Even with the best care, you might encounter a few challenges. Here’s how to tackle them:
* Forked or Split Carrots: This is usually caused by rocks or compacted soil. Make sure your potting mix is free of debris and that your container is deep enough.
* Small Carrots: This could be due to overcrowding, lack of sunlight, or poor soil fertility. Thin your seedlings properly, provide adequate sunlight, and fertilize regularly.
* Pests: As mentioned earlier, inspect your plants regularly for pests and take action promptly.
* Bolting (Flowering): Carrots can bolt (produce flowers) if they experience stress, such as extreme temperature fluctuations or lack of water. Try to maintain consistent growing conditions.
Extending Your Carrot Season
Want to enjoy fresh carrots for as long as possible? Here are a few tips:
* Succession Planting: Sow a new batch of carrot seeds every 2-3 weeks to ensure a continuous harvest.
* Cold Frames or Greenhouses: If you live in a cold climate, you can extend your carrot season by growing them in a cold frame or greenhouse.
* Overwintering: In mild climates, you can overwinter carrots in containers. Simply protect them from frost with a layer of mulch or a cold frame.
Growing carrots in containers is a rewarding experience that anyone can enjoy. With a little planning and care, you can have a bountiful harvest of delicious, homegrown carrots right on your balcony or patio. So, grab your seeds, get your hands dirty, and get ready to enjoy the fruits (or rather, roots!) of your labor! Happy gardening!
Conclusion
So, there you have it! Growing carrots in containers isn’t just a possibility; it’s a surprisingly rewarding and accessible gardening adventure, even if you’re short on space or new to the world of green thumbs. We’ve walked through the steps, from selecting the right container and soil to nurturing your tiny seedlings into vibrant, crunchy carrots. But why is this DIY trick a must-try?
Firstly, container gardening offers unparalleled control. You dictate the soil quality, ensuring your carrots get the perfect blend of nutrients without the risk of rocky or compacted ground that can lead to stunted or misshapen roots. This is especially crucial for achieving those picture-perfect, uniformly sized carrots we all dream of. Secondly, it’s incredibly convenient. No more back-breaking weeding in a sprawling garden bed! Your carrot patch is right at your fingertips, making tending to them a breeze. And thirdly, it’s a fantastic way to extend your growing season. By strategically placing your containers, you can protect your carrots from harsh weather and enjoy fresh, homegrown goodness for longer.
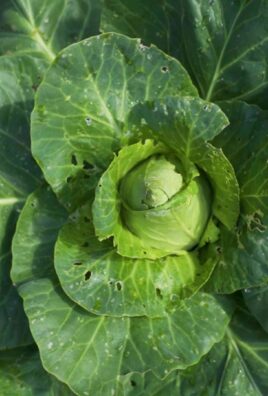
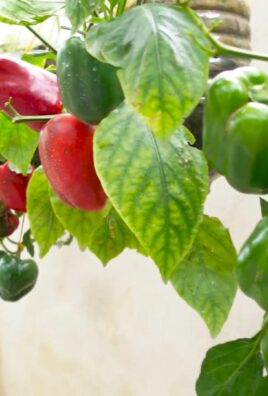
But the beauty of container gardening lies in its adaptability. Feel free to experiment with different carrot varieties. Shorter, round varieties like ‘Thumbelina’ or ‘Parisian’ are particularly well-suited for containers, but don’t let that stop you from trying longer types if you have a deeper pot. Consider companion planting! Marigolds can deter pests, while basil can enhance the flavor of your carrots. Get creative with your container design too. Use repurposed buckets, decorative planters, or even grow bags – the possibilities are endless.
Don’t be afraid to tweak the process to suit your specific environment and preferences. If you live in a particularly hot climate, consider using a lighter-colored container to prevent the soil from overheating. If you struggle with drainage, add extra perlite to your soil mix. The key is to observe your plants, learn from your mistakes, and adapt accordingly.
Growing carrots in containers is more than just a gardening project; it’s a connection to nature, a source of fresh, healthy food, and a satisfying accomplishment. It’s a chance to witness the miracle of growth firsthand and to enjoy the fruits (or rather, vegetables) of your labor.
We wholeheartedly encourage you to give this DIY trick a try. Start small, be patient, and don’t be discouraged by initial setbacks. Gardening is a journey, not a destination. And most importantly, share your experience with us! We’d love to hear about your successes, your challenges, and any tips or tricks you’ve discovered along the way. Post photos of your container carrot gardens, share your favorite recipes using your homegrown carrots, and let’s create a community of container gardening enthusiasts. Happy growing!
Frequently Asked Questions (FAQ)
What is the best size container for growing carrots?
The ideal container size depends on the carrot variety you plan to grow. For shorter, round varieties like ‘Thumbelina’ or ‘Parisian,’ a container that is at least 6-8 inches deep and wide is sufficient. However, for longer varieties like ‘Nantes’ or ‘Danvers,’ you’ll need a container that is at least 10-12 inches deep. The wider the container, the more carrots you can grow. A good rule of thumb is to allow at least 2-3 inches of space between each carrot plant. Remember, adequate depth is crucial for proper root development. Insufficient depth can lead to stunted or misshapen carrots.
What type of soil is best for growing carrots in containers?
Carrots thrive in loose, well-draining soil that is rich in organic matter. Avoid heavy clay soils, as they can hinder root growth and result in deformed carrots. A good potting mix specifically formulated for vegetables is an excellent choice. You can also create your own mix by combining equal parts of compost, peat moss (or coconut coir), and perlite or vermiculite. The compost provides essential nutrients, while the peat moss or coconut coir helps retain moisture, and the perlite or vermiculite improves drainage. Ensure the soil is free of rocks and debris, as these can also interfere with root development.
How often should I water my container carrots?
Carrots need consistent moisture to grow properly, but overwatering can lead to root rot. Water your container carrots deeply whenever the top inch of soil feels dry to the touch. The frequency of watering will depend on factors such as the weather, the size of your container, and the type of soil you’re using. During hot, dry periods, you may need to water daily. In cooler, wetter weather, you may only need to water every few days. Check the soil moisture regularly and adjust your watering schedule accordingly. Using a moisture meter can be helpful in determining when to water.
How much sunlight do carrots need?
Carrots need at least 6 hours of direct sunlight per day to thrive. Choose a location for your container carrots that receives plenty of sunlight. If you live in a particularly hot climate, you may want to provide some afternoon shade to prevent the soil from overheating. If you don’t have a sunny spot, you can supplement with grow lights. Position the grow lights about 6-12 inches above the plants and provide 12-14 hours of light per day.
When should I fertilize my container carrots?
Carrots are relatively light feeders, but they still benefit from regular fertilization. Start fertilizing your carrots about 3-4 weeks after they germinate. Use a balanced, water-soluble fertilizer diluted to half strength. Fertilize every 2-3 weeks throughout the growing season. Avoid using fertilizers that are high in nitrogen, as this can promote leafy growth at the expense of root development. Look for a fertilizer that is higher in phosphorus and potassium, which are essential for root growth. You can also amend the soil with compost tea or worm castings for a natural boost of nutrients.
How long does it take for carrots to mature in containers?
The time it takes for carrots to mature depends on the variety and growing conditions. Generally, carrots take between 60 and 80 days to mature. Check the seed packet for specific information on the maturity time for your chosen variety. You can start harvesting carrots when they reach the desired size. Gently loosen the soil around the carrots and pull them out by the tops.
What are some common pests and diseases that affect carrots?
Common pests that affect carrots include carrot rust flies, aphids, and nematodes. Carrot rust flies lay their eggs near the base of the plants, and the larvae burrow into the roots, causing damage. Aphids suck the sap from the leaves, weakening the plants. Nematodes are microscopic worms that live in the soil and feed on the roots. To prevent pest problems, practice good garden hygiene, such as removing weeds and debris. You can also use insecticidal soap or neem oil to control aphids and other pests. Common diseases that affect carrots include leaf blight and root rot. Leaf blight causes brown spots on the leaves, while root rot causes the roots to decay. To prevent disease problems, ensure good drainage and avoid overwatering. You can also use a fungicide to control fungal diseases.
Can I grow carrots in containers indoors?
Yes, you can grow carrots in containers indoors, but you’ll need to provide them with adequate light. Place your container carrots near a sunny window that receives at least 6 hours of direct sunlight per day. If you don’t have a sunny window, you can supplement with grow lights. Use full-spectrum grow lights and position them about 6-12 inches above the plants. Provide 12-14 hours of light per day. Also, ensure that the room is well-ventilated to prevent fungal diseases.
How do I prevent my carrots from splitting or cracking?
Carrot splitting or cracking is often caused by inconsistent watering. When the soil dries out and then is suddenly saturated, the carrots can absorb too much water too quickly, causing them to split. To prevent this, water your carrots regularly and consistently, especially during dry periods. Mulching around the plants can also help retain moisture in the soil.
Can I transplant carrots?
Carrots are best direct-sown into their final container, as transplanting can damage their delicate roots. However, if you must transplant them, do so when they are very young (just a few inches tall) and handle them with extreme care. Gently loosen the soil around the seedlings and lift them out with a trowel, being careful not to damage the roots. Replant them immediately in their new container and water them thoroughly.

Leave a Comment