

Growing Gourds at Home might seem like a whimsical endeavor, but trust me, it’s incredibly rewarding! Imagine transforming your backyard into a mini gourd farm, overflowing with unique shapes and sizes, ready to be crafted into birdhouses, bowls, or even musical instruments.
For centuries, gourds have held a special place in cultures around the world. From ancient civilizations using them as water containers to indigenous communities crafting them into ceremonial objects, these versatile fruits have a rich history. In many cultures, gourds symbolize prosperity, longevity, and good fortune. Isn’t that a lovely sentiment to cultivate in your own garden?
But beyond their historical significance, growing gourds at home offers a fantastic opportunity to connect with nature, unleash your creativity, and even save some money. Let’s face it, those decorative gourds at the farmers market can be pricey! Plus, the satisfaction of nurturing a plant from seed to harvest is simply unmatched.
This DIY guide is packed with simple tricks and hacks to help you successfully grow gourds, even if you’re a complete beginner. I’ll share my secrets for choosing the right varieties, preparing your soil, preventing pests, and harvesting your gourds at the perfect time. Get ready to embark on a gourd-growing adventure – you won’t regret it!
Growing Gourds: A Beginner’s Guide to a Bountiful Harvest
Hey there, fellow gardening enthusiasts! I’m so excited to share my experiences with growing gourds. It’s a rewarding and surprisingly easy project that can add a unique touch to your home decor or even provide you with materials for crafting. I’ve learned a lot over the years, and I’m here to guide you through the process, from seed to stunning gourd.
Choosing Your Gourd Variety
First things first, let’s talk about the different types of gourds you can grow. This is important because different gourds have different needs and uses.
* Ornamental Gourds: These are the small, colorful gourds you often see in fall decorations. They come in a wide variety of shapes, sizes, and colors. They’re great for adding a festive touch to your home.
* Luffa Gourds: These are the gourds that give you natural sponges! They require a long growing season and plenty of support, but the reward is well worth it.
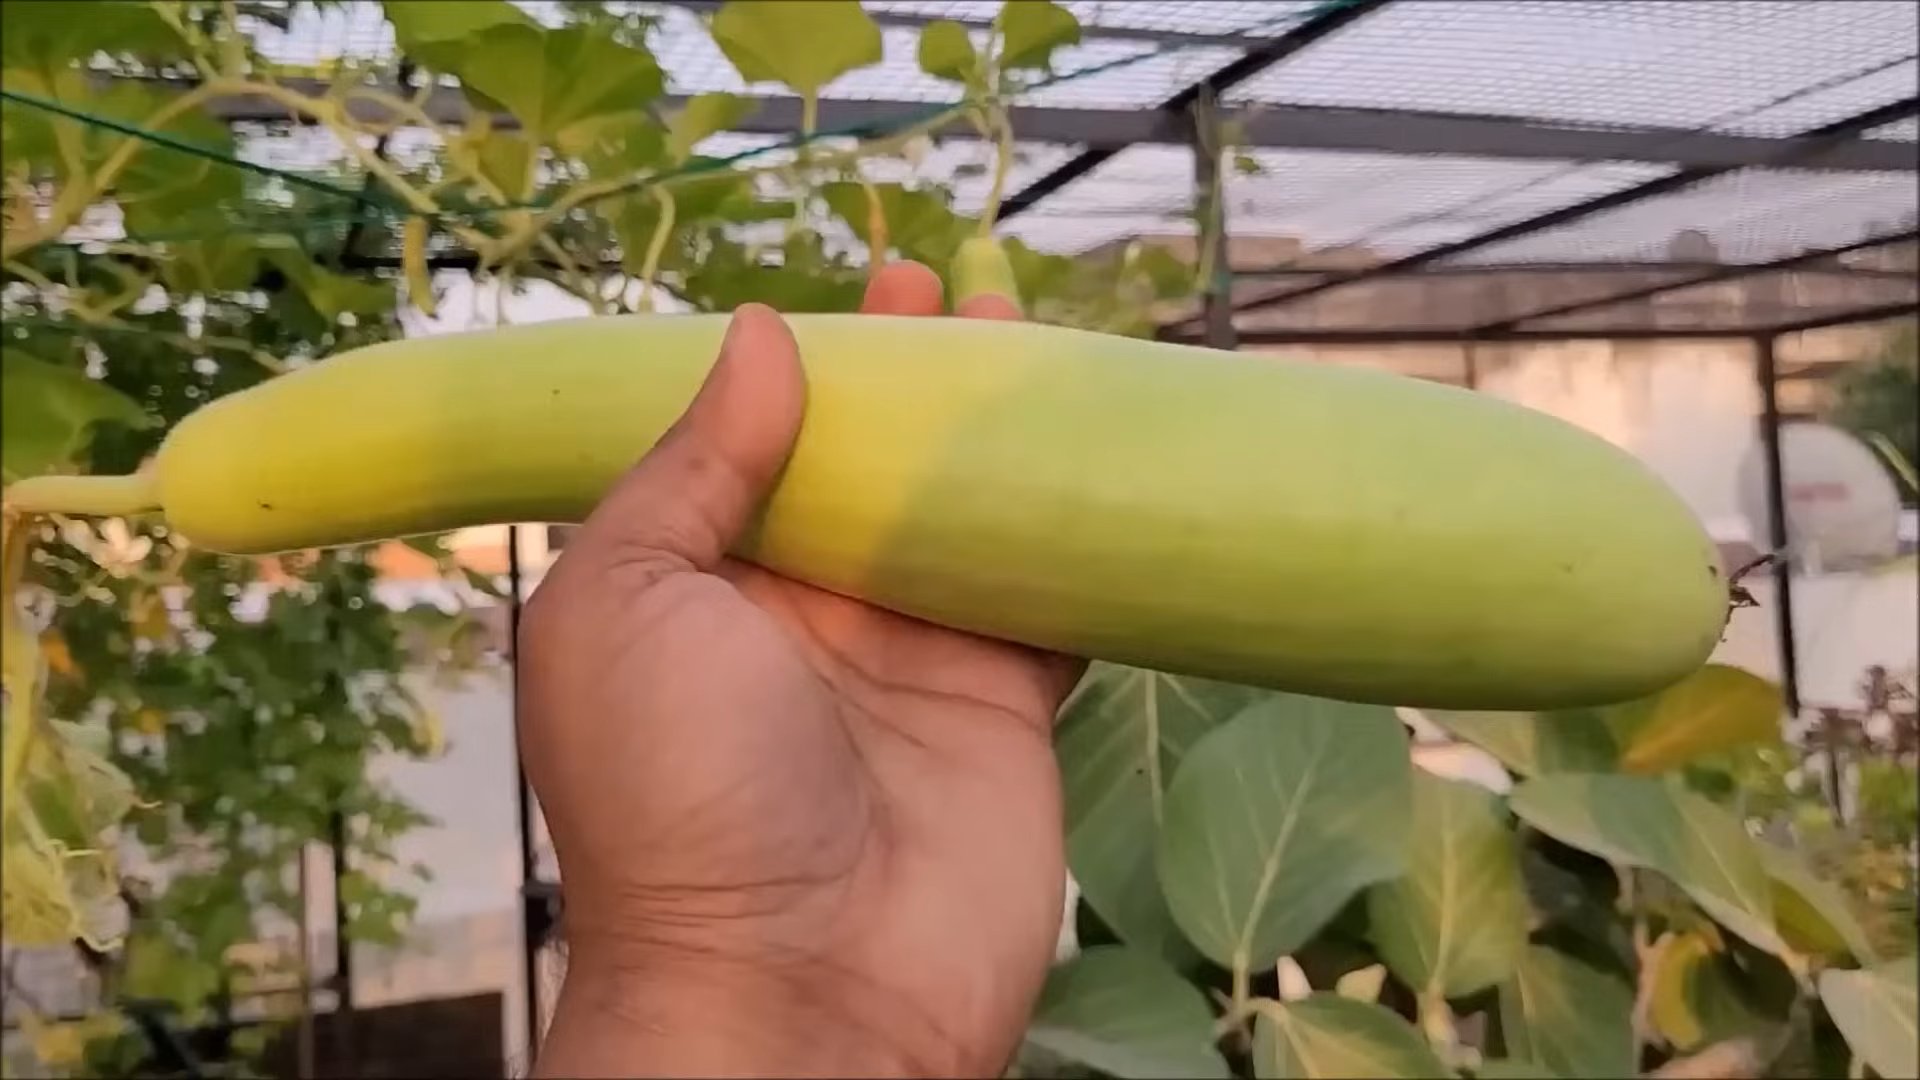
* Bottle Gourds: Also known as calabash gourds, these can be dried and used to make bowls, birdhouses, and other crafts. They come in various shapes, from long and slender to round and bulbous.
* Dipper Gourds: These are shaped like a spoon or ladle and were traditionally used for scooping water. They’re a fun and historical gourd to grow.
I personally love growing a mix of ornamental and bottle gourds. The ornamental gourds add instant color, and the bottle gourds are perfect for my crafting projects.
Preparing for Planting
Gourds need a long growing season, so starting them indoors is often the best way to go, especially if you live in a cooler climate.
* Timing is Key: Start your gourd seeds indoors about 4-6 weeks before the last expected frost.
* Seed Starting Mix: Use a good quality seed starting mix. This will provide the right nutrients and drainage for your seedlings.
* Containers: I prefer using peat pots or biodegradable pots. This minimizes root disturbance when transplanting.
* Soaking Seeds: Soak your gourd seeds in warm water for 24 hours before planting. This helps to soften the hard outer shell and encourages germination.
* Planting Depth: Plant the seeds about 1 inch deep in the seed starting mix.
* Warmth and Light: Keep the soil consistently moist and provide warmth. A heat mat can be very helpful. Once the seedlings emerge, provide them with plenty of light. A grow light is ideal, but a sunny windowsill can also work.
Transplanting Your Gourd Seedlings
Once the danger of frost has passed and the soil has warmed up, it’s time to transplant your gourd seedlings outdoors.
* Choosing the Right Location: Gourds need full sun (at least 6-8 hours of direct sunlight per day) and well-drained soil.
* Soil Preparation: Amend the soil with compost or well-rotted manure. Gourds are heavy feeders and need nutrient-rich soil.
* Spacing: Give your gourd plants plenty of space. Depending on the variety, they can spread quite a bit. I usually space my plants about 3-4 feet apart.
* Hardening Off: Before transplanting, harden off your seedlings by gradually exposing them to outdoor conditions for a week or so. This helps them adjust to the sun, wind, and temperature changes.
* Transplanting: Gently remove the seedlings from their pots and plant them in the prepared soil. Water them thoroughly after transplanting.
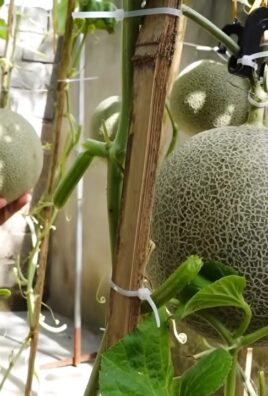
Providing Support for Your Gourds
Many gourd varieties, especially bottle gourds and luffa gourds, need support to climb.
* Trellises: A sturdy trellis is a great option for supporting gourds. Make sure it’s strong enough to handle the weight of the mature gourds.
* Arbors: An arbor can add a beautiful and functional element to your garden. Gourds can climb up and over the arbor, creating a stunning display.
* Fences: A fence can also provide support for gourds. Just make sure the fence is strong enough to handle the weight.
* DIY Structures: Get creative and build your own support structure using bamboo poles, branches, or other materials.
I’ve used a combination of trellises and fences in my garden. It really depends on the space you have available and the look you’re going for.
Caring for Your Gourd Plants
Once your gourd plants are established, it’s important to provide them with the care they need to thrive.
* Watering: Water your gourd plants regularly, especially during dry periods. They need consistent moisture to produce healthy gourds.
* Fertilizing: Fertilize your gourd plants every few weeks with a balanced fertilizer. You can also use compost tea or other organic fertilizers.
* Weeding: Keep the area around your gourd plants free of weeds. Weeds can compete with the gourds for nutrients and water.
* Pest Control: Keep an eye out for pests such as squash bugs, squash vine borers, and aphids. Use organic pest control methods to protect your plants. I’ve found that neem oil is effective against many common garden pests.
* Pollination: Gourds are pollinated by insects, so it’s important to attract pollinators to your garden. Plant flowers that attract bees and other beneficial insects. If you’re having trouble with pollination, you can hand-pollinate the flowers.
Harvesting Your Gourds
The timing of your gourd harvest depends on the variety you’re growing and how you plan to use them.
* Ornamental Gourds: Harvest ornamental gourds when the stems are dry and brown.
* Luffa Gourds: Harvest luffa gourds when the skin turns brown and dry. You should be able to feel the fibers inside.
* Bottle Gourds: Harvest bottle gourds when the stems are dry and brown and the gourds feel lightweight.
I usually wait until after the first frost to harvest my gourds. This helps to ensure that they are fully mature.
Curing Your Gourds
Curing is an essential step in preserving your gourds and preventing them from rotting.
* Cleaning: Wash your gourds with soapy water to remove any dirt or debris.
* Drying: Place the gourds in a well-ventilated area, such as a garage or shed. Make sure they are not touching each other.
* Turning: Turn the gourds regularly to ensure that they dry evenly.
* Time: The curing process can take several weeks or even months, depending on the size and thickness of the gourds. You’ll know the gourds are cured when they are lightweight and the seeds rattle inside.
I’ve found that patience is key when it comes to curing gourds. Don’t rush the process, or you risk losing your harvest to rot.
Crafting with Gourds
Once your gourds are cured, the fun really begins! There are so many creative things you can do with them.
* Painting: Paint your gourds with acrylic paints to create colorful and unique decorations.
* Carving: Carve intricate designs into your gourds using a rotary tool or other carving tools.
* Wood Burning: Use a wood-burning tool to create beautiful patterns and designs on your gourds.
* Decoupage: Decoupage your gourds with paper, fabric, or other materials.
* Birdhouses: Turn bottle gourds into charming birdhouses.
* Bowls and Utensils: Use bottle gourds to create bowls, spoons, and other utensils.
* Lamps: Create unique and eye-catching lamps from dried gourds.
I love experimenting with different crafting techniques. It’s a great way to express your creativity and create one-of-a-kind pieces.
Step-by-Step Instructions: Making a Gourd Birdhouse
Let’s walk through a simple project: making a birdhouse from a bottle gourd.
Materials You’ll Need:
* A cured bottle gourd
* Drill with various sized drill bits
* Sandpaper
* Exterior paint or sealant (optional)
* Wire or rope for hanging
Instructions:
1. Prepare the Gourd: Make sure your bottle gourd is fully cured. It should be lightweight and the seeds should rattle inside. Lightly sand the outside of the gourd to create a smooth surface for painting or sealing.
2. Drill the Entrance Hole: Decide where you want the entrance hole to be. The size of the hole will depend on the type of bird you want to attract. A 1 1/2 inch hole is good for wrens and chickadees. Use a drill bit of the appropriate size to drill the hole.
3. Drill Drainage and Ventilation Holes: Drill a few small drainage

Conclusion
So, there you have it! Growing gourds at home isn’t just a fun gardening project; it’s a gateway to creativity, sustainability, and a deeper connection with nature. We’ve explored the process from seed to harvest, and hopefully, demystified any concerns you might have had. The satisfaction of nurturing a tiny seed into a unique, handcrafted work of art is truly unparalleled.
Why is this DIY trick a must-try? Because it’s more than just growing a plant. It’s about crafting something beautiful and functional from the earth. Imagine the pride you’ll feel displaying a birdhouse you grew yourself, or gifting a hand-painted bowl to a loved one. Gourds offer a blank canvas for your imagination. They are incredibly versatile, lending themselves to a wide range of crafts and uses, from decorative ornaments and musical instruments to practical containers and even natural sponges. Plus, growing your own gourds is an environmentally friendly alternative to purchasing mass-produced items. You’re reducing your carbon footprint and supporting sustainable practices.
Don’t be afraid to experiment! Consider different varieties of gourds to add visual interest to your garden and your crafts. Luffa gourds, for example, provide natural sponges, while bottle gourds are perfect for creating dippers and birdhouses. You can also try different growing techniques, such as training your gourds on trellises or arbors for a dramatic display.
For variations, think about the curing and decorating process. Experiment with different paints, stains, and carving techniques to create truly unique pieces. You can also incorporate natural elements like leaves, twigs, and seeds into your designs. Consider adding embellishments like beads, feathers, or leather to further personalize your creations. The possibilities are truly endless!
Growing gourds at home is an adventure waiting to happen. It’s a chance to learn, create, and connect with the natural world in a meaningful way. So, grab some seeds, prepare your garden, and get ready to embark on this rewarding journey. We are confident that you will find the process both enjoyable and fulfilling.
We encourage you to try this DIY trick and share your experiences with us! Post photos of your gourd gardens and finished projects on social media using #HomeGrownGourds. We can’t wait to see what you create! Your insights and experiences will inspire others to discover the joy of growing gourds at home. Let’s build a community of gourd enthusiasts and share our knowledge and creativity with the world. Happy growing!
Frequently Asked Questions (FAQ)
What is the best time to start growing gourds?
The best time to start growing gourds depends on your climate. Gourds require a long growing season, typically 100-180 days, so it’s essential to start them early enough to allow them to mature fully before the first frost. In colder climates, starting seeds indoors 6-8 weeks before the last expected frost is recommended. In warmer climates, you can direct sow seeds outdoors after the soil has warmed up and the danger of frost has passed. Check your local planting calendar for specific dates.
What kind of soil do gourds need?
Gourds thrive in well-drained, fertile soil that is rich in organic matter. Before planting, amend your soil with compost, aged manure, or other organic materials to improve drainage and nutrient content. A slightly acidic to neutral soil pH (6.0-7.0) is ideal. Avoid heavy clay soils, as they can retain too much moisture and lead to root rot. If you have clay soil, consider growing your gourds in raised beds or containers.
How much sunlight do gourds need?
Gourds need at least 6-8 hours of direct sunlight per day to thrive. Choose a planting location that receives full sun throughout the growing season. Insufficient sunlight can result in stunted growth, poor fruit production, and increased susceptibility to diseases.
How often should I water my gourds?
Gourds need consistent moisture, especially during hot, dry weather. Water deeply and regularly, aiming to keep the soil consistently moist but not waterlogged. Avoid overhead watering, as it can promote fungal diseases. Drip irrigation or soaker hoses are excellent options for delivering water directly to the roots. Mulching around the plants can also help retain moisture and suppress weeds.
How do I prevent pests and diseases from affecting my gourds?
Several pests and diseases can affect gourds, including squash bugs, squash vine borers, powdery mildew, and downy mildew. To prevent problems, practice good garden hygiene, such as removing plant debris and weeds regularly. Inspect your plants frequently for signs of pests or diseases and take action promptly. Organic pest control methods, such as insecticidal soap or neem oil, can be effective for controlling many common pests. For fungal diseases, ensure good air circulation around the plants and avoid overhead watering. Copper fungicides can also be used to prevent or treat fungal infections.
When is the right time to harvest my gourds?
Gourds are typically ready to harvest in the fall, after the vines have died back and the gourds have fully matured. The gourds should be hard and dry to the touch, and the stems should be brown and brittle. Leave a few inches of stem attached when harvesting to prevent rot. Avoid harvesting gourds that have been damaged by frost or pests.
How do I cure my gourds after harvesting?
Curing is essential for preserving gourds and preventing them from rotting. To cure gourds, wash them with soapy water and allow them to dry completely. Place them in a well-ventilated, dry, and dark location for several weeks or months, until they are completely dry and lightweight. Turn the gourds regularly to ensure even drying. Discard any gourds that show signs of rot or mold.
Can I paint or decorate my gourds?
Yes, gourds are excellent canvases for painting and decorating. After curing, you can sand the surface of the gourd to create a smooth finish. Use acrylic paints, stains, or other decorative materials to create your desired designs. Seal the finished gourd with a clear varnish or sealant to protect the paint and prevent moisture damage.
What are some creative uses for gourds?
Gourds are incredibly versatile and can be used for a wide range of crafts and purposes. Some popular uses include birdhouses, bowls, dippers, musical instruments, ornaments, and decorative containers. Luffa gourds can be used as natural sponges. The possibilities are limited only by your imagination!
Are all gourds edible?
While some gourds are edible when young, many ornamental gourds are not safe to eat and can be toxic. It’s essential to identify the specific type of gourd you are growing and research its edibility before consuming it. When in doubt, it’s best to err on the side of caution and avoid eating ornamental gourds.
Leave a Comment