

Growing Mint at Home can be incredibly rewarding, filling your garden and kitchen with its refreshing aroma and flavor. But let’s be honest, sometimes it feels like mint has a mind of its own, doesn’t it? It either takes over everything or mysteriously withers away! I’ve been there, battling the mint monster and celebrating the sweet smell of success, and I’m here to share my hard-earned secrets with you.
Mint has a rich history, dating back to ancient times. The Romans used it to freshen the air and flavor their sauces, and it’s been a staple in traditional medicine for centuries. From Moroccan mint tea to mojitos, this versatile herb has graced tables and remedies across the globe. But you don’t need to be a seasoned gardener to enjoy the benefits of fresh mint.
Why should you bother with these DIY tricks? Because growing mint at home shouldn’t be a constant struggle! These simple hacks will help you tame its wild nature, prevent it from invading your entire garden, and ensure a bountiful harvest for all your culinary and beverage needs. Imagine stepping outside to snip fresh mint for your iced tea on a hot summer day – that’s the dream we’re chasing! So, let’s dive in and unlock the secrets to a thriving mint patch, no matter your gardening experience.
Growing Mint at Home: A Beginner’s Guide to a Bountiful Harvest
Hey there, fellow plant enthusiasts! I’m so excited to share my experiences and tips on growing mint at home. Mint is one of the easiest and most rewarding herbs to cultivate, and having a fresh supply readily available is a game-changer for everything from mojitos to homemade teas. Plus, the aroma is simply divine! Let’s dive in and get your mint garden started.
Why Grow Mint?
Before we get into the how-to, let’s quickly touch on why mint is such a fantastic herb to grow:
* Versatility: Mint can be used in countless culinary creations, beverages, and even homemade beauty products.
* Ease of Growth: Mint is incredibly resilient and thrives in various conditions, making it perfect for beginners.
* Pest Repellent: Mint naturally repels many common garden pests, making it a valuable addition to your garden.
* Aromatic Delight: The refreshing scent of mint can uplift your mood and create a pleasant atmosphere.
* Prolific Grower: Be warned, mint is a vigorous grower! This means you’ll have plenty to harvest and share.
Choosing Your Mint Variety
There are many different varieties of mint, each with its unique flavor and aroma. Here are a few popular options:
* Peppermint: A classic choice with a strong, refreshing flavor. Great for teas and desserts.
* Spearmint: A milder, sweeter flavor than peppermint. Perfect for mojitos and savory dishes.
* Chocolate Mint: A delightful variety with a hint of chocolate flavor. Ideal for desserts and teas.
* Apple Mint: A fruity, apple-like aroma and flavor. Delicious in salads and beverages.
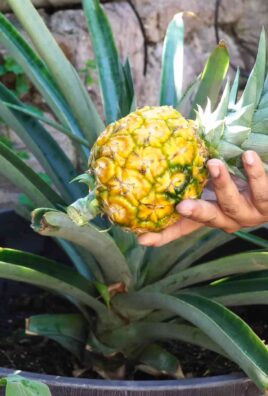
* Pineapple Mint: A tropical twist with a pineapple-like scent and flavor. Adds a unique touch to cocktails and fruit salads.
I personally love having both peppermint and spearmint on hand, but feel free to experiment and find your favorites!
Materials You’ll Need
Before we start planting, let’s gather all the necessary materials:
* Mint Seeds or Cuttings: You can start from seeds, but I find it easier and faster to propagate from cuttings. You can often find mint cuttings at your local nursery or even from a friend who already grows mint.
* Pot or Container: Choose a pot that is at least 6 inches in diameter and has drainage holes. Remember, mint spreads quickly, so a container is often the best way to keep it contained.
* Potting Soil: Use a well-draining potting mix. Avoid using garden soil, as it can become compacted and hinder drainage.
* Watering Can or Hose: For watering your mint plants.
* Scissors or Pruning Shears: For harvesting and pruning.
* Optional: Fertilizer: A balanced liquid fertilizer can help your mint plants thrive.
Planting Your Mint
Now for the fun part! Let’s get your mint planted.
Starting from Cuttings
This is my preferred method, as it’s quicker and easier than starting from seeds.
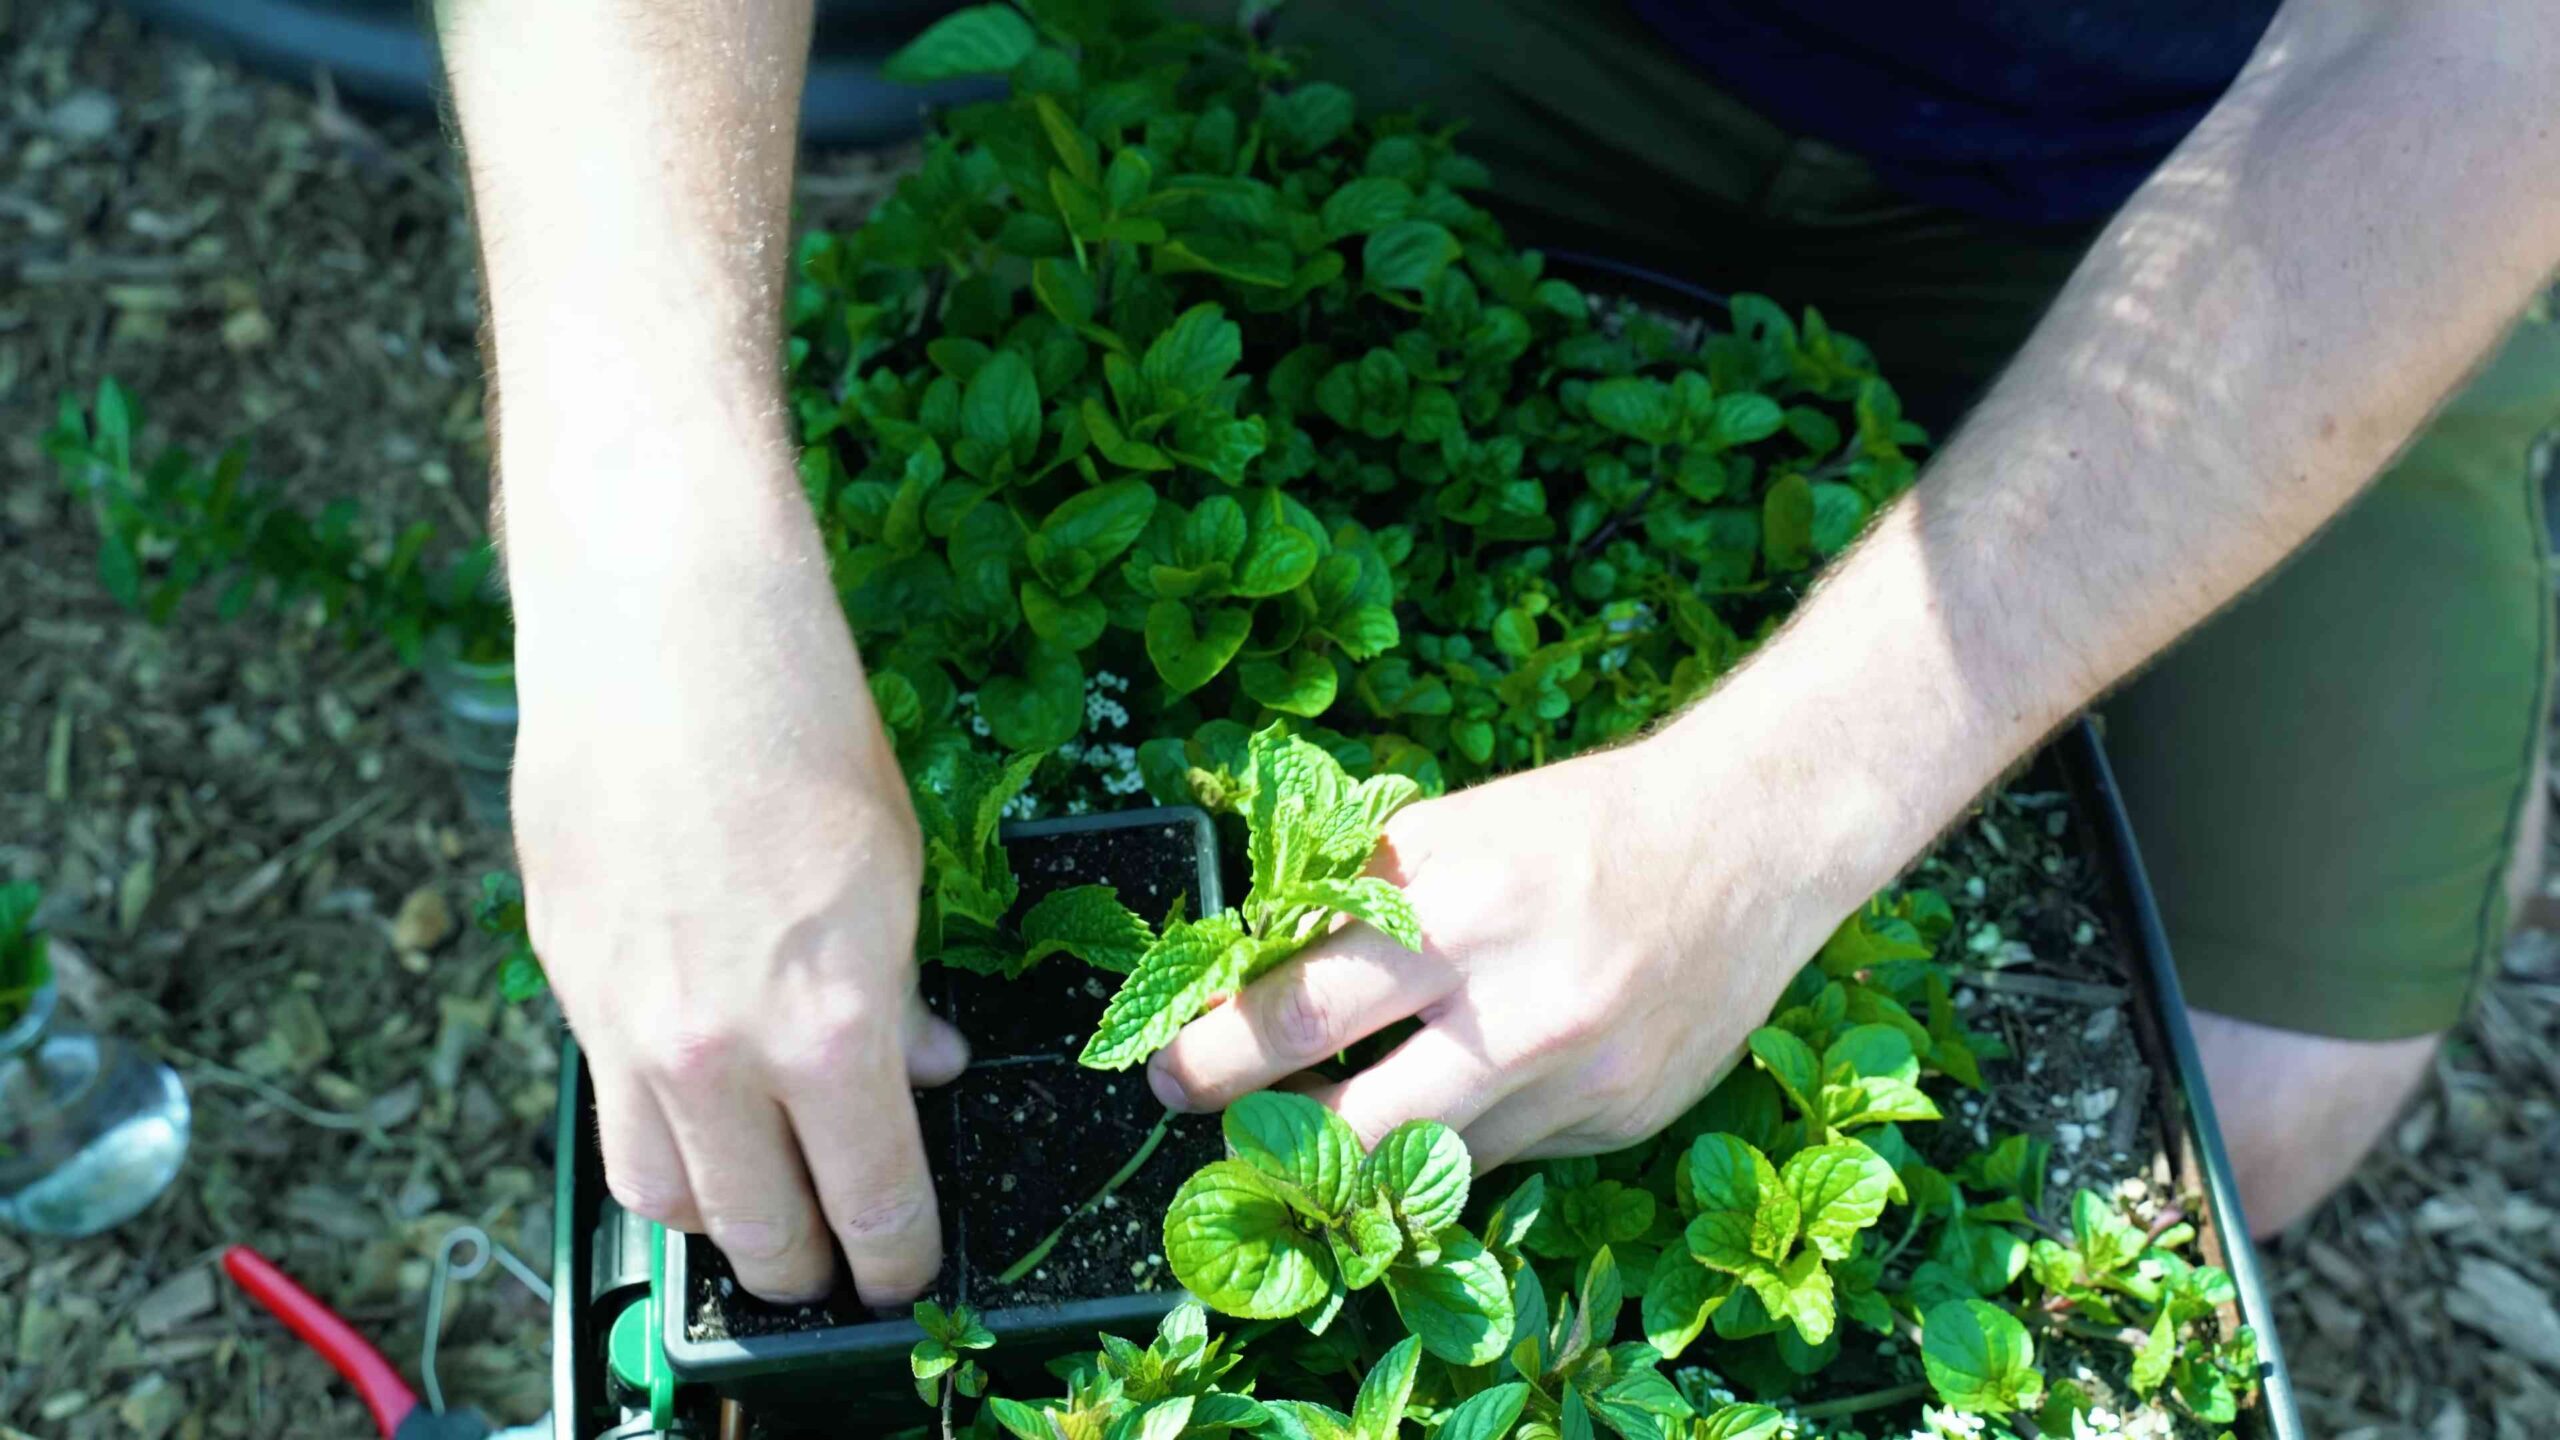
1. Prepare the Cutting: Take a cutting from a healthy mint plant, about 4-6 inches long. Remove the leaves from the bottom 2 inches of the stem.
2. Rooting the Cutting: Place the cutting in a glass of water, ensuring that the bottom nodes (where the leaves were removed) are submerged. Place the glass in a bright, indirect light location.
3. Wait for Roots to Develop: Change the water every few days. Within a week or two, you should see roots starting to grow.
4. Plant the Cutting: Once the roots are about an inch long, it’s time to plant the cutting in your pot. Fill the pot with potting soil, leaving about an inch of space at the top.
5. Create a Hole: Make a small hole in the soil with your finger or a pencil.
6. Plant the Cutting: Gently place the rooted cutting into the hole and cover the roots with soil.
7. Water Thoroughly: Water the soil thoroughly until water drains out of the bottom of the pot.
Starting from Seeds
Starting from seeds takes a bit longer, but it’s still a viable option.
1. Sow the Seeds: Fill your pot with potting soil. Sprinkle the mint seeds evenly over the surface of the soil.
2. Cover Lightly: Lightly cover the seeds with a thin layer of soil. Mint seeds need light to germinate.
3. Water Gently: Gently water the soil using a spray bottle to avoid disturbing the seeds.
4. Keep Moist: Keep the soil consistently moist but not waterlogged. You can cover the pot with plastic wrap to create a humid environment.
5. Provide Light: Place the pot in a bright, indirect light location.
6. Wait for Germination: Mint seeds typically germinate within 10-14 days.
7. Thin Seedlings: Once the seedlings have emerged, thin them out, leaving the strongest seedlings spaced about 2-3 inches apart.
Caring for Your Mint Plant
Once your mint is planted, it’s important to provide proper care to ensure healthy growth.
Light
Mint thrives in partial shade to full sun. Aim for at least 4-6 hours of sunlight per day. If you’re growing mint indoors, place it near a sunny window or use a grow light.
Watering
Water your mint plant regularly, keeping the soil consistently moist but not waterlogged. Check the soil moisture by sticking your finger into the soil. If the top inch feels dry, it’s time to water.
Fertilizing
Mint is not a heavy feeder, but a balanced liquid fertilizer can help promote healthy growth. Fertilize every 2-4 weeks during the growing season (spring and summer). Follow the instructions on the fertilizer label.
Pruning
Pruning is essential for keeping your mint plant healthy and productive. Regular pruning encourages bushier growth and prevents the plant from becoming leggy.
* Pinch Back: Pinch back the tips of the stems regularly to encourage branching.
* Harvest Regularly: Harvest mint leaves frequently to promote new growth.
* Remove Flowers: Remove any flowers that appear, as flowering can reduce leaf production.
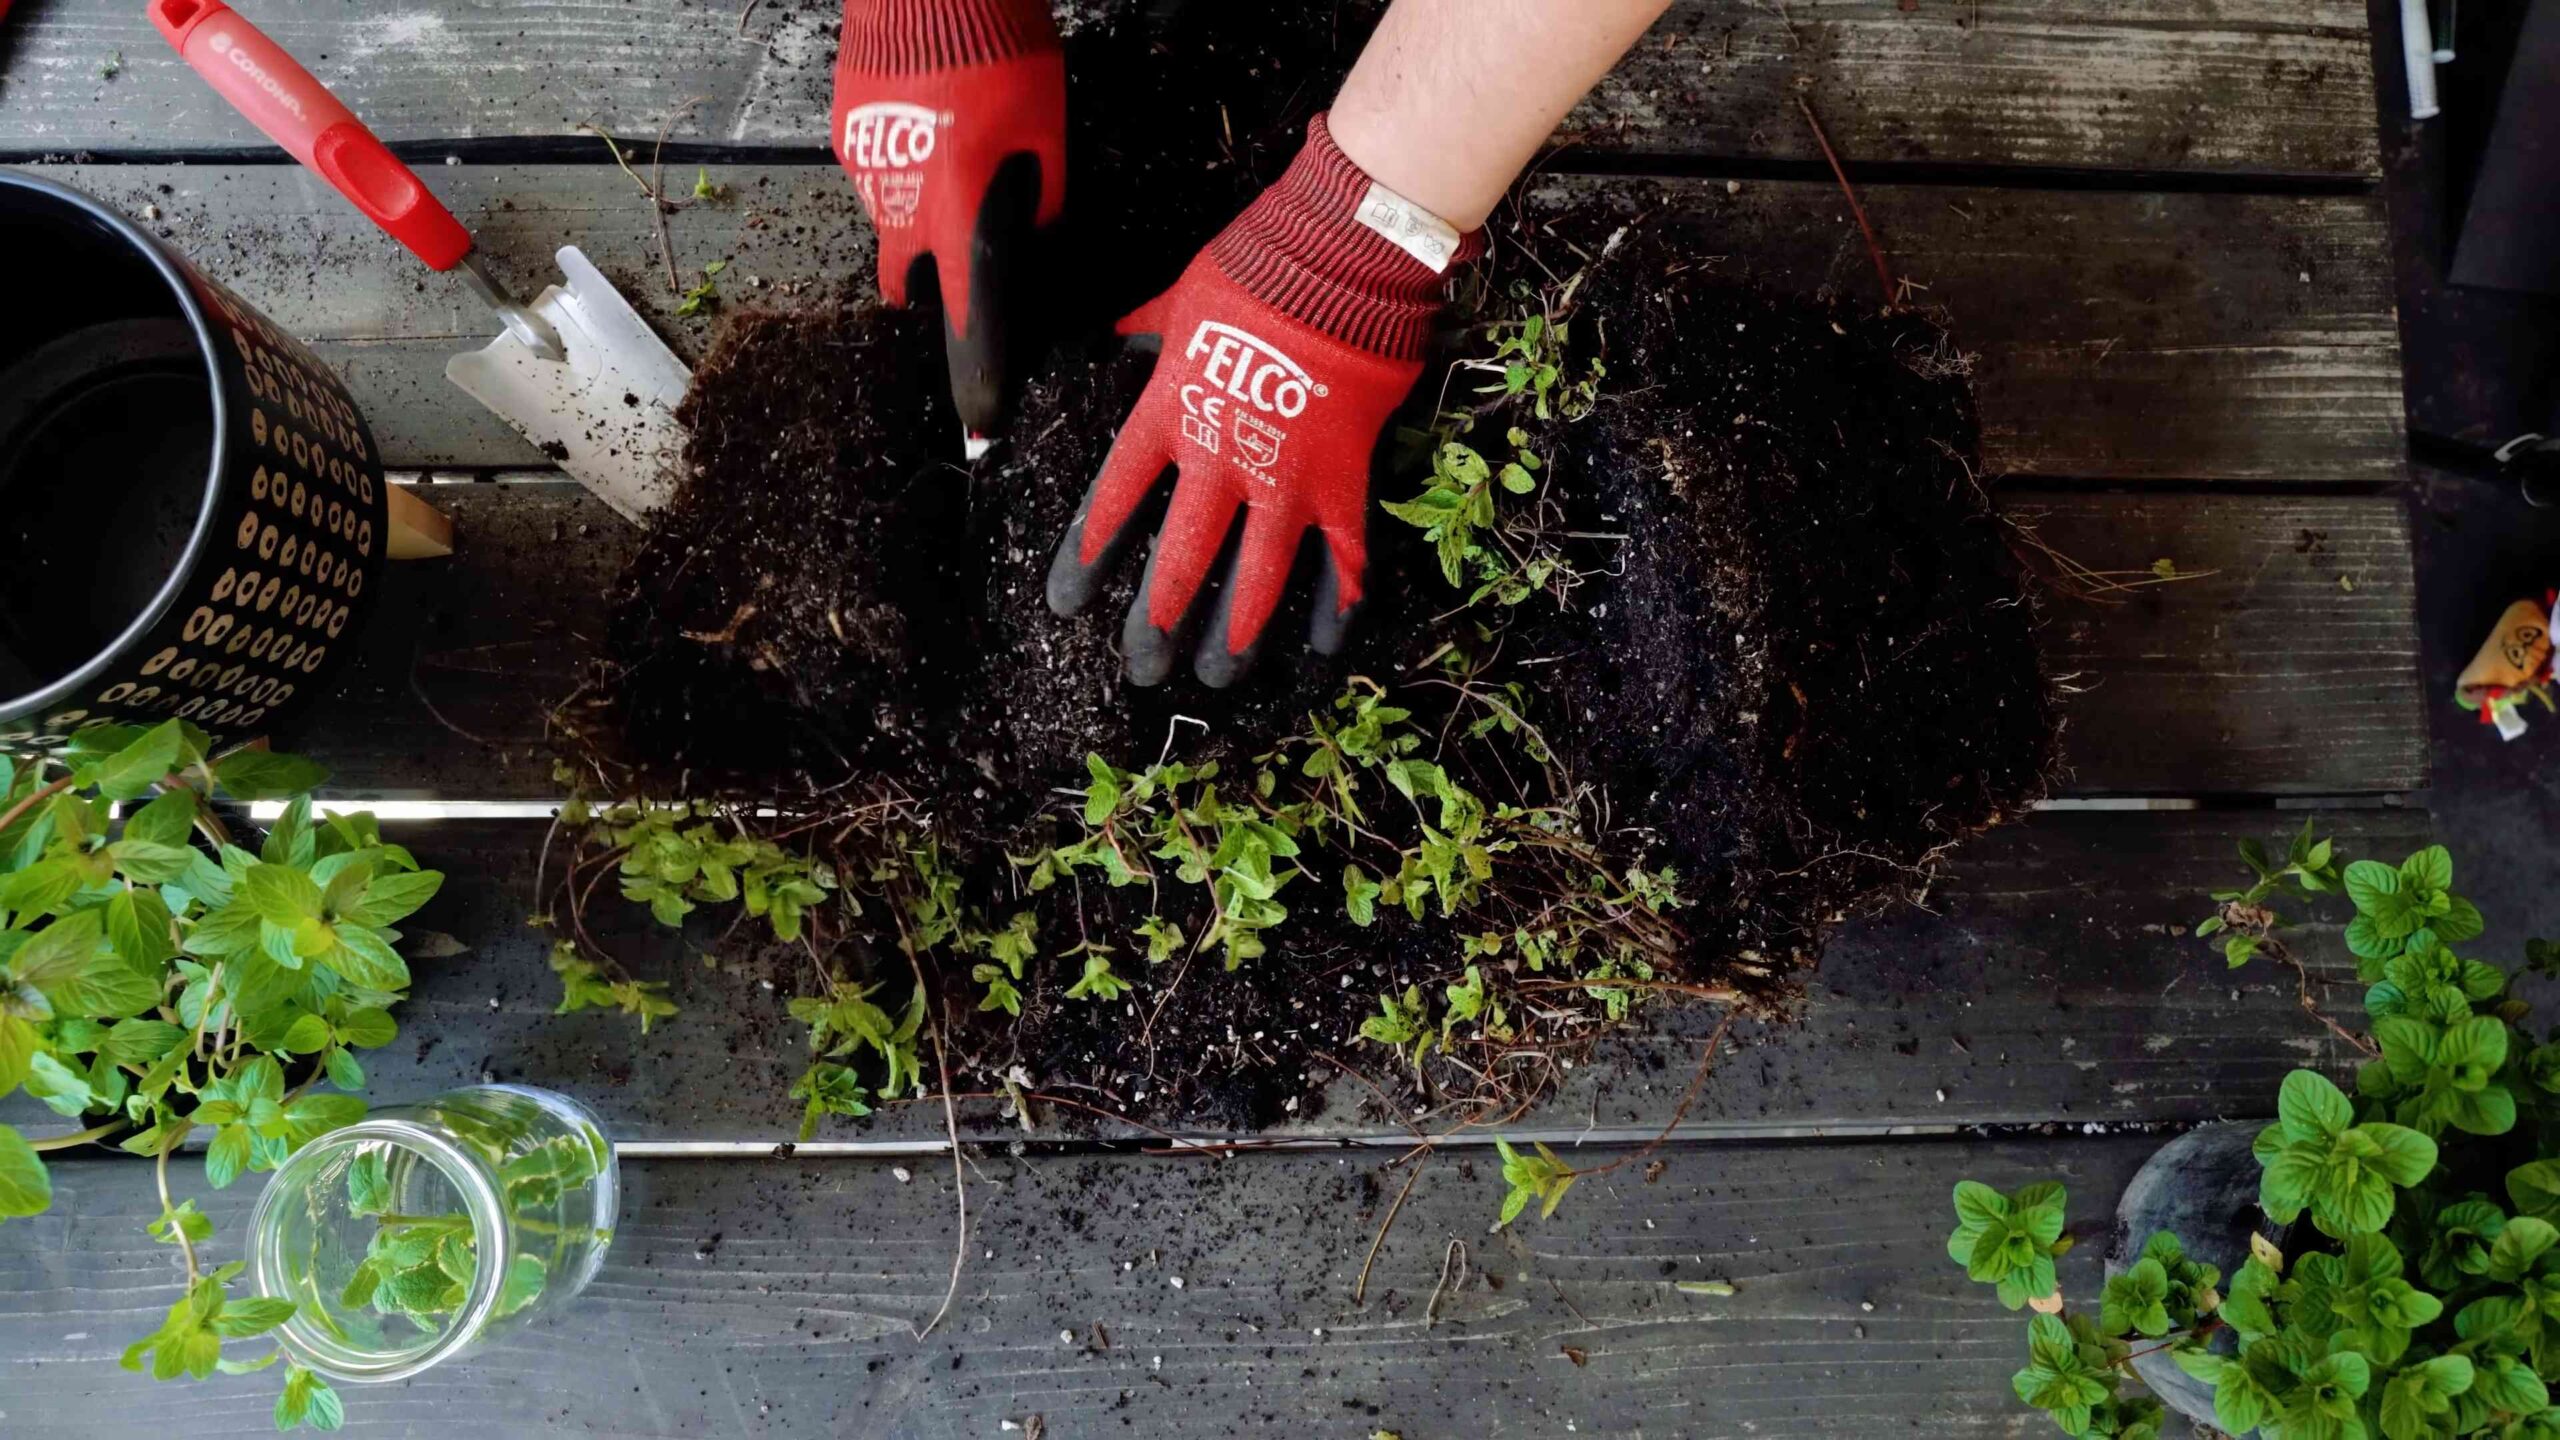
Controlling Spread
As I mentioned earlier, mint is a vigorous grower and can quickly spread if left unchecked. If you’re growing mint in the ground, consider planting it in a container or using a barrier to prevent it from spreading.
Harvesting Your Mint
Harvesting mint is easy and rewarding!
1. When to Harvest: You can start harvesting mint leaves as soon as the plant is established, typically a few weeks after planting.
2. How to Harvest: Use scissors or pruning shears to cut the stems just above a leaf node. This will encourage new growth from that point.
3. Harvest Regularly: Harvest mint leaves frequently to promote continuous growth.
4. Best Time to Harvest: The best time to harvest mint is in the morning, after the dew has dried.
Preserving Your Mint
If you have more mint than you can use fresh, there are several ways to preserve it:
* Drying: Hang bunches of mint upside down in a cool, dry place until the leaves are completely dry. Once dry, crumble the leaves and store them in an airtight container.
* Freezing: Freeze mint leaves in ice cube trays with water or olive oil. This is a great way to preserve the flavor and aroma of fresh mint.
* Infusing: Infuse mint leaves in vinegar or oil to create flavorful condiments.
Troubleshooting
While mint is generally easy to grow, you may encounter a few problems:
* Pests: Mint is relatively pest-resistant, but aphids and spider mites can sometimes be a problem. Treat infestations with insecticidal soap or neem oil.
* Diseases: Mint can be susceptible to fungal diseases, such as powdery mildew. Ensure good air circulation and avoid overwatering to prevent these diseases.
* Yellowing Leaves: Yellowing leaves can be a sign of overwatering, underwatering, or nutrient deficiency. Adjust your watering schedule and fertilize as needed.
Enjoying Your Homegrown Mint
Now that you’ve successfully grown your own mint, it’s time to enjoy the fruits (or rather, leaves) of your labor! Here are a few ideas:
* Mojitos: A classic cocktail that showcases the refreshing flavor of mint.
* Mint Tea: Brew a soothing cup of mint tea using fresh or dried mint leaves.
* Salads: Add mint leaves to salads for a burst of flavor.
* Desserts: Use mint in desserts such as chocolate mint brownies or mint chocolate chip ice cream.
* Garnish: Use mint leaves as a garnish for cocktails,
Conclusion
So, there you have it! Growing mint at home isn’t just a fun project; it’s a gateway to fresher flavors, cost savings, and a more sustainable lifestyle. Ditch the wilted, overpriced bunches from the grocery store and embrace the vibrant, aromatic world of homegrown mint. The benefits are undeniable: you’ll have a constant supply of this versatile herb right at your fingertips, ready to elevate your culinary creations, refresh your beverages, and even soothe your senses with its calming fragrance.
But the real magic lies in the control you have over the entire process. You know exactly where your mint is coming from, what it’s been exposed to, and how it’s been cared for. This translates to a superior product, bursting with flavor and free from the pesticides and chemicals that can sometimes linger on commercially grown herbs. Plus, let’s be honest, there’s a certain satisfaction that comes from nurturing something from a tiny sprig to a thriving plant.
Don’t be afraid to experiment! Try different varieties of mint, like peppermint, spearmint, chocolate mint, or even orange mint, to discover your favorite flavor profiles. Plant them in different containers, try different soil mixes, and see what works best for your environment. You can even get creative with your growing methods, exploring vertical gardening or hydroponics for a unique twist.
Consider these variations to further enhance your mint-growing experience:
* Mint Tea Garden: Dedicate a small space to growing several varieties of mint specifically for making tea. Imagine the delightful combinations you could create!
* Mint-Infused Water Station: Keep a pitcher of water infused with fresh mint sprigs in your refrigerator for a refreshing and healthy beverage option.
* Mint Pest Control: Plant mint around your garden to deter certain pests naturally. Its strong scent can repel unwanted insects.
* Mint Propagation Station: Once your mint is established, easily propagate new plants from cuttings to expand your mint empire or share with friends and family.
Growing mint at home is more than just a trend; it’s a practical and rewarding skill that can enrich your life in countless ways. It’s a small step towards self-sufficiency, a connection to nature, and a delicious addition to your everyday routine.
We wholeheartedly encourage you to give this DIY trick a try. Start small, be patient, and don’t be afraid to make mistakes. The journey of growing your own mint is just as rewarding as the final product. And once you’ve experienced the joy of harvesting your own fresh mint, we’re confident you’ll be hooked!
So, grab a pot, some soil, and a sprig of mint, and get ready to embark on a flavorful adventure. We can’t wait to hear about your experiences! Share your tips, tricks, and photos in the comments below. Let’s create a community of mint-loving gardeners and inspire others to discover the joys of growing their own herbs. Happy growing!
Frequently Asked Questions (FAQ)
What kind of container is best for growing mint?
Mint is an aggressive grower and can quickly take over a garden bed if left unchecked. Therefore, it’s generally recommended to grow mint in a container. The best container will have adequate drainage holes to prevent waterlogging, which can lead to root rot. Terracotta pots are a good choice as they allow the soil to breathe, but plastic pots are also suitable and retain moisture better. The size of the pot should be at least 6 inches in diameter and depth to allow for sufficient root growth. Remember to repot your mint annually into a slightly larger container as it grows.
What type of soil should I use for growing mint?
Mint thrives in well-draining soil that is rich in organic matter. A good potting mix specifically formulated for herbs is an excellent choice. You can also create your own mix by combining equal parts of potting soil, compost, and perlite or vermiculite. The compost will provide essential nutrients, while the perlite or vermiculite will improve drainage and aeration. Avoid using heavy clay soil, as it can become waterlogged and suffocate the roots.
How much sunlight does mint need?
Mint prefers partial shade, especially during the hottest part of the day. While it can tolerate full sun, the leaves may become scorched or stressed in intense heat. Aim for at least 4-6 hours of sunlight per day, ideally in the morning or late afternoon. If you’re growing mint indoors, place it near a sunny window that receives bright, indirect light. You may need to supplement with artificial light if natural light is insufficient.
How often should I water my mint plant?
Mint likes to be kept consistently moist, but not waterlogged. Water thoroughly when the top inch of soil feels dry to the touch. During hot weather, you may need to water more frequently. Avoid letting the soil dry out completely, as this can stress the plant and cause the leaves to wilt. When watering, water at the base of the plant to avoid wetting the leaves, which can increase the risk of fungal diseases.
How do I harvest mint?
Harvesting mint is easy and can be done regularly to encourage bushier growth. Simply snip off stems just above a leaf node (the point where leaves grow from the stem). This will encourage the plant to branch out and produce more leaves. You can harvest up to one-third of the plant at a time without harming it. The best time to harvest mint is in the morning, after the dew has dried, as the essential oils are most concentrated at this time.
How do I prevent mint from spreading too much?
As mentioned earlier, mint is an aggressive grower and can spread rapidly through its underground runners. To prevent it from taking over your garden, always grow it in a container. If you want to plant it in the ground, consider burying a large container (without drainage holes) in the soil and planting the mint inside. This will create a barrier that prevents the roots from spreading. Regularly prune the plant to keep it under control and remove any runners that escape the container.
What are some common problems with growing mint?
Some common problems with growing mint include:
* Root rot: Caused by overwatering or poor drainage. Ensure your pot has adequate drainage holes and avoid overwatering.
* Powdery mildew: A fungal disease that appears as a white, powdery coating on the leaves. Improve air circulation and avoid wetting the leaves when watering.
* Pests: Mint can be susceptible to pests such as aphids, spider mites, and slugs. Inspect your plants regularly and treat any infestations promptly with insecticidal soap or neem oil.
* Leggy growth: Caused by insufficient sunlight. Move your plant to a sunnier location or supplement with artificial light.
Can I grow mint indoors?
Yes, mint can be successfully grown indoors, provided it receives enough light and is properly cared for. Place your mint plant near a sunny window that receives bright, indirect light. You may need to supplement with artificial light if natural light is insufficient. Ensure the pot has adequate drainage and water regularly, allowing the top inch of soil to dry out between waterings.
How do I propagate mint?
Mint is very easy to propagate from cuttings. Simply take a 4-6 inch stem cutting from a healthy plant, remove the lower leaves, and place the cutting in a glass of water. Roots should begin to form within a week or two. Once the roots are about an inch long, you can transplant the cutting into a pot filled with well-draining potting mix. Keep the soil moist until the plant is established.
How do I store fresh mint?
To store fresh mint, rinse the sprigs and pat them dry. You can then wrap them loosely in a damp paper towel and store them in a plastic bag in the refrigerator. This will help keep them fresh for up to a week. Alternatively, you can freeze mint leaves for longer storage. To freeze, wash and dry the leaves, then spread them out on a baking sheet and freeze until solid. Once frozen, transfer the leaves to a freezer bag or container. Frozen mint can be used in smoothies, sauces, and other cooked dishes.
Leave a Comment