

Growing Peppers at Home can seem daunting, but trust me, it’s more rewarding than you might think! Imagine plucking vibrant, sun-ripened peppers straight from your garden, ready to spice up your favorite dishes. Forget those bland, store-bought peppers – we’re talking about flavor explosions right outside your door!
For centuries, peppers have been cultivated across the globe, from their origins in South America to becoming a staple in cuisines worldwide. Think of the fiery curries of India, the smoky flavors of Mexican cuisine, or the vibrant stews of the Caribbean – peppers are the unsung heroes adding depth and character to countless meals.
But why should you bother with growing peppers at home? Well, beyond the incredible flavor, it’s about control. You get to choose organic methods, avoid harmful pesticides, and nurture your plants from seed to harvest. Plus, let’s be honest, there’s a certain satisfaction that comes from nurturing something from a tiny seed into a bountiful harvest. In this article, I’m going to share some simple DIY tricks and hacks that will make growing peppers at home easier and more successful than you ever thought possible. Get ready to unleash your inner gardener and enjoy a pepper paradise!
Growing Peppers Like a Pro: My DIY Guide to a Bountiful Harvest
Hey there, fellow gardening enthusiasts! I’m so excited to share my tried-and-true method for growing peppers at home. Forget those flimsy supermarket peppers – we’re talking about vibrant, flavorful peppers bursting with sunshine and homegrown goodness. Whether you’re a seasoned gardener or just starting out, this guide will walk you through every step, from seed to salsa. Let’s get our hands dirty!
Choosing Your Pepper Varieties
Before we dive into the nitty-gritty, let’s talk peppers! The world of peppers is vast and exciting, so choosing the right varieties is crucial. Consider your taste preferences, climate, and available space.
* Sweet Peppers: Bell peppers (red, yellow, orange, green), banana peppers, and pimientos are great choices for salads, stuffing, and roasting.
* Hot Peppers: Jalapeños, serranos, cayenne peppers, habaneros, and ghost peppers offer varying levels of heat. Start with milder varieties if you’re new to spicy food.
* Consider your climate: Some peppers thrive in warmer climates, while others are more tolerant of cooler temperatures. Research which varieties are best suited for your region.
* Think about space: If you have limited space, opt for compact varieties or grow peppers in containers.
Starting Your Pepper Seeds Indoors
Starting pepper seeds indoors gives them a head start, especially in regions with shorter growing seasons. I usually start my seeds about 6-8 weeks before the last expected frost.
What you’ll need:
* Pepper seeds (of course!)
* Seed starting trays or small pots
* Seed starting mix (a light, well-draining mix is essential)
* Spray bottle with water
* Heat mat (optional, but highly recommended)
* Grow lights (also optional, but they make a huge difference)
* Clear plastic dome or plastic wrap
Step-by-step instructions:
1. Prepare your seed starting trays: Fill each cell of your seed starting tray or each small pot with seed starting mix. Gently tap the tray to settle the mix.
2. Sow the seeds: Place 2-3 pepper seeds in the center of each cell or pot. Cover the seeds with a thin layer of seed starting mix (about 1/4 inch).
3. Water gently: Use a spray bottle to mist the soil thoroughly. Avoid overwatering, as this can lead to damping off (a fungal disease that kills seedlings).
4. Provide warmth: Place the seed starting tray on a heat mat. Peppers need warm soil to germinate (around 80-85°F).
5. Maintain moisture: Cover the tray with a clear plastic dome or plastic wrap to create a humid environment. This helps the seeds germinate.
6. Provide light: Place the tray under grow lights or in a sunny window. If using a window, rotate the tray regularly to prevent the seedlings from leaning towards the light.
7. Monitor germination: Check the tray daily for signs of germination. Pepper seeds can take anywhere from 7 to 21 days to germinate, depending on the variety and temperature.
8. Remove the dome: Once the seedlings emerge, remove the plastic dome or plastic wrap to allow for better air circulation.
9. Water as needed: Water the seedlings when the soil surface feels dry to the touch. Avoid overwatering.
10. Fertilize lightly: Once the seedlings have their first set of true leaves (the leaves that look like miniature pepper leaves), start fertilizing them with a diluted liquid fertilizer (follow the instructions on the fertilizer package).
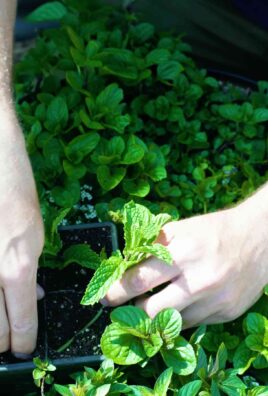
Transplanting Your Pepper Seedlings
Once the danger of frost has passed and the soil has warmed up, it’s time to transplant your pepper seedlings outdoors. This is a crucial step, so take your time and be gentle.
What you’ll need:
* Your pepper seedlings
* Gardening gloves
* Trowel or shovel
* Compost or well-rotted manure
* Watering can or hose
* Mulch (optional)
* Stakes or cages (for taller varieties)
Step-by-step instructions:
1. Harden off the seedlings: Before transplanting, you need to harden off the seedlings. This means gradually exposing them to outdoor conditions to help them adjust. Start by placing the seedlings outdoors in a sheltered location for a few hours each day, gradually increasing the amount of time they spend outdoors over the course of a week or two.
2. Prepare the planting site: Choose a sunny location with well-drained soil. Peppers need at least 6-8 hours of sunlight per day. Amend the soil with compost or well-rotted manure to improve its fertility and drainage.
3. Dig the holes: Dig holes that are slightly larger than the root balls of your pepper seedlings. Space the holes according to the mature size of the pepper variety you’re growing (usually 18-24 inches apart).
4. Remove the seedlings from their containers: Gently remove the seedlings from their seed starting trays or pots. Be careful not to damage the roots. If the roots are tightly bound, gently loosen them with your fingers.
5. Plant the seedlings: Place each seedling in a hole and backfill with soil. Gently firm the soil around the base of the plant.
6. Water thoroughly: Water the seedlings thoroughly after planting.
7. Mulch (optional): Apply a layer of mulch around the base of the plants to help retain moisture, suppress weeds, and regulate soil temperature.
8. Stake or cage (for taller varieties): If you’re growing taller pepper varieties, provide support with stakes or cages to prevent the plants from falling over.
Caring for Your Pepper Plants
Now that your pepper plants are in the ground, it’s time to provide them with the care they need to thrive.
Watering:
* Water your pepper plants regularly, especially during hot, dry weather.
* Water deeply and less frequently, rather than shallowly and more often. This encourages the roots to grow deeper, making the plants more drought-tolerant.
* Avoid overhead watering, as this can lead to fungal diseases. Water at the base of the plants.
Fertilizing:
* Fertilize your pepper plants every 2-3 weeks with a balanced fertilizer.
* Follow the instructions on the fertilizer package.
* Avoid over-fertilizing, as this can lead to excessive foliage growth and fewer peppers.
Pruning:
* Pruning pepper plants is optional, but it can help improve air circulation and sunlight penetration, leading to healthier plants and more peppers.
* Remove any suckers (small shoots that grow from the base of the plant) to encourage the plant to focus its energy on producing peppers.
* You can also remove some of the lower leaves to improve air circulation.
Pest and disease control:
* Keep an eye out for pests and diseases. Common pepper pests include aphids, spider mites, and whiteflies. Common pepper diseases include blossom end rot, fungal leaf spot, and viral diseases.
* If you notice any pests or diseases, take action promptly. You can use organic pest control methods, such as insecticidal soap or neem oil, to control pests. For diseases, you can use copper fungicide or other appropriate treatments.
* Prevention is key! Keep your garden clean and free of debris, and provide your pepper plants with proper care to help them resist pests and diseases.
Harvesting Your Peppers
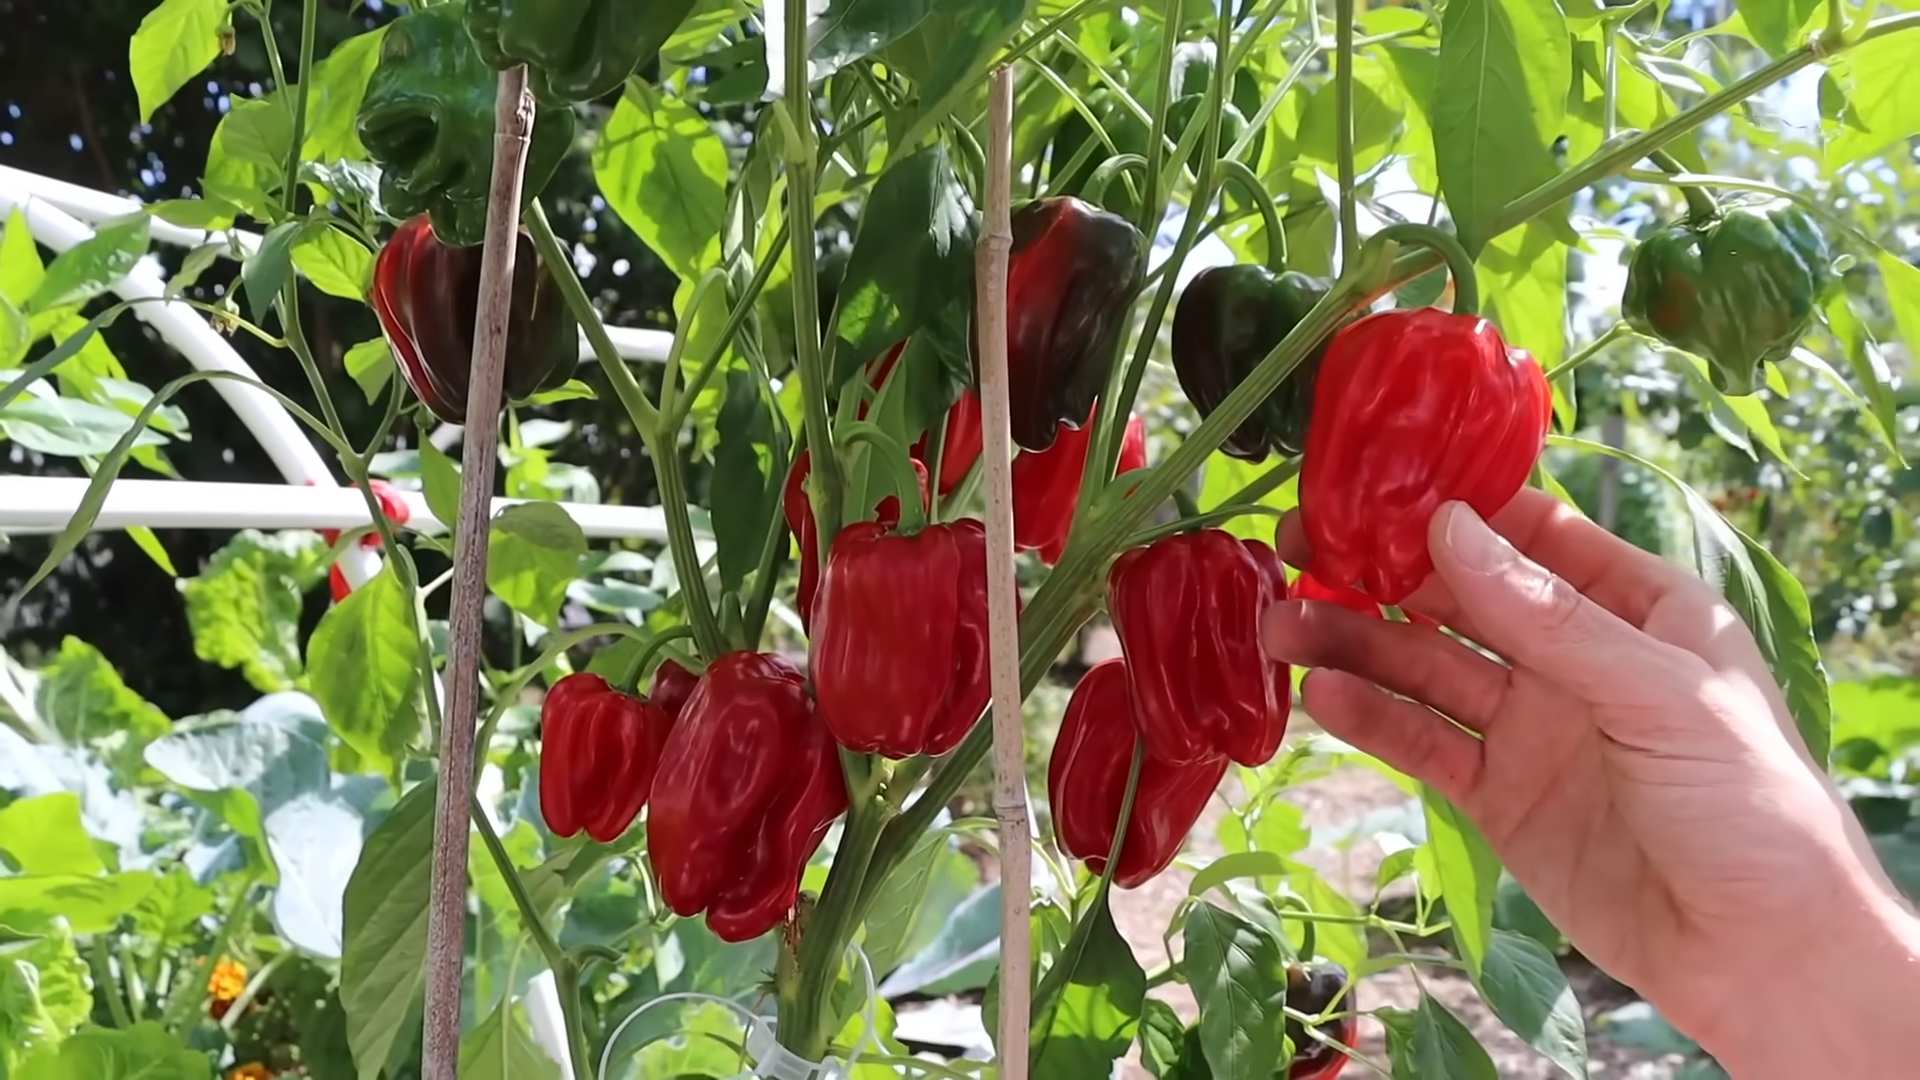
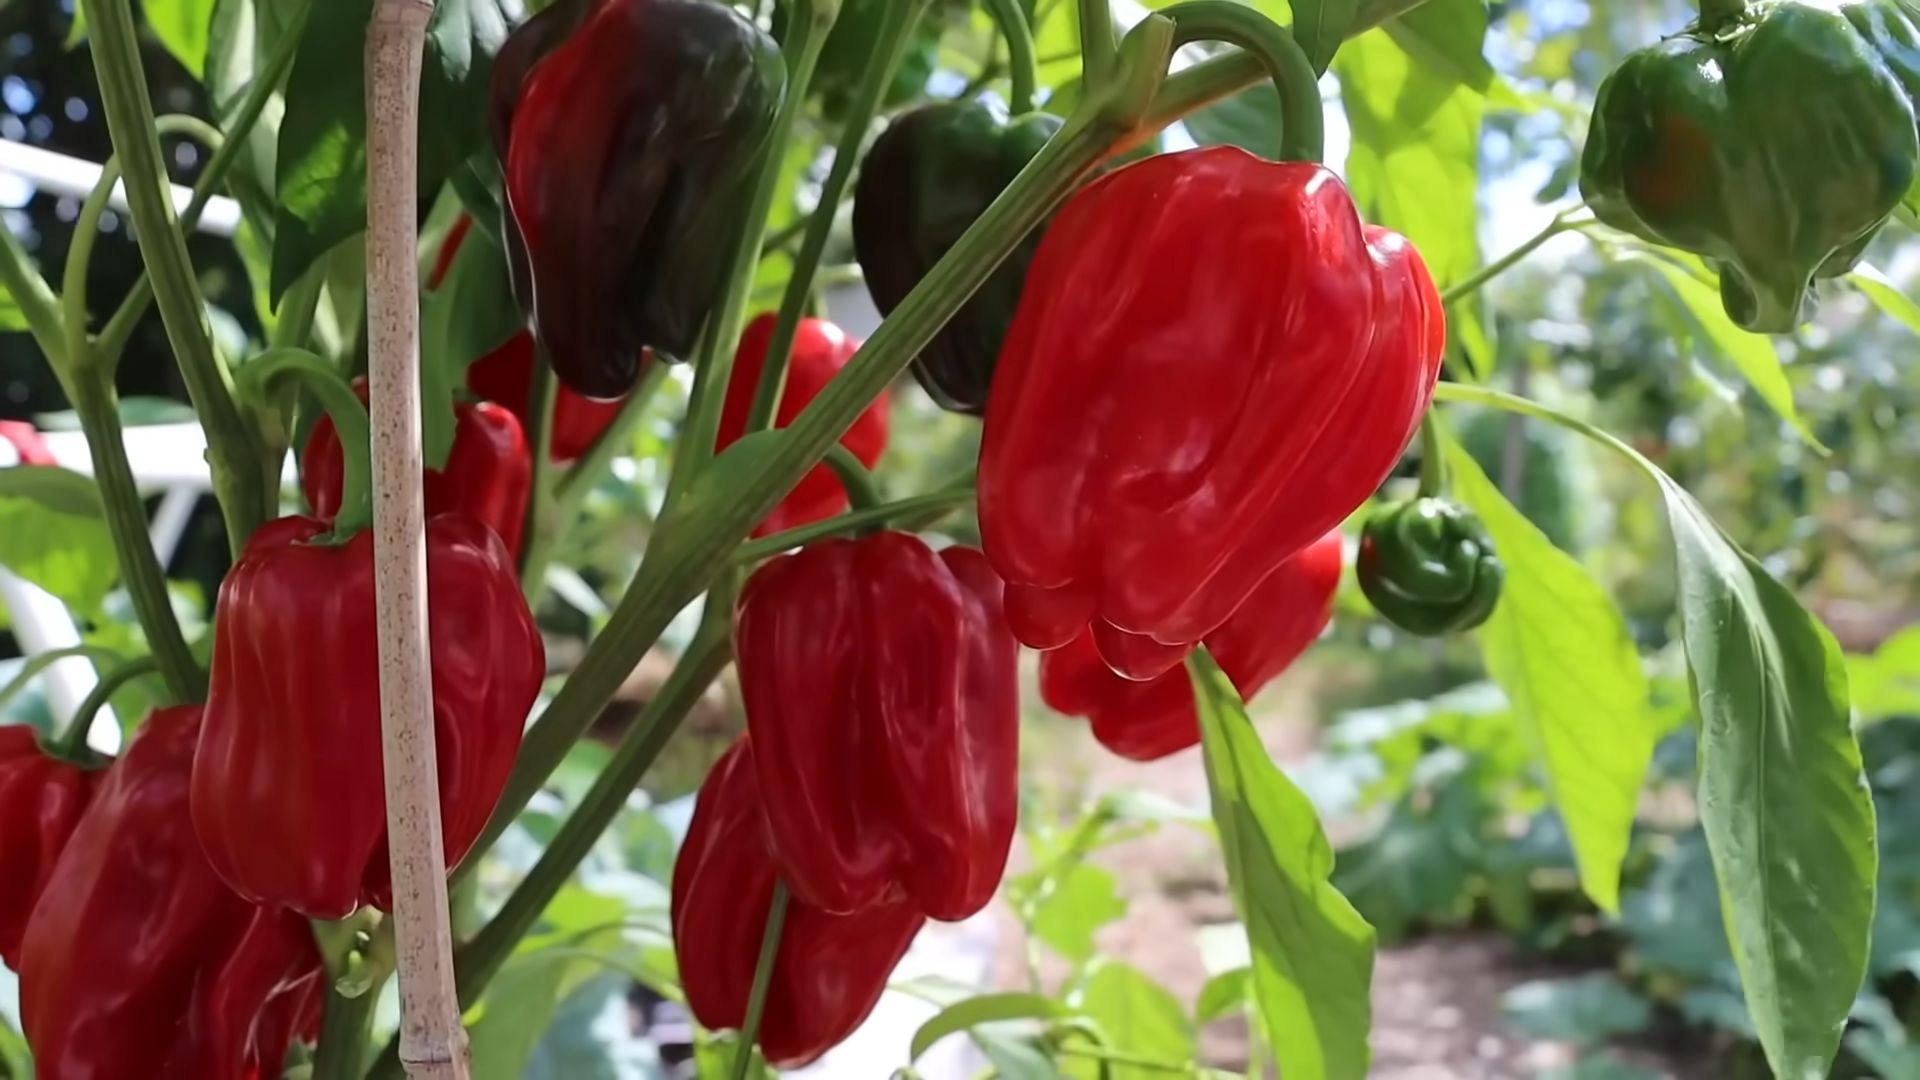
The moment we’ve all been waiting for – harvesting your peppers! The timing of the harvest depends on the pepper variety and your personal preferences.
* Sweet peppers: Harvest sweet peppers when they are fully colored and firm to the touch.
* Hot peppers: Harvest hot peppers when they are fully colored and have reached their desired level of heat. The longer you leave hot peppers on the plant, the hotter they will become.
* Use pruning shears or a sharp knife to cut the peppers from the plant.
* Handle hot peppers with care, as the capsaicin (the compound that makes them hot) can irritate your skin and eyes. Wear gloves when harvesting hot peppers.
Troubleshooting Common Pepper Problems
Even with the best care, you might encounter some problems while growing peppers. Here are a few common issues and how to address them:
* Blossom end rot: This is a common problem that causes the bottom of the pepper to rot. It’s usually caused by a calcium deficiency in the soil. To prevent blossom end rot, amend the soil with calcium before planting and water regularly.
* Aphids: These tiny pests can suck the sap from pepper plants, causing them to weaken and become stunted. Control aphids with insecticidal soap or neem oil.
* Sunscald: This occurs when peppers are exposed to too much direct sunlight, causing them to develop white or yellow patches. Provide shade for your pepper plants during the hottest part of the day.
Conclusion
So, there you have it! Growing peppers at home, especially with these simple DIY tricks, is not only achievable but also incredibly rewarding. We’ve walked you through the essentials, from seed starting to harvesting, and highlighted some key techniques that can dramatically improve your pepper-growing success. But why is this a must-try?
Firstly, the taste. There’s simply no comparison between a store-bought pepper and one you’ve nurtured yourself. The vibrant flavors, the satisfying crunch, and the sheer pride of knowing you grew it – it’s an experience that elevates every meal. Secondly, control. You have complete control over what goes into your peppers, from the soil they grow in to the fertilizers you use. This means you can ensure they’re organic, pesticide-free, and packed with nutrients. Finally, it’s a fantastic hobby. Gardening is therapeutic, connecting you with nature and providing a sense of accomplishment.
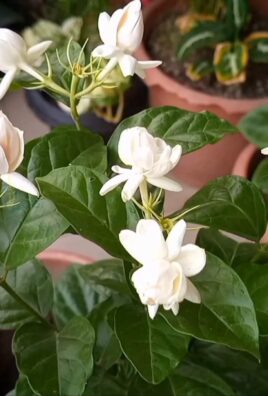
But don’t stop there! Experiment with different varieties of peppers. Try growing sweet bell peppers alongside fiery habaneros. Consider using different types of containers, from traditional pots to raised beds or even vertical gardens. You can also explore companion planting, pairing your peppers with herbs like basil or marigolds to deter pests and improve growth. For those in colder climates, consider investing in a small greenhouse or using grow lights to extend your growing season.
Remember that the key to successful **growing peppers at home** lies in consistent care and attention. Check your plants regularly for signs of pests or diseases, water them adequately, and provide them with the nutrients they need. Don’t be afraid to experiment and learn from your mistakes. Every season is a new opportunity to refine your techniques and grow even better peppers.
We wholeheartedly encourage you to give these DIY tricks a try. Whether you’re a seasoned gardener or a complete beginner, you’ll be amazed at how easy and rewarding it is to grow your own peppers. And most importantly, we want to hear about your experiences! Share your photos, tips, and stories with us in the comments below. Let’s create a community of pepper-growing enthusiasts and learn from each other. Happy growing!
Frequently Asked Questions (FAQ)
1. What are the best pepper varieties to grow for beginners?
For beginners, we recommend starting with easier-to-grow varieties like bell peppers (California Wonder, Ace), jalapeños, and banana peppers. These peppers are relatively low-maintenance and produce reliable yields. They are also readily available as seedlings or seeds. Avoid extremely hot peppers like ghost peppers or Scotch bonnets until you have some experience under your belt, as they can be more challenging to cultivate. Remember to choose varieties that are well-suited to your local climate and growing conditions.
2. How often should I water my pepper plants?
Watering frequency depends on several factors, including the weather, the type of soil, and the size of your plants. As a general rule, water your pepper plants deeply whenever the top inch of soil feels dry to the touch. Avoid overwatering, as this can lead to root rot. During hot, dry weather, you may need to water daily. In cooler, wetter weather, you may only need to water every few days. Check the soil moisture regularly and adjust your watering schedule accordingly. Using a moisture meter can be helpful in determining when to water.
3. What kind of fertilizer should I use for my pepper plants?
Pepper plants benefit from a balanced fertilizer with a slightly higher phosphorus content, which promotes flowering and fruit production. Look for a fertilizer with an NPK ratio (nitrogen, phosphorus, potassium) of around 5-10-5 or 10-20-10. You can use either a granular fertilizer or a liquid fertilizer. Granular fertilizers are slow-release and provide nutrients over a longer period. Liquid fertilizers are fast-acting and can be applied directly to the leaves (foliar feeding) for quick absorption. Fertilize your pepper plants every 2-3 weeks during the growing season. Avoid over-fertilizing, as this can burn the roots and damage the plants.
4. How do I protect my pepper plants from pests and diseases?
Prevention is key when it comes to pests and diseases. Start by choosing disease-resistant varieties of peppers. Ensure your plants have good air circulation and are not overcrowded. Regularly inspect your plants for signs of pests or diseases. Common pests that affect pepper plants include aphids, spider mites, and whiteflies. You can control these pests with insecticidal soap, neem oil, or by introducing beneficial insects like ladybugs. Common diseases that affect pepper plants include blossom end rot, fungal leaf spots, and viral diseases. Blossom end rot is caused by a calcium deficiency and can be prevented by adding calcium to the soil. Fungal leaf spots can be treated with a fungicide. Viral diseases are often spread by insects, so controlling pests is important. Remove and destroy any infected plants to prevent the spread of disease.
5. When is the best time to harvest my peppers?
The best time to harvest your peppers depends on the variety and your personal preference. Bell peppers are typically harvested when they are fully colored and firm to the touch. Jalapeños are usually harvested when they are green and about 3-4 inches long. Hot peppers can be harvested at any stage of maturity, but they will become hotter as they ripen. Use a sharp knife or scissors to cut the peppers from the plant, leaving a small stem attached. Regular harvesting encourages the plant to produce more peppers.
6. My pepper plants are flowering, but not producing any peppers. What could be the problem?
There are several reasons why your pepper plants might be flowering but not producing peppers. One common reason is lack of pollination. Pepper plants are self-pollinating, but they may need some help from wind or insects to transfer pollen. You can gently shake the plants or use a small brush to transfer pollen from one flower to another. Another reason could be high temperatures. Temperatures above 90°F (32°C) can inhibit pollination. Make sure your plants are getting enough water and shade during hot weather. Nutrient deficiencies can also prevent pepper production. Ensure your plants are getting enough phosphorus and potassium. Finally, stress from pests or diseases can also affect pepper production.
7. Can I grow peppers in containers?
Yes, peppers grow very well in containers. Choose a container that is at least 12 inches in diameter and has good drainage. Use a high-quality potting mix that is well-draining and rich in nutrients. Place the container in a sunny location that receives at least 6-8 hours of sunlight per day. Water regularly and fertilize every 2-3 weeks. Container-grown peppers may need to be watered more frequently than peppers grown in the ground, especially during hot weather.
8. How do I save seeds from my pepper plants?
Saving seeds from your pepper plants is a great way to ensure you have a supply of seeds for next year’s growing season. Choose healthy, ripe peppers from your best-performing plants. Cut the peppers open and remove the seeds. Spread the seeds out on a paper towel and let them dry completely for several days. Once the seeds are dry, store them in an airtight container in a cool, dark, and dry place. Label the container with the variety of pepper and the date the seeds were collected. Pepper seeds can remain viable for several years if stored properly. Note that hybrid varieties may not produce true-to-type seeds, so you may not get the same results when growing from saved seeds.
9. What are some common mistakes to avoid when growing peppers?
Some common mistakes to avoid when **growing peppers at home** include:
* Starting seeds too late: Start your pepper seeds indoors 6-8 weeks before the last expected frost.
* Overwatering: Pepper plants prefer well-drained soil and do not like to be constantly wet.
* Underwatering: Pepper plants need consistent moisture, especially during hot weather.
* Not providing enough sunlight: Pepper plants need at least 6-8 hours of sunlight per day.
* Over-fertilizing: Too much fertilizer can burn the roots and damage the plants.
* Not providing support: Pepper plants can become top-heavy as they produce fruit, so they may need support from stakes or cages.
* Ignoring pests and diseases: Regularly inspect your plants for signs of pests or diseases and take action promptly.
10. Can I grow peppers indoors during the winter?
Yes, you can grow peppers indoors during the winter, but you will need to provide them with adequate light and warmth. Use grow lights to supplement natural sunlight. Place the plants in a warm room with temperatures between 65-75°F (18-24°C). Water regularly and fertilize every 2-3 weeks. You may need to hand-pollinate the flowers, as there will be no wind or insects to do it for you. Indoor-grown peppers may not produce as many peppers as outdoor-grown peppers, but you can still enjoy a harvest of fresh peppers during the winter months.

Leave a Comment