

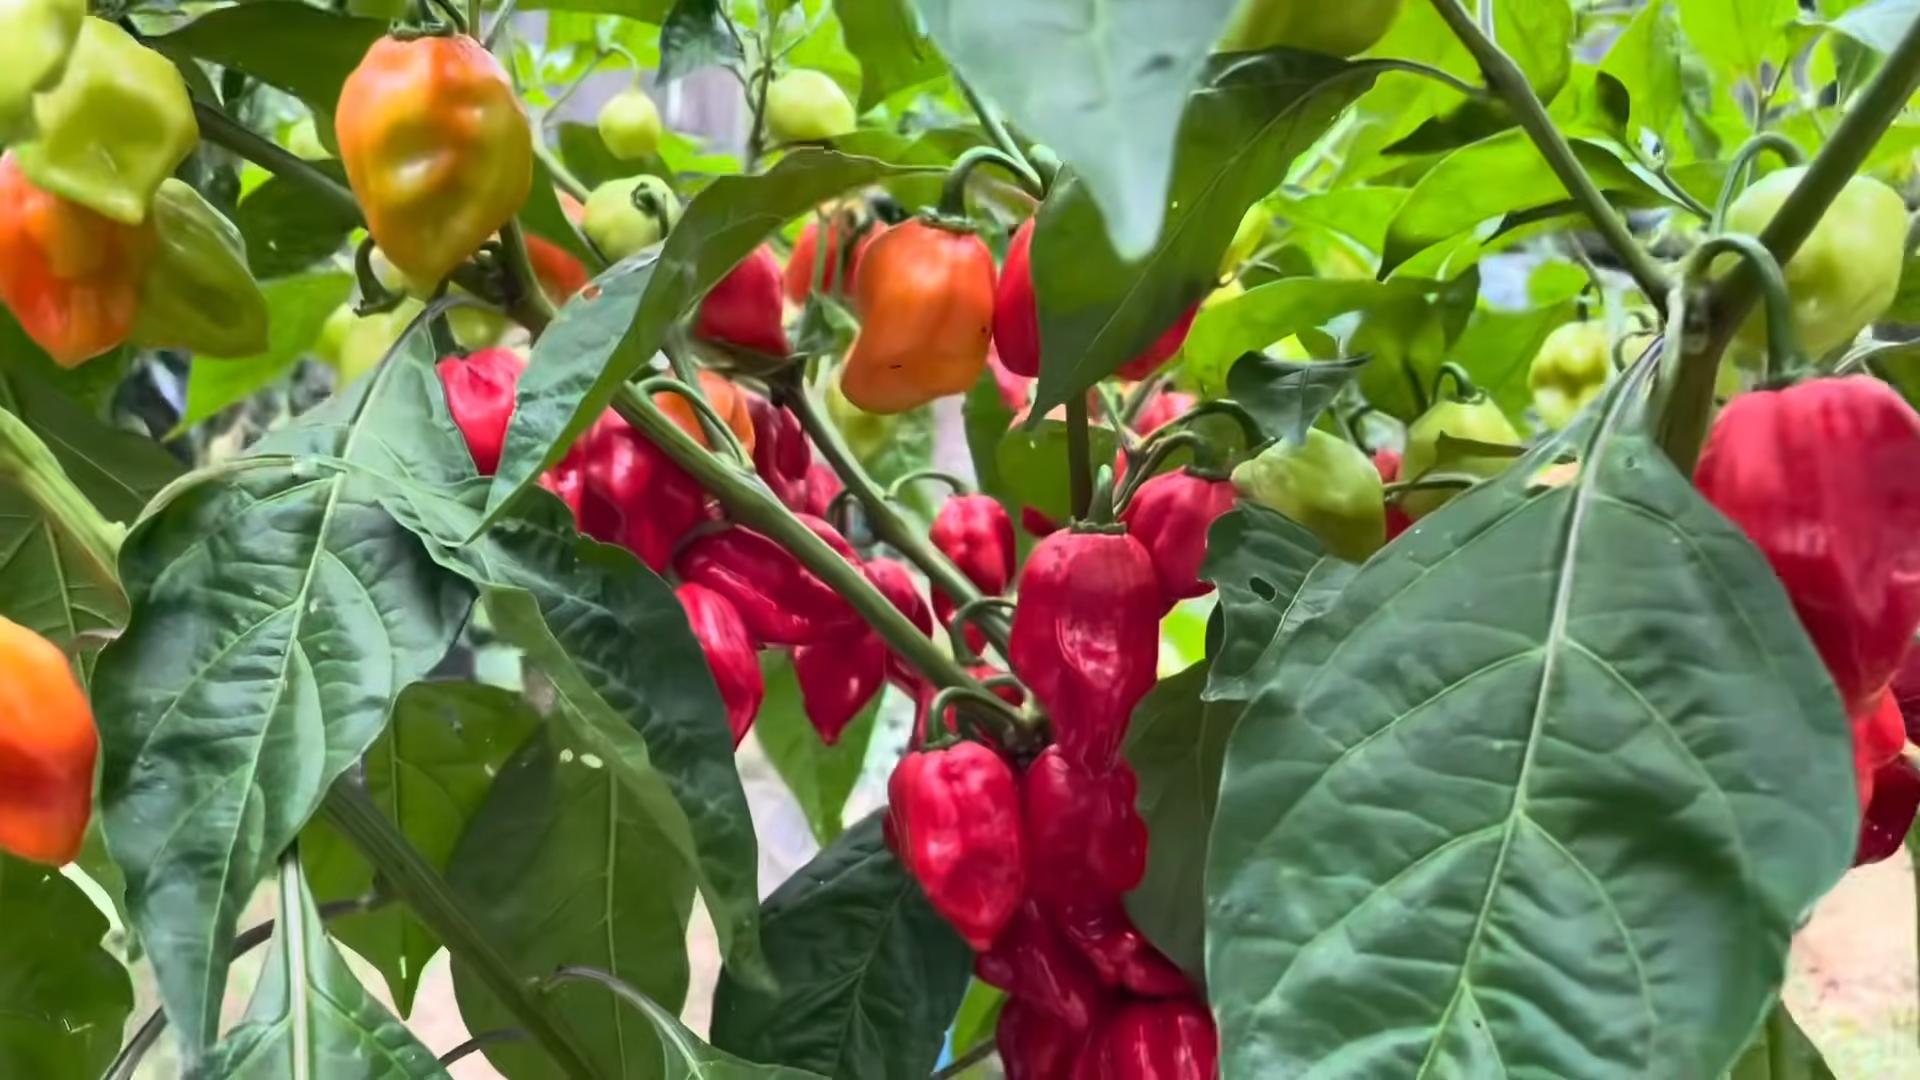
Growing Spicy Chilies at Home can seem daunting, but trust me, it’s an incredibly rewarding experience! Imagine plucking fiery peppers straight from your own garden, ready to add a kick to your favorite dishes. Forget bland store-bought chilies – we’re talking about homegrown heat, bursting with flavor and personality.
Chilies have a rich history, dating back thousands of years in South America, where they were not only a culinary staple but also held medicinal and even spiritual significance. From ancient civilizations to modern-day kitchens, the allure of the chili pepper has endured.
But why should you embark on this fiery adventure? Well, for starters, growing spicy chilies at home allows you to control exactly what goes into your food. No more worrying about pesticides or questionable growing practices. Plus, it’s a fantastic way to add a touch of the exotic to your garden, even if you only have a small balcony or patio. In this article, I’m going to share some simple DIY tricks and hacks that will help you cultivate a thriving chili pepper patch, even if you don’t have a green thumb. Get ready to turn up the heat!
Growing Spicy Chilies at Home: From Seed to Sizzling Harvest
Okay, chili lovers, gather ’round! I’m going to walk you through everything you need to know to grow your own fiery chilies right at home. Forget those bland supermarket peppers – we’re talking serious heat, customized to your exact spice preference. Whether you’re a seasoned gardener or a complete newbie, I promise this is a rewarding project. Let’s get started!
Choosing Your Chili Varieties
First things first, what kind of heat are we talking? There’s a whole world of chili peppers out there, ranging from mild to face-melting. Here’s a quick rundown of some popular choices:
* Jalapeño: A classic, medium-heat chili, perfect for salsas and poppers.
* Serrano: A bit hotter than jalapeño, with a bright, fresh flavor.
* Cayenne: A versatile chili, great for drying and making chili powder.
* Habanero: Now we’re getting serious! Habaneros pack a punch with a fruity, floral flavor.
* Scotch Bonnet: Similar to habaneros, but often with a sweeter, more intense heat.
* Ghost Pepper (Bhut Jolokia): Enter at your own risk! These are seriously hot and should be handled with care.
* Carolina Reaper: The current world record holder for hottest chili pepper. Only for the truly brave!
Consider your climate, growing space, and spice tolerance when making your selection. Some varieties are easier to grow in certain regions than others. Also, think about what you want to *do* with your chilies. Different varieties are better suited for different culinary uses.
Starting Your Chili Seeds
Chili seeds need a warm environment to germinate, so starting them indoors is usually the best bet, especially if you live in a cooler climate.
What You’ll Need:
* Chili seeds (obviously!)
* Seed starting trays or small pots
* Seed starting mix (a light, well-draining soil)
* A spray bottle
* A heat mat (optional, but highly recommended)
* A grow light (optional, but helpful)
Step-by-Step Instructions:
1. Prepare your seed starting trays or pots: Fill them with seed starting mix, leaving about half an inch of space at the top. Gently pat down the soil.
2. Sow the seeds: Place 2-3 seeds in each cell or pot, about ¼ inch deep.
3. Water gently: Use a spray bottle to moisten the soil. Avoid overwatering, as this can lead to rot.
4. Provide warmth: Place the trays or pots on a heat mat, if you have one. This will help the seeds germinate faster. The ideal temperature is around 80-85°F (27-29°C).
5. Provide light: If you’re using a grow light, position it a few inches above the trays or pots. If not, place them in a sunny windowsill.
6. Keep the soil moist: Check the soil daily and mist with water as needed to keep it consistently moist, but not soggy.
7. Be patient: Chili seeds can take anywhere from 1-3 weeks to germinate, depending on the variety and conditions.
8. Thin the seedlings: Once the seedlings have emerged and have a couple of true leaves (the second set of leaves), thin them out, leaving only the strongest seedling in each cell or pot. Snip off the weaker seedlings at the soil line with scissors.
Transplanting Your Chili Seedlings
Once your seedlings are a few inches tall and have a good root system, it’s time to transplant them into larger pots or directly into your garden.
What You’ll Need:
* Larger pots (at least 6 inches in diameter) or a prepared garden bed
* Potting mix or garden soil
* A trowel
* Water
Step-by-Step Instructions:
1. Harden off the seedlings: Before transplanting, you need to acclimate the seedlings to outdoor conditions. This process is called “hardening off.” Start by placing the seedlings outdoors in a sheltered spot for an hour or two each day, gradually increasing the amount of time they spend outside over the course of a week. This will help them adjust to the sun, wind, and temperature changes.
2. Prepare the pots or garden bed: If you’re using pots, fill them with potting mix. If you’re planting in the garden, choose a sunny spot with well-draining soil. Amend the soil with compost or other organic matter to improve its fertility.
3. Transplant the seedlings: Gently remove the seedlings from their seed starting trays or pots. Be careful not to damage the roots.
4. Plant them at the same depth: Plant the seedlings at the same depth they were growing in their original containers.
5. Water thoroughly: Water the seedlings well after transplanting.
Caring for Your Chili Plants
Now that your chili plants are in their final homes, it’s time to provide them with the care they need to thrive.
Sunlight: Chili plants need at least 6-8 hours of sunlight per day.
Watering: Water regularly, especially during hot, dry weather. Avoid overwatering, as this can lead to root rot. Let the soil dry out slightly between waterings.
Fertilizing: Feed your chili plants with a balanced fertilizer every 2-3 weeks. You can also use a fertilizer specifically formulated for peppers.
Pruning: Pruning is not essential, but it can help to promote bushier growth and increase yields. You can pinch off the tips of the branches to encourage side growth.
Pest and Disease Control: Keep an eye out for pests and diseases. Common pests include aphids, spider mites, and whiteflies. Common diseases include blossom end rot and fungal infections. Treat any problems promptly with appropriate organic or chemical controls.
Support: As your chili plants grow, they may need support to prevent them from falling over. You can use stakes, cages, or trellises to provide support.
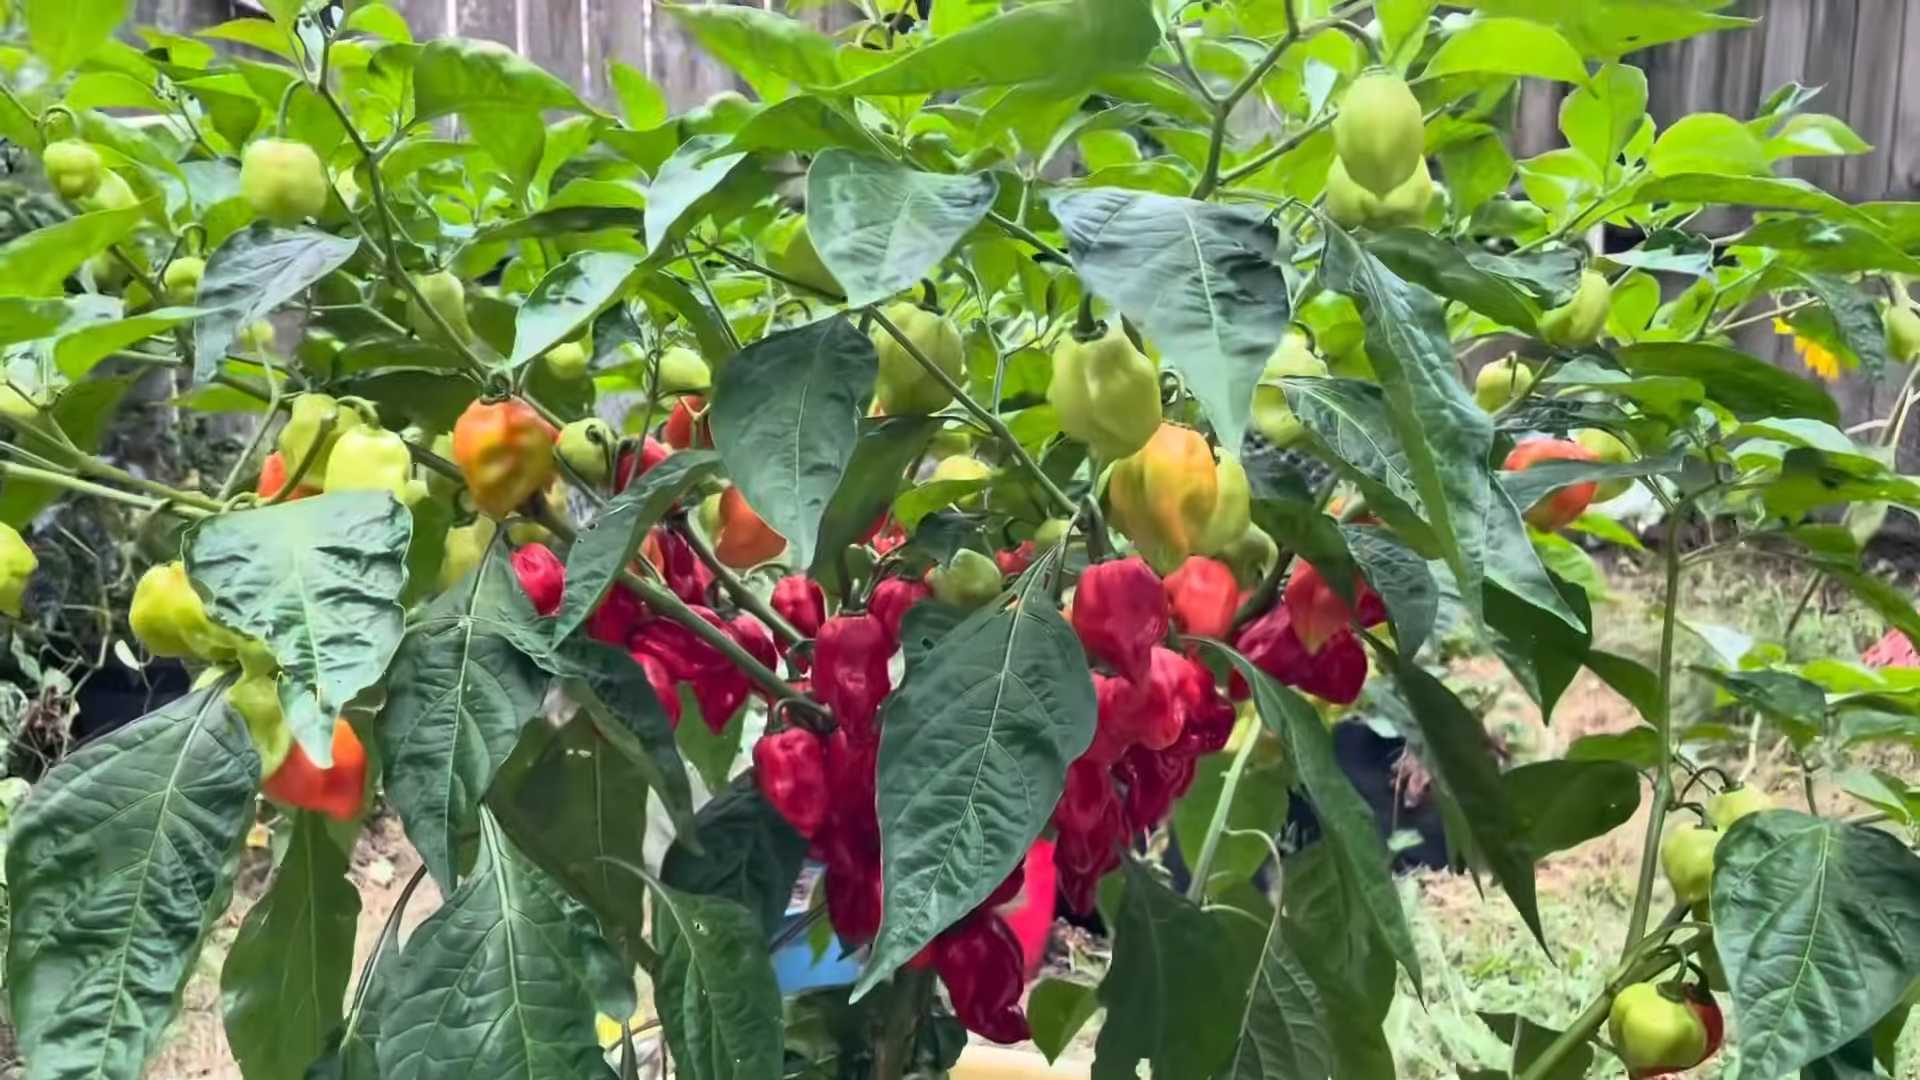
Harvesting Your Chilies
The moment you’ve been waiting for! Harvesting your own homegrown chilies is incredibly satisfying.
When to Harvest:
The best time to harvest chilies depends on the variety and your personal preference. Generally, chilies are ready to harvest when they have reached their mature color and size. They should also be firm to the touch.
How to Harvest:
Use scissors or pruning shears to cut the chilies from the plant. Be careful not to damage the plant. Wear gloves when handling hot chilies, as the oils can irritate your skin.
Storing Your Chilies:
Fresh chilies can be stored in the refrigerator for up to a week. You can also dry them, freeze them, or pickle them for longer storage.
Troubleshooting Common Chili Growing Problems
Even with the best care, you might encounter some problems along the way. Here are a few common issues and how to address them:
* Blossom End Rot: This is a common problem that causes the bottom of the chili to rot. It’s usually caused by a calcium deficiency. To prevent blossom end rot, make sure your soil is well-draining and that you’re providing your plants with enough calcium. You can add lime or bone meal to the soil.
* Aphids: These tiny pests can suck the sap from your chili plants, causing them to weaken and become stunted. You can control aphids with insecticidal soap or neem oil.
* Spider Mites: These tiny pests can also damage your chili plants by sucking their sap. They thrive in hot, dry conditions. You can control spider mites with insecticidal soap or neem oil.
* Fungal Infections: Fungal infections can cause spots on the leaves and stems of your chili plants. To prevent fungal infections, make sure your plants have good air circulation and avoid overwatering. You can treat fungal infections with a fungicide.
* Lack of Fruit: If your chili plants are not producing fruit, it could be due to a number of factors, including lack of sunlight, poor pollination, or nutrient deficiencies. Make sure your plants are getting enough sunlight, and consider hand-pollinating the flowers. You can also fertilize your plants with a fertilizer that is high in phosphorus.
Enjoying Your Homegrown Chilies
Now for the best part – enjoying the fruits (or should I say, chilies!) of your labor. There are endless ways to use your homegrown chilies. Here are just a few ideas:
* Make salsa: Freshly made salsa with homegrown chilies is unbeatable.
* Add them to stir-fries: A little bit of chili can add a lot of flavor to your stir-fries.
* Make chili oil: Chili oil is a versatile condiment that can be used to add heat and flavor to a variety of dishes.
*
Conclusion
So, there you have it! Growing spicy chilies at home is not only achievable, but it’s also incredibly rewarding. Forget those bland, store-bought peppers that lack the fiery punch you crave. With a little patience and these simple DIY tricks, you can cultivate a thriving chili garden that provides you with a constant supply of fresh, flavorful heat.
Why is this a must-try? Because it puts you in control. You dictate the level of spice, the variety of chili, and the freshness of your ingredients. Imagine the satisfaction of adding a homegrown habanero to your salsa or a handful of fiery Thai chilies to your stir-fry. The flavor is simply unmatched. Plus, you’ll know exactly where your food comes from and what went into growing it – no mystery pesticides or questionable farming practices.
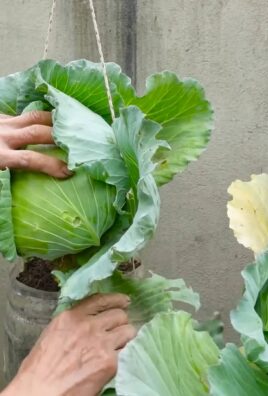
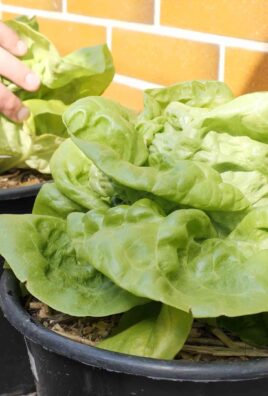
Beyond the basic techniques we’ve covered, there’s a whole world of chili-growing variations to explore. Experiment with different soil mixes to see what your plants respond to best. Try companion planting – basil, for example, is said to deter pests and improve chili flavor. And don’t be afraid to get creative with your containers! Upcycled buckets, old tires, or even hanging baskets can all be transformed into thriving chili gardens.
Consider exploring hydroponic systems for an even more controlled and potentially faster growing environment. This method involves growing your chilies without soil, using nutrient-rich water solutions. It can be particularly effective in areas with poor soil quality or limited space.
Another exciting variation is grafting. Grafting involves joining two different chili plants together to combine their desirable traits. For example, you could graft a highly productive but less flavorful chili variety onto a more flavorful but less productive one. This technique requires some skill and practice, but the results can be truly remarkable.
And for those who want to take their chili growing to the next level, consider setting up a small greenhouse or using grow lights to extend the growing season. This will allow you to enjoy fresh chilies year-round, regardless of your climate.
But perhaps the most important variation is simply experimenting with different chili varieties. From the mild poblano to the scorching ghost pepper, there’s a chili out there for every palate. Try growing a few different varieties each year to discover your favorites and expand your culinary horizons.
Don’t be intimidated! Growing spicy chilies at home is a journey, not a destination. There will be successes and failures along the way. But with each attempt, you’ll learn something new and refine your techniques.
So, what are you waiting for? Grab some seeds, get your hands dirty, and start growing your own spicy chilies today! We’re confident that you’ll be amazed by the results. And most importantly, we want to hear about your experience. Share your photos, tips, and stories in the comments below. Let’s create a community of chili-growing enthusiasts and learn from each other. Let us know what kind of **growing spicy chilies** you are trying to grow.
Happy growing!
Frequently Asked Questions (FAQ)
Q: What kind of soil is best for growing spicy chilies?
A: Chilies thrive in well-draining soil that is rich in organic matter. A good starting point is a mix of equal parts potting soil, compost, and perlite or vermiculite. The compost provides essential nutrients, while the perlite or vermiculite improves drainage and aeration. Avoid heavy clay soils, as they can become waterlogged and lead to root rot. You can also amend your soil with aged manure or bone meal to provide additional nutrients. Consider testing your soil’s pH level; chilies prefer a slightly acidic to neutral pH of around 6.0 to 7.0.
Q: How much sunlight do chili plants need?
A: Chili plants are sun-loving and require at least 6-8 hours of direct sunlight per day to thrive. Insufficient sunlight can lead to leggy growth, reduced flowering, and smaller, less spicy chilies. If you’re growing chilies indoors, supplement with grow lights to ensure they receive adequate light. Position your plants in the sunniest spot in your garden or on your balcony. If you live in a particularly hot climate, some afternoon shade may be beneficial to prevent scorching.
Q: How often should I water my chili plants?
A: Water your chili plants regularly, especially during hot and dry weather. The soil should be kept consistently moist, but not waterlogged. Overwatering can lead to root rot, while underwatering can stress the plants and reduce their yield. A good rule of thumb is to water deeply when the top inch of soil feels dry to the touch. Use a watering can or hose to water at the base of the plant, avoiding wetting the foliage, which can encourage fungal diseases. Mulching around the base of the plants can help retain moisture and suppress weeds.
Q: What are some common pests and diseases that affect chili plants, and how can I control them?
A: Chili plants can be susceptible to various pests and diseases, including aphids, spider mites, whiteflies, and fungal diseases like powdery mildew and blossom end rot. Regularly inspect your plants for signs of infestation or disease. For aphids, spider mites, and whiteflies, you can try spraying the plants with a strong stream of water or using insecticidal soap or neem oil. For fungal diseases, ensure good air circulation around the plants and avoid overhead watering. You can also use a fungicide if necessary. Blossom end rot is caused by a calcium deficiency and can be prevented by adding calcium to the soil or using a calcium-rich fertilizer.
Q: When should I harvest my chilies?
A: The best time to harvest your chilies depends on the variety and your personal preference. Most chilies will change color as they ripen, from green to red, yellow, orange, or even purple. The color change is a good indicator of ripeness, but you can also harvest chilies when they are still green if you prefer a milder flavor. To harvest, use pruning shears or scissors to cut the chili from the plant, leaving a small stem attached. Handle the chilies with care, as some varieties can be very hot.
Q: How can I increase the spiciness of my chilies?
A: Several factors can influence the spiciness of your chilies, including genetics, growing conditions, and stress levels. To increase the spiciness, ensure your plants receive plenty of sunlight and water, but avoid overwatering. Stressing the plants slightly by withholding water for short periods can also increase their spiciness. Some growers believe that adding Epsom salts to the soil can also boost spiciness. The most important factor, however, is the variety of chili you are growing. Some varieties, like habaneros and ghost peppers, are naturally much spicier than others.
Q: Can I grow chilies indoors?
A: Yes, you can grow chilies indoors, but you’ll need to provide them with adequate light and warmth. Place your plants in a sunny window or use grow lights to supplement the natural light. Ensure the plants are kept at a consistent temperature of around 70-80°F (21-27°C). Use a well-draining potting mix and water regularly. You may also need to hand-pollinate the flowers to ensure fruit production. Indoor chili plants may not produce as many chilies as outdoor plants, but they can still provide a satisfying harvest.
Q: How do I store my harvested chilies?
A: There are several ways to store your harvested chilies. You can dry them by stringing them together and hanging them in a warm, dry place. You can also dehydrate them using a food dehydrator or oven. Dried chilies can be stored in an airtight container for several months. Another option is to freeze the chilies whole or chopped. Frozen chilies will retain their flavor and spiciness for up to a year. You can also pickle the chilies in vinegar or brine. Pickled chilies can be stored in the refrigerator for several weeks.

Leave a Comment