

Growing Tamarind at Home might seem like a tropical dream reserved for sprawling orchards, but I’m here to tell you it’s entirely achievable, even if you’re working with a modest backyard or a sunny balcony! Have you ever imagined plucking your own tangy tamarind pods, ready to add a burst of flavor to your favorite curries, chutneys, or refreshing drinks? This isn’t just about gardening; it’s about bringing a piece of the tropics to your doorstep.
Tamarind has a rich history, deeply intertwined with cultures across Asia, Africa, and Latin America. For centuries, it’s been cherished not only for its culinary uses but also for its medicinal properties and symbolic significance. Think of the vibrant street food stalls in Thailand, the aromatic Indian kitchens, or the bustling markets of Mexico – tamarind is a common thread, a testament to its enduring appeal.
But why should *you* consider growing tamarind at home? Well, beyond the sheer joy of nurturing a tree and harvesting your own produce, it’s about having access to fresh, high-quality tamarind whenever you need it. Store-bought tamarind paste often contains additives and preservatives, and the flavor simply doesn’t compare to the real deal. Plus, let’s be honest, there’s something incredibly satisfying about saying, “I grew this myself!” So, let’s dive into some simple DIY tricks and hacks that will help you successfully cultivate your own tamarind tree, no matter your gardening experience.
Growing Tamarind at Home: A Comprehensive DIY Guide
Hey there, fellow plant enthusiasts! Ever dreamt of having your own tamarind tree, laden with those tangy pods? Well, dream no more! Growing tamarind at home is totally achievable, and I’m here to walk you through every step. It might take a little patience, but trust me, the reward of harvesting your own tamarind is absolutely worth it.
Choosing Your Tamarind Growing Method
Before we dive into the nitty-gritty, let’s talk about the two main ways you can start your tamarind journey: from seed or from a sapling.
* From Seed: This is the more adventurous route! It’s incredibly rewarding to watch your tamarind sprout from a tiny seed. However, it takes longer for the tree to mature and produce fruit (usually 7-10 years). Plus, the fruit might not be exactly like the parent tree.
* From Sapling: This is the faster track to tamarind goodness. You’ll get fruit much sooner (around 3-5 years), and you’ll know exactly what kind of tamarind you’re getting. The downside is that saplings can be a bit pricier.
For this guide, I’ll focus on growing tamarind from seed, because that’s how I started, and I think it’s a super fun and educational experience. But don’t worry, I’ll also give you some tips for caring for a sapling if you decide to go that route.
Sourcing Your Tamarind Seeds
Okay, so you’re ready to grow from seed? Great! Now, where do you get the seeds?
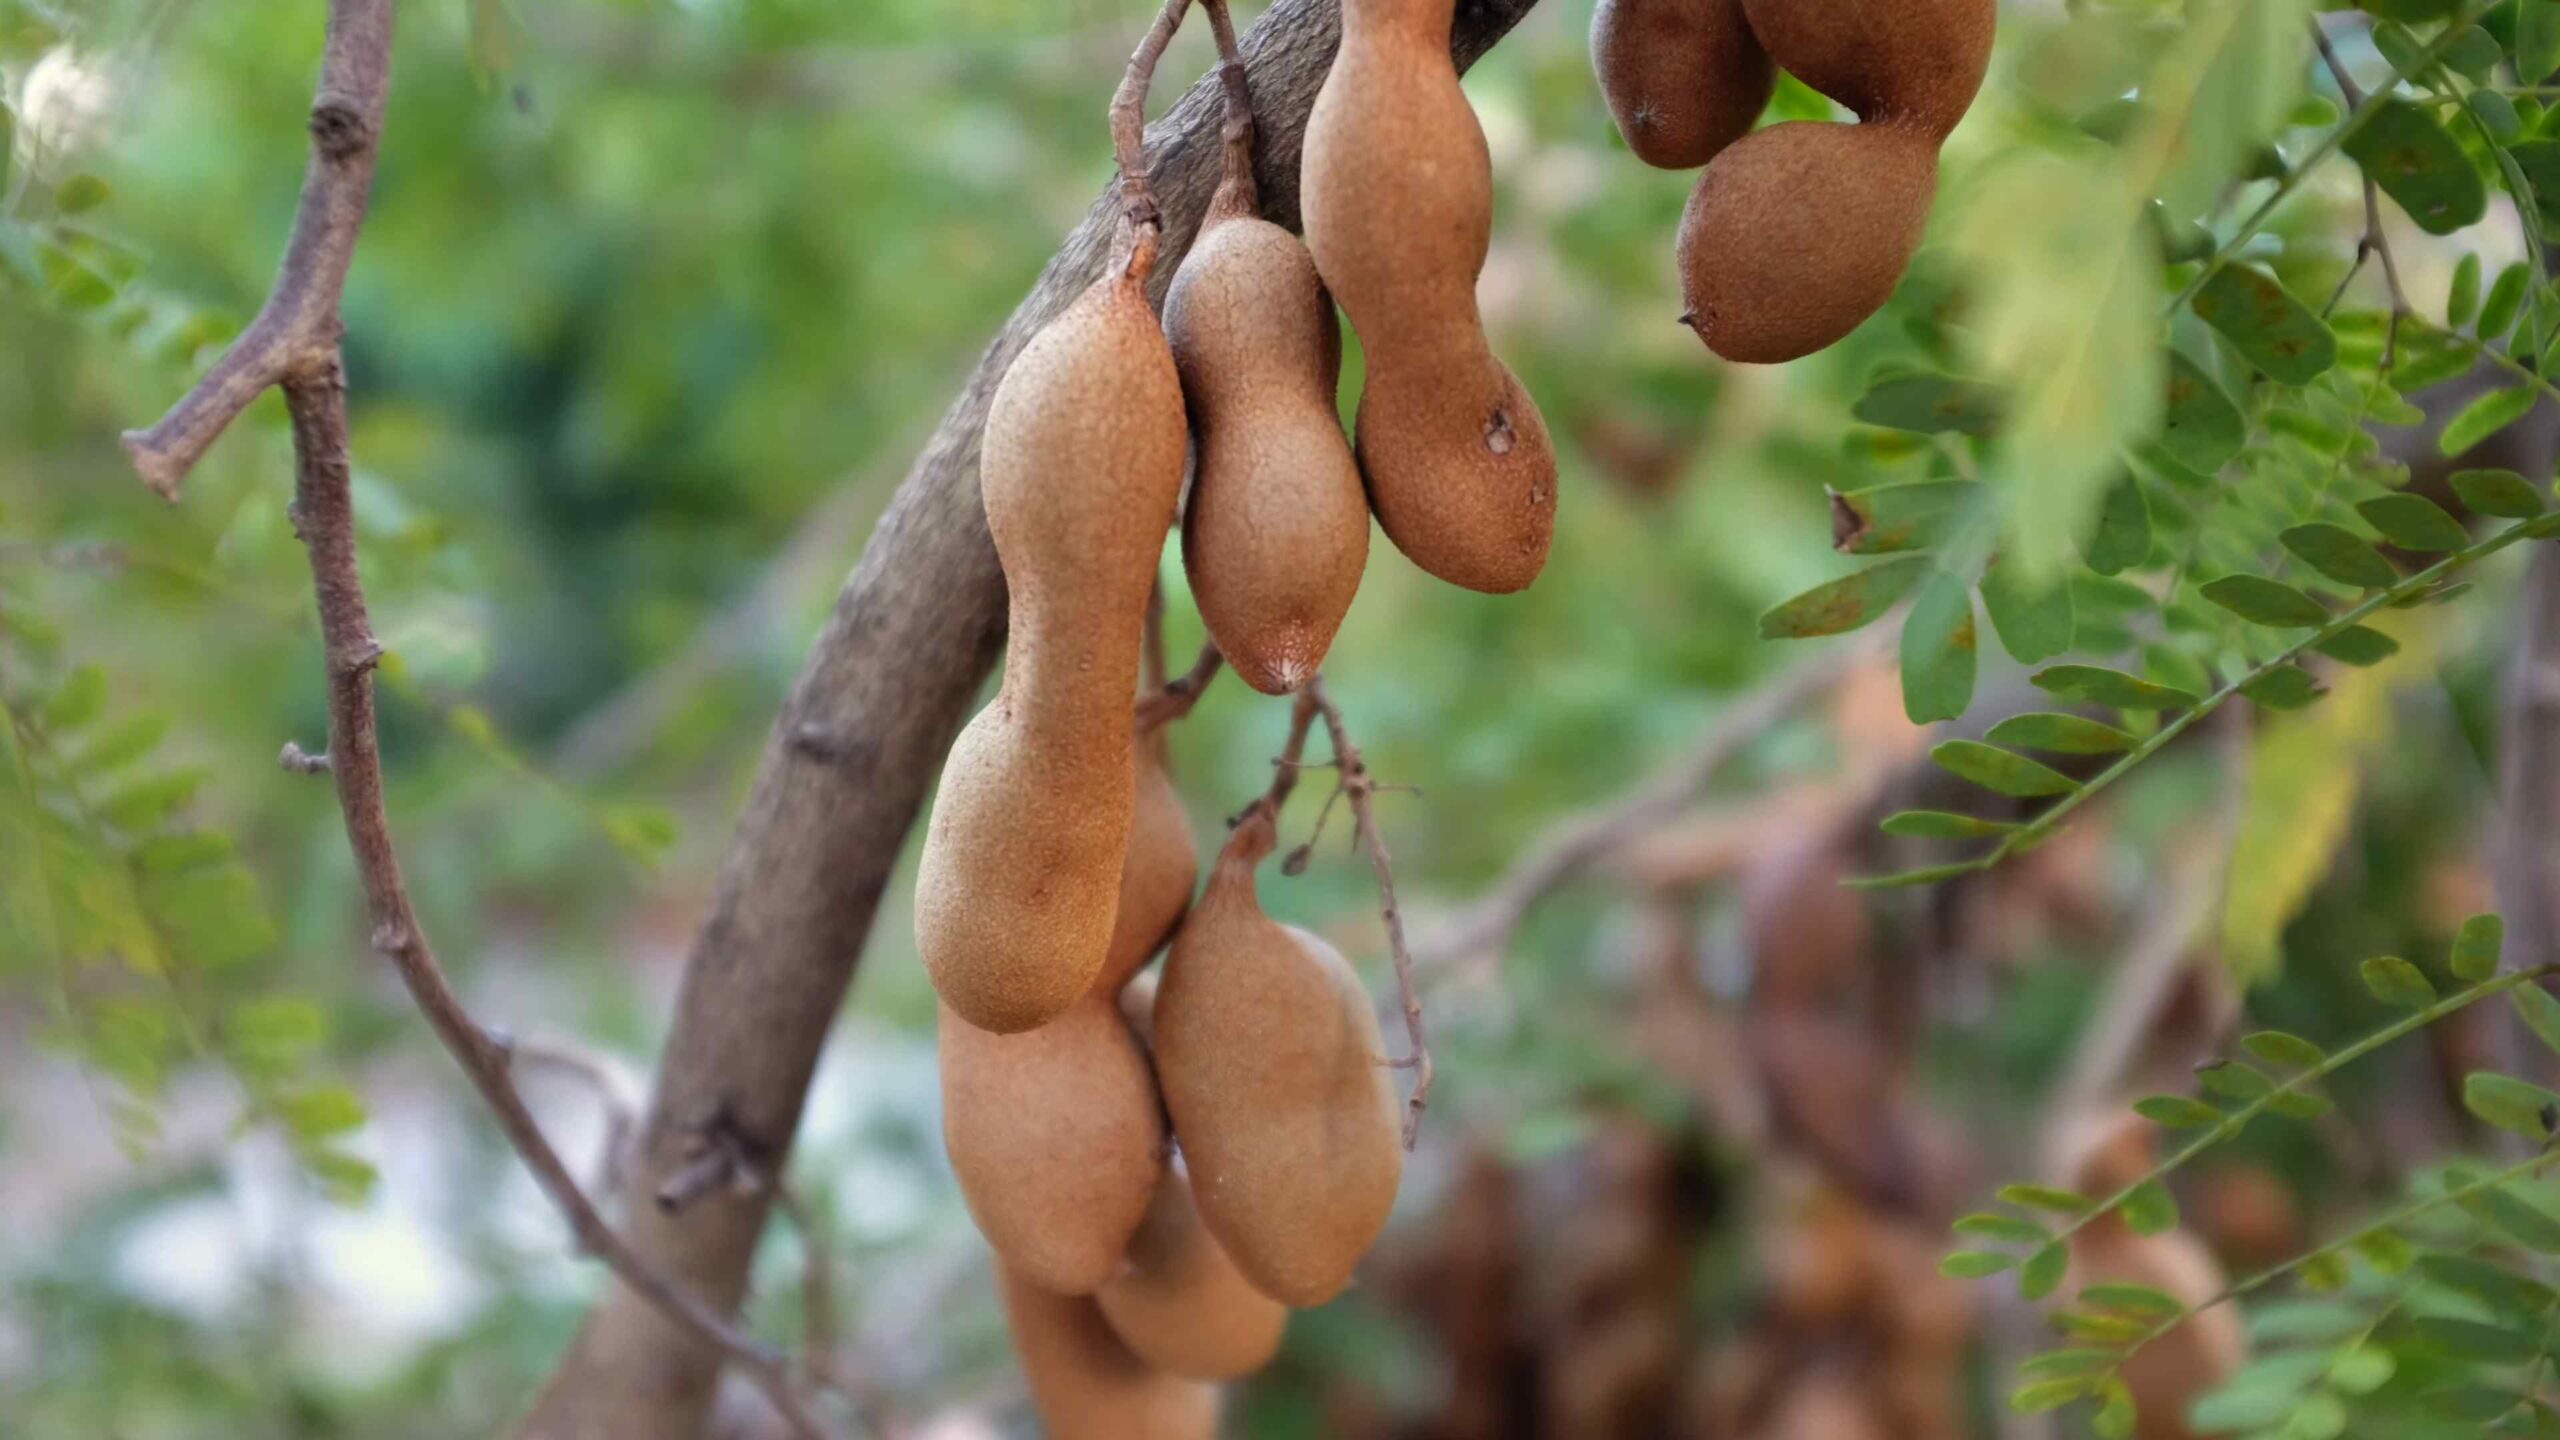
* From Tamarind Pods: The easiest way is to buy tamarind pods from your local grocery store or Asian market. Look for pods that are plump, brown, and free from any signs of mold or damage.
* Online Retailers: You can also find tamarind seeds online, but make sure you’re buying from a reputable source to ensure you’re getting viable seeds.
Preparing Your Tamarind Seeds for Germination
Tamarind seeds have a hard outer shell, so we need to give them a little help to germinate. This process is called scarification.
* Scarification: This involves gently damaging the seed coat to allow water to penetrate. You can do this in a few ways:
* Sanding: Use a piece of sandpaper to gently rub the seed coat until it becomes slightly thinner. Be careful not to damage the inside of the seed.
* Nicking: Use a sharp knife or nail clipper to carefully make a small nick in the seed coat. Again, be very gentle!
* Hot Water Soak: This is my preferred method. Pour hot (not boiling!) water over the seeds and let them soak for 24-48 hours. This softens the seed coat and helps with germination.
Germinating Your Tamarind Seeds
Now for the exciting part – germination!
1. Prepare Your Germination Medium: You’ll need a well-draining medium like a mix of peat moss and perlite, or coco coir. You can also use seed starting mix.
2. Sow the Seeds: Fill small pots or a seed starting tray with your chosen medium. Make a small hole (about 1/2 inch deep) in each pot and place a scarified seed in each hole. Cover the seeds lightly with the medium.
3. Water Gently: Water the pots gently, making sure the medium is moist but not soggy.
4. Create a Humid Environment: Cover the pots with a plastic bag or a humidity dome to create a warm, humid environment. This will help the seeds germinate.
5. Provide Warmth: Place the pots in a warm location, ideally around 75-85°F (24-29°C). A heat mat can be helpful if you live in a cooler climate.
6. Be Patient: Germination can take anywhere from a few days to a few weeks, so be patient! Keep the medium moist and check regularly for sprouts.
Transplanting Your Tamarind Seedlings
Once your seedlings have developed a few sets of true leaves (the leaves that look like miniature versions of tamarind leaves), it’s time to transplant them into larger pots.
1. Choose the Right Pot: Select a pot that is at least 6 inches in diameter and has good drainage holes.
2. Prepare Your Potting Mix: Use a well-draining potting mix that is rich in organic matter. You can mix equal parts of potting soil, compost, and perlite.
3. Gently Remove the Seedling: Carefully remove the seedling from its original pot, being careful not to damage the roots.
4. Plant the Seedling: Place the seedling in the center of the new pot and fill the pot with potting mix. Gently pat down the soil around the seedling.
5. Water Thoroughly: Water the seedling thoroughly after transplanting.
6. Provide Sunlight: Place the pot in a sunny location that receives at least 6-8 hours of direct sunlight per day.
Caring for Your Tamarind Tree
Now that your tamarind tree is growing, it’s important to provide it with the proper care to ensure it thrives.
* Watering: Water your tamarind tree regularly, especially during the growing season (spring and summer). Allow the soil to dry out slightly between waterings. Avoid overwatering, as this can lead to root rot.
* Fertilizing: Fertilize your tamarind tree every 2-3 months with a balanced fertilizer. Follow the instructions on the fertilizer label.
* Pruning: Prune your tamarind tree regularly to maintain its shape and encourage branching. Remove any dead, damaged, or diseased branches.
* Sunlight: Tamarind trees need plenty of sunlight, so make sure your tree is in a location that receives at least 6-8 hours of direct sunlight per day.
* Temperature: Tamarind trees are tropical plants and prefer warm temperatures. They can tolerate temperatures as low as 30°F (-1°C) for short periods, but they will be damaged by prolonged exposure to freezing temperatures. If you live in a cold climate, you’ll need to bring your tamarind tree indoors during the winter.
* Pest and Disease Control: Tamarind trees are generally resistant to pests and diseases, but they can be susceptible to aphids, scale, and mealybugs. Inspect your tree regularly for signs of pests or diseases and take action promptly if you find any. You can use insecticidal soap or neem oil to control pests.
Growing Tamarind in Containers
If you don’t have a lot of space, you can grow tamarind in a container. Here are some tips for growing tamarind in containers:
* Choose a Large Container: Select a container that is at least 24 inches in diameter and has good drainage holes.
* Use a Well-Draining Potting Mix: Use a well-draining potting mix that is rich in organic matter.
* Water Regularly: Water your tamarind tree regularly, especially during the growing season.
* Fertilize Regularly: Fertilize your tamarind tree every 2-3 months with a balanced fertilizer.
* Prune Regularly: Prune your tamarind tree regularly to maintain its shape and encourage branching.
* Provide Sunlight: Place the container in a sunny location that receives at least 6-8 hours of direct sunlight per day.
* Overwinter Indoors: If you live in a cold climate, you’ll need to bring your tamarind tree indoors during the winter.
Caring for a Tamarind Sapling
If you decided to start with a sapling, the care is similar to what I described above, but with a few key differences:
* Acclimation: When you first bring your sapling home, don’t immediately put it in direct sunlight. Gradually acclimate it to brighter conditions over a week or two to prevent shock.
* Watering: Saplings are more sensitive to overwatering than mature trees. Check the soil moisture regularly and water only when the top inch or two feels dry.
* Fertilizing: Use a diluted fertilizer solution when feeding your sapling. Over-fertilizing can burn the young roots.
Harvesting Your Tamarind
After several years of care and patience, your tamarind tree will finally start producing fruit!
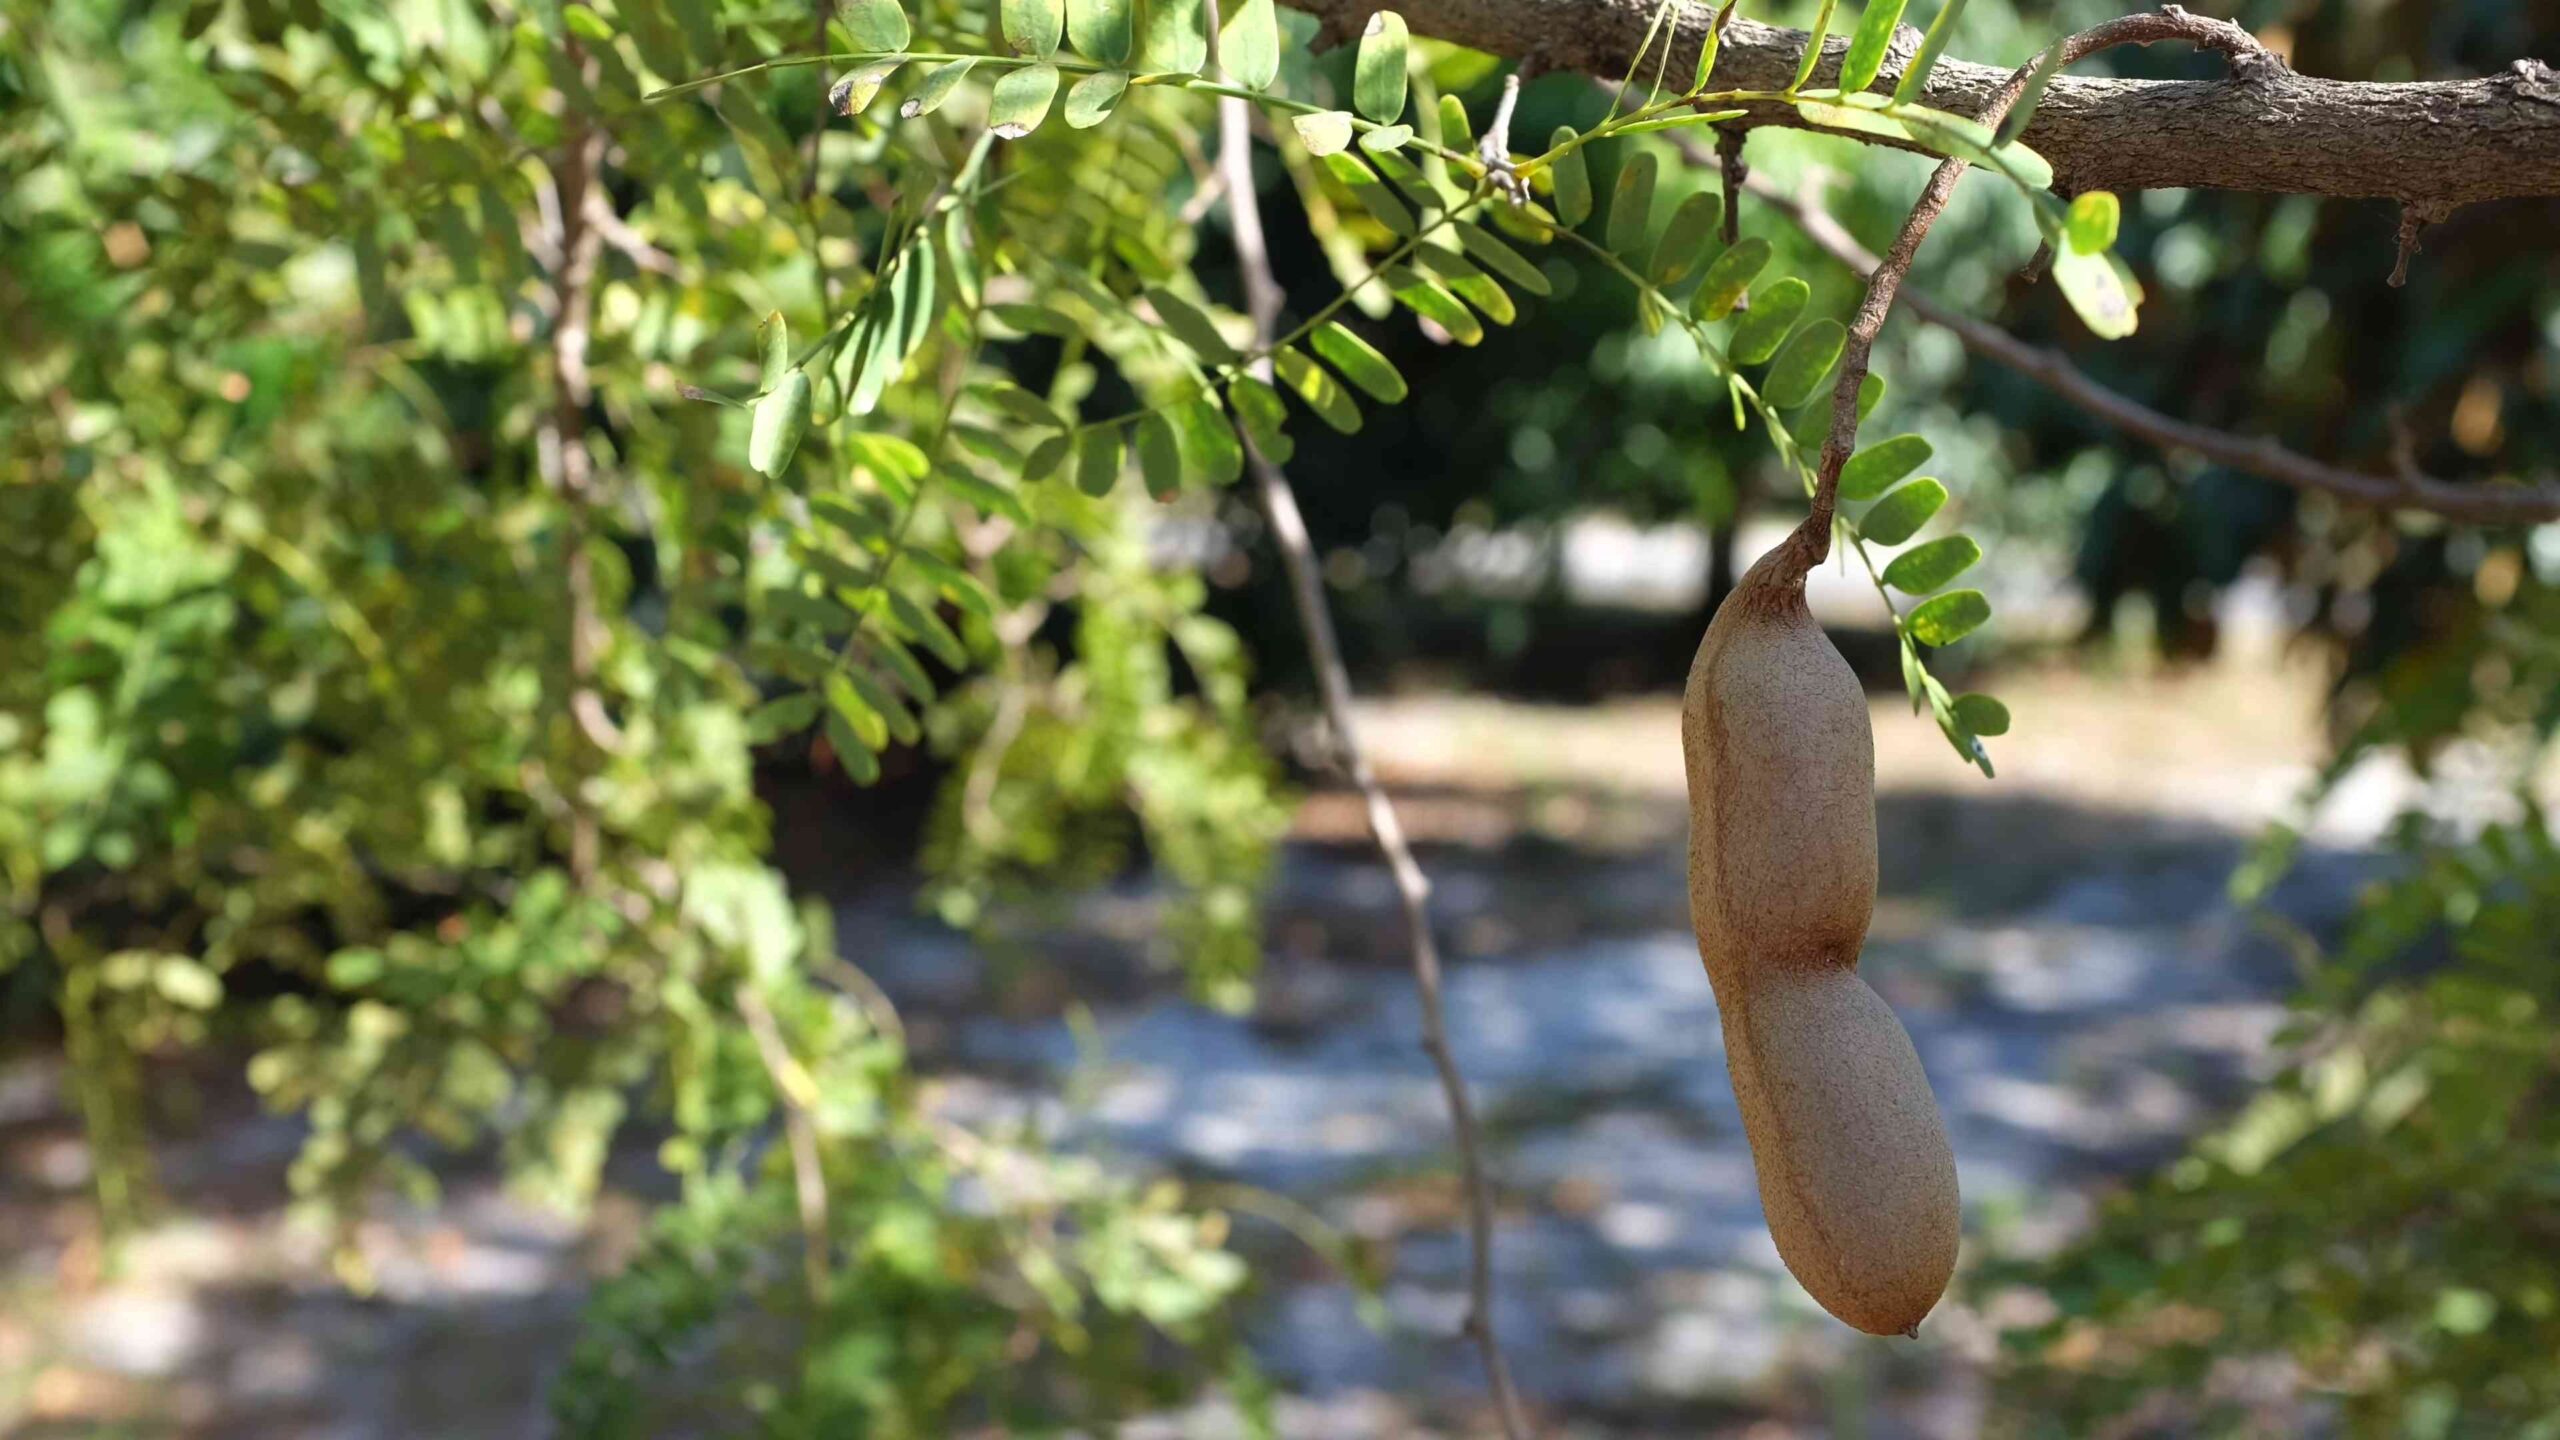
* When to Harvest: Tamarind pods are typically ready to harvest when they turn brown and become brittle. The pods should also be easy to break open.
* How to Harvest: Simply twist the pods off the tree. You can use pruning shears if the pods are difficult to remove.
* Storing Tamarind: Tamarind pods can be stored at room temperature for several months. You can also freeze the pulp for longer storage.
Troubleshooting
Even with the best care, you might encounter some challenges along
Conclusion
So, there you have it! Growing tamarind at home might seem like a tropical dream, but with a little patience and the right approach, it’s entirely achievable, even if you don’t live in a perpetually sunny climate. This DIY trick, focusing on careful seed preparation, strategic planting, and consistent care, unlocks the potential to cultivate your own tamarind tree, bringing a touch of the exotic to your garden or even your indoor space.
Why is this a must-try? Beyond the sheer satisfaction of nurturing a plant from seed to maturity, growing your own tamarind offers several advantages. You’ll have access to fresh, homegrown tamarind, free from the preservatives and additives often found in commercially processed products. Imagine the culinary possibilities – from tangy chutneys and refreshing drinks to authentic Asian dishes, all enhanced by the unique flavor of your own tamarind harvest. Plus, tamarind trees are beautiful, adding a touch of elegance and shade to any landscape.
Don’t be afraid to experiment with variations! While we’ve outlined a reliable method, feel free to adapt it to your specific environment and resources. For example, if you live in a colder region, consider keeping your tamarind tree in a large pot that can be moved indoors during the winter months. You can also explore different soil mixes to find what works best for your tree. Some gardeners have found success with adding a bit of compost or aged manure to the soil to provide extra nutrients. Another variation is to try grafting a known fruiting variety onto your seedling to speed up the fruiting process and ensure the quality of the fruit. Research different tamarind varieties to find one that suits your taste and climate.
The key to success lies in consistent care and observation. Pay close attention to your tamarind tree’s needs, adjusting your watering and fertilizing schedule as necessary. Be patient, as it may take several years for your tree to bear fruit. But trust us, the wait will be worth it!
We wholeheartedly encourage you to give this DIY tamarind growing trick a try. It’s a rewarding experience that connects you with nature and provides you with a unique and delicious ingredient. And most importantly, have fun with it! Gardening should be an enjoyable process.
Once you’ve embarked on your tamarind-growing journey, we’d love to hear about your experiences! Share your tips, challenges, and successes in the comments below. Let’s create a community of tamarind enthusiasts and learn from each other. Your insights could be invaluable to other aspiring tamarind growers. So, grab some tamarind seeds, get your hands dirty, and start growing your own little piece of tropical paradise today! Let us know how your **growing tamarind at home** goes!
Frequently Asked Questions (FAQ)
How long does it take for a tamarind tree to bear fruit when grown from seed?
Patience is key when growing tamarind from seed. It typically takes anywhere from 7 to 10 years for a tamarind tree grown from seed to begin producing fruit. Grafted trees, on the other hand, can start bearing fruit much sooner, often within 3 to 4 years. Factors such as climate, soil quality, and overall care can also influence the time it takes for a tree to fruit. Providing optimal growing conditions, including plenty of sunlight, well-draining soil, and regular fertilization, can help to encourage earlier fruiting.
What kind of soil is best for growing tamarind?
Tamarind trees thrive in well-draining soil that is slightly acidic to neutral in pH (around 6.0 to 7.0). A loamy soil mix is ideal, as it provides a good balance of drainage and water retention. Avoid heavy clay soils, as they can become waterlogged and lead to root rot. You can improve the drainage of clay soils by amending them with organic matter such as compost, peat moss, or well-rotted manure. Adding sand can also help to improve drainage. A good soil mix for tamarind trees could consist of equal parts garden soil, sand, and compost.
How much sunlight does a tamarind tree need?
Tamarind trees are sun-loving plants and require at least 6 to 8 hours of direct sunlight per day to thrive. Insufficient sunlight can lead to stunted growth, reduced flowering, and poor fruit production. When planting your tamarind tree, choose a location that receives plenty of sunlight throughout the day. If you are growing your tamarind tree indoors, place it near a sunny window or supplement with artificial grow lights. Rotate the tree regularly to ensure that all sides receive adequate sunlight.
How often should I water my tamarind tree?
Watering frequency depends on several factors, including climate, soil type, and the age of the tree. Young tamarind trees need more frequent watering than mature trees. In general, water your tamarind tree deeply whenever the top inch of soil feels dry to the touch. Avoid overwatering, as this can lead to root rot. During the rainy season, you may need to reduce watering frequency. During the dry season, you may need to water more frequently. Monitor the soil moisture regularly and adjust your watering schedule accordingly.
What kind of fertilizer should I use for my tamarind tree?
Tamarind trees benefit from regular fertilization, especially during the growing season (spring and summer). Use a balanced fertilizer with an NPK ratio of 10-10-10 or 14-14-14. Apply the fertilizer according to the manufacturer’s instructions. You can also supplement with organic fertilizers such as compost tea or fish emulsion. Avoid over-fertilizing, as this can damage the tree. It’s best to fertilize in small amounts more frequently than to apply a large dose all at once.
Are tamarind trees susceptible to any pests or diseases?
While tamarind trees are generally hardy, they can be susceptible to certain pests and diseases. Common pests include aphids, scale insects, and mealybugs. These pests can be controlled with insecticidal soap or neem oil. Diseases that can affect tamarind trees include leaf spot, root rot, and powdery mildew. Proper sanitation, good air circulation, and well-draining soil can help to prevent these diseases. If you notice any signs of pests or diseases, treat them promptly to prevent them from spreading.
Can I grow a tamarind tree indoors?
Yes, you can grow a tamarind tree indoors, especially if you live in a climate with cold winters. Choose a large pot with good drainage and use a well-draining potting mix. Place the tree near a sunny window or supplement with artificial grow lights. Water regularly and fertilize during the growing season. Prune the tree regularly to maintain its shape and size. Keep in mind that indoor tamarind trees may not grow as large or produce as much fruit as trees grown outdoors.
How do I harvest tamarind fruit?
Tamarind fruits are typically ready for harvest when the pods turn brown and become brittle. The pods should be easily snapped off the tree. You can harvest the entire pod or just the pulp inside. To extract the pulp, soak the pods in warm water for a few minutes, then peel off the outer shell and remove the seeds. The pulp can be used fresh or stored in the refrigerator for several weeks. You can also dry the pulp for longer storage.

Leave a Comment