

Growing Thyme Indoors can feel like a secret superpower for any home cook or gardening enthusiast! Imagine having fresh, fragrant thyme at your fingertips, ready to elevate your culinary creations any time of year. No more last-minute dashes to the grocery store or settling for dried herbs that lack that vibrant, fresh flavor.
Thyme, with its rich history dating back to ancient Egypt and Greece, wasn’t just prized for its culinary uses. It was also valued for its medicinal properties and even used in embalming rituals! This little herb has truly stood the test of time, and now, you can easily bring its magic into your own home.
But let’s be honest, not everyone has a sprawling outdoor garden. Apartment dwellers, busy professionals, and those living in colder climates often miss out on the joy of fresh herbs. That’s where this DIY guide comes in! I’m going to share some simple, effective tricks and hacks that will make growing thyme indoors a breeze, regardless of your space or experience level. We’ll cover everything from choosing the right container and soil to providing the perfect amount of light and water. Get ready to unlock the secrets to a thriving indoor thyme garden and enjoy the delicious rewards!
Growing Thyme Indoors: A Beginner’s Guide to a Thriving Herb Garden
Okay, so you want to grow thyme indoors? Awesome! I’m a huge fan of having fresh herbs right at my fingertips, and thyme is a fantastic choice. It’s relatively easy to care for, smells amazing, and adds a delicious flavor to so many dishes. This guide will walk you through everything you need to know to successfully grow thyme indoors, from choosing the right variety to harvesting your bounty. Let’s get started!
Choosing Your Thyme Variety
First things first, let’s talk about thyme varieties. While all thyme is, well, thyme, some are better suited for indoor growing than others. Here are a few popular choices:
* English Thyme (Thymus vulgaris): This is the classic thyme you probably think of. It has a strong, earthy flavor and is great for cooking. It’s also relatively compact, making it a good choice for containers.
* Lemon Thyme (Thymus citriodorus): As the name suggests, this thyme has a lovely lemon scent and flavor. It’s a bit more delicate than English thyme, but still relatively easy to grow indoors.
* Creeping Thyme (Thymus serpyllum): While often used as a ground cover outdoors, creeping thyme can also be grown in hanging baskets or containers indoors. It has a more subtle flavor than English thyme and is known for its beautiful foliage.
I personally recommend starting with English thyme or Lemon thyme. They’re both relatively forgiving and will give you a good feel for growing thyme indoors.
Gathering Your Supplies
Before you start planting, you’ll need to gather a few essential supplies. Here’s what you’ll need:
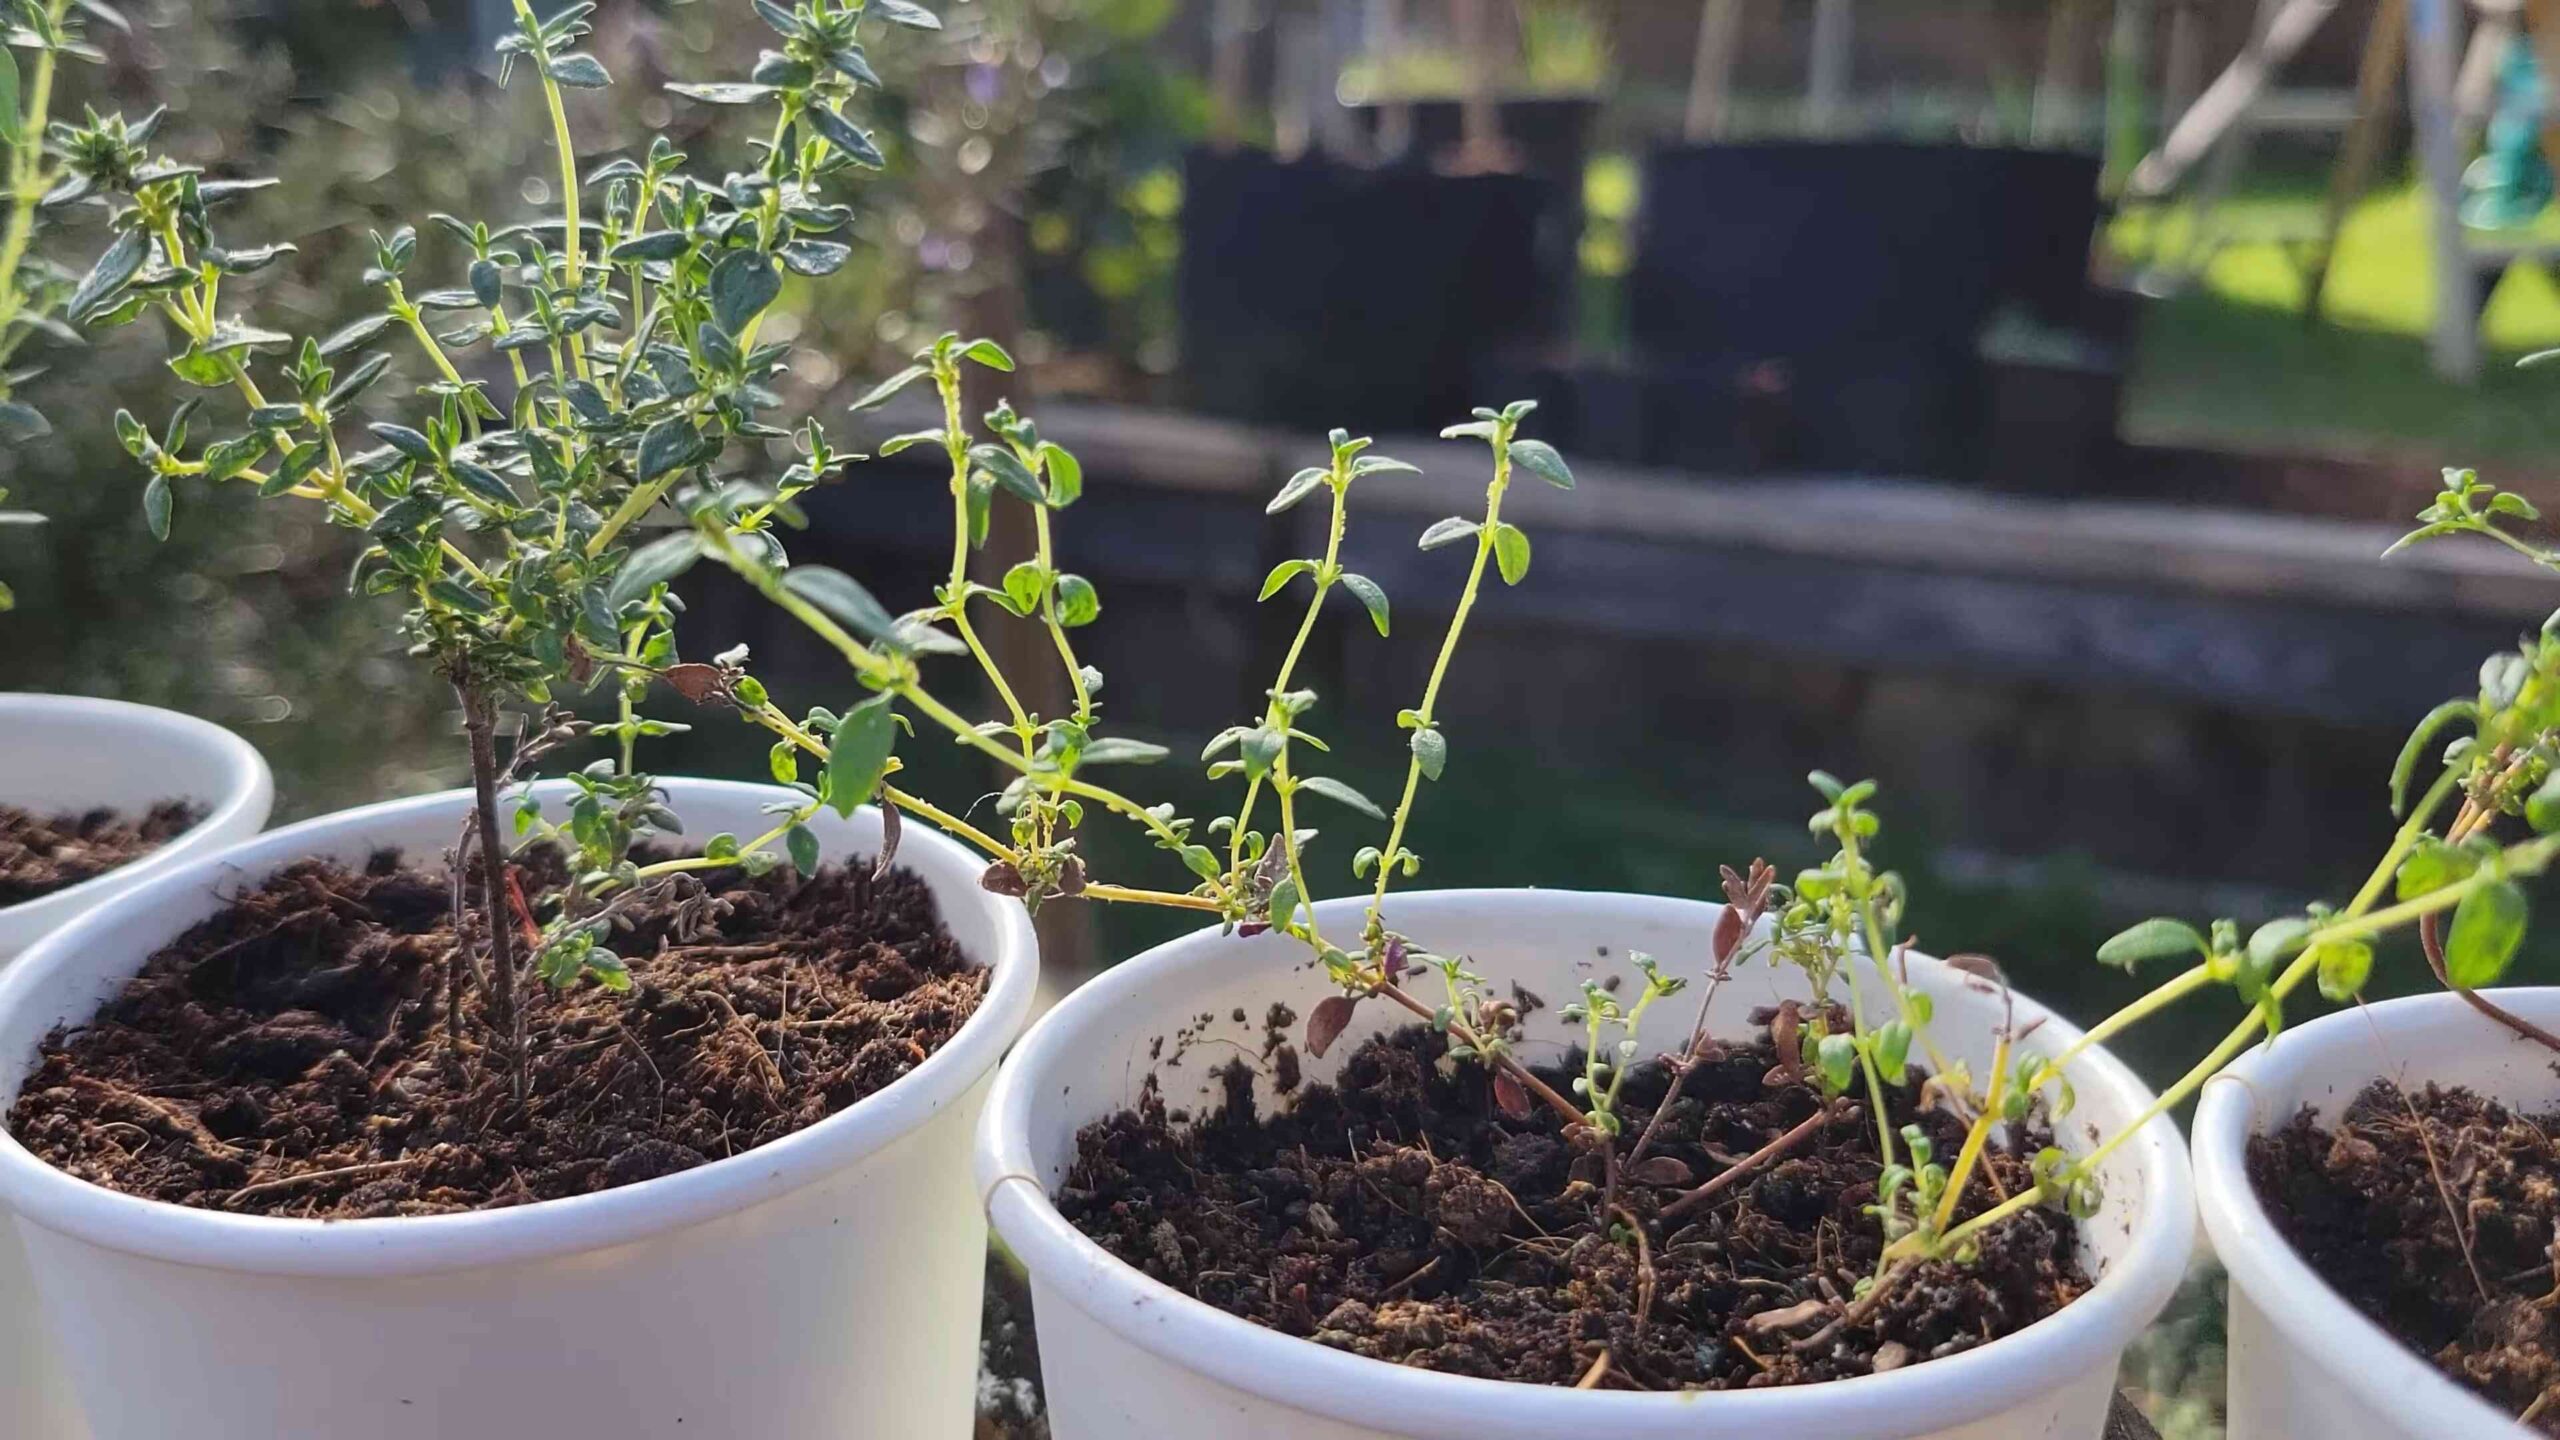
* Thyme Seeds or Seedlings: You can start thyme from seeds or buy small seedlings from a garden center. Seedlings will give you a head start, but starting from seeds is more economical.
* Potting Mix: Use a well-draining potting mix specifically formulated for herbs or vegetables. Avoid using garden soil, as it can become compacted and doesn’t drain well in containers.
* Container: Choose a pot that’s at least 6 inches in diameter and has drainage holes. Thyme doesn’t like to sit in soggy soil, so drainage is crucial. Terracotta pots are a great option because they allow the soil to breathe.
* Grow Light (Optional but Recommended): While thyme can grow indoors with natural sunlight, a grow light will ensure it gets enough light, especially during the winter months.
* Watering Can or Spray Bottle: For watering your thyme.
* Small Shovel or Trowel: For planting.
* Fertilizer (Optional): A balanced liquid fertilizer can help your thyme thrive, but it’s not essential.
Planting Your Thyme
Now for the fun part – planting! Here’s how to plant your thyme, whether you’re starting from seeds or seedlings:
Starting from Seeds:
1. Prepare the Pot: Fill your pot with potting mix, leaving about an inch of space at the top. Gently pat down the soil.
2. Sow the Seeds: Sprinkle the thyme seeds evenly over the surface of the soil. Thyme seeds are tiny, so don’t worry about spacing them perfectly.
3. Cover the Seeds: Lightly cover the seeds with a thin layer of potting mix.
4. Water Gently: Use a spray bottle to gently mist the soil. You want to moisten the soil without disturbing the seeds.
5. Provide Light and Warmth: Place the pot in a warm, sunny location or under a grow light. Thyme seeds need light to germinate, so don’t cover the pot with plastic wrap.
6. Keep the Soil Moist: Keep the soil consistently moist, but not soggy, until the seeds germinate. This usually takes about 14-21 days.
7. Thin Seedlings (If Necessary): Once the seedlings have emerged and have a few sets of true leaves, thin them out so that they are spaced about 2-3 inches apart.
Planting Seedlings:
1. Prepare the Pot: Fill your pot with potting mix, leaving about an inch of space at the top.
2. Create a Hole: Dig a hole in the center of the pot that’s slightly larger than the root ball of the seedling.
3. Remove the Seedling: Gently remove the seedling from its container, being careful not to damage the roots. If the roots are tightly bound, gently loosen them with your fingers.
4. Place the Seedling: Place the seedling in the hole, making sure the top of the root ball is level with the surface of the soil.
5. Fill the Hole: Fill in the hole with potting mix and gently pat down the soil.
6. Water Thoroughly: Water the seedling thoroughly until water drains out of the drainage holes.
Caring for Your Thyme
Once your thyme is planted, it’s time to provide it with the care it needs to thrive. Here’s what you need to know:
* Light: Thyme needs at least 6-8 hours of sunlight per day. If you don’t have a sunny window, use a grow light to supplement the natural light. I’ve found that using a grow light makes a huge difference, especially during the darker months.
* Watering: Water your thyme when the top inch of soil feels dry to the touch. Avoid overwatering, as this can lead to root rot. Thyme prefers to be on the drier side.
* Temperature: Thyme prefers temperatures between 60-70°F (15-21°C).
* Fertilizing: You can fertilize your thyme every 2-3 weeks with a balanced liquid fertilizer diluted to half strength. However, thyme doesn’t need a lot of fertilizer, so don’t overdo it.
* Pruning: Prune your thyme regularly to encourage bushier growth. Pinch off the tips of the stems to promote branching. You can also prune back the plant by about one-third in the spring to rejuvenate it.
* Pest Control: Thyme is relatively pest-resistant, but it can occasionally be affected by aphids or spider mites. If you notice any pests, spray the plant with insecticidal soap.
* Air Circulation: Good air circulation is important for preventing fungal diseases. Make sure your thyme is not overcrowded and that there is good airflow around the plant.
Harvesting Your Thyme
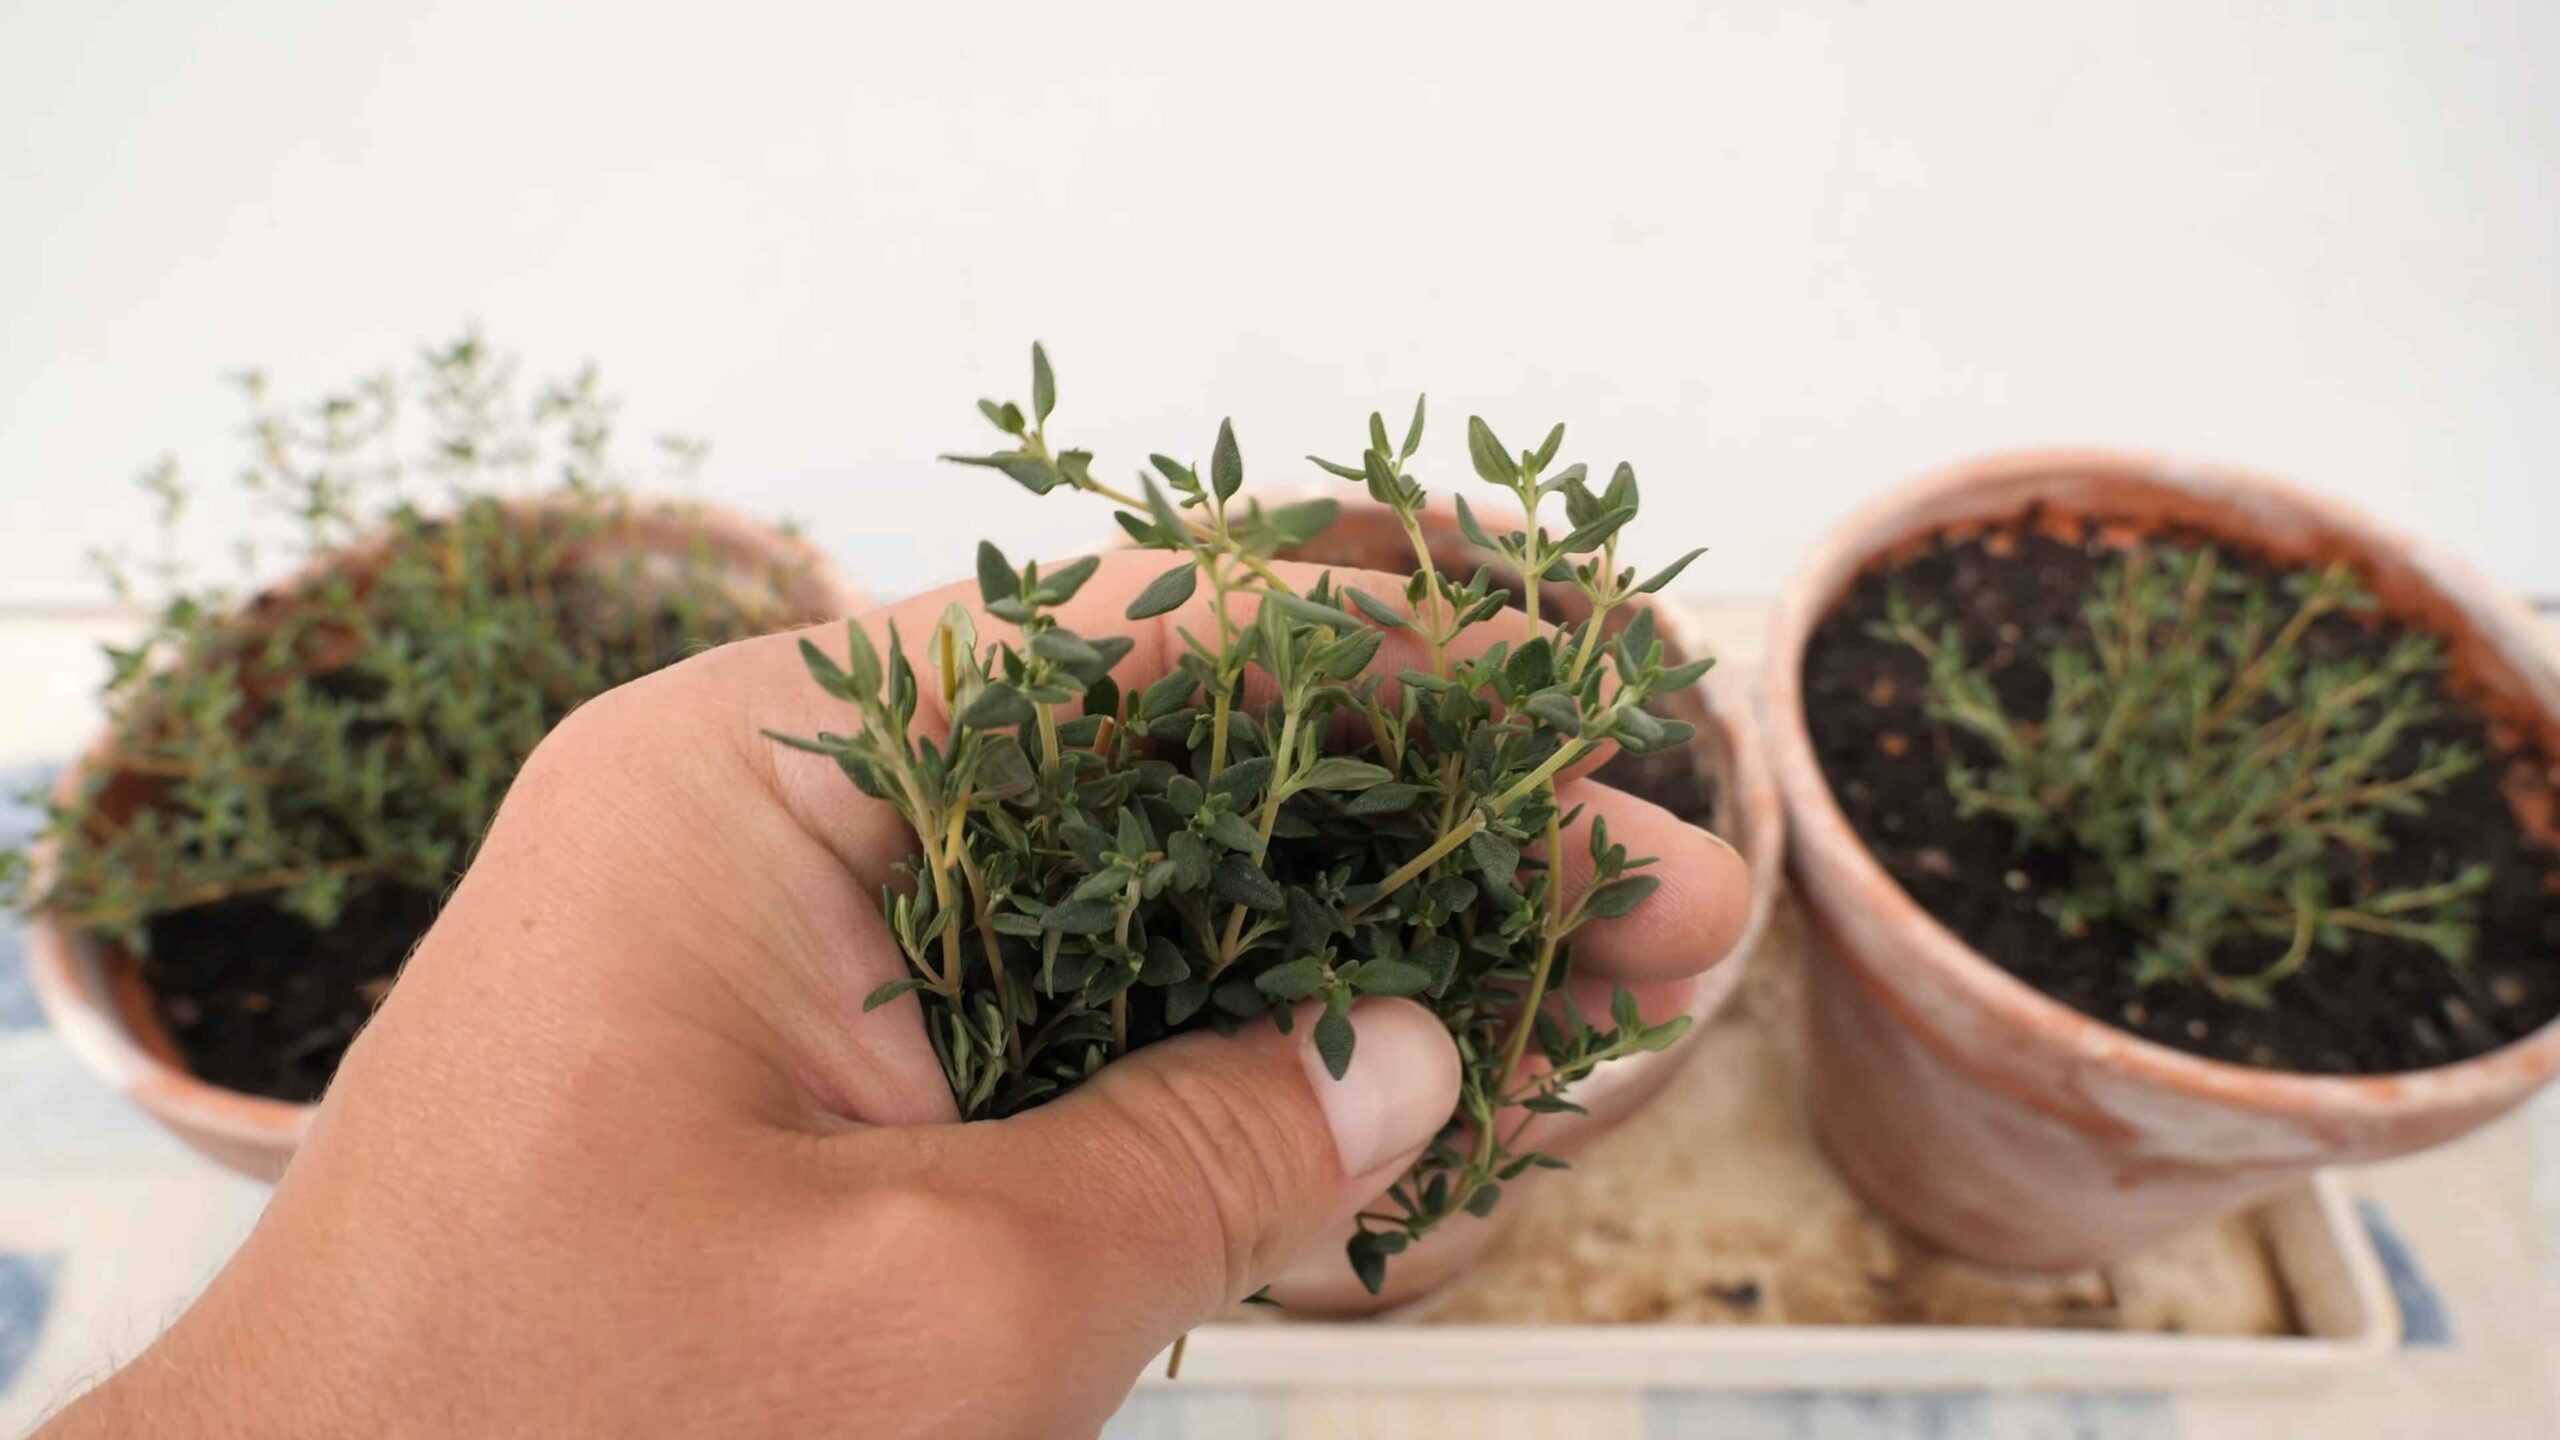
The best part about growing thyme is, of course, harvesting it! You can start harvesting thyme once the plant is about 6 inches tall.
1. Choose Your Stems: Use sharp scissors or pruning shears to cut off stems of thyme.
2. Cut Above a Leaf Node: Cut the stems just above a leaf node (the point where leaves grow from the stem). This will encourage the plant to branch out and produce more leaves.
3. Don’t Over-Harvest: Avoid harvesting more than one-third of the plant at a time. This will allow the plant to recover and continue to grow.
4. Use Fresh or Dry: You can use fresh thyme immediately or dry it for later use. To dry thyme, tie the stems together and hang them upside down in a cool, dry place. Once the leaves are dry, you can crumble them and store them in an airtight container.
Troubleshooting
Even with the best care, you might encounter a few problems when growing thyme indoors. Here are some common issues and how to address them:
* Yellowing Leaves: This can be caused by overwatering, underwatering, or nutrient deficiencies. Check the soil moisture and adjust your watering accordingly. If the soil is consistently moist, you’re probably overwatering. If the soil is dry, you’re underwatering. You can also try fertilizing the plant with a balanced liquid fertilizer.
* Leggy Growth: This is usually caused by insufficient light. Move the plant to a sunnier location or provide supplemental light with a grow light.
* Root Rot: This is caused by overwatering and poor drainage. Make sure your pot has drainage holes and that you’re not overwatering the plant. If the roots are rotting, you may need to repot the plant in fresh potting mix.
* Pests: As mentioned earlier, thyme can occasionally be affected by aphids or spider mites. Spray the plant with insecticidal soap to control these pests.
Enjoying Your Homegrown Thyme
Now that you know how to grow thyme indoors, it’s time to enjoy the fruits (or rather, herbs) of your labor! Use your fresh thyme to flavor soups, stews, sauces, roasted vegetables, meats, and more. You can also use it to make herbal teas or infuse oils and vinegars. The possibilities are endless!
Growing thyme indoors is a rewarding experience that will provide you with fresh
Conclusion
So, there you have it! Growing thyme indoors is not only achievable, it’s downright rewarding. Imagine having fresh, fragrant thyme at your fingertips, ready to elevate your culinary creations any time of year. No more last-minute dashes to the grocery store or settling for dried herbs that lack that vibrant, fresh flavor. This simple DIY project brings the garden to your kitchen, offering a sustainable and cost-effective way to enjoy this versatile herb.
But why is this a must-try? Beyond the convenience and cost savings, growing your own thyme connects you to the process of nurturing life. It’s a small act of self-sufficiency that can bring a surprising amount of joy. Plus, the aroma of fresh thyme wafting through your home is an instant mood booster!
Don’t be afraid to experiment! Consider different varieties of thyme. Lemon thyme adds a citrusy zing to your dishes, while creeping thyme can be used as a fragrant ground cover in small indoor containers. You can also try different potting mixes to see what works best for your environment. Some gardeners prefer a mix with more perlite for better drainage, while others find that a slightly richer soil yields better results.
Growing thyme indoors is a journey of discovery. It’s about learning what works best for you and your plants. And the best part? You get to enjoy the delicious rewards of your labor!
We wholeheartedly encourage you to give this DIY trick a try. It’s easier than you might think, and the benefits are undeniable. Once you’ve experienced the joy of harvesting your own fresh thyme, you’ll wonder why you didn’t start sooner.
Don’t forget to share your experiences with us! We’d love to hear about your successes, your challenges, and any tips or tricks you’ve discovered along the way. Post photos of your thriving thyme plants on social media and tag us. Let’s create a community of indoor herb gardeners and inspire others to bring the freshness of the garden into their homes. Happy growing!
Frequently Asked Questions (FAQs)
What is the best type of thyme to grow indoors?
While many varieties of thyme can be grown indoors, some are better suited than others. Common thyme (Thymus vulgaris) is a popular choice due to its robust flavor and relatively easy care. Lemon thyme (Thymus citriodorus) is another excellent option, offering a delightful citrusy aroma and flavor. Creeping thyme (Thymus serpyllum) can also be grown indoors, but it tends to spread more and may require a larger container. Ultimately, the best type of thyme for you will depend on your personal preferences and the space you have available. Consider trying a few different varieties to see which ones thrive best in your indoor environment.
How much sunlight does indoor thyme need?
Thyme thrives in bright, sunny conditions. Ideally, your indoor thyme plant should receive at least six hours of direct sunlight per day. A south-facing window is often the best location. If you don’t have access to a sunny window, you can supplement with artificial light. Grow lights, particularly LED grow lights, are an excellent option for providing the necessary light for healthy thyme growth. Position the grow light a few inches above the plant and keep it on for 12-14 hours per day. Insufficient light can lead to leggy growth and a weaker flavor.
What kind of soil is best for growing thyme indoors?
Thyme prefers well-draining soil. A sandy loam mix is ideal. You can create your own potting mix by combining equal parts potting soil, perlite, and coarse sand. Perlite helps improve drainage, while sand prevents the soil from becoming compacted. Avoid using heavy, clay-based soils, as they can retain too much moisture and lead to root rot. Ensure that your container has drainage holes to allow excess water to escape.
How often should I water my indoor thyme plant?
Water your thyme plant when the top inch of soil feels dry to the touch. Avoid overwatering, as thyme is susceptible to root rot. When you water, water thoroughly until water drains out of the drainage holes. Allow the soil to dry out slightly between waterings. During the winter months, when growth slows down, you may need to water less frequently. Check the soil moisture regularly to determine when watering is necessary.
How do I fertilize my indoor thyme plant?
Thyme is not a heavy feeder, so you don’t need to fertilize it frequently. Fertilize your thyme plant every 4-6 weeks during the growing season (spring and summer) with a diluted liquid fertilizer. Choose a fertilizer that is balanced or slightly higher in phosphorus, which promotes root growth. Avoid over-fertilizing, as this can lead to leggy growth and a weaker flavor. Organic fertilizers, such as compost tea or fish emulsion, are also good options.
How do I harvest thyme from my indoor plant?
You can begin harvesting thyme once the plant is established and has several stems. Use sharp scissors or pruning shears to snip off stems as needed. Avoid cutting more than one-third of the plant at a time, as this can stress the plant. Regular harvesting encourages bushier growth. You can use fresh thyme immediately or dry it for later use. To dry thyme, hang the stems upside down in a cool, dry place or use a dehydrator.
How do I propagate thyme from cuttings?
Propagating thyme from cuttings is a relatively easy way to expand your thyme collection. Take 4-6 inch cuttings from healthy stems, removing the lower leaves. Dip the cut end in rooting hormone and plant the cutting in a small pot filled with well-draining potting mix. Keep the soil moist and place the pot in a warm, bright location. Roots should develop within a few weeks. Once the cutting has rooted, you can transplant it into a larger pot.
What are some common problems with growing thyme indoors?
Some common problems with growing thyme indoors include overwatering, underwatering, insufficient light, and pests. Overwatering can lead to root rot, while underwatering can cause the plant to wilt and dry out. Insufficient light can result in leggy growth and a weaker flavor. Pests, such as aphids and spider mites, can also infest thyme plants. Inspect your plants regularly for signs of pests and take appropriate action if necessary.
Can I grow thyme indoors year-round?
Yes, you can grow thyme indoors year-round, provided you provide the plant with the proper care. Ensure that your thyme plant receives adequate sunlight or artificial light, well-draining soil, and regular watering. During the winter months, when growth slows down, you may need to adjust your watering and fertilizing schedule. With proper care, your indoor thyme plant can thrive year-round, providing you with a continuous supply of fresh herbs.
How do I keep my indoor thyme plant from getting leggy?
Leggy growth in thyme is often caused by insufficient light. Ensure that your plant is receiving at least six hours of direct sunlight per day or supplement with artificial light. Pruning your thyme plant regularly can also help prevent leggy growth. Pinch back the tips of the stems to encourage bushier growth. Avoid over-fertilizing, as this can also contribute to leggy growth.

Leave a Comment