

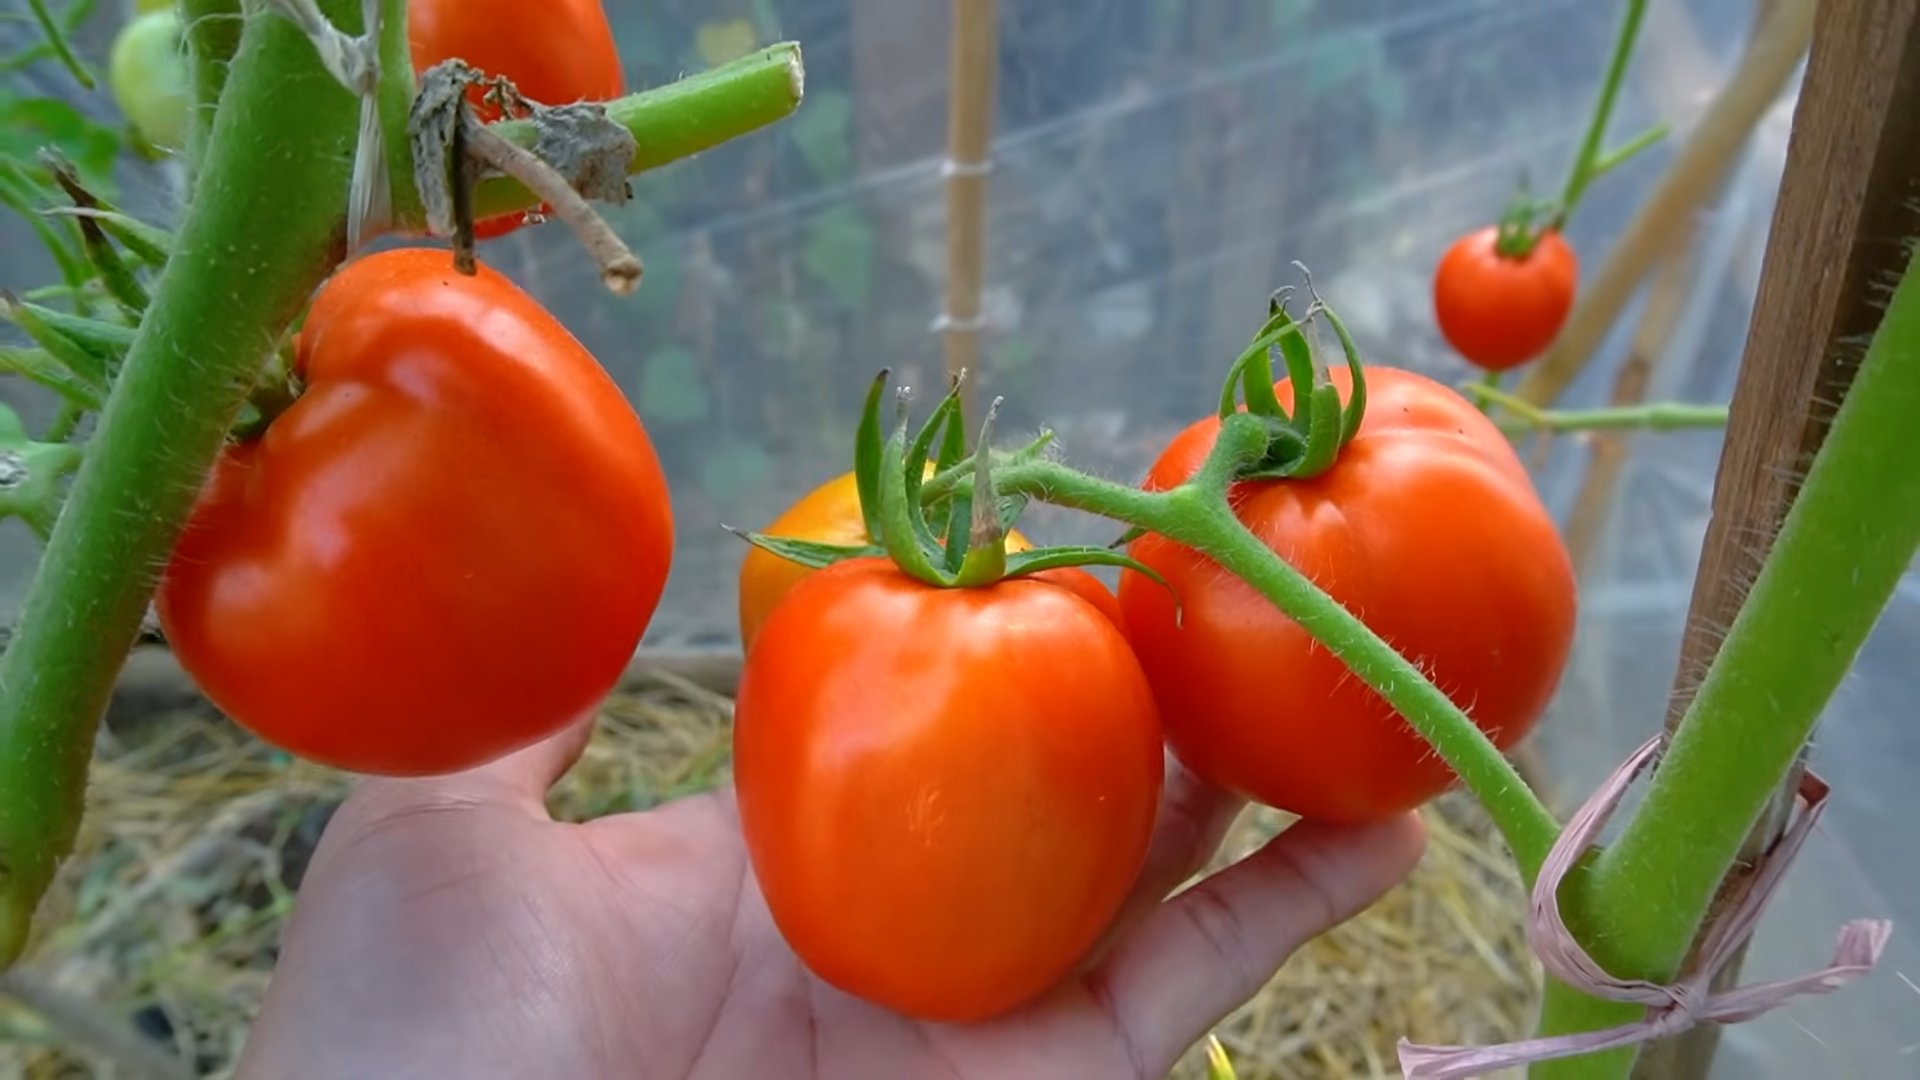
Growing tomatoes all year might sound like a dream reserved for professional greenhouses, but I’m here to tell you it’s absolutely achievable, even in your own home! Forget those bland, store-bought tomatoes that taste like cardboard. Imagine biting into a juicy, sun-ripened tomato, bursting with flavor, even in the dead of winter. Sounds good, right?
For centuries, humans have strived to extend the growing season, experimenting with techniques to coax warmth and light into colder months. From ancient Roman orangeries to Victorian-era glasshouses, the desire to cultivate fresh produce year-round has deep roots. Now, with a little ingenuity and some clever DIY hacks, you can tap into that same spirit of innovation.
Why is growing tomatoes all year so appealing? Well, besides the obvious benefit of delicious, fresh tomatoes whenever you crave them, it’s also incredibly rewarding. It connects you to the natural world, provides a sense of accomplishment, and can even save you money on your grocery bill. Plus, let’s be honest, who wouldn’t want to impress their friends and family with homegrown tomatoes in January? This article is packed with simple, effective DIY tricks and hacks that will empower you to cultivate your own thriving tomato plants, regardless of the season. Get ready to ditch the tasteless supermarket varieties and embrace the joy of year-round tomato goodness!
Growing Tomatoes All Year Round: My DIY Greenhouse Hack
Okay, tomato lovers, listen up! Are you tired of only enjoying juicy, sun-ripened tomatoes during the summer months? I was too! That’s why I embarked on a mission to grow tomatoes all year round, and I’m here to share my DIY greenhouse hack with you. It’s surprisingly simple, relatively inexpensive, and incredibly rewarding. Get ready to enjoy fresh tomatoes whenever you crave them!
What You’ll Need: The Essentials
Before we dive in, let’s gather our supplies. This is a list of everything I used, but feel free to adapt it based on your space and budget.
* A sunny location: This is non-negotiable. Tomatoes need at least 6-8 hours of direct sunlight per day. A south-facing window or balcony is ideal.
* Grow lights (optional, but highly recommended): Especially during the winter months, supplemental lighting is crucial. I use LED grow lights because they’re energy-efficient and don’t produce excessive heat.
* Tomato seeds or seedlings: Choose determinate or dwarf varieties that are well-suited for container gardening. I personally love ‘Roma’ and ‘Patio’ tomatoes.
* Large containers: At least 10-15 gallons per plant. Fabric pots are great because they allow for good drainage and aeration.
* High-quality potting mix: Avoid using garden soil, as it can compact and hinder drainage. I recommend a mix specifically formulated for vegetables.
* Tomato cages or stakes: To support the plants as they grow.
* Fertilizer: A balanced fertilizer specifically formulated for tomatoes. I prefer organic options.
* Watering can or hose: For regular watering.
* Spray bottle: For misting the plants.
* Thermometer: To monitor the temperature inside your greenhouse.
* Clear plastic sheeting or greenhouse film: This is the key to creating your mini-greenhouse.
* PVC pipes or wooden frame: To build the structure of your greenhouse.
* Clamps or zip ties: To secure the plastic sheeting to the frame.
* Scissors or utility knife: For cutting the plastic sheeting.
* Measuring tape: To measure the dimensions of your space and materials.
* Small fan (optional): To improve air circulation and prevent mold.
Building Your DIY Mini-Greenhouse: Step-by-Step
This is where the fun begins! I’ll walk you through the process of building your own mini-greenhouse.
1. Measure Your Space: First, determine the area where you’ll be setting up your greenhouse. Measure the length, width, and height to ensure your structure will fit comfortably. I used my balcony, so I had to be mindful of the railing height.
2. Build the Frame: This is where you have some flexibility. You can use PVC pipes or a wooden frame.
* PVC Pipe Frame: This is the more affordable and lightweight option. Purchase PVC pipes and connectors to create a rectangular or square frame that fits your measured space. I used 1-inch PVC pipes and corner connectors. Cut the pipes to the desired lengths using a PVC pipe cutter or a saw. Assemble the frame by connecting the pipes with the connectors. Make sure the frame is sturdy and stable.
* Wooden Frame: This is a more durable option, but it requires more effort and materials. Use lumber to build a rectangular or square frame. You can use screws or nails to secure the pieces together. Ensure the frame is level and sturdy.
3. Cover the Frame with Plastic Sheeting: Now, it’s time to create the greenhouse effect.
* Cut the Plastic Sheeting: Measure the frame and cut the plastic sheeting or greenhouse film to the appropriate size, leaving some extra material for overlap. I found it easier to cut slightly larger pieces and trim them later.
* Attach the Plastic Sheeting: Drape the plastic sheeting over the frame, ensuring it covers all sides and the top. Secure the sheeting to the frame using clamps or zip ties. Pull the sheeting taut to minimize wrinkles and create a tight seal. I started at the top and worked my way down, securing the corners last.
4. Create Ventilation: Ventilation is crucial to prevent overheating and humidity buildup.
* Add Vents: Cut small openings in the plastic sheeting on the sides or top of the greenhouse. You can cover these openings with mesh or netting to prevent pests from entering. I created two small vents on opposite sides of my greenhouse to allow for cross-ventilation.
* Use a Zipper (Optional): For easier access and ventilation control, you can install a zipper on one side of the greenhouse. This will allow you to open and close the greenhouse as needed.
5. Position Your Greenhouse: Place your completed mini-greenhouse in the sunny location you identified earlier. Make sure it’s stable and secure.
Planting Your Tomatoes: From Seed to Harvest
Now that your greenhouse is ready, let’s get those tomatoes growing!
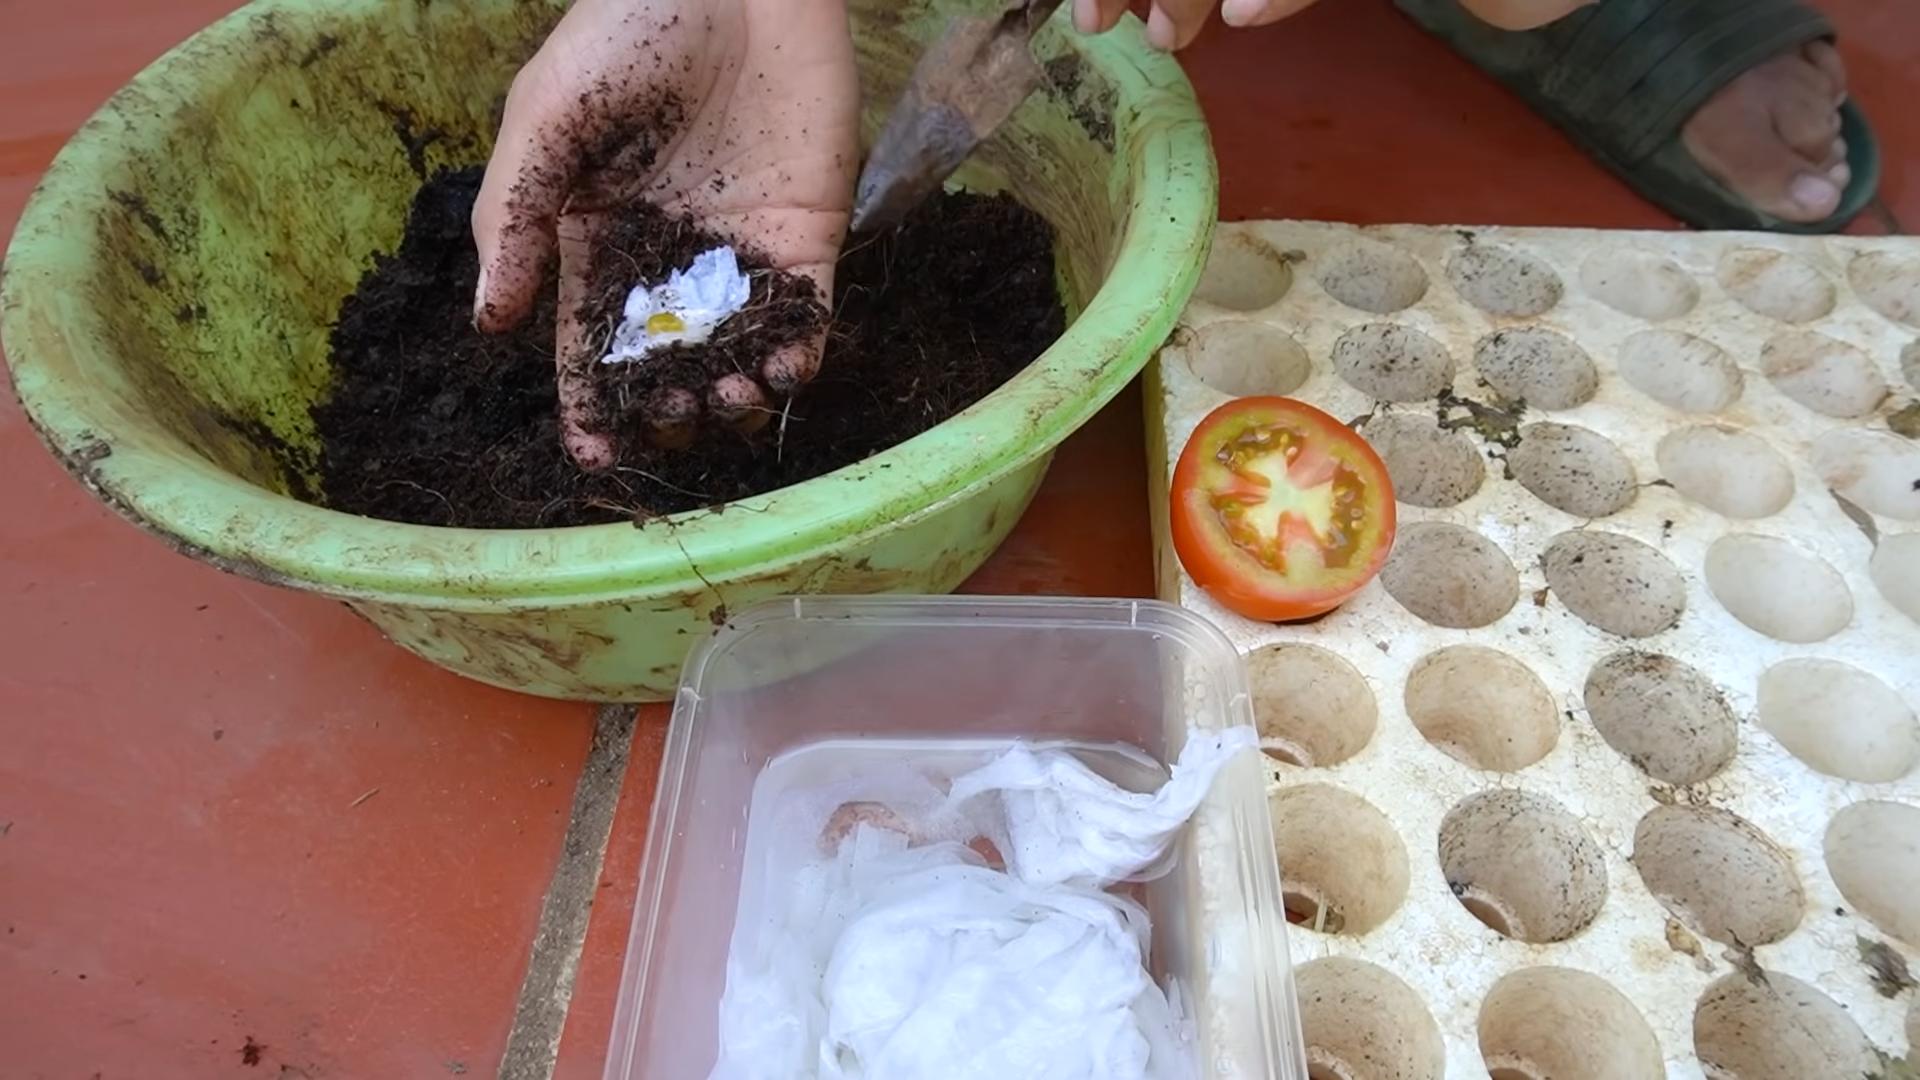
1. Starting from Seed (Optional): If you’re starting from seed, sow the seeds in seed-starting trays or small pots filled with seed-starting mix. Keep the soil moist and warm. Once the seedlings have developed a few sets of true leaves, transplant them into larger containers.
2. Transplanting Seedlings: If you’re using seedlings, gently remove them from their nursery pots and plant them in your large containers filled with potting mix. Dig a hole slightly larger than the root ball and carefully place the seedling in the hole. Backfill with potting mix and gently pat down the soil.
3. Watering: Water the tomato plants thoroughly after planting. Keep the soil consistently moist, but avoid overwatering. I usually water every 2-3 days, depending on the weather and the moisture level of the soil.
4. Fertilizing: Feed your tomato plants with a balanced fertilizer every 2-3 weeks. Follow the instructions on the fertilizer packaging. I like to use a liquid fertilizer that I can easily mix with water.
5. Providing Support: As the tomato plants grow, they will need support to prevent them from falling over. Install tomato cages or stakes around the plants to provide support. I prefer tomato cages because they provide all-around support.
6. Pruning: Prune the tomato plants regularly to remove suckers (small shoots that grow between the main stem and the branches). This will help to improve air circulation and encourage fruit production.
7. Pollination: Tomatoes are self-pollinating, but sometimes they need a little help, especially indoors. Gently shake the plants or use a small brush to transfer pollen from one flower to another. I usually do this every few days.
Maintaining Your Greenhouse: Tips for Success
Maintaining your mini-greenhouse is essential for ensuring healthy tomato plants and a bountiful harvest.
1. Temperature Control: Monitor the temperature inside your greenhouse regularly. Tomatoes thrive in temperatures between 65°F and 85°F (18°C and 29°C). If the temperature gets too high, open the vents or use a fan to cool the greenhouse down. If the temperature gets too low, use a heater or cover the greenhouse with a blanket to insulate it.
2. Humidity Control: Maintain a humidity level of around 50-60% inside your greenhouse. You can use a humidifier to increase humidity or a dehumidifier to decrease humidity. I usually mist the plants with water to increase humidity.
3. Air Circulation: Good air circulation is essential to prevent mold and disease. Use a small fan to circulate the air inside the greenhouse.
4. Pest Control: Inspect your tomato plants regularly for pests. If you find any pests, treat them with an appropriate insecticide or organic pest control method. I like to use neem oil to control pests.
5. Disease Prevention: Prevent diseases by providing good air circulation, avoiding overwatering, and using disease-resistant tomato varieties. If you notice any signs of disease, treat the plants with an appropriate fungicide.
6. Watering Schedule: Adjust your watering schedule based on the weather and the moisture level of the soil. Water more frequently during hot, dry weather and less frequently during cool, wet weather.
7. Lighting: If you’re growing tomatoes indoors, provide supplemental lighting with grow lights. Position the grow lights close to the plants and adjust the height as the plants grow.
Troubleshooting: Common Problems and Solutions
Even with the best care, you might encounter some problems along the way. Here are some common issues and how to address them:
* Blossom End Rot: This is caused by a calcium deficiency. Ensure your soil has adequate calcium and water consistently. You can also add calcium supplements to the soil.
* Yellowing Leaves: This can be caused by overwatering, underwatering, nutrient deficiencies, or pests. Check the soil moisture, fertilize the plants, and inspect for pests.
*
Conclusion
So, there you have it! Mastering the art of growing tomatoes all year round is no longer a distant dream, but a tangible reality within your reach. This DIY trick, leveraging the power of controlled environments and strategic planning, unlocks a continuous harvest of juicy, flavorful tomatoes, regardless of the season. Forget bland, store-bought imitations – imagine the satisfaction of plucking sun-ripened (or rather, grow-light-ripened!) tomatoes from your own indoor garden, even in the dead of winter.
This isn’t just about having fresh tomatoes; it’s about taking control of your food source, reducing your carbon footprint, and experiencing the sheer joy of nurturing life. The vibrant green foliage, the delicate blossoms, and the eventual burst of red – it’s a miniature ecosystem thriving within your home, a constant reminder of the power of nature and your ability to harness it.
But the beauty of this DIY approach lies in its adaptability. Feel free to experiment with different tomato varieties. Cherry tomatoes, with their compact size and prolific yields, are particularly well-suited for indoor growing. Roma tomatoes, known for their meaty texture and rich flavor, are excellent for sauces and pastes. Heirloom varieties, with their unique colors and complex flavors, can add a touch of gourmet flair to your winter salads.
Consider also exploring different growing mediums. While soil-based systems are the most common, hydroponics offers a soilless alternative that can accelerate growth and reduce the risk of soilborne diseases. Aeroponics, an even more advanced technique, suspends the roots in air and mists them with nutrient-rich solutions, maximizing oxygen exposure and promoting rapid development.
Don’t be afraid to tweak the lighting schedule to optimize growth. While 14-16 hours of light per day is generally recommended, you may find that your specific tomato variety responds better to a slightly longer or shorter photoperiod. Monitor your plants closely and adjust the lighting accordingly.
Furthermore, think about companion planting. Basil, for example, is known to improve the flavor of tomatoes and repel pests. Marigolds can also deter nematodes and other soilborne insects. Interplanting these beneficial herbs and flowers can create a more balanced and resilient indoor garden.
This DIY trick for growing tomatoes all year is more than just a method; it’s an invitation to connect with nature, to learn and experiment, and to reap the rewards of your efforts. It’s a journey of discovery, filled with challenges and triumphs, and ultimately, a deeper appreciation for the food we eat.
So, what are you waiting for? Gather your supplies, prepare your growing space, and embark on this exciting adventure. We’re confident that you’ll be amazed by the results. And most importantly, we want to hear about your experience! Share your successes, your challenges, and your tips with us in the comments below. Let’s build a community of year-round tomato growers, sharing our knowledge and inspiring each other to cultivate a more sustainable and delicious future. Let us know what kind of DIY tomato growing system you created.
Frequently Asked Questions (FAQ)
What are the best tomato varieties for indoor growing?
The best tomato varieties for indoor growing are typically determinate or dwarf varieties, as they tend to be more compact and manageable. Cherry tomatoes, such as ‘Sungold’ or ‘Sweet Million,’ are popular choices due to their small size, prolific yields, and delicious flavor. Roma tomatoes, like ‘Roma VF,’ are also well-suited for indoor growing, as they are relatively compact and produce meaty fruits ideal for sauces and pastes. Other good options include ‘Patio’ tomatoes, ‘Tiny Tim’ tomatoes, and certain heirloom varieties that are known for their adaptability. Consider the size of your growing space and the type of tomatoes you prefer when making your selection.
How much light do indoor tomato plants need?
Indoor tomato plants require a significant amount of light to thrive and produce fruit. Ideally, they need 14-16 hours of light per day. This can be achieved using grow lights, which provide the necessary spectrum of light for photosynthesis. LED grow lights are a popular choice due to their energy efficiency and long lifespan. Fluorescent grow lights can also be used, but they may need to be replaced more frequently. Position the grow lights close enough to the plants to provide adequate illumination, but not so close that they burn the leaves. Monitor your plants closely and adjust the lighting as needed to ensure they are receiving sufficient light.
What type of soil is best for growing tomatoes indoors?
The best type of soil for growing tomatoes indoors is a well-draining potting mix that is rich in organic matter. Avoid using garden soil, as it can be too heavy and may contain pests or diseases. A good potting mix will provide adequate drainage, aeration, and nutrients for your tomato plants. You can also amend the potting mix with compost or other organic materials to improve its fertility. Consider using a soilless growing medium, such as coco coir or perlite, if you prefer a hydroponic or aeroponic system.
How often should I water my indoor tomato plants?
The frequency of watering depends on several factors, including the size of the pot, the type of soil, and the temperature and humidity of your growing environment. Generally, you should water your tomato plants when the top inch of soil feels dry to the touch. Avoid overwatering, as this can lead to root rot. When you water, water deeply until the water drains out of the bottom of the pot. This ensures that the roots are thoroughly moistened. Monitor your plants closely and adjust the watering schedule as needed.
How do I pollinate my indoor tomato plants?
Indoor tomato plants may require manual pollination, as there are no bees or other pollinators to do the job. You can pollinate your plants by gently shaking the flowers or using a small brush to transfer pollen from one flower to another. Another method is to use a vibrating device, such as an electric toothbrush, to vibrate the flowers and release the pollen. Pollinate your plants every few days to ensure that they set fruit.
How do I deal with pests and diseases on my indoor tomato plants?
Pests and diseases can be a challenge when growing tomatoes indoors, but there are several steps you can take to prevent and control them. Start by using clean pots and soil to avoid introducing pests or diseases. Inspect your plants regularly for signs of infestation or disease. If you find any pests, you can try removing them by hand or using insecticidal soap or neem oil. For diseases, you can try using a fungicide or removing the affected leaves. Good air circulation can also help prevent fungal diseases.
How long does it take to grow tomatoes indoors?
The time it takes to grow tomatoes indoors depends on the variety of tomato, the growing conditions, and your level of experience. Generally, it takes about 60-85 days from transplanting seedlings to harvesting ripe tomatoes. Cherry tomatoes tend to mature faster than larger varieties. Providing optimal lighting, watering, and fertilization can help accelerate growth.
Can I grow tomatoes indoors in a small space?
Yes, you can grow tomatoes indoors in a small space by choosing compact varieties and using vertical growing techniques. Determinate or dwarf varieties are well-suited for small spaces, as they tend to be more compact and manageable. You can also use trellises or cages to support the plants and maximize space. Consider using a hydroponic or aeroponic system, as these systems can be more space-efficient than soil-based systems.
What nutrients do indoor tomato plants need?
Indoor tomato plants need a balanced supply of nutrients to thrive and produce fruit. A fertilizer that is specifically formulated for tomatoes is a good choice. Look for a fertilizer that is high in phosphorus and potassium, as these nutrients are essential for fruit development. You can also supplement with micronutrients, such as calcium and magnesium, to prevent nutrient deficiencies. Follow the instructions on the fertilizer label carefully to avoid over-fertilizing.
How do I prevent blossom end rot on my indoor tomato plants?
Blossom end rot is a common problem in tomatoes that is caused by a calcium deficiency. To prevent blossom end rot, ensure that your plants are receiving adequate calcium. You can add calcium to the soil by amending it with bone meal or lime. Also, avoid overwatering or underwatering, as this can interfere with calcium uptake. Maintain a consistent watering schedule and monitor your plants closely for signs of blossom end rot.
Leave a Comment