

Growing Zinnias in Containers: Unleash a riot of color on your patio, balcony, or even windowsill! Have you ever dreamed of a vibrant, buzzing garden bursting with life, but thought you didn’t have the space? Well, dream no more! This isn’t just another gardening article; it’s your personal guide to transforming even the smallest spaces into a zinnia paradise.
Zinnias, with their cheerful daisy-like blooms, have a rich history, originating in Mexico and eventually captivating gardeners worldwide. They were initially considered rather unattractive weeds by early European explorers, but thankfully, tastes evolved! Now, they’re celebrated for their easy-going nature and ability to attract butterflies and hummingbirds.
In today’s busy world, finding moments of peace and connection with nature is more important than ever. Growing Zinnias in Containers offers a simple, accessible way to do just that. Whether you’re a seasoned gardener or a complete beginner, this DIY guide will equip you with the knowledge and confidence to cultivate a stunning display of zinnias, adding a splash of joy to your life and a touch of beauty to your surroundings. Plus, who doesn’t love the satisfaction of creating something beautiful with their own two hands? Let’s get started and unlock the secrets to thriving container zinnias!
Growing Vibrant Zinnias in Containers: A DIY Guide
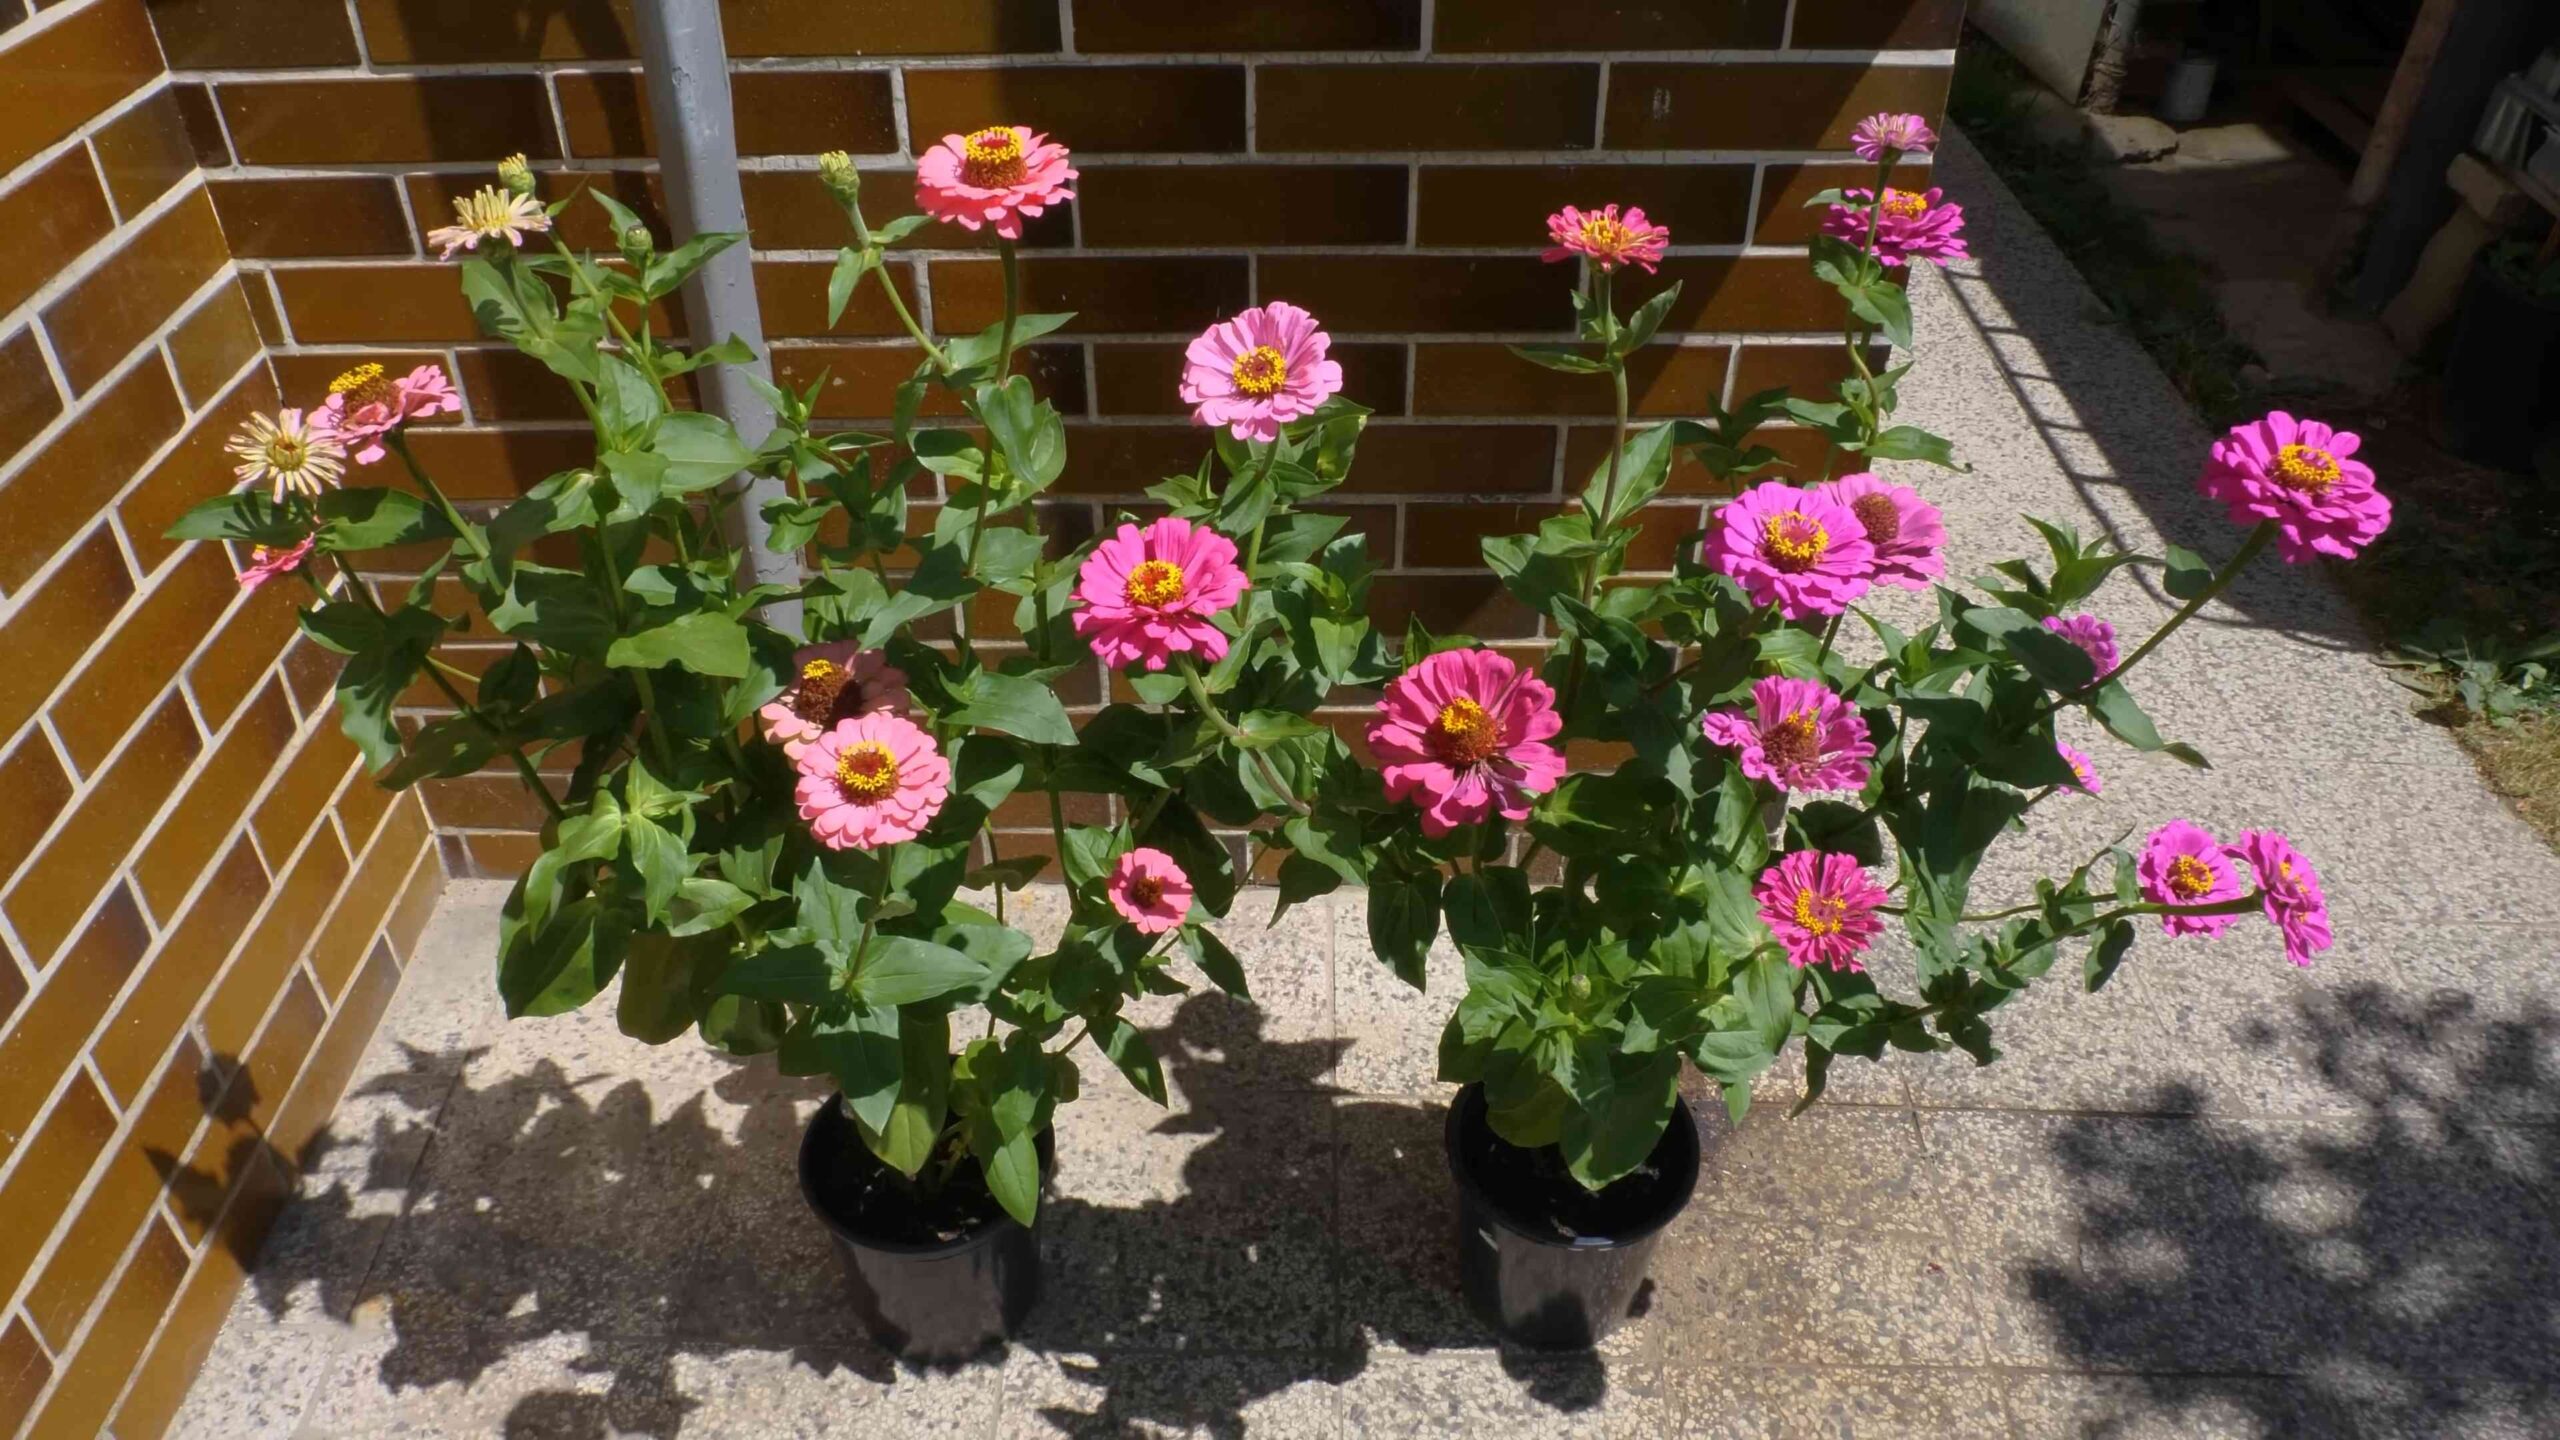
Hey there, fellow plant enthusiasts! I’m so excited to share my tried-and-true method for growing gorgeous zinnias in containers. Zinnias are one of my absolute favorite flowers – they’re cheerful, come in a rainbow of colors, and are incredibly easy to grow, making them perfect for beginner gardeners like I once was! Plus, growing them in containers means you can enjoy their beauty even if you have limited space, like a balcony or patio. Let’s dive in!
Choosing the Right Zinnia Variety
Before we get our hands dirty, it’s important to pick the right zinnia variety for container gardening. Not all zinnias are created equal! Some can get quite tall and leggy, which isn’t ideal for pots. Here’s what I look for:
* Compact Varieties: Look for varieties specifically labeled as “dwarf,” “compact,” or “bushy.” These tend to stay smaller and more manageable in containers. Some of my favorites include ‘Profusion,’ ‘Thumbelina,’ ‘Magellan,’ and ‘Zinnia elegans Lilliput’.
* Height: Pay attention to the mature height listed on the seed packet or plant tag. Aim for varieties that reach a maximum height of 12-24 inches.
* Bloom Size: Consider the size of the blooms. Smaller blooms tend to be more prolific on compact plants.
* Color: This is where you can really let your personality shine! Zinnias come in almost every color imaginable, from vibrant reds and oranges to soft pinks and purples. Choose a color palette that complements your outdoor space. I personally love mixing different colors for a cheerful, cottage-garden feel.
Gathering Your Supplies
Okay, now that we’ve chosen our zinnia varieties, let’s gather the supplies we’ll need. Here’s my checklist:
* Containers: Choose containers that are at least 12 inches in diameter and 12 inches deep. This will give your zinnias enough room to grow and develop healthy root systems. Make sure your containers have drainage holes! This is crucial for preventing root rot. I prefer using terracotta pots because they allow the soil to breathe, but plastic or resin containers work just as well.
* Potting Mix: Use a high-quality potting mix that is well-draining and lightweight. Avoid using garden soil, as it can become compacted in containers and doesn’t provide adequate drainage. I usually mix in some perlite or vermiculite to further improve drainage.
* Zinnia Seeds or Seedlings: You can start zinnias from seed or purchase seedlings from your local garden center. Starting from seed is more economical, but buying seedlings will give you a head start.
* Watering Can or Hose: You’ll need a way to water your zinnias regularly. A watering can with a gentle rose head is ideal for avoiding soil splash.
* Fertilizer: Use a balanced, water-soluble fertilizer to feed your zinnias throughout the growing season. I like to use a fertilizer with an NPK ratio of 10-10-10 or 20-20-20.
* Gardening Gloves: Protect your hands from dirt and potential irritants.
* Trowel or Small Shovel: For planting seeds or seedlings.
* Optional:
* Slow-Release Fertilizer: Adding slow-release fertilizer to the potting mix at planting time can provide a steady supply of nutrients throughout the season.
* Mulch: Applying a layer of mulch around your zinnia plants can help retain moisture, suppress weeds, and regulate soil temperature. I like to use shredded bark or straw.
* Plant Markers: If you’re planting multiple varieties of zinnias, plant markers can help you keep track of which is which.
Planting Your Zinnias
Alright, let’s get planting! This is the fun part.
Starting from Seed:
1. Fill the Container: Fill your container with potting mix, leaving about an inch of space at the top.
2. Sow the Seeds: Sprinkle the zinnia seeds evenly over the surface of the soil. I usually sow a few extra seeds to ensure good germination.
3. Cover the Seeds: Lightly cover the seeds with a thin layer of potting mix (about 1/4 inch).
4. Water Gently: Water the soil gently using a watering can or hose with a gentle spray nozzle. Be careful not to dislodge the seeds.
5. Provide Warmth and Light: Place the container in a warm, sunny location. Zinnias need plenty of sunlight to germinate and grow.
6. Keep the Soil Moist: Keep the soil consistently moist, but not soggy, until the seeds germinate. This usually takes about 7-10 days.
7. Thin Seedlings (If Necessary): Once the seedlings emerge, thin them out so that they are spaced about 6-8 inches apart. This will give them enough room to grow and prevent overcrowding.
Planting Seedlings:
1. Prepare the Planting Hole: Dig a hole in the potting mix that is slightly larger than the root ball of the seedling.
2. Remove the Seedling from the Container: Gently remove the seedling from its container, being careful not to damage the roots. If the roots are pot-bound (tightly circling the root ball), gently loosen them with your fingers.
3. Place the Seedling in the Hole: Place the seedling in the hole, making sure that the top of the root ball is level with the surface of the soil.
4. Fill in the Hole: Fill in the hole with potting mix, gently firming the soil around the seedling.
5. Water Thoroughly: Water the seedling thoroughly after planting.
Caring for Your Zinnias
Now that your zinnias are planted, it’s important to provide them with the care they need to thrive.
* Watering: Water your zinnias regularly, especially during hot, dry weather. Aim to keep the soil consistently moist, but not soggy. Water deeply, allowing the water to soak into the soil. Avoid watering the foliage, as this can increase the risk of fungal diseases. I usually water my zinnias in the morning so that the foliage has time to dry before nightfall.
* Fertilizing: Feed your zinnias every 2-3 weeks with a balanced, water-soluble fertilizer. Follow the instructions on the fertilizer package. You can also add slow-release fertilizer to the potting mix at planting time.
* Sunlight: Zinnias need at least 6-8 hours of sunlight per day to bloom profusely. Place your containers in a sunny location where they will receive plenty of direct sunlight.
* Deadheading: Deadheading, or removing spent flowers, is essential for encouraging continuous blooming. When a flower starts to fade, simply snip it off just below the flower head. This will encourage the plant to produce more blooms. I try to deadhead my zinnias regularly to keep them looking their best.
* Pest and Disease Control: Zinnias are generally pest-resistant, but they can occasionally be affected by aphids, spider mites, or powdery mildew. If you notice any pests or diseases, treat them promptly with an appropriate insecticide or fungicide. I prefer to use organic pest control methods whenever possible. For aphids, I often use a strong stream of water to knock them off the plants. For powdery mildew, I use a solution of baking soda and water.
* Support (If Needed): Taller zinnia varieties may need support to prevent them from flopping over. You can use stakes or tomato cages to provide support. I usually don’t need to stake my compact zinnia varieties, but it’s something to keep in mind if you’re growing taller varieties.
Troubleshooting
Even with the best care, you may encounter some problems while growing zinnias. Here are some common issues and how to address them:
* Yellowing Leaves: Yellowing leaves can be caused by a variety of factors, including overwatering, underwatering, nutrient deficiencies, or pests. Check the soil moisture and adjust your watering accordingly. Fertilize your zinnias regularly to provide them with the nutrients they need. Inspect the plants for pests and treat them if necessary.
* Powdery Mildew: Powdery mildew is a fungal disease that appears as a white, powdery coating on the leaves. It is most common in humid conditions. To prevent powdery mildew, provide good air circulation around your plants and avoid watering the foliage. If you notice powdery mildew, treat it with a fungicide or a solution of baking soda and water.
* Leggy Growth: Leggy growth, or long, spindly stems with few leaves, is usually caused by insufficient sunlight. Move your zinnias to a sunnier location. You can also pinch back the stems to encourage bushier growth.
* Lack of Blooms: A lack of blooms can be caused by a variety of factors, including insufficient sunlight, over-

Conclusion
So, there you have it! Growing zinnias in containers is not only achievable but also incredibly rewarding. We’ve walked through the simple steps, from selecting the right container and soil to nurturing your vibrant blooms. But why should you bother with this DIY project? Because it offers a burst of color and joy right at your fingertips, regardless of your garden size. Imagine stepping onto your balcony or patio and being greeted by a riot of zinnia hues – reds, oranges, yellows, pinks, and purples, all dancing in the sunlight. It’s a mood booster, a pollinator magnet, and a testament to your green thumb, all rolled into one.
This isn’t just about growing flowers; it’s about creating a personalized oasis. The beauty of container gardening lies in its flexibility. You can move your zinnias around to chase the sun, protect them from harsh weather, or simply rearrange your outdoor space for a fresh look. Plus, it’s a fantastic way to control the growing environment, ensuring your zinnias receive the optimal conditions they need to thrive.
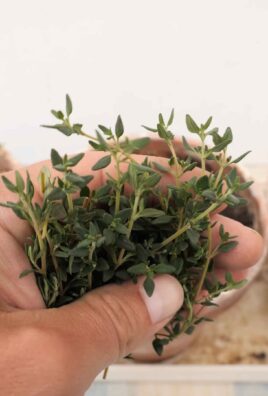
Looking for variations? Consider companion planting in your containers. Marigolds, for example, are excellent companions for zinnias, helping to deter pests and attract beneficial insects. You could also add herbs like basil or thyme for a fragrant and functional container garden. Experiment with different zinnia varieties too! From the tall, dahlia-flowered types to the compact, dwarf varieties, there’s a zinnia to suit every container and preference. Why not try a cascading variety for a hanging basket, creating a stunning floral waterfall?
Don’t be afraid to get creative with your container choices as well. While terracotta pots are classic and beautiful, you can also use repurposed items like old buckets, metal tubs, or even wooden crates. Just ensure they have adequate drainage holes.
Ultimately, growing zinnias in containers is a simple yet impactful way to enhance your living space and connect with nature. It’s a project that’s accessible to everyone, regardless of their gardening experience. So, grab a container, some potting mix, and your favorite zinnia seeds, and get ready to witness the magic unfold. We are confident that you will find that growing zinnias in containers is a very rewarding experience.
We wholeheartedly encourage you to try this DIY trick and share your experience with us! Post photos of your container zinnias on social media using #ContainerZinnias or tag us in your posts. We’d love to see your creations and hear about your successes (and any challenges you might encounter). Your insights can inspire others to embark on their own container gardening journey. Happy growing!
Frequently Asked Questions (FAQ)
What is the best size container for growing zinnias?
The ideal container size depends on the zinnia variety you choose. For dwarf varieties, a container that is at least 6-8 inches in diameter and depth should suffice. For larger, taller varieties, opt for a container that is 12 inches or more in diameter and depth. The larger the container, the more room the roots have to grow, and the less frequently you’ll need to water. Remember that good drainage is crucial, regardless of the container size.
What type of soil is best for container zinnias?
Zinnias thrive in well-draining soil that is rich in organic matter. A high-quality potting mix specifically formulated for containers is your best bet. Avoid using garden soil, as it can become compacted in containers and hinder drainage. You can amend your potting mix with compost or other organic matter to further improve its fertility and drainage. A slightly acidic to neutral pH (around 6.0 to 7.0) is ideal.
How often should I water my container zinnias?
Watering frequency depends on several factors, including the size of the container, the weather conditions, and the zinnia variety. Generally, you should water your zinnias when the top inch of soil feels dry to the touch. Avoid overwatering, as this can lead to root rot. During hot, dry weather, you may need to water daily. In cooler, more humid conditions, you may only need to water every few days. Always water at the base of the plant to avoid wetting the foliage, which can increase the risk of fungal diseases.
How much sunlight do zinnias need?
Zinnias are sun-loving plants and require at least 6-8 hours of direct sunlight per day to thrive. Choose a location for your container zinnias that receives plenty of sunlight. If you live in a particularly hot climate, you may need to provide some afternoon shade to prevent the plants from scorching. Insufficient sunlight can lead to leggy growth and fewer blooms.
Do I need to fertilize my container zinnias?
Yes, container zinnias benefit from regular fertilization. Use a balanced, water-soluble fertilizer diluted to half strength every 2-3 weeks during the growing season. Avoid over-fertilizing, as this can lead to excessive foliage growth at the expense of blooms. You can also use a slow-release fertilizer at planting time to provide a steady supply of nutrients throughout the season. Look for a fertilizer with a higher phosphorus content to encourage blooming.
How do I deadhead zinnias in containers?
Deadheading is essential for promoting continuous blooming. Simply pinch or cut off the spent flowers just below the flower head, at the point where the stem meets a leaf node. This encourages the plant to produce more flowers instead of putting energy into seed production. Deadheading also helps to keep your plants looking tidy and attractive.
Are zinnias susceptible to any pests or diseases?
Zinnias can be susceptible to powdery mildew, especially in humid conditions. To prevent powdery mildew, ensure good air circulation around your plants and avoid overhead watering. If powdery mildew does occur, you can treat it with a fungicide. Zinnias can also be bothered by aphids, spider mites, and Japanese beetles. Inspect your plants regularly for signs of pests and treat them accordingly with insecticidal soap or neem oil.
Can I grow zinnias indoors?
While zinnias are primarily outdoor plants, you can try growing them indoors if you have a very sunny location, such as a south-facing window. You’ll need to provide supplemental lighting, such as a grow light, to ensure they receive enough light. Indoor zinnias may not bloom as profusely as outdoor zinnias, but they can still provide a touch of color and cheer to your indoor space.
What are some good companion plants for zinnias in containers?
Several plants make excellent companions for zinnias in containers. Marigolds are a classic choice, as they help to deter pests and attract beneficial insects. Basil and thyme are fragrant herbs that can also help to repel pests. Other good companion plants include nasturtiums, petunias, and salvia. Choose plants that have similar growing requirements as zinnias, such as full sun and well-draining soil.
Can I save zinnia seeds from my container plants?
Yes, you can easily save zinnia seeds from your container plants. Allow the flower heads to dry completely on the plant. Once they are dry and brown, cut them off and gently rub the petals to release the seeds. Store the seeds in a cool, dry place until you are ready to plant them next season. Remember that hybrid zinnias may not produce true-to-type seeds, so the resulting plants may not look exactly like the parent plant.

Leave a Comment