

Healing herbs to grow right in your backyard? Absolutely! Imagine stepping outside your door and having a natural pharmacy at your fingertips. For centuries, cultures around the globe have relied on the power of herbs for healing and well-being. From ancient Egyptians using aloe vera to soothe burns to Native Americans employing echinacea for immune support, the tradition of herbal medicine is deeply rooted in human history.
But you don’t need to be an expert herbalist to tap into this ancient wisdom. I’m here to show you some simple, effective, and totally doable DIY tricks to cultivate your own healing herb garden, even if you have limited space or a less-than-green thumb.
In today’s world, where we’re constantly bombarded with synthetic solutions, many of us are craving a more natural approach to health and wellness. Growing your own healing herbs to grow allows you to take control of what you put into your body, reduce your reliance on pharmaceuticals, and connect with the earth in a meaningful way. Plus, it’s incredibly rewarding to nurture these plants from seed to harvest and then use them to create your own teas, tinctures, and salves. So, let’s get our hands dirty and discover the magic of home herbalism!
Grow Your Own Healing Garden: A Beginner’s Guide to Medicinal Herbs
Hey there, fellow plant enthusiasts! Ever thought about turning your green thumb into a healing hand? Growing your own medicinal herbs is not only incredibly rewarding but also gives you access to natural remedies right in your backyard. I’m going to walk you through the basics of creating your own little apothecary garden, focusing on some easy-to-grow and incredibly useful herbs. Let’s get started!
Choosing Your Herbs: The Healing Powerhouses
Before we dive into the planting process, let’s talk about which herbs are great for beginners and offer a wide range of health benefits. I’ve selected a few that I’ve personally had success with and find incredibly versatile.
* Lavender: Known for its calming and relaxing properties, lavender is fantastic for stress relief, sleep improvement, and even soothing minor burns. Plus, it smells divine!
* Chamomile: Another calming herb, chamomile is perfect for teas that promote relaxation and can also help with digestive issues.
* Mint (Peppermint or Spearmint): Mint is a powerhouse for digestive health, relieving headaches, and freshening breath. Be careful, though – it can be invasive!
* Rosemary: This fragrant herb is great for improving memory and concentration, boosting the immune system, and adding flavor to your cooking.
* Thyme: Thyme is a fantastic antiseptic and antibacterial herb, useful for treating coughs, colds, and sore throats.
* Calendula: This vibrant flower is known for its skin-healing properties, making it great for salves and creams to treat minor cuts, scrapes, and rashes.
Preparing Your Garden: Setting the Stage for Success
Now that we’ve chosen our herbs, it’s time to prepare the garden. This is a crucial step, as healthy soil and proper sunlight are essential for thriving plants.
* Location, Location, Location: Most herbs need at least 6 hours of sunlight per day. Choose a sunny spot in your yard or on your balcony.
* Soil Matters: Herbs generally prefer well-draining soil. If your soil is heavy clay, amend it with compost, perlite, or sand to improve drainage.
* Container Gardening: If you’re short on space, container gardening is a great option. Choose pots that are at least 12 inches in diameter to give your herbs room to grow. Make sure the pots have drainage holes!
* Testing the Soil: A soil test can reveal nutrient deficiencies. You can buy a kit at most garden centers or send a sample to your local agricultural extension office.
Planting Your Herbs: Getting Your Hands Dirty
Alright, let’s get our hands dirty! Here’s a step-by-step guide to planting your chosen herbs.
1. Starting from Seeds (Optional, but Rewarding)
Starting from seeds can be a bit more challenging, but it’s also more cost-effective and gives you a wider variety of options.
1. Choose Your Seeds: Select high-quality seeds from a reputable source.
2. Start Indoors (Recommended): Start your seeds indoors 6-8 weeks before the last expected frost. Use seed-starting trays or small pots filled with seed-starting mix.
3. Sow the Seeds: Follow the instructions on the seed packet for planting depth and spacing. Generally, you’ll want to sow the seeds about ¼ inch deep.
4. Water Gently: Water the seeds gently to avoid disturbing them. Use a spray bottle or a watering can with a fine rose.
5. Provide Light: Place the seed trays under grow lights or in a sunny window.
6. Keep Moist: Keep the soil consistently moist, but not soggy.
7. Harden Off: Once the seedlings have developed a few sets of true leaves, gradually acclimate them to outdoor conditions by placing them outside for a few hours each day, increasing the time over a week or two.
2. Planting Seedlings or Transplants
This is the easiest way to get started, as you’re skipping the seed-starting phase.
1. Prepare the Planting Hole: Dig a hole that’s twice as wide as the root ball of the seedling and just as deep.
2. Remove the Seedling: Gently remove the seedling from its container, being careful not to damage the roots. If the roots are tightly bound, gently loosen them with your fingers.
3. Place the Seedling: Place the seedling in the hole, ensuring that the top of the root ball is level with the surrounding soil.
4. Backfill the Hole: Fill the hole with soil, gently firming it around the base of the plant.
5. Water Thoroughly: Water the seedling thoroughly to help it settle in.
3. Specific Planting Tips for Each Herb
* Lavender: Lavender prefers well-drained, slightly alkaline soil. Space plants 2-3 feet apart.
* Chamomile: Chamomile can tolerate partial shade, but it prefers full sun. Space plants 12 inches apart.
* Mint: Mint is incredibly invasive, so it’s best to grow it in a container. Use a large pot and keep it well-watered.
* Rosemary: Rosemary needs well-drained soil and plenty of sunlight. Space plants 2-3 feet apart.
* Thyme: Thyme prefers well-drained soil and full sun. Space plants 12 inches apart.
* Calendula: Calendula is easy to grow from seed and prefers full sun. Space plants 12 inches apart.
Caring for Your Herbs: Nurturing Your Healing Garden
Once your herbs are planted, it’s important to provide them with the care they need to thrive.
* Watering: Water your herbs regularly, especially during dry spells. Avoid overwatering, as this can lead to root rot. Let the soil dry out slightly between waterings.
* Fertilizing: Herbs generally don’t need a lot of fertilizer. A light feeding with a balanced organic fertilizer in the spring is usually sufficient.
* Pruning: Pruning your herbs regularly encourages bushier growth and prevents them from becoming leggy. Pinch off the tips of the stems to promote branching.
* Weeding: Keep your garden free of weeds, as they can compete with your herbs for nutrients and water.
* Pest Control: Monitor your herbs for pests and diseases. Treat any problems promptly with organic pest control methods, such as insecticidal soap or neem oil.
Harvesting Your Herbs: Gathering Your Bounty
Harvesting your herbs at the right time is crucial for maximizing their flavor and medicinal properties.
* When to Harvest: Harvest herbs in the morning, after the dew has dried but before the sun gets too hot. This is when their essential oils are most concentrated.
* How to Harvest: Use sharp scissors or pruning shears to cut the stems of the herbs. For leafy herbs like mint and basil, cut just above a leaf node to encourage new growth. For flowering herbs like lavender and chamomile, harvest the flowers when they are fully open.
* Drying Herbs: Drying herbs is a great way to preserve them for later use.
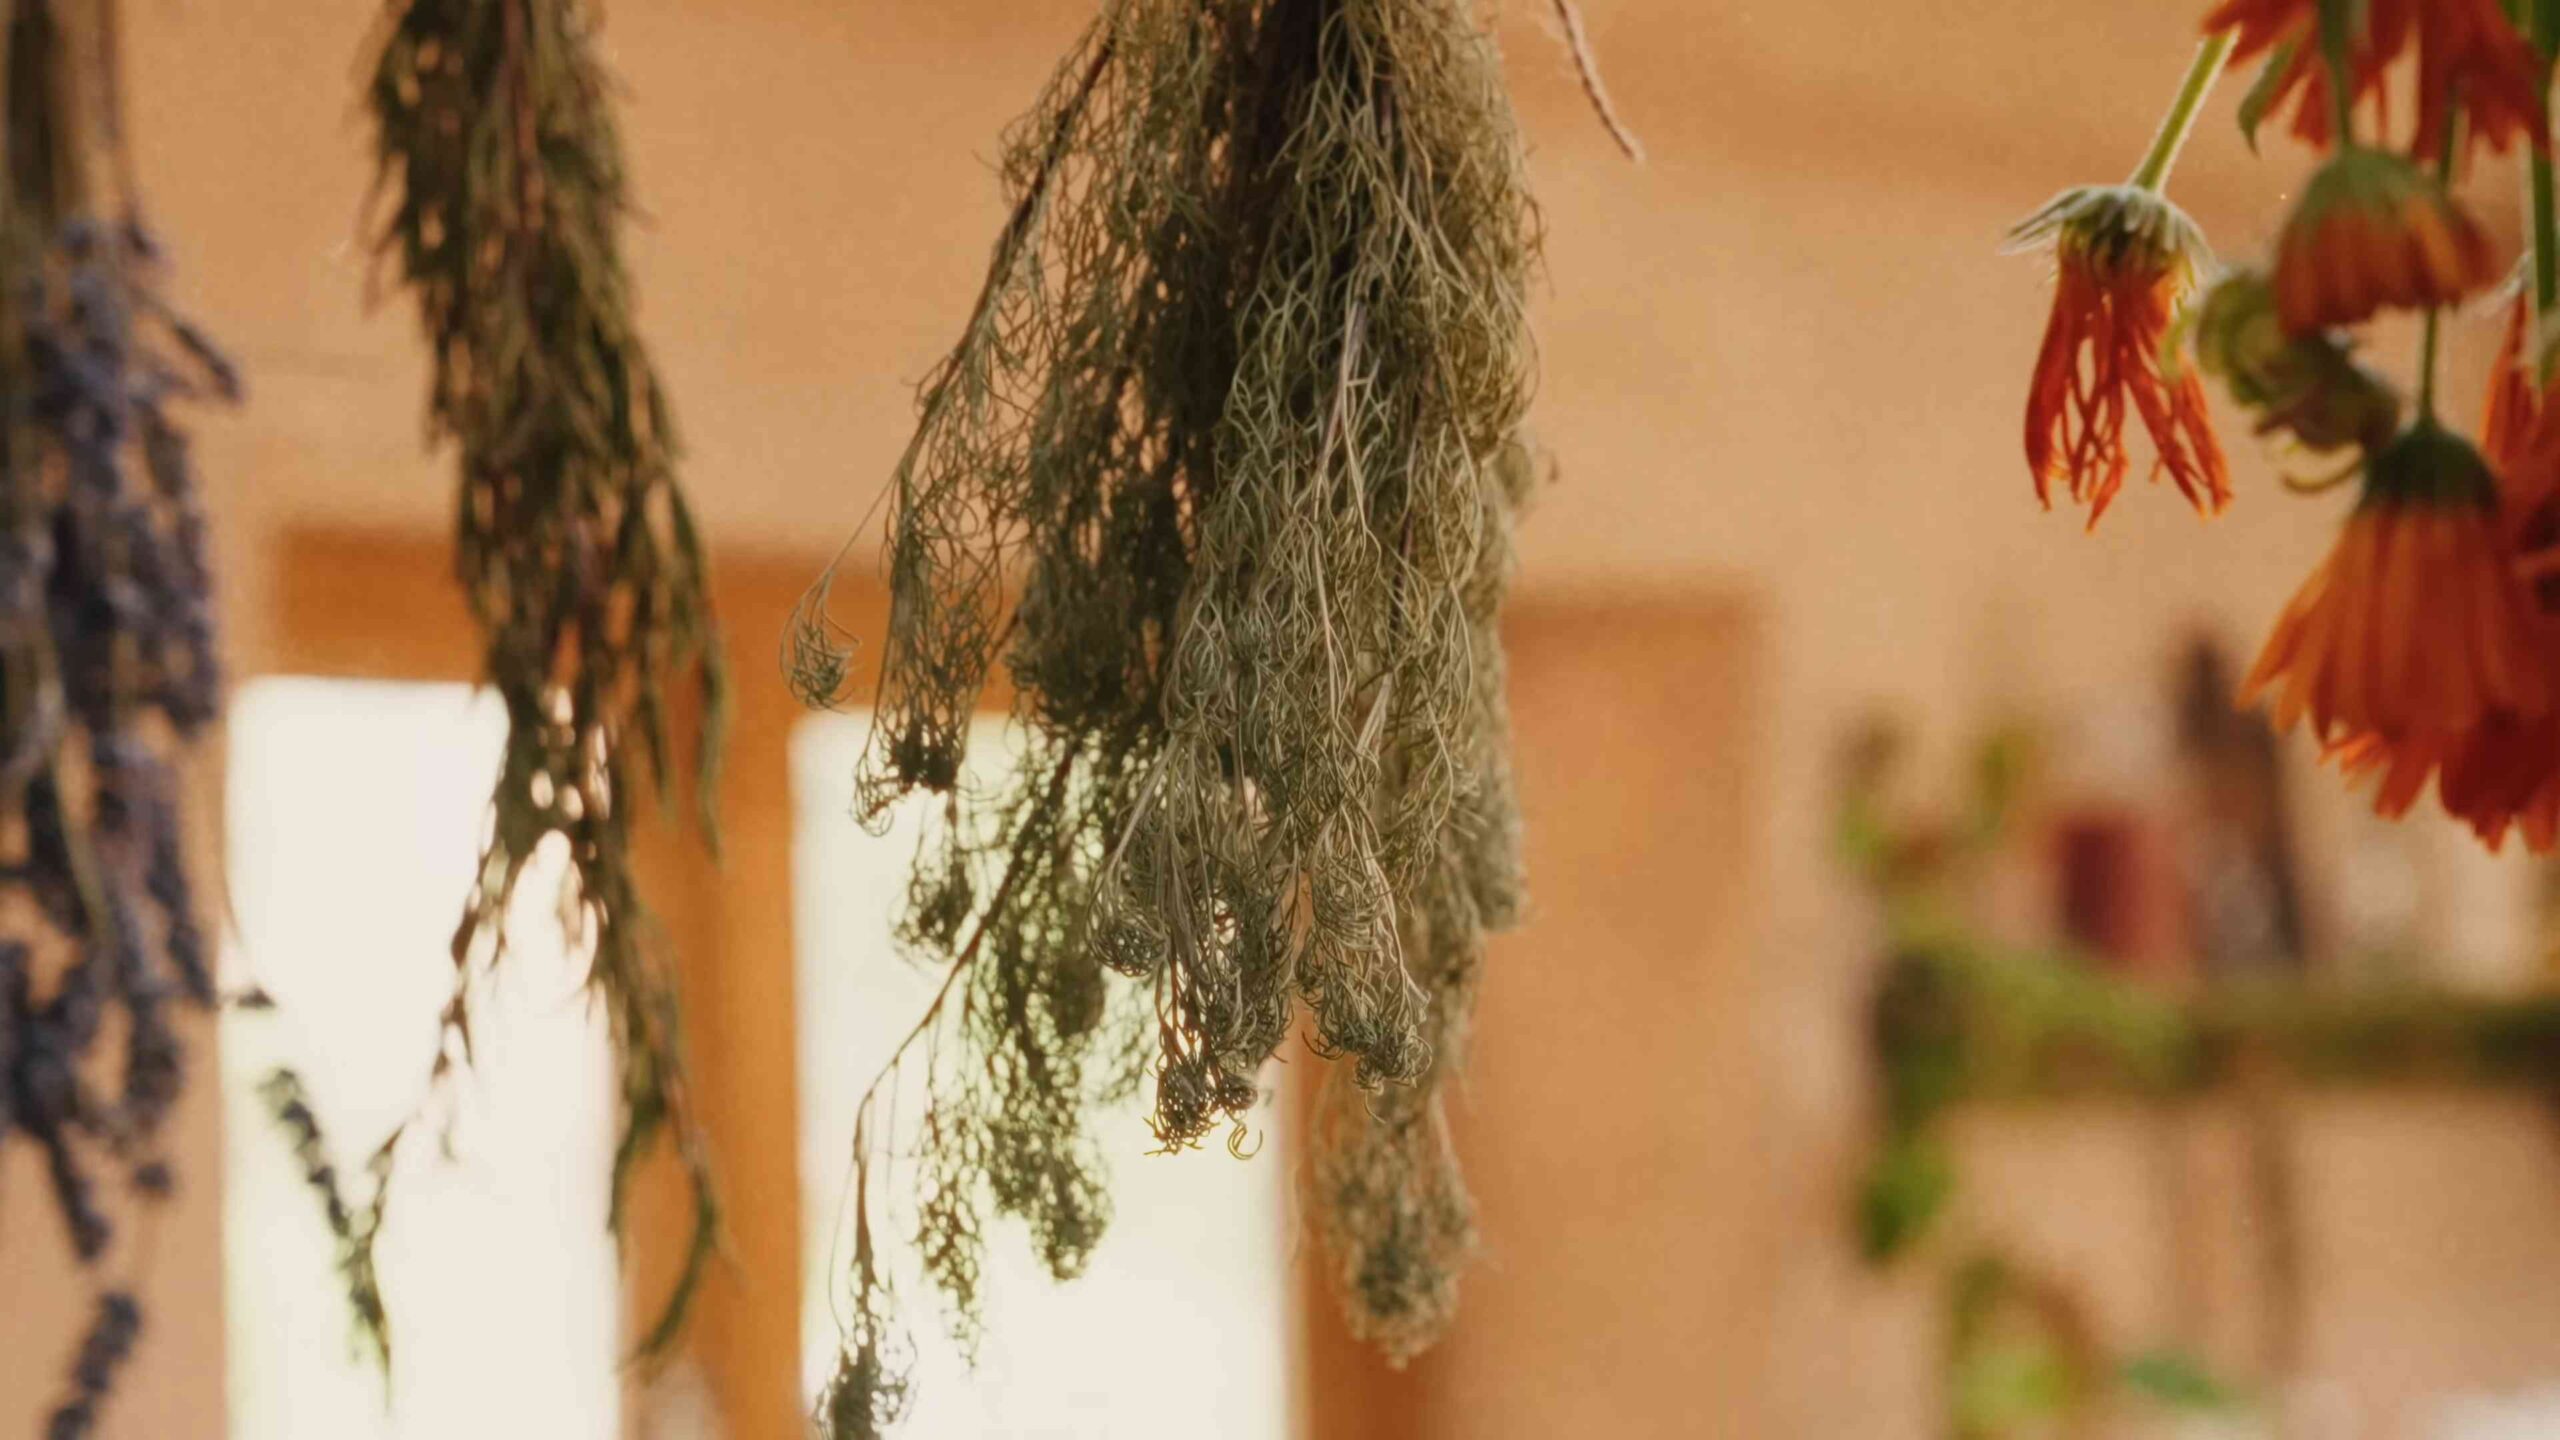
1. Bundle the Herbs: Gather small bunches of herbs and tie them together with twine.
2. Hang Upside Down: Hang the bundles upside down in a cool, dry, and well-ventilated place.
3. Allow to Dry: Allow the herbs to dry for several weeks, until they are brittle and crumble easily.
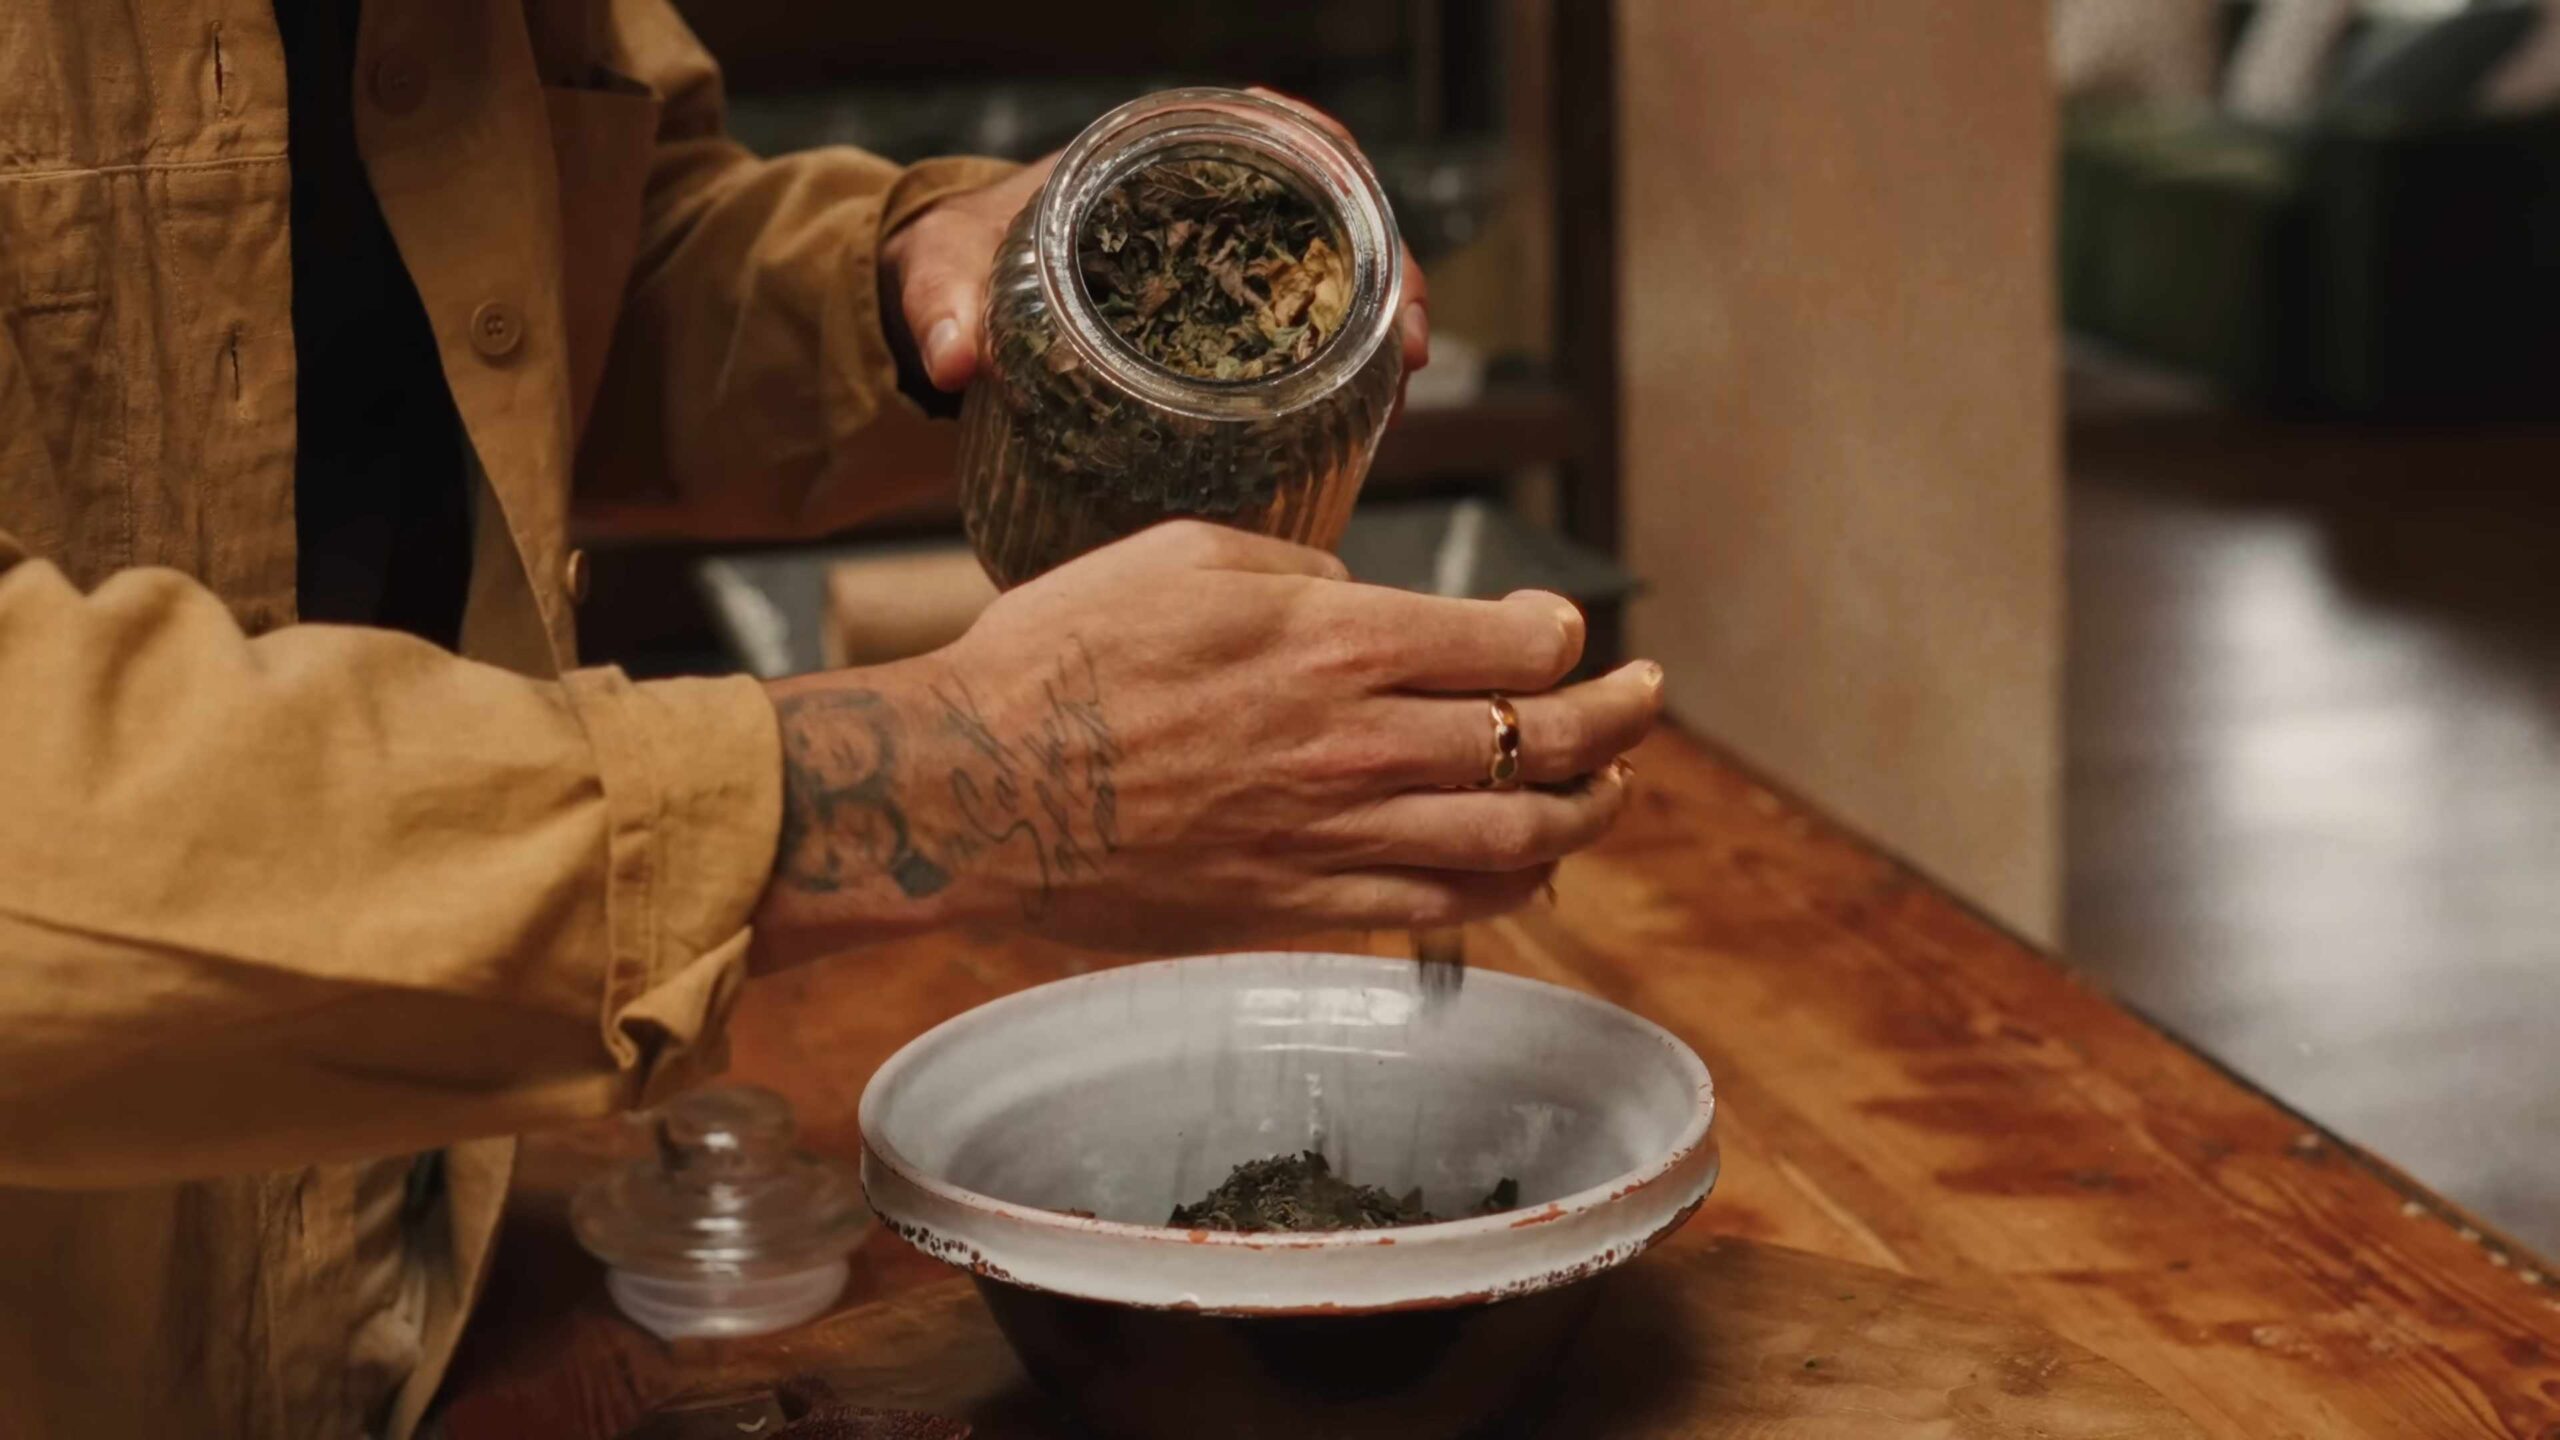
4. Store in Airtight Containers: Store the dried herbs in airtight containers in a cool, dark place.
* Using Fresh Herbs: Fresh herbs can be used immediately in cooking, teas, or other preparations.
Using Your Herbs: Unleashing Their Healing Potential
Now for the fun part – using your homegrown herbs! Here are a few ideas to get you started:
* Teas: Brew a cup of chamomile tea to relax before bed, or a cup of peppermint tea to soothe an upset stomach.
* Infused Oils: Infuse olive oil with lavender or rosemary to create a fragrant and healing massage oil.
* Salves and Creams: Use calendula-infused oil to make a salve for treating minor cuts, scrapes, and rashes.
* Culinary Uses: Add fresh herbs to your cooking to enhance the flavor of your dishes. Rosemary is great with roasted meats, thyme is delicious in soups and stews, and mint adds a refreshing touch to salads and desserts.
* Aromatherapy: Use lavender essential oil in a diffuser to promote relaxation and improve sleep.
Troubleshooting: Addressing Common Issues
Even with the best care, you might encounter some challenges along the way. Here are a few common issues and how to address them:
* Yellowing Leaves: This could be a sign of overwatering, underwatering, or nutrient deficiency. Check
Conclusion
So, there you have it! Cultivating your own healing herbs is more than just a gardening project; it’s an investment in your well-being, a connection to nature’s pharmacy, and a deeply rewarding experience. We’ve explored some fantastic options, each offering unique therapeutic benefits and adding vibrant life to your garden. From the calming lavender to the immune-boosting echinacea, the possibilities are truly endless.
Why is this DIY approach a must-try? Because it puts you in control. You know exactly what’s going into your herbs – no pesticides, no hidden chemicals, just pure, potent goodness. Plus, the satisfaction of harvesting something you’ve nurtured from seed (or seedling!) is unparalleled. Imagine brewing a cup of chamomile tea with flowers you grew yourself, or creating a soothing salve with calendula petals from your own garden. It’s a tangible connection to the healing power of nature.
But the journey doesn’t end here! Feel free to experiment with different varieties of each herb. Try growing lemon balm instead of regular balm for a citrusy twist, or explore different cultivars of mint for varying levels of intensity. Consider companion planting to maximize the health and yield of your herbs. Basil, for example, is a great companion for tomatoes, while rosemary can deter cabbage moths.
And don’t limit yourself to the herbs we’ve discussed. Research other healing herbs that thrive in your climate and suit your specific needs. Perhaps you’re interested in growing St. John’s Wort for its mood-boosting properties, or skullcap for its calming effects. The world of herbal medicine is vast and fascinating, and your garden can be your personal laboratory.
This DIY healing herbs garden is more than just a trend; it’s a sustainable and empowering way to take charge of your health. It’s about reconnecting with the natural world and harnessing the power of plants to heal and nourish your body and mind.
We wholeheartedly encourage you to give this DIY trick a try. Start small, perhaps with just a few pots on your windowsill, and gradually expand your garden as you gain confidence and experience. Don’t be afraid to experiment, make mistakes, and learn along the way. Gardening is a journey, not a destination.
And most importantly, we want to hear about your experience! Share your successes, your challenges, and your favorite herbal remedies in the comments below. Let’s create a community of herbal enthusiasts, sharing knowledge and supporting each other on this journey to natural wellness. What are you waiting for? Get your hands dirty and start growing your own healing herbs today!
Frequently Asked Questions (FAQ)
What are the easiest healing herbs to start with for a beginner?
For beginners, I highly recommend starting with mint, chamomile, and basil. Mint is incredibly easy to grow and propagates quickly, even from cuttings. Chamomile is relatively low-maintenance and produces beautiful, calming flowers. Basil is also easy to grow, especially in warm climates, and it’s a versatile herb for both culinary and medicinal uses. These three herbs are relatively forgiving and will give you a good foundation for expanding your herbal garden.
How much sunlight do healing herbs need?
Most healing herbs thrive in full sun, which means at least 6 hours of direct sunlight per day. However, some herbs, like mint and lemon balm, can tolerate partial shade, especially in hotter climates. Pay attention to the specific needs of each herb you’re growing and adjust their location accordingly. If you’re growing herbs indoors, consider using grow lights to supplement natural sunlight.
What kind of soil is best for growing healing herbs?
Well-draining soil is crucial for growing healthy healing herbs. Most herbs prefer a slightly acidic to neutral soil pH (around 6.0 to 7.0). Amend your soil with compost or other organic matter to improve drainage and fertility. Avoid heavy clay soils, as they can retain too much moisture and lead to root rot. You can also grow herbs in raised beds or containers filled with a well-draining potting mix.
How often should I water my healing herbs?
Watering frequency depends on several factors, including the type of herb, the climate, and the soil type. Generally, you should water your herbs when the top inch of soil feels dry to the touch. Avoid overwatering, as this can lead to root rot. Herbs grown in containers will typically need to be watered more frequently than those grown in the ground. During hot, dry weather, you may need to water your herbs daily.
How do I harvest healing herbs?
The best time to harvest healing herbs is in the morning, after the dew has dried but before the sun gets too hot. Use sharp scissors or pruning shears to cut the stems or leaves. For leafy herbs like basil and mint, pinch off the top growth to encourage bushier growth. For flowering herbs like chamomile and lavender, harvest the flowers when they are fully open.
How do I dry and store healing herbs?
There are several ways to dry healing herbs. One common method is to hang them upside down in a cool, dark, and well-ventilated place. You can also dry them in a dehydrator or in a low oven (around 170°F). Once the herbs are completely dry, store them in airtight containers in a cool, dark place. Properly dried and stored herbs can last for up to a year.
Can I grow healing herbs indoors?
Yes, you can definitely grow healing herbs indoors! Choose a sunny windowsill or use grow lights to provide adequate light. Use well-draining potting mix and water regularly. Some good herbs to grow indoors include basil, mint, parsley, chives, and oregano.
Are there any herbs I should avoid growing if I have pets or small children?
Yes, some herbs can be toxic to pets and small children. Avoid growing herbs like foxglove, lily of the valley, and castor bean, as they are highly poisonous. Other herbs, like pennyroyal and rue, can be toxic in large doses. Always research the potential toxicity of any herb before growing it, especially if you have pets or small children.
How can I use my homegrown healing herbs?
The possibilities are endless! You can use your homegrown healing herbs to make teas, tinctures, salves, and other herbal remedies. You can also use them in cooking to add flavor and nutritional value to your meals. Experiment with different herbs and find what works best for you. Remember to consult with a qualified healthcare professional before using herbs for medicinal purposes, especially if you have any underlying health conditions or are taking medications.
What are some resources for learning more about growing and using healing herbs?
There are many excellent resources available for learning more about growing and using healing herbs. Check out your local library or bookstore for books on herbal gardening and herbal medicine. You can also find a wealth of information online from reputable sources like universities, botanical gardens, and herbal organizations. Consider joining a local gardening club or herbal society to connect with other enthusiasts and learn from their experiences.

Leave a Comment