

Heat Tolerant Herbs for Summer: Are you dreaming of a lush, fragrant herb garden, but dreading the scorching summer sun? I get it! There’s nothing more disheartening than watching your precious plants wilt and wither under the intense heat. But don’t give up on your garden dreams just yet!
For centuries, cultures around the globe have cultivated herbs, not only for their culinary and medicinal properties but also for their resilience. Think of the sun-baked hills of the Mediterranean, where rosemary and thyme thrive, or the arid landscapes where sage flourishes. These plants have evolved to withstand extreme conditions, offering us a bounty of flavor and fragrance even when the temperature soars.
That’s why I’m so excited to share my favorite DIY tricks and hacks for growing heat tolerant herbs for summer. This isn’t just about surviving the heat; it’s about thriving! I’ll show you simple, effective strategies to protect your herbs from the sun’s harsh rays, optimize watering techniques, and choose the right varieties that can handle the heat. Imagine fresh basil for your summer salads, fragrant oregano for your pizzas, and vibrant mint for your refreshing drinks – all harvested straight from your own garden, even on the hottest days. Let’s get started and create a summer herb garden that’s both beautiful and bountiful!
DIY Herb Garden: Thriving Through the Summer Heat
Okay, fellow garden enthusiasts! Let’s face it, summer can be brutal on our precious herbs. But don’t despair! With a little know-how and some clever planning, we can create a thriving herb garden that laughs in the face of the scorching sun. I’m going to walk you through everything you need to know to cultivate a heat-tolerant herb haven.
Choosing the Right Herbs
First things first, not all herbs are created equal when it comes to heat tolerance. Some absolutely thrive in the sunshine, while others will wilt faster than you can say “sunscreen.” Here’s a list of some of my favorite heat-loving herbs:
* Rosemary: This woody herb is a Mediterranean native and absolutely loves the sun. It’s drought-tolerant once established and adds a wonderful flavor to roasted meats and vegetables.
* Thyme: Another Mediterranean gem, thyme is incredibly resilient and comes in many varieties, each with its unique flavor profile. It’s perfect for adding to soups, stews, and grilled dishes.
* Sage: With its velvety leaves and earthy flavor, sage is a must-have for any herb garden. It tolerates heat well and is fantastic in poultry dishes and stuffings.
* Oregano: This robust herb is a staple in Italian and Greek cuisine. It’s incredibly easy to grow and can handle the heat like a champ.
* Lavender: Not only is lavender beautiful and fragrant, but it’s also surprisingly heat-tolerant. Use it in teas, baked goods, or simply enjoy its calming aroma.
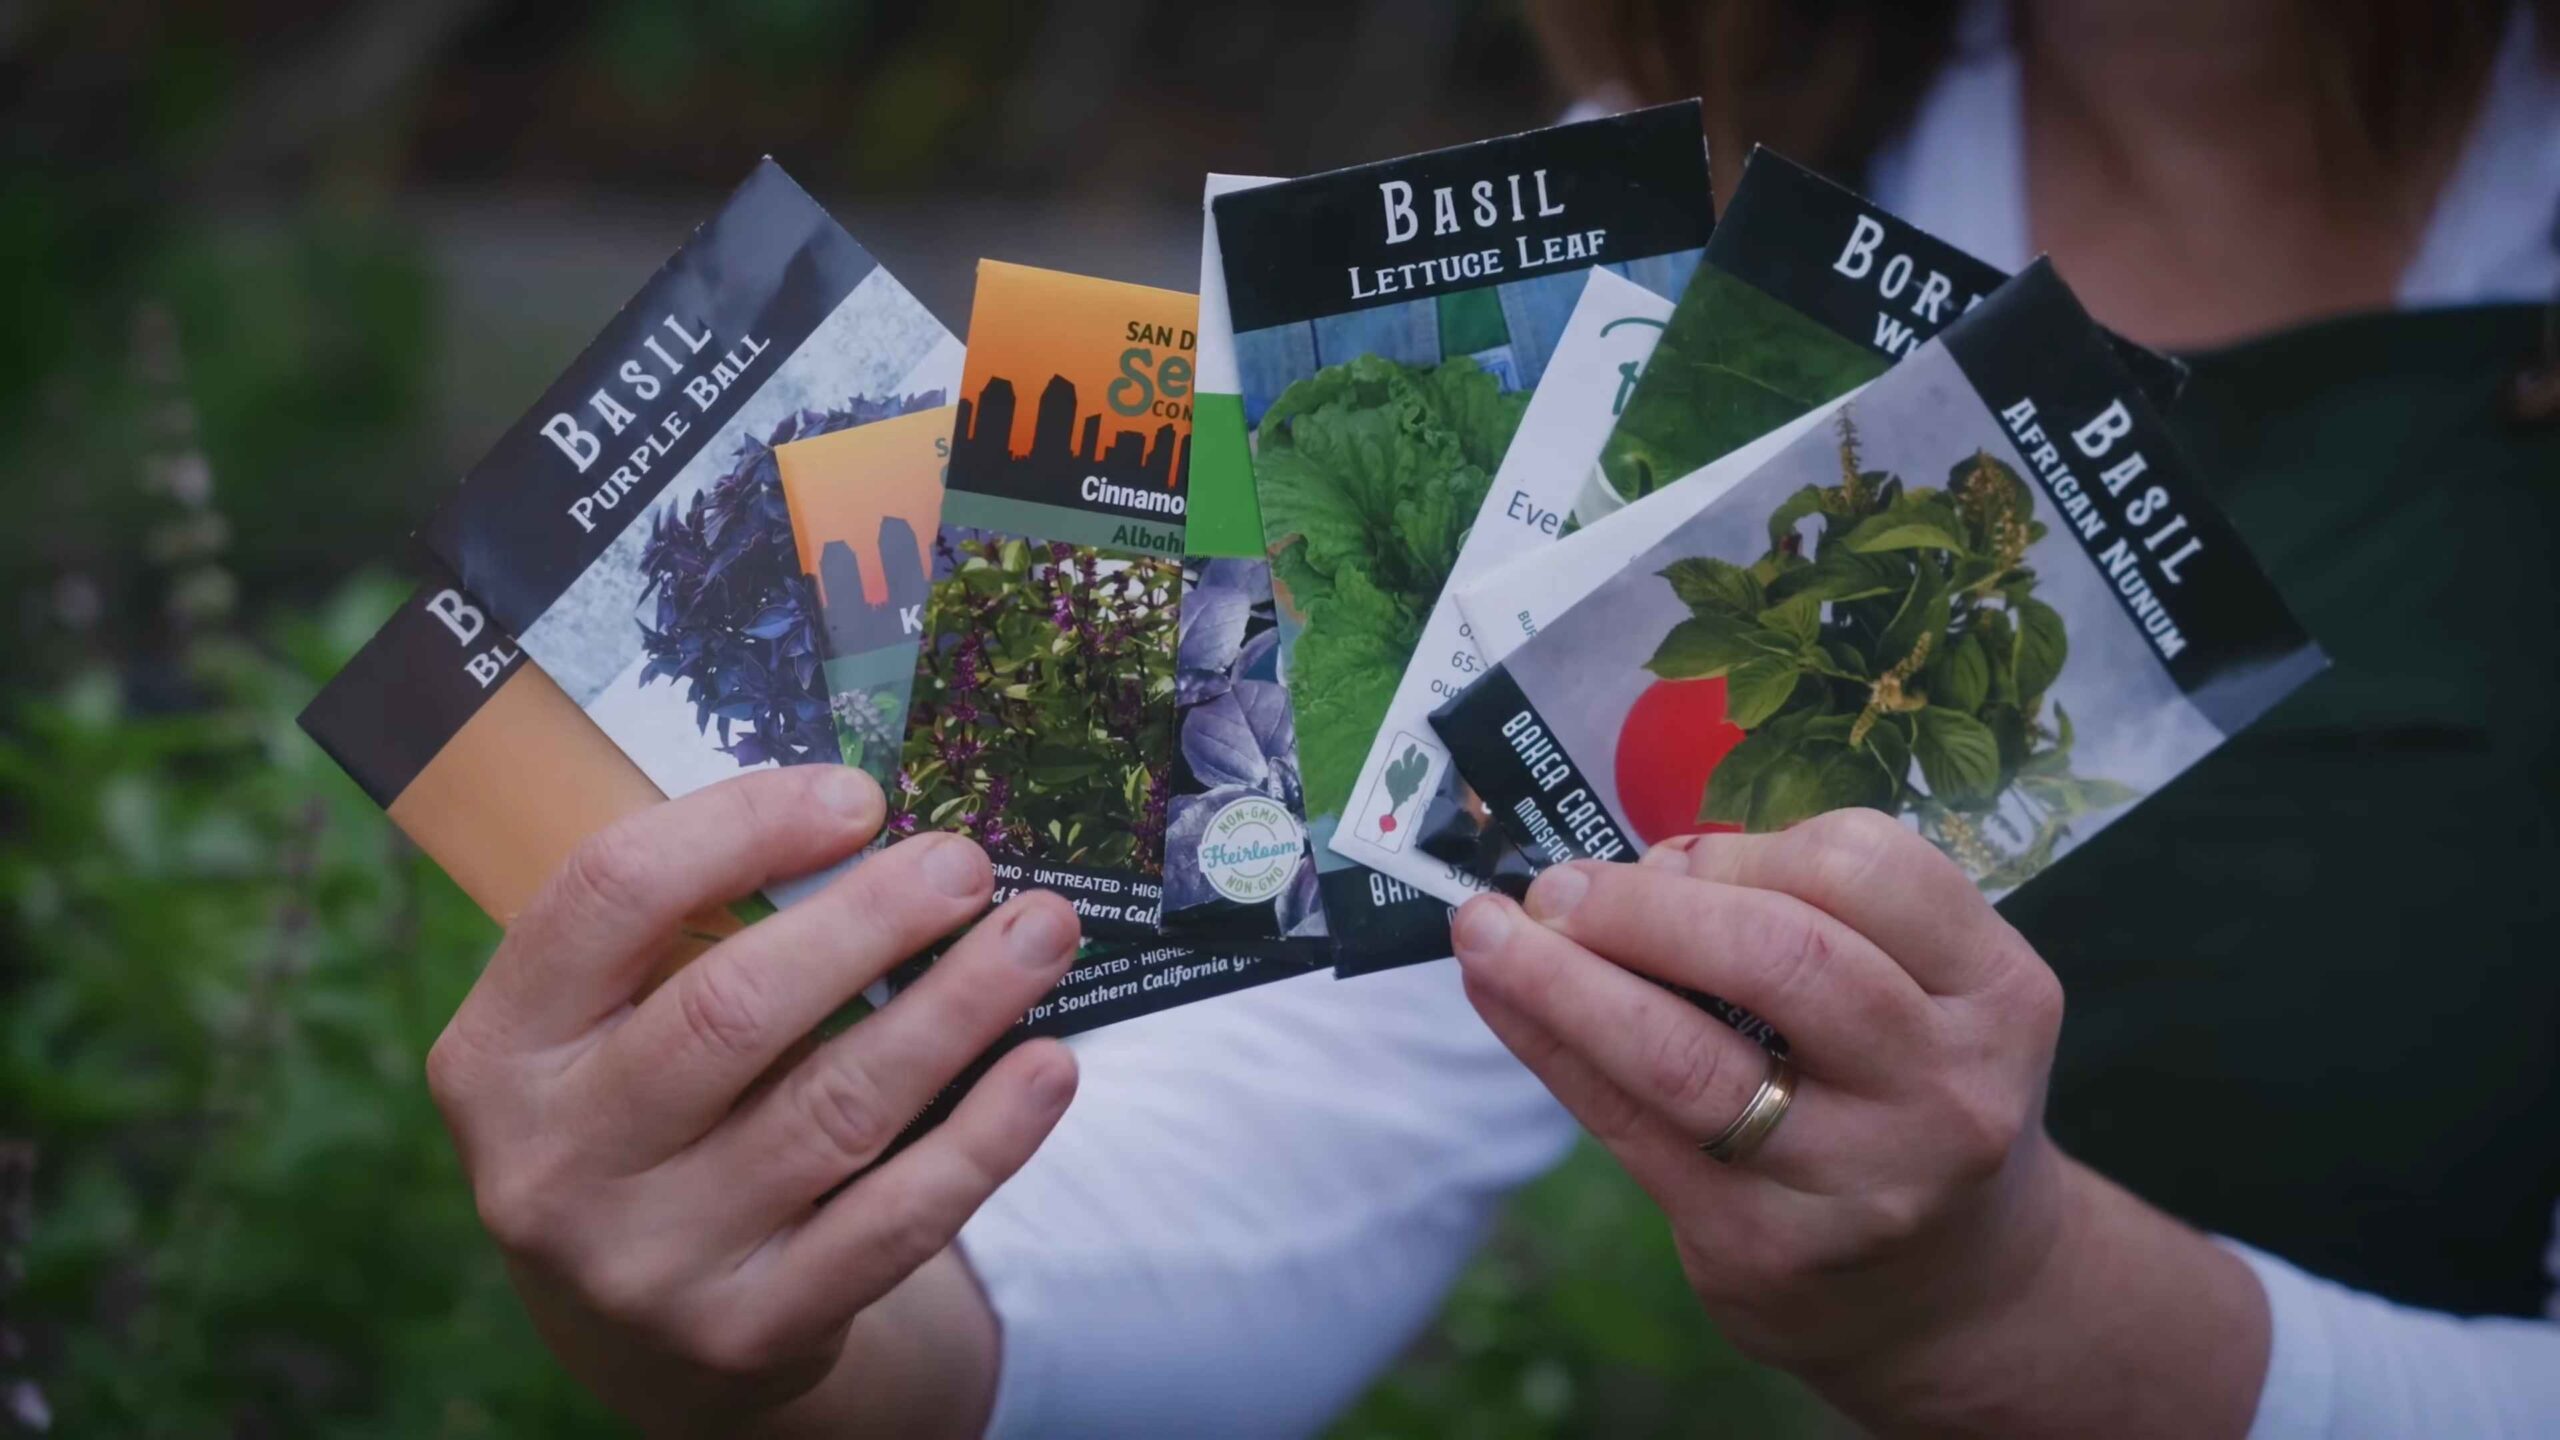
* Basil: While basil can be a bit finicky, certain varieties like Thai basil and lemon basil are more heat-tolerant than sweet basil. Just make sure to provide them with consistent moisture.
* Mint: While mint loves moisture, it can tolerate heat if given some afternoon shade. Plus, it’s incredibly versatile and can be used in everything from cocktails to desserts.
* Chives: These onion-flavored herbs are surprisingly resilient and can handle the heat with proper watering. They’re a great addition to salads, dips, and omelets.
Preparing Your Herb Garden
Now that we’ve chosen our heat-loving herbs, it’s time to prepare their new home. Proper soil and location are key to ensuring their success.
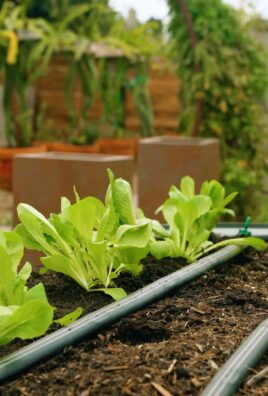
* Location, Location, Location: Most of these herbs need at least 6-8 hours of direct sunlight per day. Choose a spot in your garden that gets plenty of sunshine. If you live in a particularly hot climate, consider providing some afternoon shade to prevent scorching.
* Soil Matters: Well-draining soil is crucial for preventing root rot, especially in hot weather. Amend your soil with compost or other organic matter to improve drainage and fertility. A slightly sandy soil mix is ideal for many Mediterranean herbs.
* Container Gardening: If you’re short on space or have poor soil, container gardening is a great option. Choose pots that are at least 12 inches in diameter to give your herbs plenty of room to grow. Make sure the pots have drainage holes to prevent waterlogging.
Planting Your Herbs
Alright, let’s get our hands dirty! Planting your herbs correctly will give them the best possible start.
* Starting from Seed: You can start your herbs from seed indoors 6-8 weeks before the last frost. Sow the seeds in seed-starting trays or small pots filled with seed-starting mix. Keep the soil moist and provide plenty of light. Once the seedlings have developed a few sets of true leaves, you can transplant them into your garden or containers.
* Buying Transplants: If you’re short on time or prefer a quicker start, you can buy herb transplants from your local nursery. Choose healthy-looking plants with vibrant green leaves and no signs of pests or diseases.
* Planting Technique: When planting your herbs, dig a hole that’s slightly larger than the root ball. Gently loosen the roots and place the plant in the hole. Backfill with soil and water thoroughly. Space your plants according to their mature size, allowing for good air circulation.
Watering Wisely
Watering is critical, especially during the hot summer months. But overwatering can be just as harmful as underwatering.
* The Finger Test: Before watering, stick your finger into the soil to check the moisture level. If the top inch of soil feels dry, it’s time to water.
* Deep Watering: When you do water, water deeply and thoroughly, allowing the water to soak down to the roots. This encourages deep root growth, which makes your herbs more drought-tolerant.
* Watering Time: Water in the morning or evening to avoid water loss through evaporation. Avoid watering during the hottest part of the day.
* Mulching: Apply a layer of mulch around your herbs to help retain moisture and suppress weeds. Organic mulches like straw, wood chips, or shredded leaves are ideal.
Fertilizing for Success
While many herbs don’t require heavy fertilization, a little boost can help them thrive.
* Slow-Release Fertilizer: Apply a slow-release fertilizer at planting time to provide your herbs with a steady supply of nutrients.
* Liquid Fertilizer: You can also supplement with a liquid fertilizer every few weeks during the growing season. Choose a fertilizer that’s specifically formulated for herbs.
* Compost Tea: Compost tea is a great organic option for fertilizing your herbs. It’s rich in nutrients and beneficial microbes.
Pruning and Harvesting
Regular pruning and harvesting will encourage your herbs to grow bushier and produce more flavorful leaves.
* Pinching Back: Pinch back the tips of your herbs regularly to encourage branching. This will result in a fuller, more productive plant.
* Harvesting Technique: Harvest your herbs in the morning, after the dew has dried but before the sun gets too hot. Use sharp scissors or pruning shears to cut the stems just above a leaf node.
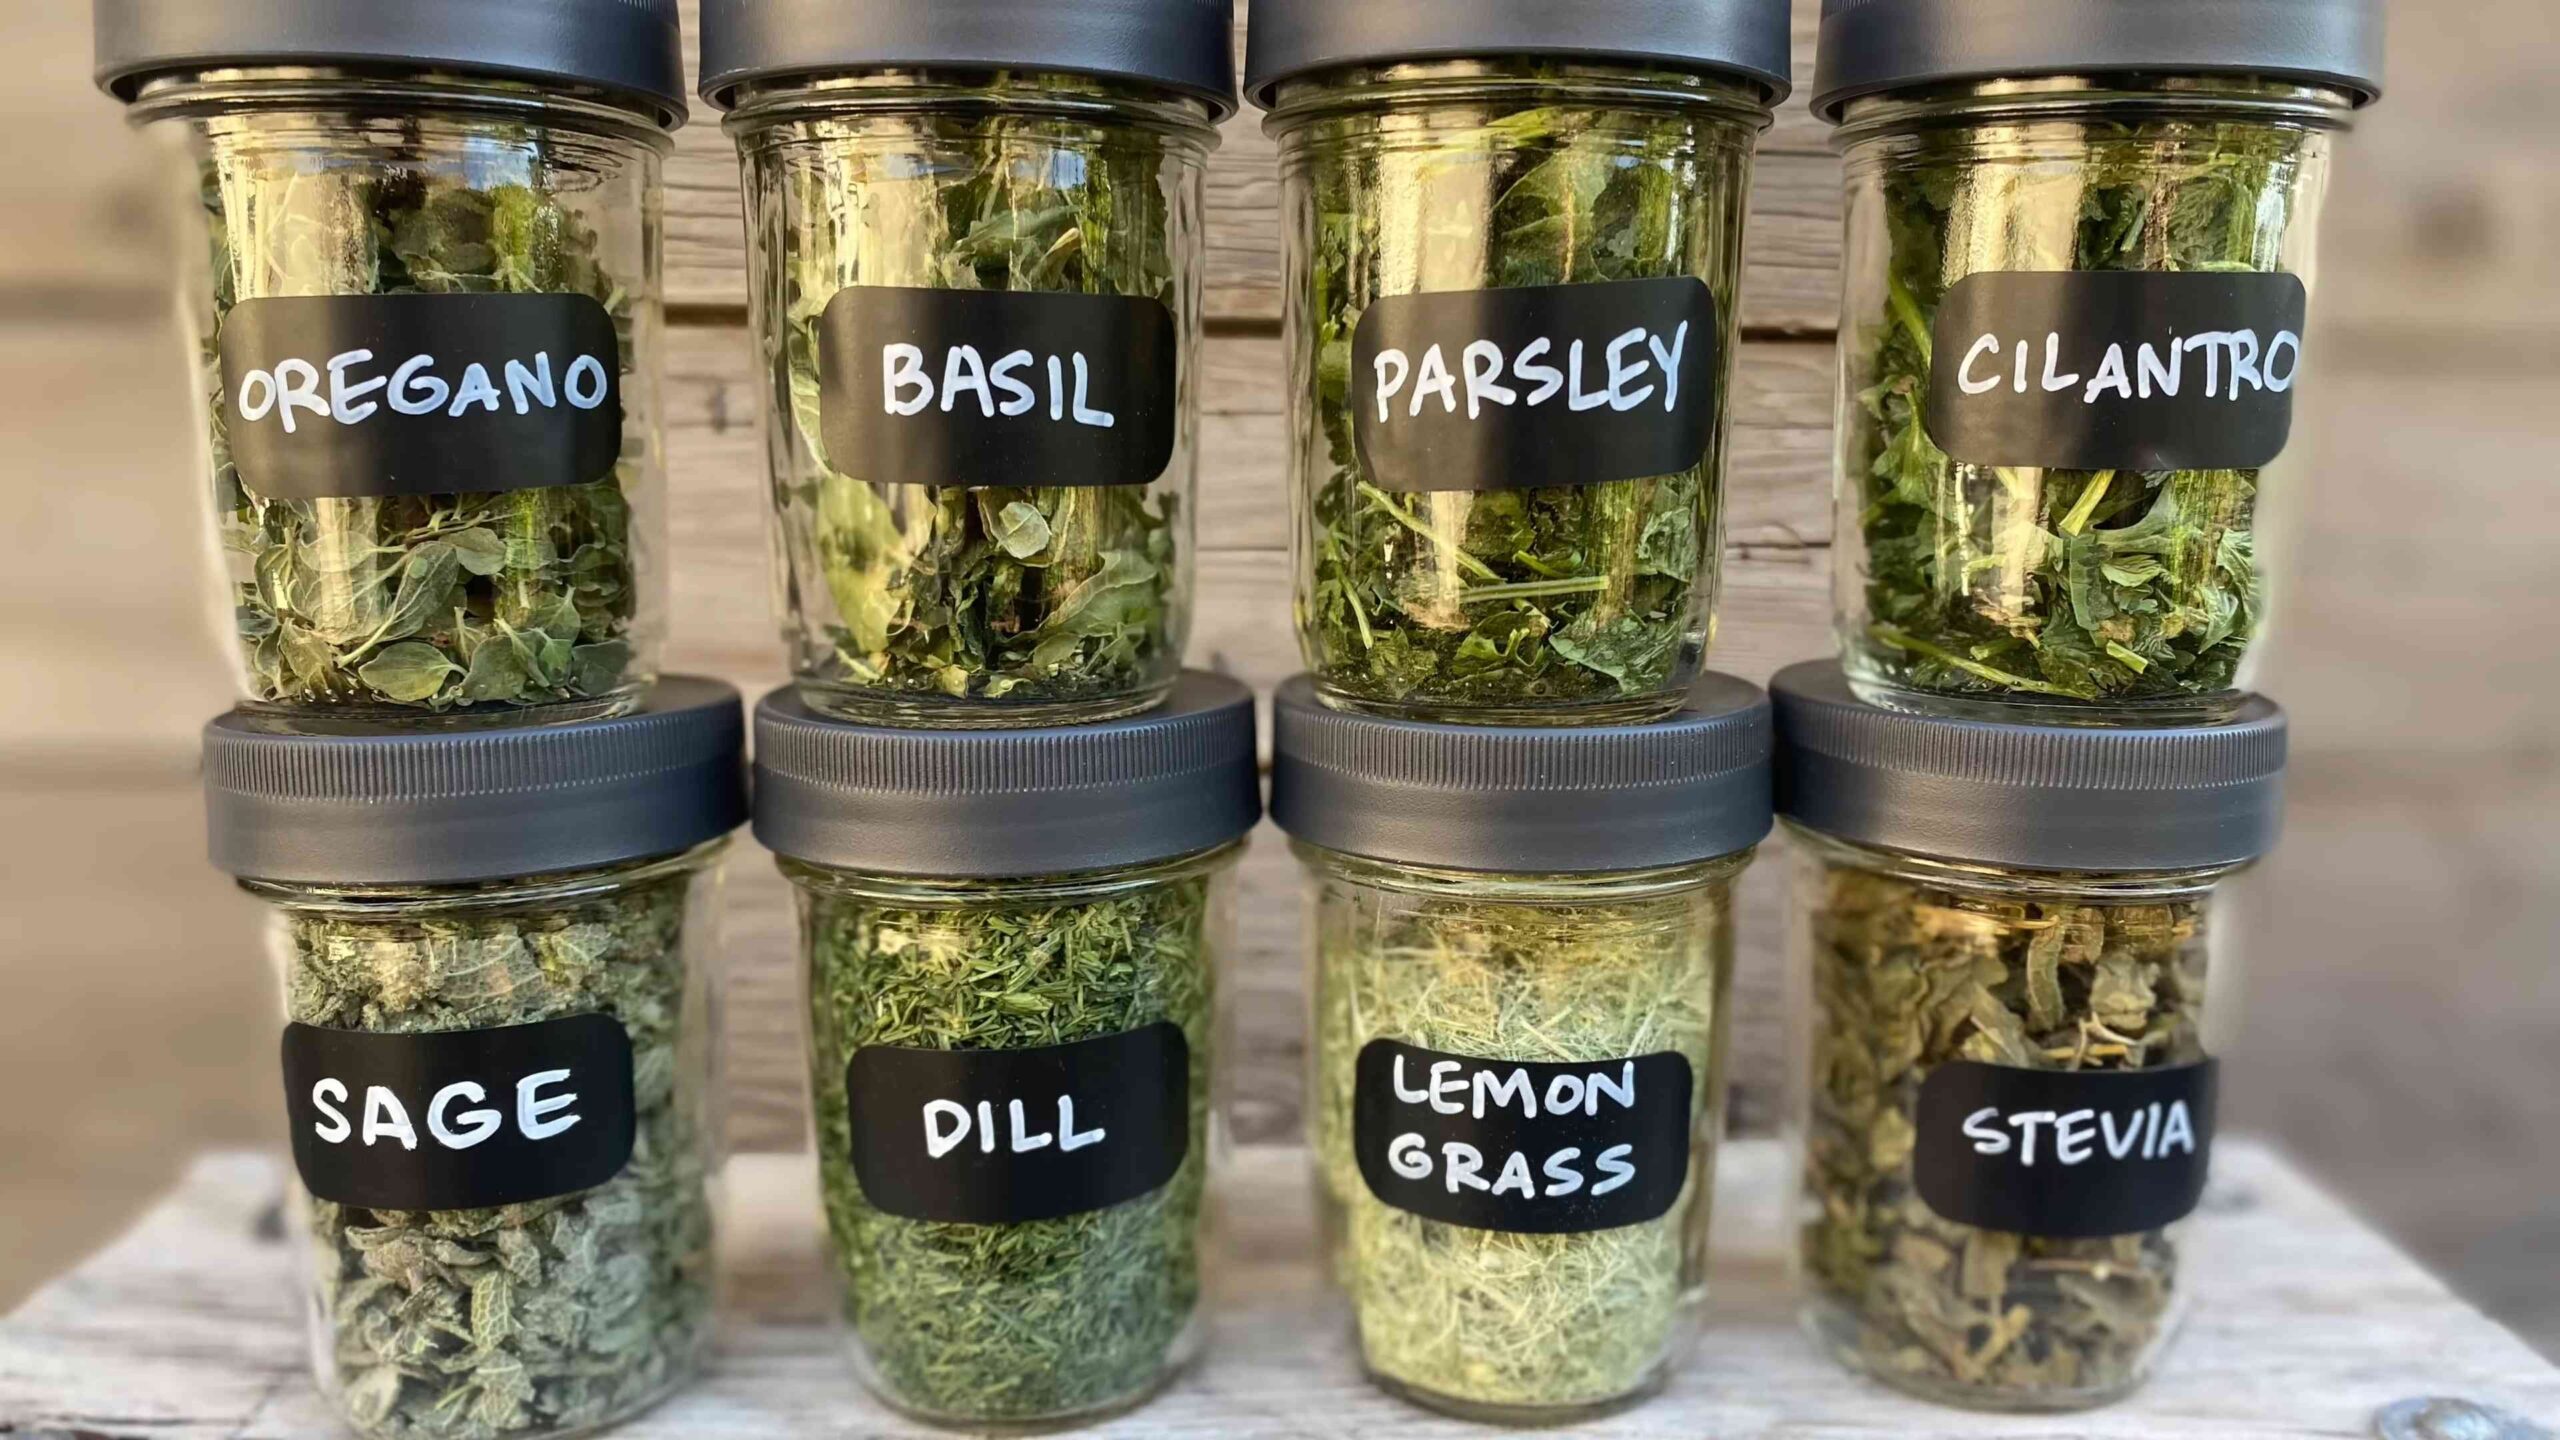
* Drying Herbs: To preserve your herbs, you can dry them by hanging them upside down in a cool, dry place. Once they’re completely dry, store them in airtight containers.
Dealing with Pests and Diseases
Even with the best care, your herbs may occasionally encounter pests or diseases.
* Prevention is Key: The best way to deal with pests and diseases is to prevent them in the first place. Choose disease-resistant varieties, provide good air circulation, and avoid overwatering.
* Organic Pest Control: If you do encounter pests, try using organic pest control methods like insecticidal soap or neem oil.
* Fungal Diseases: Fungal diseases can be a problem in humid conditions. Improve air circulation and avoid overhead watering to prevent fungal problems.
Specific Tips for Heat-Sensitive Herbs
Even though we’re focusing on heat-tolerant herbs, some still need a little extra TLC during the hottest months.
* Basil: Basil is a bit of a diva when it comes to heat. Provide it with some afternoon shade and consistent moisture. Pinch off any flower buds to encourage leaf production.
* Mint: Mint can tolerate heat if given some afternoon shade. Keep the soil consistently moist, but avoid overwatering. Mint spreads aggressively, so consider growing it in a container.
* Parsley: Parsley prefers cooler temperatures, but it can tolerate heat if given some shade and consistent moisture. Choose a heat-tolerant variety like Italian parsley.
Troubleshooting Common Problems
Even the most experienced gardeners encounter problems from time to time. Here are some common issues and how to fix them:
* Yellowing Leaves: Yellowing leaves can be a sign of overwatering, underwatering, or nutrient deficiency. Check the soil moisture and adjust your watering accordingly. Fertilize with a balanced fertilizer if necessary.
* Wilting: Wilting can be caused by heat stress, lack of water, or root rot. Provide shade, water deeply, and ensure good drainage.
* Pests: Inspect your herbs regularly for pests like aphids, spider mites, and whiteflies. Treat infestations with insecticidal soap or neem oil.
* Fungal Diseases: Fungal diseases can cause spots on the leaves or stems. Improve air circulation and avoid overhead watering. Treat with a fungicide if necessary.
Step-by-Step Guide to Building a Raised Herb Garden Bed (Optional)
If you’re looking to create a dedicated space for your heat-tolerant herbs, a raised garden bed is a fantastic option. It provides excellent drainage, makes gardening easier on your back, and can add a beautiful focal point to your yard.
Materials You’ll Need:
1. Untreated lumber (cedar or redwood are good choices for durability)
2. Screws or nails
3. Landscape fabric
4. Soil (a mix of topsoil, compost, and peat moss)
5. Measuring tape
6. Saw
7. Drill or hammer
8. Level
Instructions:
1. Plan Your Bed Size: Decide on the dimensions of
Conclusion
So, there you have it! Mastering the art of cultivating your own heat-tolerant herb garden is not just a rewarding experience; it’s a game-changer for your culinary adventures. Imagine stepping outside your door and snipping fresh, vibrant herbs to elevate your dishes with unparalleled flavor. No more wilted, store-bought bunches that lack the zest and aroma of homegrown goodness. This DIY trick is a must-try because it empowers you to control the quality, freshness, and variety of herbs you use, all while saving money and reducing your environmental impact.
Think of the possibilities! You can tailor your garden to your specific culinary preferences. Love Italian cuisine? Plant a thriving patch of oregano, thyme, and rosemary. Craving the vibrant flavors of Southeast Asia? Basil, lemongrass, and ginger are your go-to herbs. The beauty of this project lies in its adaptability.
Beyond the herbs we’ve discussed, consider experimenting with other heat-loving varieties like sage, lavender (which, while not strictly culinary, adds a delightful fragrance to your garden and can be used in certain recipes), or even certain types of mint (though be mindful of its invasive nature and plant it in a container). You can also explore different growing methods. While we focused on in-ground planting, container gardening is an excellent option for those with limited space or poor soil conditions. Just ensure your containers are large enough to accommodate the mature size of the herbs and provide adequate drainage. Vertical gardening is another fantastic solution for maximizing space and adding visual appeal to your outdoor area.
Don’t be afraid to get creative with your garden design. Incorporate companion planting techniques to deter pests and attract beneficial insects. Marigolds, for example, are known to repel nematodes and other harmful garden pests. Basil is a great companion plant for tomatoes, improving their flavor and growth.
The key to success with heat-tolerant herbs is consistent care. Regular watering, especially during the hottest parts of the day, is crucial. Mulching around your plants helps retain moisture and suppress weeds. And don’t forget to fertilize your herbs regularly with a balanced organic fertilizer to ensure they receive the nutrients they need to thrive.
We are confident that with a little planning and effort, you can create a thriving heat-tolerant herb garden that will provide you with fresh, flavorful herbs all summer long. This DIY project is not only practical but also incredibly therapeutic. There’s something deeply satisfying about nurturing plants and watching them grow.
So, what are you waiting for? Grab your gardening gloves, gather your supplies, and embark on this exciting journey. We encourage you to try this DIY trick and experience the joy of growing your own heat-tolerant herbs. And most importantly, we want to hear about your experiences! Share your successes, challenges, and tips in the comments below. Let’s build a community of herb enthusiasts and learn from each other. Your insights could inspire others to take the plunge and discover the magic of homegrown herbs. Let us know what herbs you chose, what challenges you faced, and what delicious dishes you created with your harvest. We can’t wait to hear your stories!
FAQ
What if I live in an extremely hot climate with intense sun?
Even heat-tolerant herbs can struggle in extremely hot climates with intense sun. The key is to provide them with some afternoon shade. You can achieve this by planting them near taller plants that will cast a shadow during the hottest part of the day, using shade cloth, or moving container plants to a shadier location. Also, ensure you are watering deeply and consistently, especially during heat waves. Consider using a soaker hose to deliver water directly to the roots, minimizing water loss through evaporation. Furthermore, mulching heavily around your plants will help retain moisture and keep the soil cooler. You might also want to consider selecting herb varieties that are specifically known for their extreme heat tolerance within the general category of heat-tolerant herbs.
How often should I water my heat-tolerant herbs?
The frequency of watering depends on several factors, including the type of herb, the soil type, the climate, and whether the herbs are planted in the ground or in containers. As a general rule, water deeply when the top inch of soil feels dry to the touch. Container plants tend to dry out more quickly than those planted in the ground, so they may require more frequent watering. During hot, dry weather, you may need to water your herbs daily. The best time to water is in the morning, as this allows the foliage to dry before nightfall, reducing the risk of fungal diseases. Avoid overwatering, as this can lead to root rot.
What kind of soil is best for heat-tolerant herbs?
Most heat-tolerant herbs prefer well-draining soil that is rich in organic matter. Amend your soil with compost or other organic materials before planting to improve drainage and fertility. Avoid heavy clay soils, as they tend to retain too much water and can suffocate the roots. If you have clay soil, consider planting your herbs in raised beds or containers filled with a well-draining potting mix. A slightly alkaline to neutral soil pH is generally ideal for most herbs.
How do I harvest my herbs to encourage continued growth?
The key to harvesting herbs is to prune them regularly. This encourages the plant to produce new growth and prevents it from becoming leggy. When harvesting, cut the stems just above a leaf node (the point where leaves emerge from the stem). This will encourage the plant to branch out and produce more leaves. Avoid removing more than one-third of the plant at a time, as this can stress the plant and slow its growth. For herbs like basil, pinch off the flower buds to encourage leaf production.
What are some common pests and diseases that affect heat-tolerant herbs, and how can I prevent them?
Common pests that can affect heat-tolerant herbs include aphids, spider mites, and whiteflies. These pests can be controlled with insecticidal soap or neem oil. Diseases that can affect herbs include fungal diseases like powdery mildew and root rot. To prevent these diseases, ensure good air circulation around your plants, avoid overwatering, and water in the morning so that the foliage has time to dry before nightfall. You can also use a fungicide if necessary. Companion planting can also help deter pests and diseases. For example, planting marigolds near your herbs can help repel nematodes.
Can I grow heat-tolerant herbs indoors?
Yes, you can grow heat-tolerant herbs indoors, but you’ll need to provide them with adequate sunlight. Place your herbs near a sunny window that receives at least six hours of direct sunlight per day. If you don’t have enough natural light, you can supplement with grow lights. Use a well-draining potting mix and water regularly, allowing the soil to dry out slightly between waterings. Ensure good air circulation to prevent fungal diseases.
How do I store my harvested herbs?
There are several ways to store harvested herbs. You can dry them by hanging them upside down in a cool, dry place or using a dehydrator. Dried herbs can be stored in airtight containers for up to a year. You can also freeze herbs by chopping them and placing them in ice cube trays filled with water or olive oil. Once frozen, transfer the cubes to freezer bags. Frozen herbs can be stored for several months. Fresh herbs can also be stored in the refrigerator by wrapping them in a damp paper towel and placing them in a plastic bag.
What are some creative ways to use my heat-tolerant herbs in cooking?
The possibilities are endless! Use fresh herbs to flavor sauces, soups, stews, salads, and marinades. Add them to omelets, frittatas, and quiches. Use them to make herb-infused oils and vinegars. Garnish your dishes with fresh herbs for a pop of flavor and color. Experiment with different herb combinations to create your own signature flavor profiles. You can even use herbs to make herbal teas and infusions.
Leave a Comment