

Howards Feed N Wax Furniture: Is your beloved furniture looking a little lackluster? Are those once-gleaming surfaces now dull and tired? Don’t despair! I’m here to share a simple, yet incredibly effective, DIY trick that will breathe new life into your wooden treasures. For generations, maintaining the beauty of wood furniture has been a cherished tradition, passed down through families as a way to preserve history and craftsmanship.
Think about it – antique bureaus holding family secrets, dining tables hosting countless gatherings, and rocking chairs whispering stories of the past. These pieces deserve to be cared for, and that’s where Howards Feed N Wax Furniture comes in! This isn’t just about aesthetics; it’s about protecting your investment and ensuring your furniture lasts for years to come.
In this article, I’ll walk you through a step-by-step guide on how to use Howards Feed N Wax to revitalize your furniture, removing years of grime and restoring its natural luster. You’ll be amazed at how easy it is to achieve professional-looking results without breaking the bank. So, grab your supplies, and let’s get started on this rewarding DIY project!
Revive Your Furniture with Howard Feed-N-Wax: A DIY Guide
Hey there, fellow furniture lovers! Is your beloved wooden furniture looking a little dull, dry, or just plain sad? Don’t despair! I’m here to share my favorite DIY secret weapon: Howard Feed-N-Wax. This stuff is like a spa day for your wood, and I’m going to walk you through exactly how to use it to bring your furniture back to life. Trust me, it’s easier than you think!
What is Howard Feed-N-Wax and Why Should You Use It?
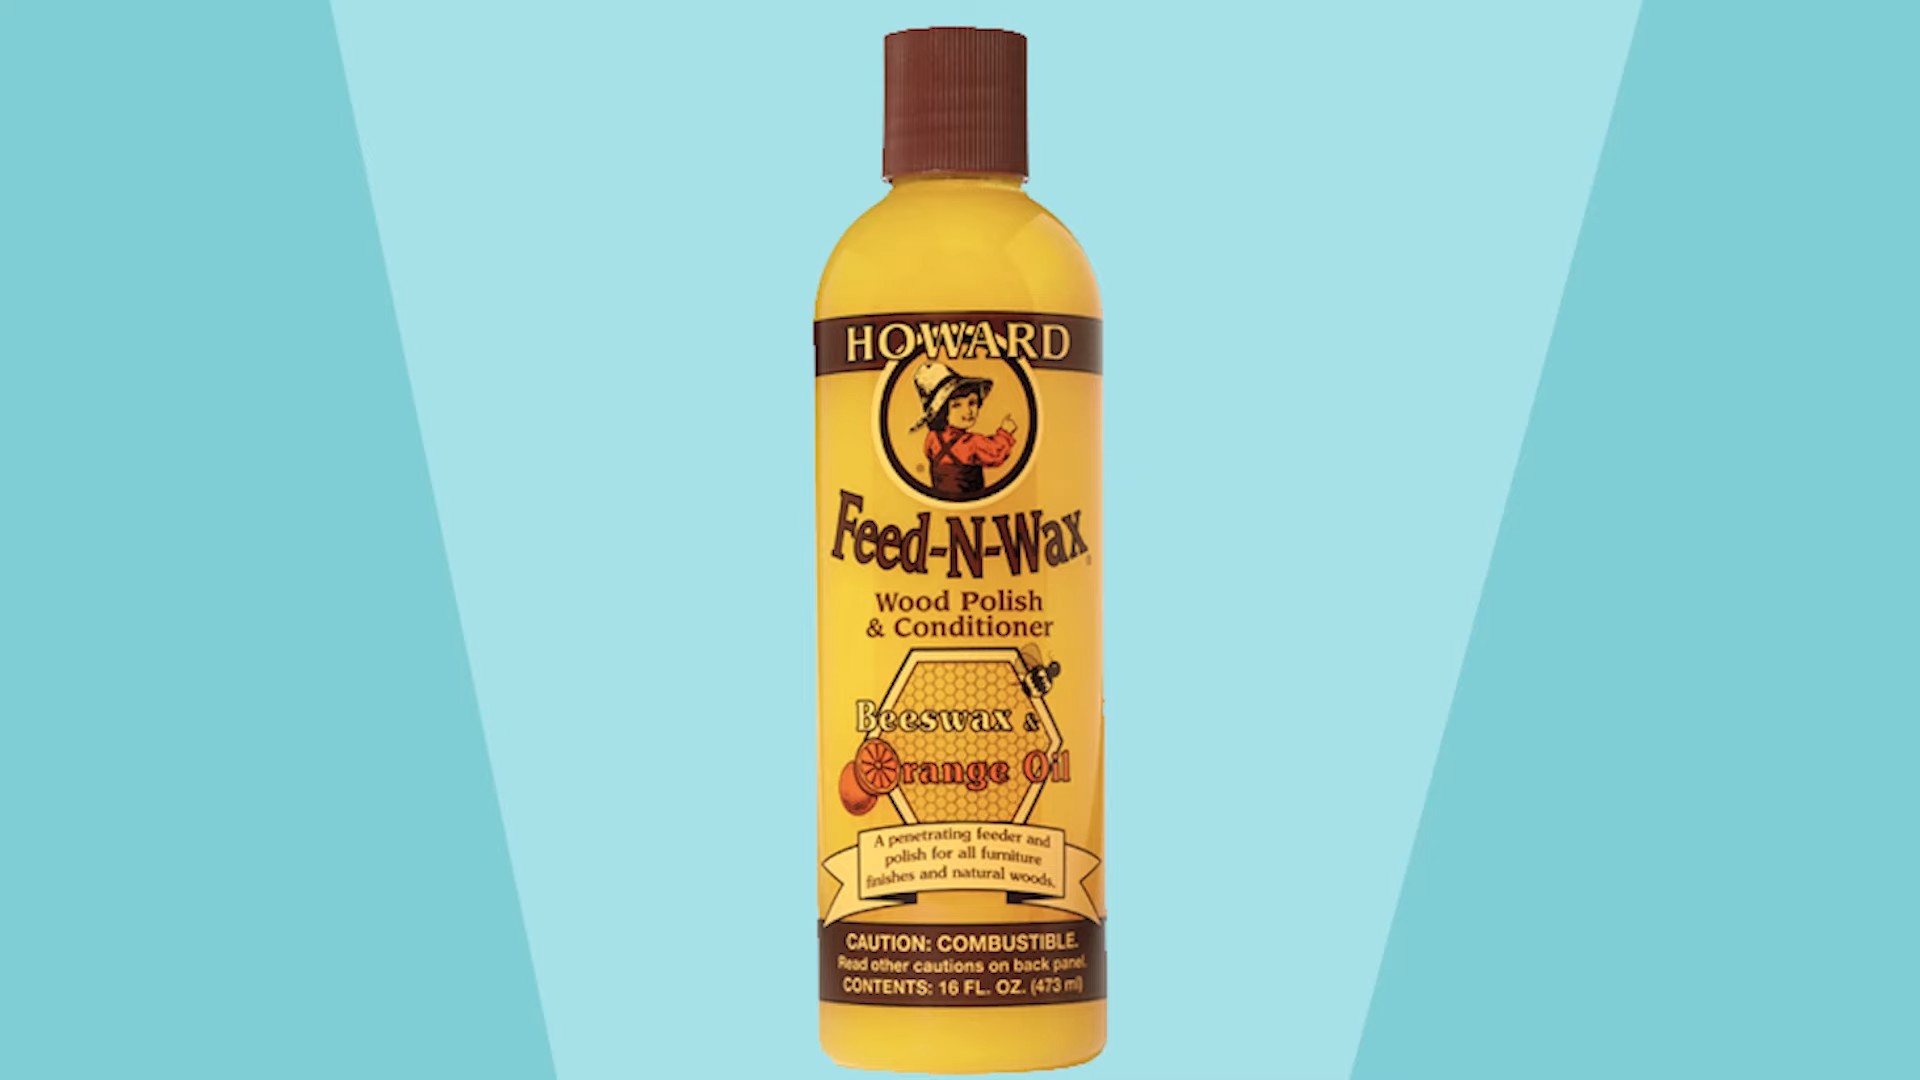
Howard Feed-N-Wax isn’t just another furniture polish. It’s a blend of beeswax, carnauba wax, and orange oil. This combination does three amazing things:
* Cleans: Gently removes dirt, dust, and grime.
* Conditions: The orange oil penetrates the wood, nourishing it and preventing it from drying out and cracking.
* Protects: The beeswax and carnauba wax create a protective layer that helps repel water and stains, while also giving your furniture a beautiful, natural sheen.
I’ve used it on everything from antique dressers to modern coffee tables, and I’ve always been thrilled with the results. It’s especially great for pieces that have been neglected or are showing signs of age.
Gather Your Supplies
Before we dive in, let’s make sure you have everything you need. Here’s my go-to list:
* Howard Feed-N-Wax: Obviously! You can find this at most hardware stores, home improvement centers, or online.
* Clean, Soft Cloths: Microfiber cloths are my personal favorite because they’re gentle and won’t leave lint behind. You’ll need at least two – one for applying the Feed-N-Wax and one for buffing.
* Optional:
* Furniture Polish or Cleaner (for heavily soiled pieces): If your furniture is really dirty, you might want to give it a quick clean beforehand.
* Gloves: While Feed-N-Wax isn’t harmful, some people prefer to wear gloves to keep their hands clean.
* Old Toothbrush or Small Brush: For getting into tight corners and crevices.
* Drop Cloth or Newspaper: To protect your floors or surrounding surfaces.
Step-by-Step Guide to Using Howard Feed-N-Wax
Okay, let’s get started! Here’s my tried-and-true method for using Howard Feed-N-Wax:
1. Prepare Your Furniture:
* First, clear the furniture of any items like lamps, books, or decorations.
* If your furniture is particularly dusty or dirty, give it a quick wipe down with a slightly damp cloth or a furniture cleaner. Make sure it’s completely dry before moving on to the next step. I usually use a dedicated furniture polish for this if needed, but a damp cloth works wonders for light dust.
* If you’re working on a valuable antique or a piece with a delicate finish, test the Feed-N-Wax in an inconspicuous area first to make sure it doesn’t cause any discoloration or damage. This is just a precaution, but it’s always better to be safe than sorry!
2. Apply the Feed-N-Wax:
* Shake the bottle of Howard Feed-N-Wax well. This ensures that the ingredients are properly mixed.
* Apply a small amount of Feed-N-Wax to your clean, soft cloth. Remember, a little goes a long way! You don’t want to saturate the wood.
* Using a circular motion, gently rub the Feed-N-Wax into the wood. Work in small sections, making sure to cover the entire surface evenly. Pay attention to areas that look particularly dry or faded.
* For intricate carvings or hard-to-reach areas, use an old toothbrush or small brush to apply the Feed-N-Wax. This will help you get into all the nooks and crannies.
3. Let it Penetrate:
* Once you’ve applied the Feed-N-Wax, let it sit for about 20-30 minutes. This allows the orange oil to penetrate the wood and nourish it from within. You’ll notice that the wood starts to look richer and more vibrant as it absorbs the oil.
* I usually use this time to grab a cup of coffee or tackle another small task. It’s a great way to multitask!
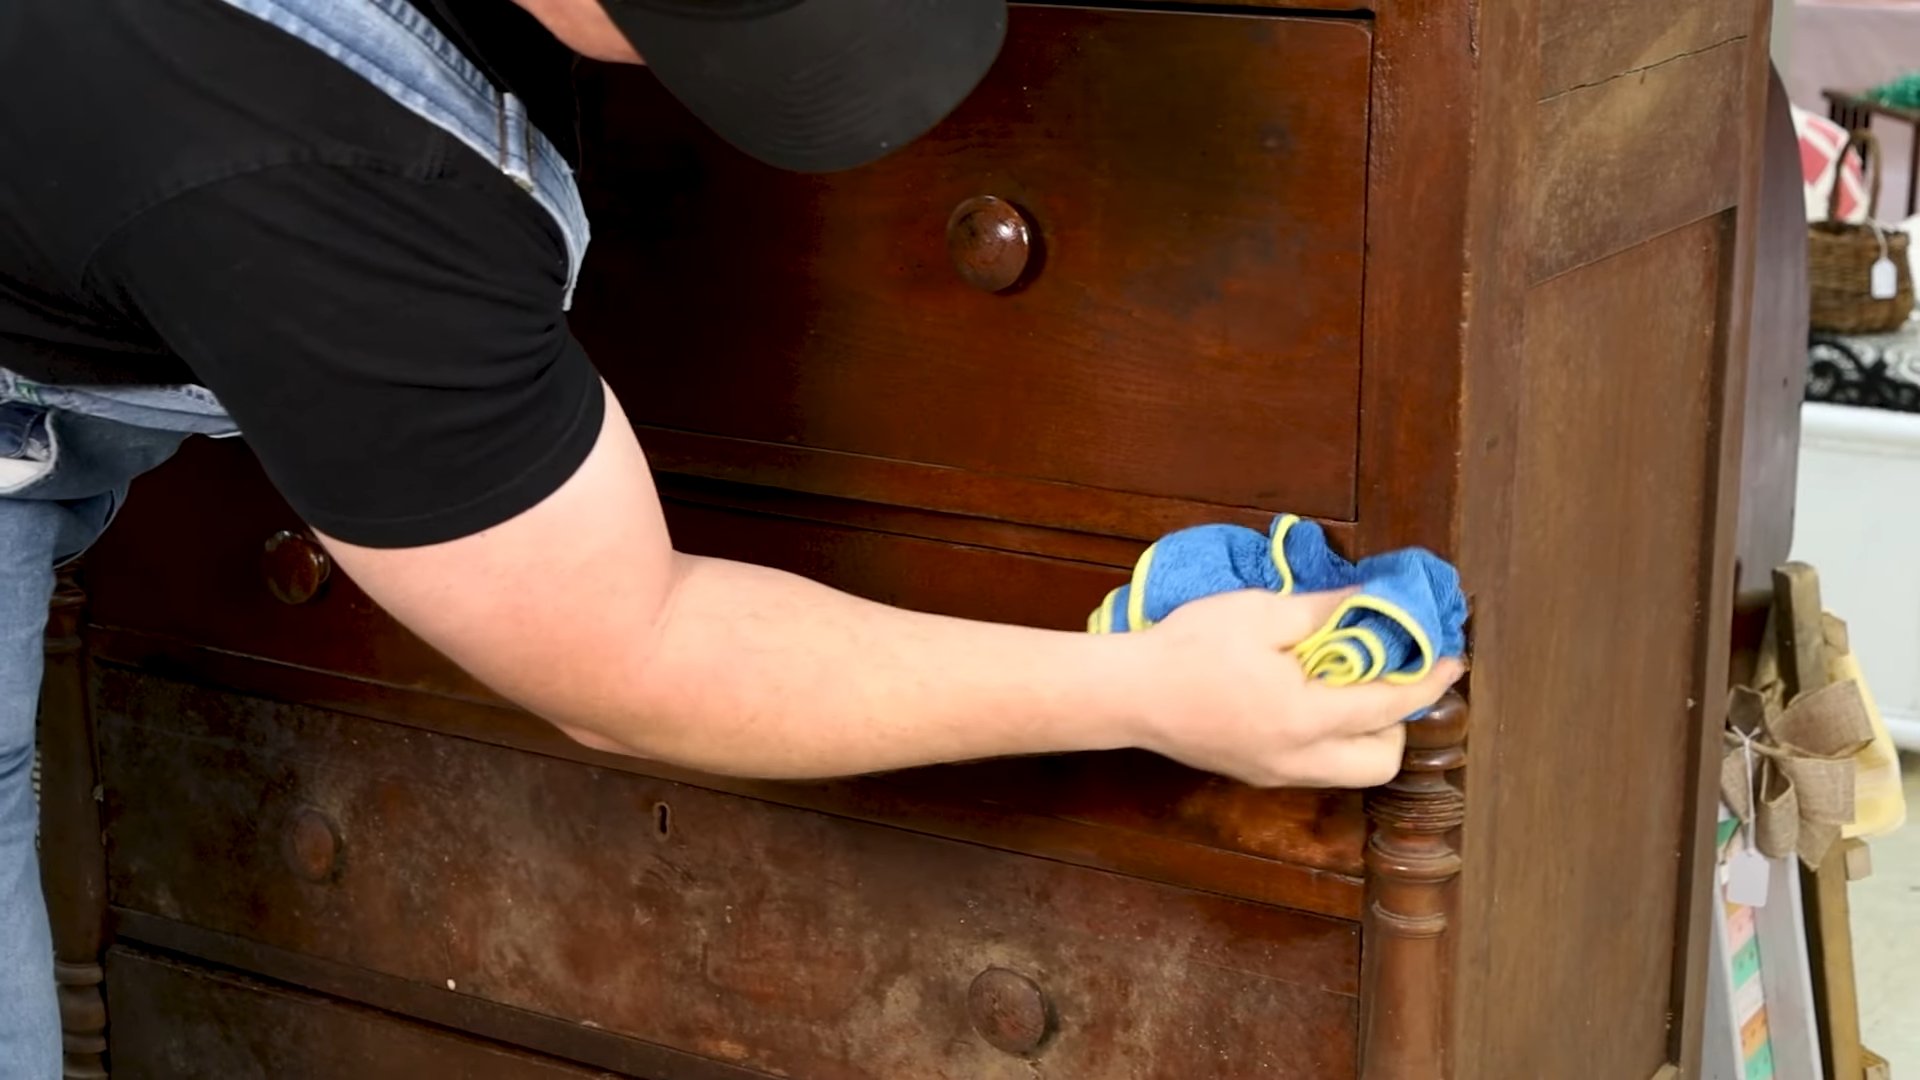
4. Buff to a Shine:
* After the Feed-N-Wax has had time to penetrate, use a clean, dry cloth to buff the surface. Use a firm, circular motion to remove any excess wax and bring out the natural shine of the wood.
* Don’t be afraid to put a little elbow grease into it! The more you buff, the more lustrous the finish will be.
* If you notice any sticky or gummy residue, it means you’ve used too much Feed-N-Wax. Just keep buffing until it’s gone.
5. Admire Your Work!
* Step back and admire your beautifully restored furniture! You should see a noticeable difference in the appearance of the wood. It will look richer, more vibrant, and have a lovely, natural sheen.
* I always feel a sense of accomplishment after using Feed-N-Wax. It’s so satisfying to see my furniture looking its best.
Tips and Tricks for Best Results
Here are a few extra tips and tricks I’ve learned over the years:
* Don’t Overdo It: As I mentioned before, a little Feed-N-Wax goes a long way. Using too much can leave a sticky residue that’s difficult to remove. Start with a small amount and add more as needed.
* Work in a Well-Ventilated Area: While the orange oil scent is pleasant, it can be a bit strong in a confined space. Open a window or turn on a fan to ensure proper ventilation.
* Regular Maintenance: To keep your furniture looking its best, I recommend using Howard Feed-N-Wax every few months or as needed. Regular maintenance will prevent the wood from drying out and cracking.
* Use on Other Wood Items: Feed-N-Wax isn’t just for furniture! I’ve also used it on wooden picture frames, cutting boards (make sure to wash thoroughly afterwards!), and even wooden musical instruments.
* Test on Unfinished Wood: While Feed-N-Wax is primarily designed for finished wood, you can also use it on unfinished wood to add a protective layer and enhance the natural grain. Just be aware that it may darken the wood slightly.
* Dealing with Water Rings: If you have water rings on your furniture, Feed-N-Wax can sometimes help to minimize their appearance. Apply a generous amount to the affected area and let it sit for a longer period of time (up to an hour). Then, buff vigorously. You may need to repeat this process several times to see results.
* For Heavily Damaged Pieces: If your furniture is severely damaged or has a very worn finish, Feed-N-Wax may not be enough to restore it completely. In these cases, you may need to consider refinishing the piece. However, Feed-N-Wax can still be used as a maintenance product after refinishing to keep the wood looking its best.
* Storage: Store your Howard Feed-N-Wax in a cool, dry place away from direct sunlight. This will help to prevent the ingredients from separating or deteriorating.
* Safety First: While Feed-N-Wax is generally safe to use, it’s always a good idea to keep it out of reach of children and pets. Avoid contact with eyes and skin. If contact occurs, rinse thoroughly with water.
Troubleshooting
Sometimes, things don’t go exactly as planned. Here are a few common problems you might encounter and how to fix them:
* Sticky Residue: As mentioned earlier, this is usually caused by using too much Feed-N-Wax. Keep buffing until the residue is gone. You can also try using a clean cloth dampened with mineral spirits to remove the excess wax.
* Uneven Finish: If you notice that some areas of your furniture look shinier than others, it could be due to uneven application. Try applying a small amount of Feed-N-Wax to the dull areas and buffing again.
* Discoloration: In rare cases, Feed-N-Wax can cause discoloration, especially on light-colored woods. This is why it’s so important to test it in an inconspicuous area first. If discoloration occurs, you may need to consult with a professional furniture restorer.
* No Improvement: If you don’t see any improvement after using Feed-N-Wax, it could be that your furniture has a very thick or damaged finish that’s preventing the oil from penetrating the wood. In this case, you may need to consider stripping the finish and starting from scratch
Conclusion
So, there you have it! This DIY Howard Feed-N-Wax alternative is more than just a cost-effective solution; it’s a way to breathe new life into your beloved wooden furniture, bringing out its natural beauty and protecting it for years to come. We’ve walked you through a simple, straightforward process that yields results comparable to the commercial product, often at a fraction of the price.
Why is this DIY trick a must-try? Because it empowers you to take control of your furniture care. You know exactly what’s going into the mixture, avoiding potentially harsh chemicals or additives found in some commercial products. You’re using natural ingredients that nourish the wood, enhance its grain, and provide a protective barrier against moisture and everyday wear and tear. Plus, the satisfaction of creating something yourself and seeing the immediate transformation of your furniture is incredibly rewarding.
But the beauty of this DIY approach lies in its adaptability. Feel free to experiment with variations to suit your specific needs and preferences. For instance, if you’re working with particularly dry or thirsty wood, you might consider increasing the proportion of oil in the mixture. Conversely, if you live in a humid climate, you might want to slightly reduce the oil content and increase the beeswax to create a more durable, water-resistant finish.
Consider adding a few drops of essential oils for a subtle, pleasant scent. Lavender, cedarwood, or sandalwood are excellent choices that complement the natural aroma of wood. Just be sure to use pure essential oils and add them sparingly, as too much can alter the consistency of the wax.
Another variation involves using different types of oil. While mineral oil is a readily available and effective option, you could also experiment with linseed oil (boiled linseed oil is recommended for faster drying), walnut oil, or even coconut oil. Each oil will impart slightly different properties to the wax, so it’s worth experimenting to find what works best for your furniture and your aesthetic preferences. Remember to always test a small, inconspicuous area first to ensure compatibility and desired results.
Ultimately, this DIY Howard Feed-N-Wax alternative is about more than just saving money; it’s about connecting with your furniture, understanding its needs, and providing it with the care it deserves. It’s about embracing a more sustainable and mindful approach to home maintenance.
We wholeheartedly encourage you to give this DIY trick a try. Gather your ingredients, follow the simple steps, and witness the transformation of your furniture firsthand. We’re confident that you’ll be amazed by the results.
And most importantly, we want to hear about your experience! Share your photos, tips, and variations in the comments below. Let us know what worked for you, what challenges you encountered, and any creative twists you added to the recipe. Your feedback will not only help other readers but also contribute to a growing community of DIY enthusiasts who are passionate about preserving and enhancing the beauty of their wooden furniture. So, go ahead, unleash your inner furniture restorer and discover the magic of this DIY Howard Feed-N-Wax alternative!
Frequently Asked Questions
What exactly is Howard Feed-N-Wax, and why would I want to make my own?
Howard Feed-N-Wax is a popular commercial product designed to polish and protect wood furniture. It’s a blend of beeswax, carnauba wax, and mineral oil that cleans, conditions, and protects wood surfaces. Making your own allows you to control the ingredients, avoid potentially harmful chemicals, customize the scent, and often save money. Plus, it’s a fun and rewarding DIY project!
What kind of wood is this DIY Howard Feed-N-Wax alternative suitable for?
This DIY mixture is generally safe for most types of finished wood furniture, including antiques, modern pieces, and even wood trim. However, it’s always a good idea to test it on a small, inconspicuous area first, especially if you’re dealing with delicate or antique finishes. Avoid using it on unfinished wood, as it may not provide adequate protection.
How often should I apply this DIY Howard Feed-N-Wax alternative to my furniture?
The frequency of application depends on the condition of your furniture and the environment it’s in. Generally, applying it every 3-6 months is sufficient for maintaining a healthy and protected finish. If your furniture is exposed to direct sunlight or dry air, you may need to apply it more frequently. Conversely, if it’s in a humid environment, you can apply it less often. Observe your furniture and adjust the frequency accordingly.
Can I use this DIY mixture on food-contact surfaces like cutting boards or butcher blocks?
No, this particular recipe is not recommended for food-contact surfaces. Mineral oil, while generally considered food-safe, is not ideal for surfaces that come into direct contact with food. For cutting boards and butcher blocks, you should use a food-grade mineral oil or a specialized cutting board oil.
What if I don’t have beeswax? Can I substitute it with something else?
Beeswax is a crucial ingredient in this recipe, as it provides a protective barrier and adds a subtle sheen to the wood. While you could technically try substituting it with another type of wax, such as carnauba wax or soy wax, the results may not be the same. Beeswax is readily available online or at craft stores, and it’s worth investing in for the best results.
My DIY Howard Feed-N-Wax alternative seems too oily. What did I do wrong?
If your mixture is too oily, it likely means you used too much oil or not enough beeswax. You can try remelting the mixture and adding more beeswax to achieve a thicker consistency. Make sure to melt the beeswax slowly and stir it thoroughly to ensure it’s fully incorporated.
My DIY Howard Feed-N-Wax alternative seems too hard and difficult to apply. What can I do?
If your mixture is too hard, it means you used too much beeswax or not enough oil. You can try remelting the mixture and adding more oil to achieve a softer consistency. Again, melt the beeswax slowly and stir it thoroughly.
How do I clean my furniture before applying this DIY Howard Feed-N-Wax alternative?
Before applying the mixture, it’s important to clean your furniture to remove any dust, dirt, or grime. You can use a soft cloth dampened with a mild soap and water solution. Be sure to dry the furniture thoroughly before applying the wax. For stubborn stains or buildup, you may need to use a specialized furniture cleaner.
Can I use this DIY mixture on leather furniture?
No, this recipe is specifically designed for wood furniture and is not suitable for leather. Leather requires specialized cleaning and conditioning products to maintain its suppleness and prevent cracking.
How should I store my leftover DIY Howard Feed-N-Wax alternative?
Store your leftover mixture in an airtight container in a cool, dark place. It should last for several months, if not longer. If you notice any changes in color, odor, or consistency, it’s best to discard it.
What are the benefits of using essential oils in this DIY Howard Feed-N-Wax alternative?
Adding essential oils can provide a pleasant scent to your furniture and create a more enjoyable cleaning experience. Some essential oils, like cedarwood and lavender, also have natural insect-repellent properties. However, it’s important to use pure essential oils and add them sparingly, as too much can alter the consistency of the wax.
Is there any safety precautions I should take when making this DIY Howard Feed-N-Wax alternative?
When melting beeswax, always use a double boiler or a heat-safe bowl set over a pot of simmering water. Never melt beeswax directly over a flame, as it can be flammable. Use caution when handling hot wax and wear gloves to protect your hands. Work in a well-ventilated area.

Leave a Comment