

Kitchen cleaning supplies affordable – that’s music to my ears, and I bet it is to yours too! Let’s face it, keeping our kitchens sparkling can feel like a never-ending battle, and the cost of fancy cleaners can really add up. But what if I told you that you could achieve a spotless, gleaming kitchen using items you probably already have lurking in your pantry?
For generations, resourceful homemakers have relied on simple, natural ingredients to keep their homes clean. Think about it – before the age of mass-produced cleaning products, vinegar, baking soda, and lemon juice were the go-to solutions for everything from scrubbing countertops to deodorizing refrigerators. This tradition of resourceful cleaning is not only budget-friendly but also often gentler on the environment and our health.
In today’s world, where we’re all trying to save a few bucks and be more mindful of the products we use, mastering the art of affordable kitchen cleaning is more important than ever. This DIY guide is packed with easy-to-follow recipes and clever hacks that will transform your cleaning routine. I’m going to show you how to create your own powerful and effective kitchen cleaning supplies affordable enough to make your wallet happy, and safe enough to make your family happy. Get ready to ditch the expensive chemicals and embrace a cleaner, greener, and more budget-friendly kitchen!
DIY Kitchen Cleaning Powerhouse: Affordable & Effective!
Hey everyone! I’m so excited to share my go-to method for keeping my kitchen sparkling clean without breaking the bank. Forget those expensive, chemical-laden cleaners – we’re going natural and budget-friendly! This guide will walk you through creating your own powerful cleaning solutions using ingredients you probably already have in your pantry. Let’s get started!
Gathering Your Arsenal: The Essential Ingredients
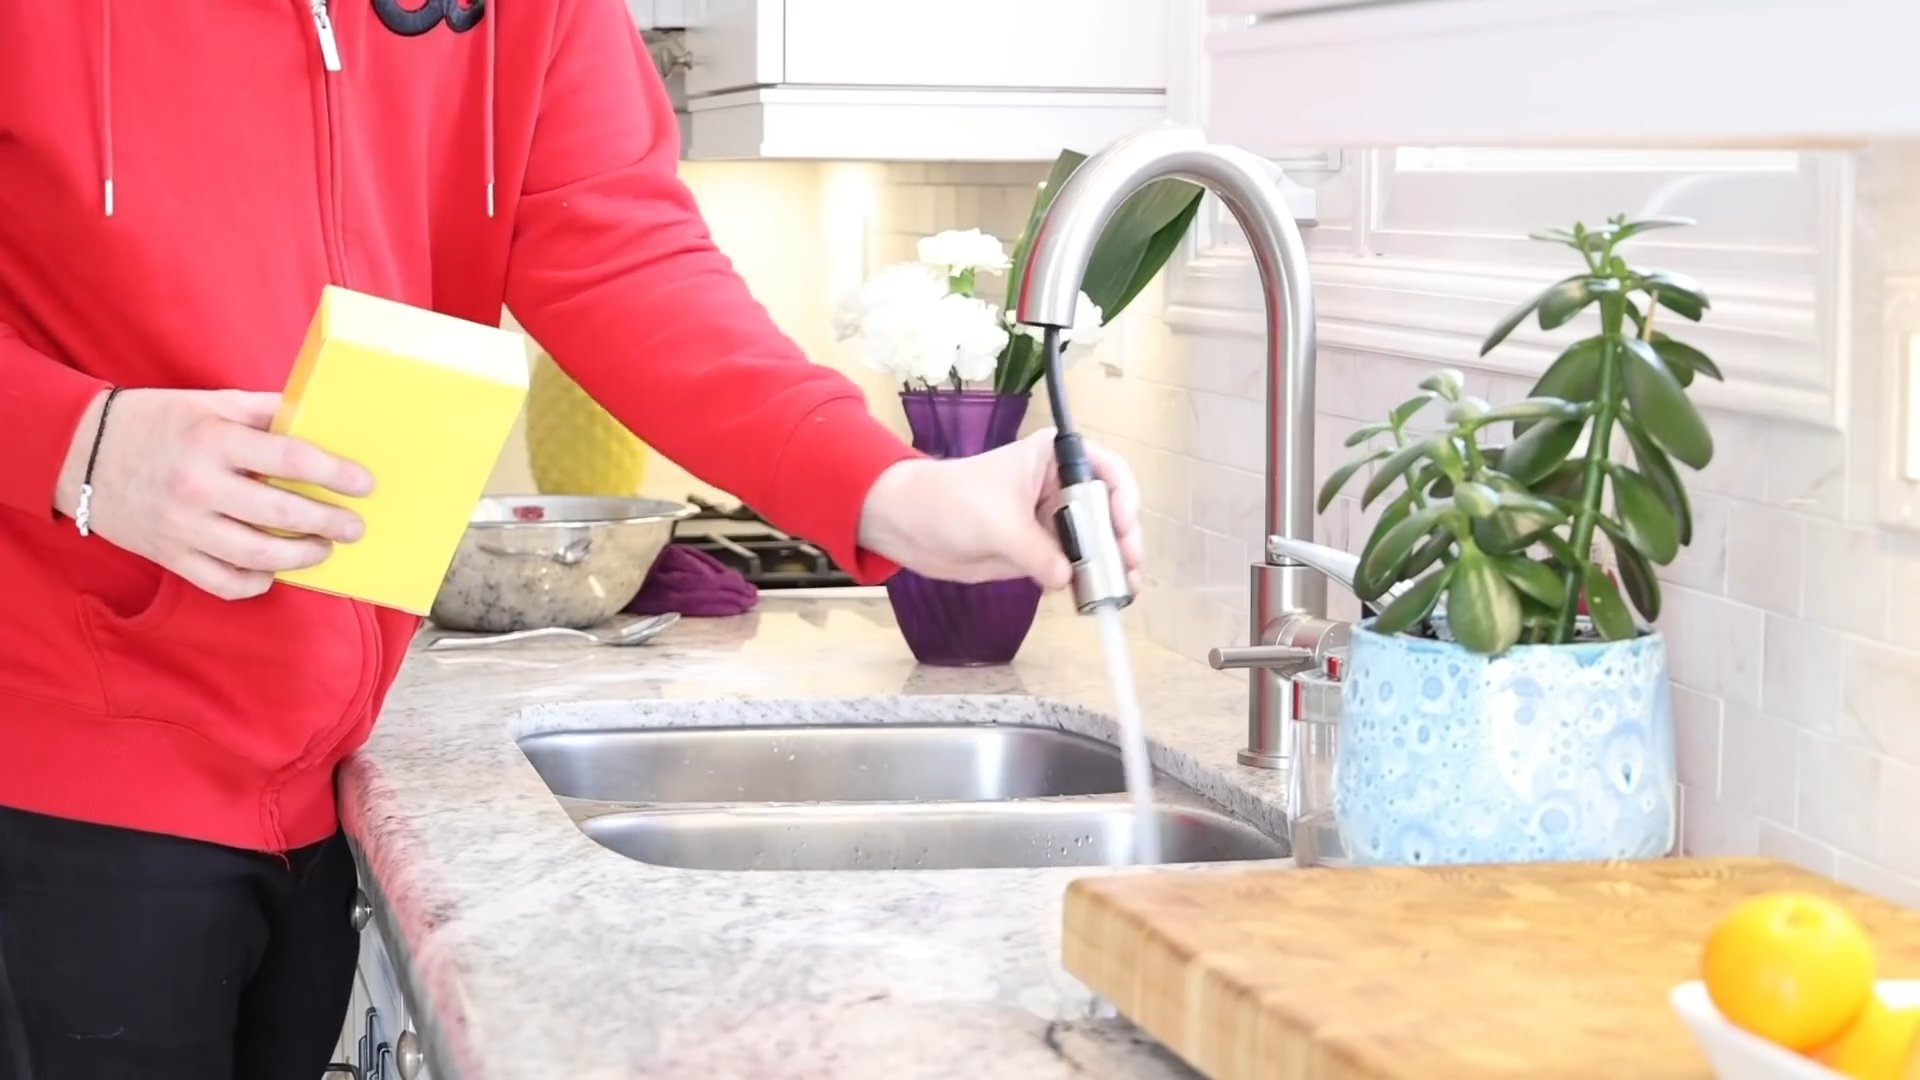
Before we dive into the recipes, let’s make sure we have all the necessary ingredients. The beauty of this DIY approach is that most of these are staples you likely already own.
* **White Vinegar:** This is our workhorse! Vinegar is a fantastic disinfectant, deodorizer, and grease cutter.
* **Baking Soda:** A mild abrasive and deodorizer, perfect for scrubbing and tackling stubborn stains.
* **Lemon Juice:** Adds a fresh scent and acts as a natural disinfectant and degreaser.
* **Dish Soap:** A small amount of your regular dish soap will boost the cleaning power of our solutions. Opt for a natural or unscented variety if you prefer.
* **Essential Oils (Optional):** For added fragrance and potential antibacterial benefits. Lavender, tea tree, lemon, and eucalyptus are great choices.
* **Water:** Distilled water is ideal, but tap water works just fine.
* **Spray Bottles:** You’ll need a few empty spray bottles to store and use your homemade cleaners.
* **Microfiber Cloths:** These are essential for streak-free cleaning and are much more effective than paper towels.
* **Scrub Brush or Sponge:** For tackling tougher grime.
* **Old Toothbrush:** Perfect for cleaning grout and hard-to-reach areas.
* **Funnel:** Makes pouring liquids into spray bottles much easier.
* **Measuring Cups and Spoons:** For accurate mixing.
DIY All-Purpose Kitchen Cleaner
This is my go-to cleaner for countertops, stovetops (after they’ve cooled!), sinks, and appliances. It’s effective, safe, and smells amazing!
**Step-by-Step Instructions:**
1. **Combine Ingredients:** In a spray bottle, mix equal parts white vinegar and water. I usually start with 1 cup of each.
2. **Add Dish Soap (Optional):** Add a teaspoon of dish soap for extra cleaning power. Be careful not to add too much, or it will create excessive suds.
3. **Add Essential Oils (Optional):** If you’re using essential oils, add 10-15 drops of your favorite scent. Lemon, lavender, or tea tree are excellent choices.
4. **Shake Well:** Secure the spray nozzle and shake the bottle thoroughly to combine all the ingredients.
5. **Test on a Small Area:** Before spraying the cleaner all over your surfaces, test it on a small, inconspicuous area to ensure it doesn’t damage the finish.
6. **Spray and Wipe:** Spray the cleaner onto the surface you want to clean and let it sit for a minute or two.
7. **Wipe Clean:** Use a microfiber cloth to wipe the surface clean. For stubborn stains, you may need to scrub a little harder.
8. **Rinse (If Necessary):** If you used a lot of cleaner or if the surface feels sticky, rinse it with clean water and dry it with a clean cloth.
DIY Oven Cleaner: Baking Soda Power!
Oven cleaning is the bane of my existence, but this DIY method makes it so much easier and less toxic.
**Step-by-Step Instructions:**
1. **Remove Oven Racks:** Take out the oven racks and set them aside. You can clean them separately in the sink with hot, soapy water.
2. **Make a Baking Soda Paste:** In a bowl, mix 1/2 cup of baking soda with enough water to form a thick paste.
3. **Coat the Oven:** Using your hands (wear gloves if you prefer), spread the baking soda paste all over the inside of the oven, avoiding the heating elements. Be generous with the paste, especially on areas with baked-on grease and grime.
4. **Let it Sit Overnight:** This is the key! Let the baking soda paste sit in the oven overnight (or for at least 12 hours). This allows the baking soda to loosen the grime.
5. **Scrub and Wipe:** The next day, use a damp sponge or scrub brush to scrub the oven. The baking soda paste should have softened the grime, making it easier to remove.
6. **Wipe Away Residue:** Use a damp cloth to wipe away all the baking soda residue. You may need to rinse the cloth frequently.
7. **Spray with Vinegar (Optional):** For any remaining stubborn spots, spray them with white vinegar. The vinegar will react with the baking soda, creating a fizzing action that helps to loosen the grime.
8. **Wipe Clean Again:** Wipe away the vinegar and any remaining residue with a clean cloth.
9. **Replace Oven Racks:** Once the oven is completely clean and dry, replace the oven racks.
DIY Dishwasher Detergent
Store-bought dishwasher detergents can be expensive and full of harsh chemicals. This DIY version is just as effective and much more affordable.
**Step-by-Step Instructions:**
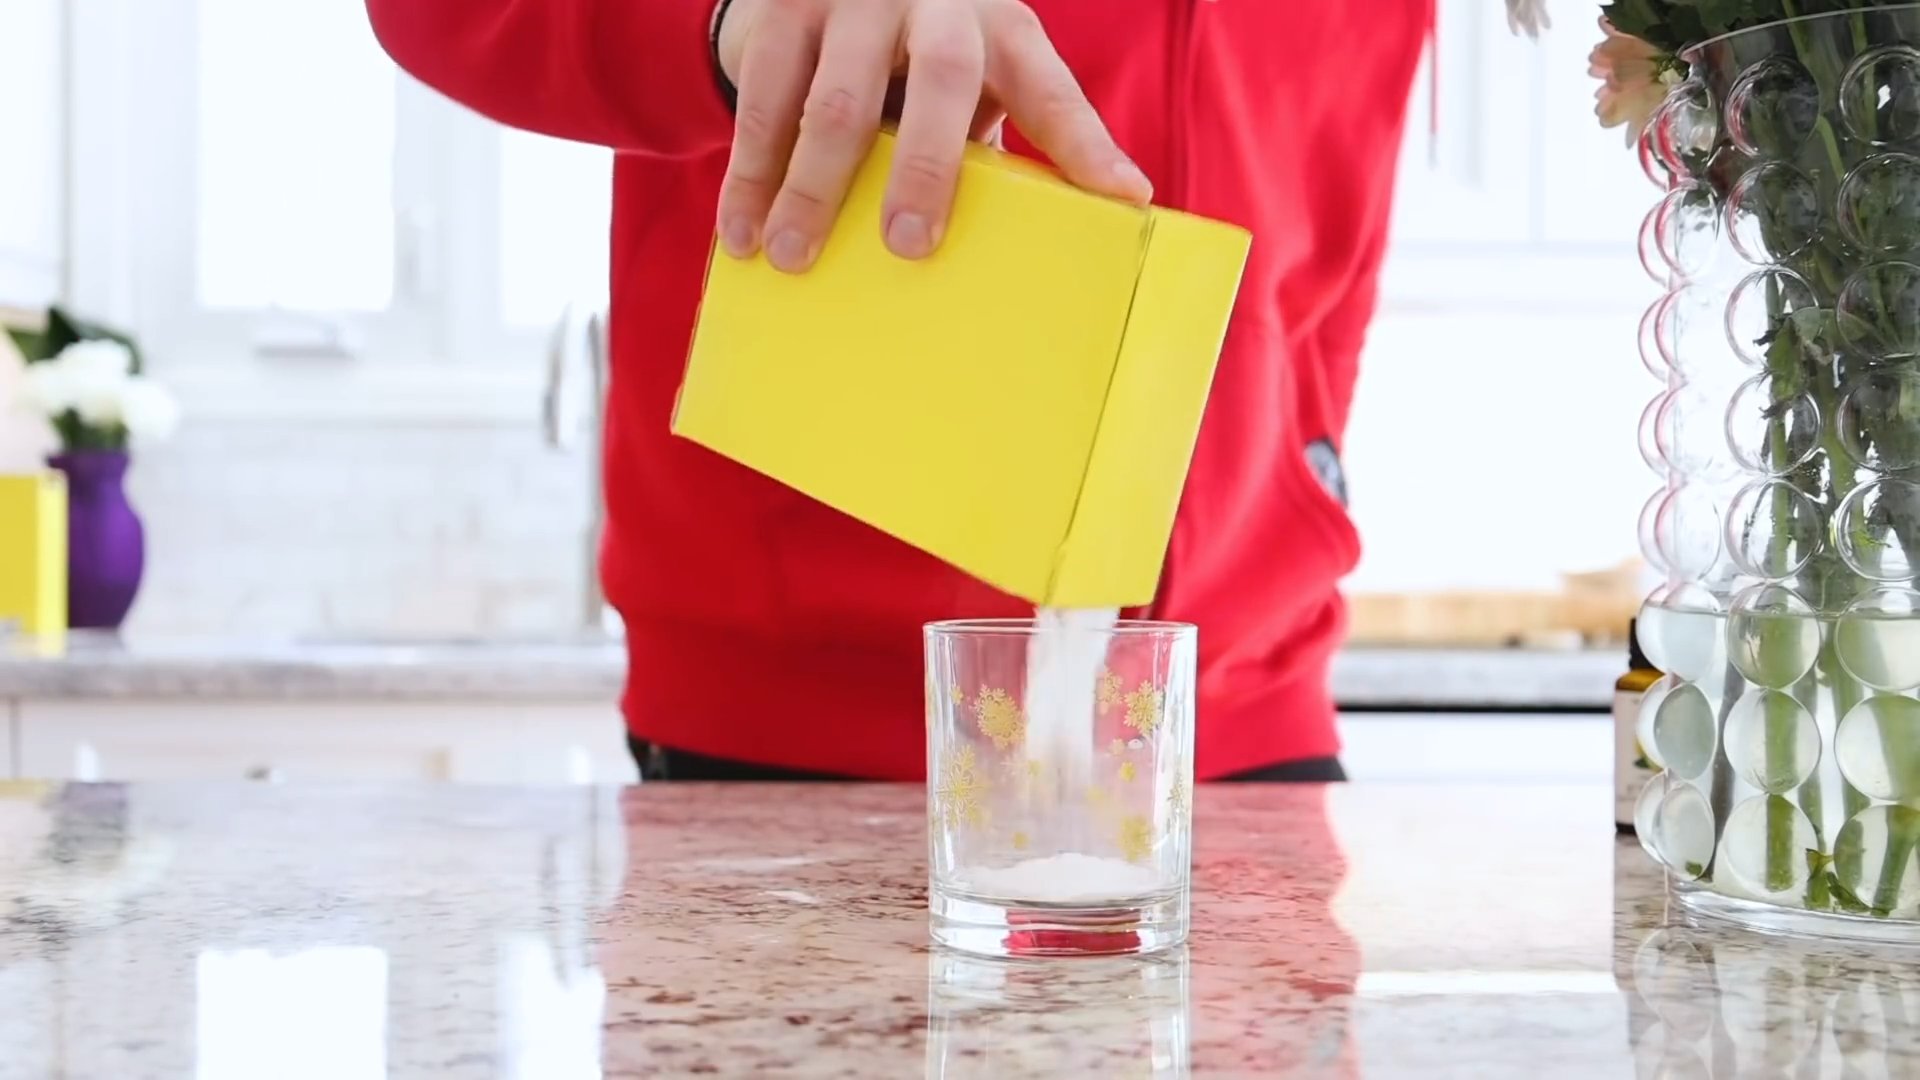
1. **Combine Ingredients:** In a bowl, combine 1 cup of washing soda (sodium carbonate – not baking soda!), 1 cup of borax, and 1/2 cup of citric acid.
2. **Add Salt (Optional):** You can add 1/2 cup of coarse salt (like kosher salt) to help with water softening.
3. **Mix Well:** Stir the ingredients together thoroughly.
4. **Store in an Airtight Container:** Transfer the mixture to an airtight container to prevent it from clumping.
5. **Use in Dishwasher:** Use 1-2 tablespoons of the detergent per load, depending on the size of your dishwasher and the hardness of your water.
6. **Add Vinegar to Rinse Aid Compartment:** Fill the rinse aid compartment with white vinegar for sparkling clean dishes.
**Important Note:** Washing soda can be irritating to the skin, so wear gloves when handling it.
DIY Garbage Disposal Freshener
Keep your garbage disposal smelling fresh with these easy-to-make freshener cubes.
**Step-by-Step Instructions:**
1. **Gather Ingredients:** You’ll need 1 cup of baking soda, 1/2 cup of water, and 10-15 drops of your favorite essential oil (lemon, lime, or orange are great choices).
2. **Mix Ingredients:** In a bowl, mix the baking soda and water until you form a thick paste.
3. **Add Essential Oils:** Add the essential oils and stir well to combine.
4. **Fill Ice Cube Tray:** Spoon the mixture into an ice cube tray.
5. **Freeze:** Freeze the cubes for at least 2 hours, or until solid.
6. **Store in a Bag:** Once frozen, pop the cubes out of the tray and store them in a freezer bag.
7. **Use as Needed:** To freshen your garbage disposal, simply drop one or two cubes down the drain and run the disposal with cold water for a few seconds.
DIY Grout Cleaner: Brighten Those Tiles!
Grimey grout can make your whole kitchen look dirty. This simple solution will brighten your grout lines in no time.
**Step-by-Step Instructions:**
1. **Make a Paste:** In a bowl, mix baking soda with enough water to form a thick paste.
2. **Apply to Grout:** Apply the paste to the grout lines using an old toothbrush or a grout brush.
3. **Let it Sit:** Let the paste sit on the grout for 5-10 minutes.
4. **Scrub:** Scrub the grout lines with the toothbrush or grout brush.
5. **Spray with Vinegar:** Spray the grout lines with white vinegar. The vinegar will react with the baking soda, creating a fizzing action that helps to loosen the grime.
6. **Wipe Clean:** Wipe away the vinegar and baking soda residue with a damp cloth.
7. **Rinse (If Necessary):** If the grout still looks dirty, repeat the process or rinse with clean water.
DIY Stainless Steel Cleaner and Polisher
Keep your stainless steel appliances looking their best with this easy DIY cleaner.
**Step-by-Step Instructions:**
1. **Clean with Soap and Water:** First, clean the stainless steel surface with a mild dish soap and water to remove any dirt or grime.
2. **Dry Thoroughly:** Dry the surface completely with a clean microfiber cloth.
3. **Apply Olive Oil:** Pour a small amount of olive oil onto a clean microfiber cloth.
4. **Wipe with the Grain:** Wipe the stainless steel surface with the olive oil, following the grain of the metal.
5. **Buff with a Clean Cloth:** Use a clean, dry microfiber cloth to buff the surface until it shines. This will remove any excess oil and leave a streak-free finish.
DIY
Conclusion
So, there you have it! Transforming your approach to kitchen cleaning doesn’t have to break the bank. By embracing these simple yet effective DIY tricks for affordable kitchen cleaning supplies, you’re not only saving money but also reducing your reliance on harsh chemicals. Think about it: a sparkling clean kitchen, achieved with ingredients you likely already have in your pantry. It’s a win-win!
This isn’t just about saving a few dollars; it’s about creating a healthier home environment. Commercial cleaners often contain volatile organic compounds (VOCs) that can irritate your lungs and contribute to indoor air pollution. By making your own cleaning solutions, you’re in control of the ingredients and can choose natural, non-toxic alternatives.
But the benefits don’t stop there. DIY cleaning is also incredibly versatile. Feel free to experiment with different essential oils to add a pleasant scent to your cleaners. Lavender, lemon, tea tree, and eucalyptus are all excellent choices with antimicrobial properties. You can also adjust the ratios of ingredients to suit your specific cleaning needs. For example, if you’re dealing with stubborn grease, add a bit more vinegar to your all-purpose cleaner.
Consider these variations to elevate your DIY cleaning game:
* Citrus Power: Infuse your vinegar with citrus peels (lemon, orange, grapefruit) for a few weeks before using it in your cleaners. This adds a refreshing scent and boosts the cleaning power.
* Baking Soda Boost: For extra scrubbing power, create a paste of baking soda and water. This is perfect for cleaning sinks, stovetops, and oven interiors.
* Essential Oil Blends: Experiment with different essential oil blends to create custom scents and cleaning properties. For example, a blend of tea tree and lavender is great for disinfecting, while a blend of lemon and peppermint is invigorating and refreshing.
* DIY Dish Soap: Combine castile soap, water, and a few drops of essential oil for a gentle and effective dish soap.
We understand that switching to DIY cleaning can seem daunting at first, but trust us, it’s easier than you think. Start with one or two recipes and gradually incorporate more into your cleaning routine. You’ll be amazed at how effective and affordable these DIY solutions are.
We’re confident that you’ll love the results of these affordable kitchen cleaning supplies DIY tricks. Not only will your kitchen be sparkling clean, but you’ll also have the satisfaction of knowing that you’re using safe, natural, and budget-friendly products.
So, what are you waiting for? Gather your ingredients, put on your favorite music, and get ready to transform your kitchen cleaning routine. We encourage you to try these DIY tricks and share your experience with us! Let us know which recipes worked best for you, what variations you tried, and any tips you have to share. Your feedback will help us create even better DIY cleaning solutions for everyone. Share your before and after photos on social media using #DIYKitchenCleaning and inspire others to join the movement towards a cleaner, healthier, and more affordable home. We can’t wait to see your sparkling kitchens!
Frequently Asked Questions (FAQ)
Why should I switch to DIY kitchen cleaning supplies?
Switching to DIY kitchen cleaning supplies offers a multitude of benefits. Firstly, it’s incredibly cost-effective. You can save a significant amount of money by using ingredients you likely already have in your pantry, such as vinegar, baking soda, and lemon juice. Secondly, DIY cleaning is much safer for your health and the environment. Commercial cleaners often contain harsh chemicals that can irritate your skin, lungs, and eyes, and they can also contribute to indoor air pollution. By making your own cleaners, you can control the ingredients and avoid harmful chemicals. Finally, DIY cleaning is customizable. You can adjust the recipes to suit your specific cleaning needs and preferences, and you can add essential oils for a pleasant scent and added cleaning power.
Are DIY kitchen cleaning supplies as effective as commercial cleaners?
Yes, in many cases, DIY kitchen cleaning supplies can be just as effective as commercial cleaners, and sometimes even more so. Vinegar, for example, is a powerful disinfectant and degreaser, while baking soda is a gentle abrasive that can remove stubborn stains. Lemon juice is a natural deodorizer and brightener. When combined, these ingredients can tackle a wide range of cleaning tasks in the kitchen. However, it’s important to note that some DIY cleaners may not be suitable for all surfaces. For example, vinegar can damage marble and granite, so it’s best to avoid using it on these surfaces. Always test a small, inconspicuous area before applying any cleaner to a larger surface.
What are the basic ingredients I need to get started with DIY kitchen cleaning?
To get started with DIY kitchen cleaning, you’ll need a few basic ingredients:
* White Vinegar: A versatile cleaner, disinfectant, and degreaser.
* Baking Soda: A gentle abrasive and deodorizer.
* Lemon Juice: A natural deodorizer, brightener, and disinfectant.
* Castile Soap: A gentle and effective cleanser.
* Essential Oils: For added scent and cleaning power (optional).
* Water: To dilute the other ingredients.
You’ll also need some basic supplies, such as spray bottles, cleaning cloths, sponges, and a bucket.
How do I store my DIY kitchen cleaning supplies?
It’s important to store your DIY kitchen cleaning supplies properly to maintain their effectiveness and prevent spoilage. Store your cleaners in airtight containers, such as spray bottles or jars, and label them clearly with the contents and date. Keep your cleaners in a cool, dark place, away from direct sunlight and heat. Some DIY cleaners, such as those containing citrus peels, may need to be refrigerated to prevent spoilage. Always check the recipe for specific storage instructions.
Can I use essential oils in my DIY kitchen cleaning supplies?
Yes, essential oils can be a great addition to your DIY kitchen cleaning supplies. They add a pleasant scent and can also provide added cleaning power. Some essential oils, such as tea tree, lavender, and lemon, have antimicrobial properties that can help to disinfect surfaces. When using essential oils, be sure to use them sparingly, as they can be quite potent. A few drops are usually enough to add scent and cleaning power to a batch of cleaner. Also, be sure to choose high-quality essential oils from a reputable source.
Are there any surfaces I should avoid cleaning with DIY solutions?
Yes, there are some surfaces that you should avoid cleaning with certain DIY solutions. For example, vinegar can damage marble and granite, so it’s best to avoid using it on these surfaces. Baking soda can scratch delicate surfaces, so it’s best to use it with caution. Always test a small, inconspicuous area before applying any cleaner to a larger surface. If you’re unsure whether a particular cleaner is safe for a specific surface, consult the manufacturer’s instructions or a professional cleaner.
How can I make my DIY kitchen cleaning supplies smell good?
There are several ways to make your DIY kitchen cleaning supplies smell good. One of the easiest ways is to add essential oils. Lavender, lemon, tea tree, and eucalyptus are all excellent choices with pleasant scents and antimicrobial properties. You can also infuse your vinegar with citrus peels for a refreshing scent. Simply add citrus peels to a jar of vinegar and let it sit for a few weeks before using it in your cleaners. Another option is to add a few drops of your favorite fragrance oil to your cleaners.
What if my DIY kitchen cleaner doesn’t seem to be working?
If your DIY kitchen cleaner doesn’t seem to be working, there are a few things you can try. First, make sure you’re using the correct ratio of ingredients. If the cleaner is too diluted, it may not be effective. Second, try using a different cleaning method. For example, if you’re using a spray cleaner, try using a scrub brush to agitate the surface. Third, try using a different cleaner altogether. Some stains and messes may require a stronger cleaner. Finally, if all else fails, consider consulting a professional cleaner.
How can I get my kids involved in DIY kitchen cleaning?
Getting your kids involved in DIY kitchen cleaning can be a fun and educational experience. Start by explaining the benefits of DIY cleaning, such as saving money and protecting the environment. Then, let your kids help you gather the ingredients and mix the cleaners. Be sure to supervise them closely and teach them about safety precautions. You can also make cleaning more fun by turning it into a game. For example, you can have a race to see who can clean the fastest or create a scavenger hunt for cleaning supplies.
Where can I find more recipes for affordable kitchen cleaning supplies?
You can find more recipes for affordable kitchen cleaning supplies online, in cookbooks, and in magazines. There are also many websites and blogs dedicated to DIY cleaning. Be sure to choose recipes from reputable sources and always follow the instructions carefully. You can also experiment with different recipes and variations to find what works best for you. Remember to always prioritize safety and use caution when handling cleaning supplies.


Leave a Comment