

Leather Couch Cleaning DIY: Is your beloved leather couch looking a little worse for wear? Don’t despair! Before you resign yourself to expensive professional cleaning or, heaven forbid, replacing it, I’m here to tell you that you can absolutely revitalize your leather couch with some simple DIY magic. For generations, leather furniture has been a symbol of luxury and comfort, gracing homes with its timeless elegance. From the grand estates of Europe to cozy living rooms around the world, leather has always held a special place. But let’s face it, life happens! Spills, stains, and everyday wear and tear can take their toll, leaving your once-pristine couch looking a bit…sad.
That’s where this Leather Couch Cleaning DIY guide comes in. I understand the hesitation – leather can seem intimidating to clean. But trust me, with the right techniques and a few readily available supplies, you can achieve amazing results without damaging your precious furniture. This isn’t just about aesthetics; regular cleaning also helps to preserve the leather’s natural oils, preventing it from cracking and extending its lifespan. So, are you ready to roll up your sleeves and give your leather couch the TLC it deserves? Let’s dive in and bring back that showroom shine!
DIY Leather Couch Cleaning: Revive Your Leather Like a Pro!
Hey there, fellow DIY enthusiasts! Is your beloved leather couch looking a little…tired? Don’t despair! Before you even *think* about calling a professional (and emptying your wallet!), I’m going to walk you through a simple, effective, and budget-friendly way to clean your leather couch and bring back its luster. This guide is designed for most types of finished leather, but always test in an inconspicuous area first! Seriously, don’t skip that step.
What You’ll Need: The Arsenal of Clean
Before we dive in, let’s gather our supplies. Having everything ready will make the process smooth and enjoyable (well, as enjoyable as cleaning can be!).
* Vacuum Cleaner with Soft Brush Attachment: This is your first line of defense against dust and debris.
* Microfiber Cloths (at least 3-4): These are gentle on leather and perfect for wiping and buffing.
* Distilled Water: Tap water can contain minerals that can damage leather over time.
* Mild Dish Soap (like Dawn): A tiny amount goes a long way. We’re talking a drop or two!
* White Vinegar: This is a natural cleaner and deodorizer.
* Leather Conditioner: This is crucial for replenishing the leather’s natural oils and preventing cracking. I personally love using a beeswax-based conditioner.
* Spray Bottle: For mixing our cleaning solution.
* Two Clean Buckets: One for your cleaning solution and one for rinsing your cloth.
* Optional: Leather Cleaner specifically designed for leather furniture. If you’re nervous about using homemade solutions, this is a good alternative. Just make sure it’s formulated for your type of leather.
Phase 1: Preparation is Key
This phase is all about setting the stage for a successful cleaning. Rushing this part can lead to less-than-stellar results, so take your time!
1. Vacuum Thoroughly: Using the soft brush attachment, vacuum every nook and cranny of your couch. Pay special attention to seams, crevices, and under cushions where dust and crumbs love to hide. I like to go over each area twice to make sure I get everything.
2. Identify the Leather Type: This is important! Most couches are made of finished leather, which has a protective coating. However, some are made of aniline or nubuck leather, which are much more delicate and require specialized cleaning. If you’re unsure, consult the manufacturer’s instructions or a professional. This guide is primarily for finished leather.
3. Test Your Cleaning Solution: Find an inconspicuous area on your couch, like the back or under a cushion. Apply a small amount of your cleaning solution (we’ll make that in the next phase!) and let it sit for a few minutes. Then, wipe it off with a clean cloth. Check for any discoloration, damage, or changes in texture. If everything looks good, you’re ready to proceed! If not, stop and consult a leather cleaning professional.
Phase 2: The Cleaning Process
Alright, let’s get down to business! This is where we’ll actually clean the leather and remove any dirt, grime, and stains.
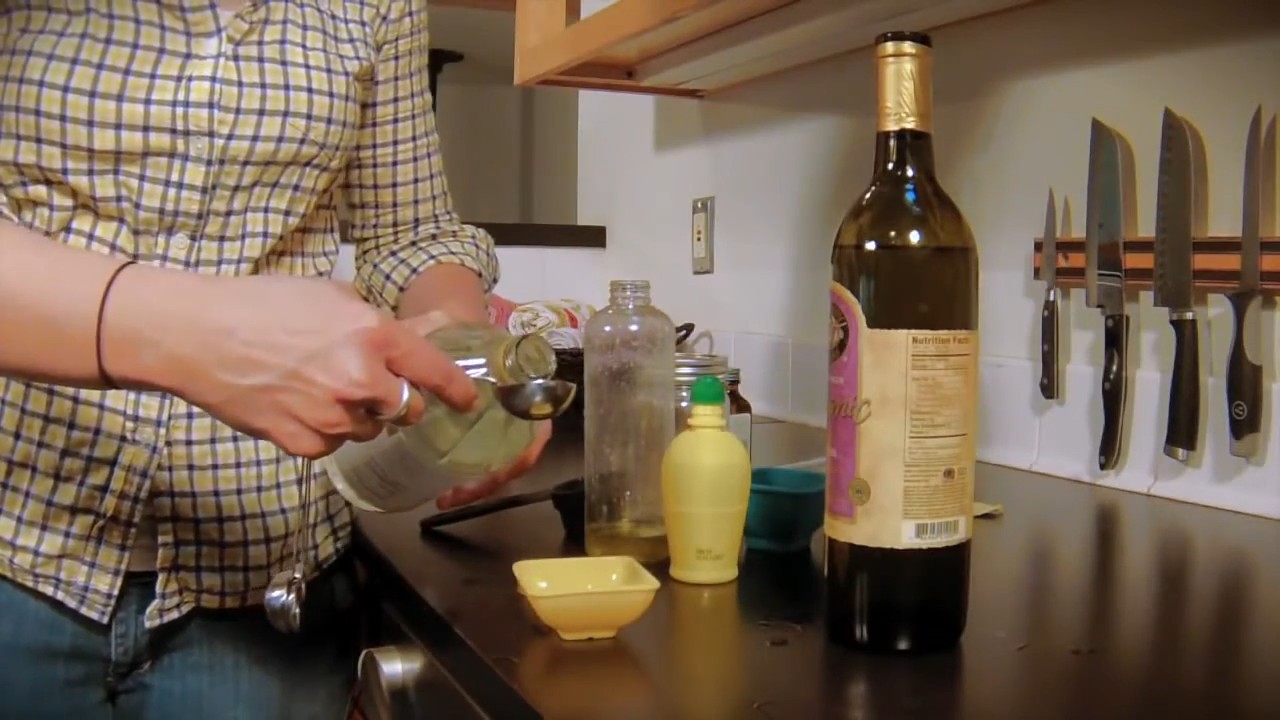
1. Mix Your Cleaning Solution: In your spray bottle, combine 1 cup of distilled water with 1-2 drops of mild dish soap. Gently swirl to mix. You want a very diluted solution – too much soap can leave a residue.
2. Dampen Your Microfiber Cloth: Lightly spray your cleaning solution onto a microfiber cloth. You want the cloth to be damp, not soaking wet. Excess water can damage leather.
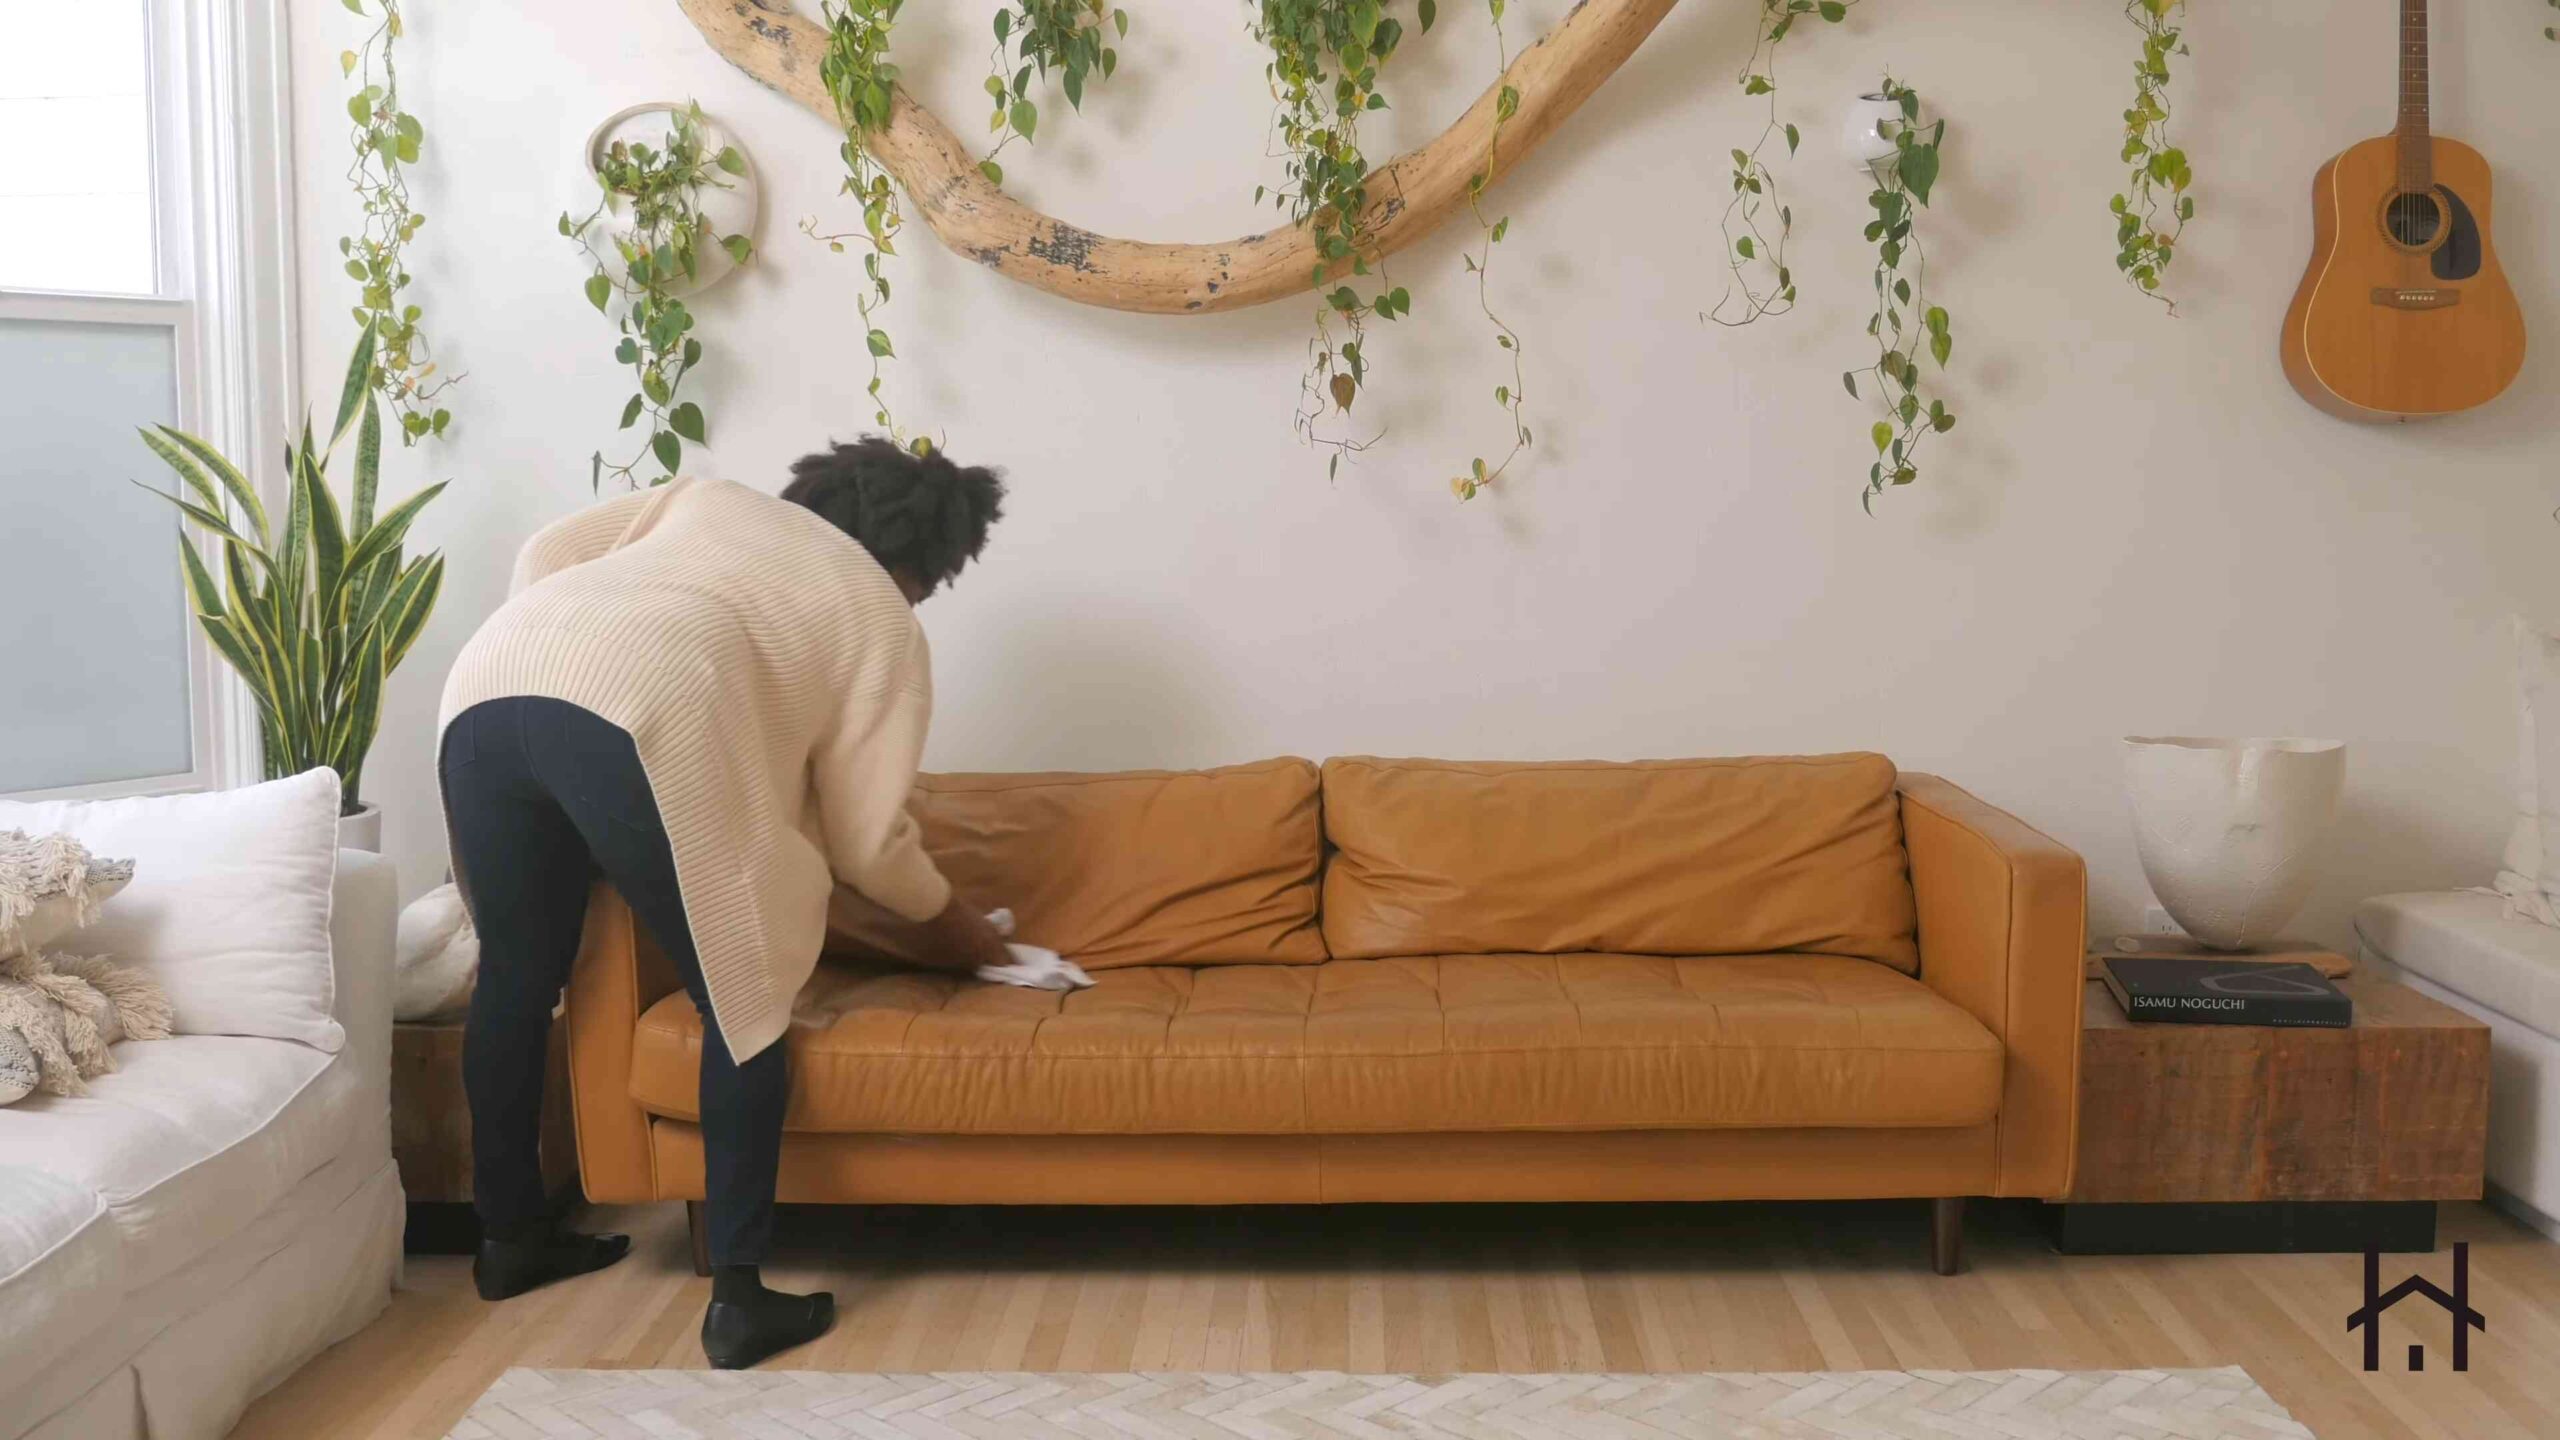
3. Wipe the Leather: Gently wipe the leather in small, circular motions. Work in sections, overlapping each area slightly. Avoid scrubbing too hard, as this can damage the finish.
4. Rinse Your Cloth: After wiping a section, rinse your microfiber cloth in the bucket of clean water. Wring it out thoroughly to remove excess water.
5. Wipe with a Clean, Damp Cloth: Use a clean, damp cloth (with just water) to wipe away any remaining soap residue. Again, make sure the cloth is only damp, not soaking wet.
6. Dry the Leather: Use a clean, dry microfiber cloth to gently pat the leather dry. Avoid using a hairdryer or placing the couch in direct sunlight, as this can cause the leather to crack.
7. Tackle Stubborn Stains (Optional): For stubborn stains, you can try a solution of equal parts white vinegar and distilled water. Apply it to the stain with a cotton swab, let it sit for a few minutes, and then gently wipe it away with a clean, damp cloth. Always test this solution in an inconspicuous area first!
Phase 3: Conditioning and Protection
This is the most important step to maintain the health and longevity of your leather couch. Conditioning replenishes the natural oils that are lost during cleaning and prevents the leather from drying out and cracking.
1. Choose Your Leather Conditioner: Select a high-quality leather conditioner that is specifically designed for your type of leather. I personally prefer beeswax-based conditioners, as they provide excellent protection and nourishment.
2. Apply the Conditioner: Follow the manufacturer’s instructions for applying the conditioner. Generally, you’ll want to apply a small amount to a clean microfiber cloth and gently massage it into the leather in circular motions.
3. Let it Absorb: Allow the conditioner to absorb into the leather for at least 30 minutes, or preferably overnight. This will give the leather time to fully absorb the oils and nutrients.
4. Buff the Leather: After the conditioner has absorbed, use a clean, dry microfiber cloth to buff the leather. This will remove any excess conditioner and leave the leather with a beautiful shine.
Extra Tips and Tricks for Leather Couch Care
* Regular Cleaning is Key: Vacuum your leather couch weekly to prevent dust and dirt from building up.
* Protect from Sunlight: Avoid placing your leather couch in direct sunlight, as this can cause the leather to fade and crack.
* Avoid Harsh Chemicals: Never use harsh chemicals, abrasive cleaners, or bleach on your leather couch.
* Blot Spills Immediately: If you spill something on your leather couch, blot it up immediately with a clean, dry cloth. Avoid rubbing, as this can spread the stain.
* Use Leather Protector: Consider using a leather protector spray to help repel stains and protect the leather from wear and tear.
* Professional Cleaning: For deep cleaning or stubborn stains, consider hiring a professional leather cleaner. They have the expertise and equipment to safely and effectively clean your leather couch.
* Condition Regularly: Condition your leather couch every 3-6 months, or more often if it’s exposed to dry conditions.
* Pillow Placement: Rotate your cushions regularly to ensure even wear.
* Pet Precautions: Keep pets off the furniture if possible, or use a protective cover. Pet claws can scratch the leather.
* Ink Stains: For ink stains, try using rubbing alcohol on a cotton swab. Blot the stain gently and avoid rubbing. Always test in an inconspicuous area first!
* Grease Stains: For grease stains, sprinkle cornstarch or baking soda on the stain and let it sit for several hours. Then, vacuum it up.
* Avoid Sitting with Sharp Objects: Be mindful of sharp objects like keys or pens that could scratch the leather.
* Read the Manufacturer’s Instructions: Always refer to the manufacturer’s instructions for specific cleaning and care recommendations for your leather couch.
* Don’t Over-Condition: Too much conditioner can leave a sticky residue. Use it sparingly.
* Be Patient: Cleaning leather takes time and patience. Don’t rush the process.
* Enjoy Your Clean Couch! Once you’re finished, sit back, relax, and enjoy your beautifully clean and revitalized leather couch!
I hope this guide helps you keep your leather couch looking its best for years to come! Remember to always test in an inconspicuous area first, and if you’re ever unsure, consult a professional. Happy cleaning!
Conclusion
So, there you have it! This simple, yet incredibly effective, Leather Couch Cleaning DIY method is a game-changer for anyone looking to revitalize their beloved leather furniture without breaking the bank or resorting to harsh chemicals. We’ve walked you through the process step-by-step, highlighting the ease and accessibility of using common household ingredients to achieve professional-level results.
Why is this a must-try? Because it’s gentle on your leather, tough on grime, and incredibly budget-friendly. Think about it: no more expensive leather cleaning products filled with questionable ingredients. No more worrying about damaging your precious couch with harsh chemicals. This DIY approach allows you to take control of the cleaning process, ensuring the longevity and beauty of your leather furniture for years to come.
But the beauty of this method lies not only in its effectiveness but also in its adaptability. Feel free to experiment with variations to suit your specific needs and preferences. For instance, if you’re dealing with particularly stubborn stains, consider adding a small amount of baking soda to your cleaning solution for extra scrubbing power. Always test in an inconspicuous area first, of course!
Another variation you might consider is incorporating essential oils into your cleaning routine. A few drops of lemon or tea tree oil can add a refreshing scent and provide additional antibacterial benefits. Just be sure to use high-quality, pure essential oils and dilute them properly to avoid any potential discoloration or damage to your leather. Lavender oil is also a great option for a calming and relaxing aroma.
For those with lighter-colored leather, you might want to use distilled water instead of tap water to prevent any mineral deposits from affecting the color. And if you’re concerned about moisturizing the leather after cleaning, consider applying a thin layer of leather conditioner after the cleaning process is complete. This will help to keep your leather supple and prevent it from drying out and cracking.
Remember, the key to success with any DIY project is patience and attention to detail. Take your time, follow the instructions carefully, and don’t be afraid to experiment until you find the perfect cleaning solution for your leather couch.
We are confident that this Leather Couch Cleaning DIY will become your go-to method for keeping your leather furniture looking its best. It’s a simple, effective, and affordable way to maintain the beauty and longevity of your investment.
Now, we want to hear from you! We encourage you to try this DIY method and share your experiences with us. Did it work wonders on your couch? Did you discover any helpful variations? Let us know in the comments below! Your feedback will not only help us improve this guide but also inspire others to embrace the power of DIY cleaning. So, go ahead, give it a try, and let us know what you think! We can’t wait to hear your success stories!
Frequently Asked Questions (FAQ)
What type of leather is this DIY cleaning method suitable for?
This DIY cleaning method is generally safe for most types of finished leather, including aniline and semi-aniline leather. However, it’s crucial to avoid using it on nubuck or suede leather, as these types are much more delicate and require specialized cleaning products. Always test the cleaning solution on a hidden area of your couch before applying it to the entire surface to ensure it doesn’t cause any discoloration or damage. If you are unsure about the type of leather you have, consult the manufacturer’s instructions or a professional leather cleaner.
How often should I clean my leather couch using this DIY method?
The frequency of cleaning depends on how often you use your couch and how much dirt and grime it accumulates. As a general rule, you should aim to clean your leather couch every 1-3 months. However, if you have pets or children, or if you use your couch frequently, you may need to clean it more often. Regular dusting and vacuuming can also help to prevent dirt and grime from building up, reducing the need for frequent deep cleaning.
What if I have a stubborn stain on my leather couch?
For stubborn stains, you can try making a paste of baking soda and water and gently applying it to the stain. Let it sit for a few minutes, then wipe it away with a damp cloth. You can also try using a specialized leather stain remover, but be sure to test it on a hidden area first. For particularly difficult stains, it’s always best to consult a professional leather cleaner. Avoid using harsh chemicals or abrasive cleaners, as these can damage the leather.
Can I use this DIY method on other leather items, such as shoes or bags?
Yes, this DIY method can be used on other finished leather items, such as shoes, bags, and jackets. However, it’s important to adjust the amount of cleaning solution accordingly. For smaller items, you’ll only need a small amount of solution. Always test the solution on a hidden area first to ensure it doesn’t cause any discoloration or damage.
What type of cloth should I use for cleaning?
It’s best to use a soft, lint-free microfiber cloth for cleaning your leather couch. Microfiber cloths are gentle on leather and won’t leave behind any scratches or residue. Avoid using abrasive cloths or sponges, as these can damage the leather. You should also use a separate clean, dry microfiber cloth for buffing the leather after cleaning.
How do I prevent my leather couch from drying out after cleaning?
After cleaning your leather couch, it’s important to moisturize it to prevent it from drying out and cracking. You can use a specialized leather conditioner to moisturize the leather. Apply a thin layer of conditioner to the leather and let it sit for a few minutes, then buff it with a clean, dry microfiber cloth. You should also avoid placing your leather couch in direct sunlight or near a heat source, as this can cause it to dry out and fade.
What are some common mistakes to avoid when cleaning a leather couch?
Some common mistakes to avoid when cleaning a leather couch include using too much water, using harsh chemicals or abrasive cleaners, and not testing the cleaning solution on a hidden area first. It’s also important to avoid rubbing the leather too hard, as this can damage the surface. Always follow the instructions carefully and take your time to ensure you’re cleaning your leather couch safely and effectively.
How do I store my leather couch to keep it in good condition?
To keep your leather couch in good condition, it’s important to store it properly. Avoid placing it in direct sunlight or near a heat source, as this can cause it to fade and dry out. You should also cover it with a breathable cloth when it’s not in use to protect it from dust and dirt. Regularly vacuuming and dusting your leather couch can also help to keep it in good condition.


Leave a Comment