

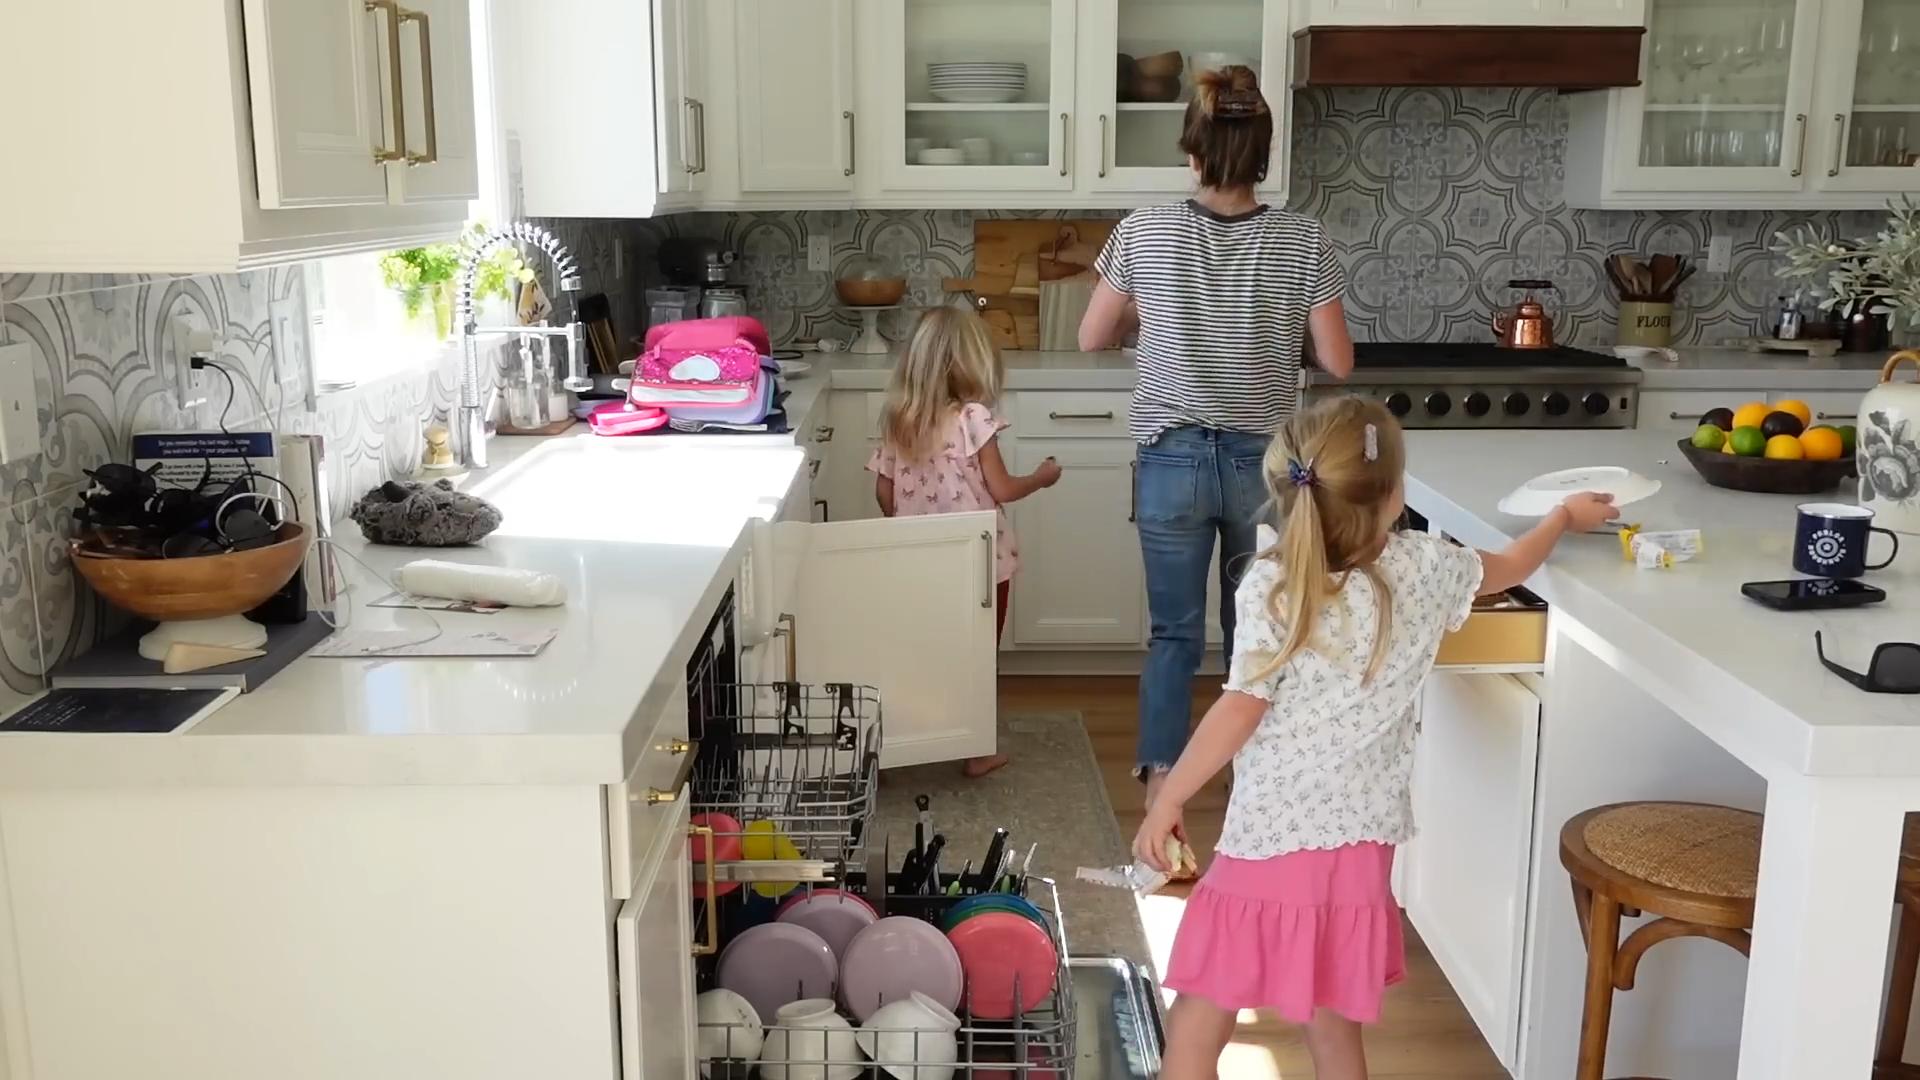
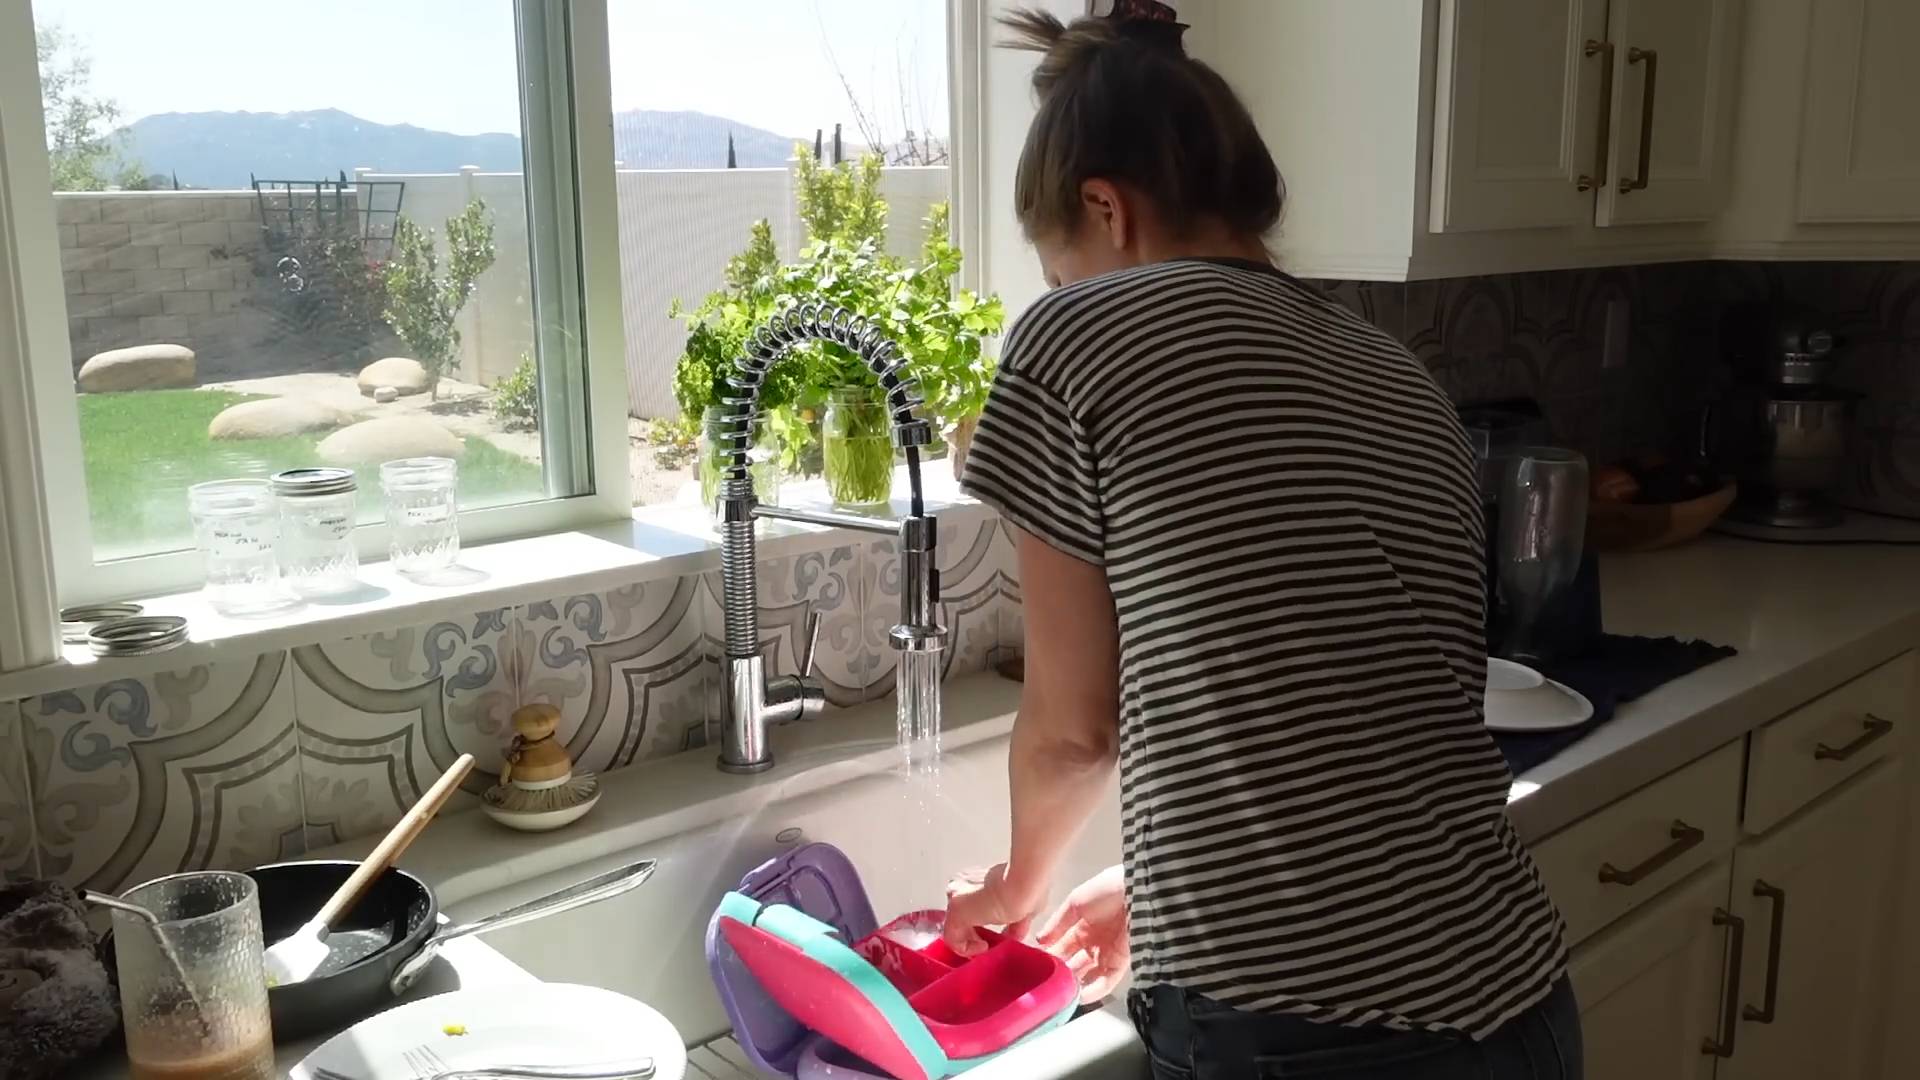
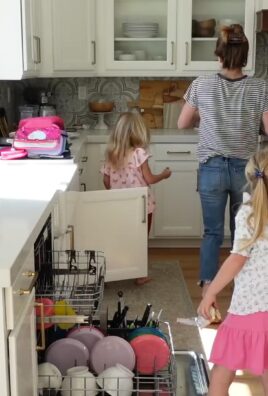
Mom hacks clean house kids – sounds like a dream, right? I know, I know, keeping a tidy home with little ones running around can feel like an impossible mission. You spend hours cleaning, and then, BAM! A tornado of toys and crumbs hits again. But what if I told you there are simple, sanity-saving tricks that can actually make a difference?
For generations, moms have been sharing tips and tricks to manage their households more efficiently. Think of it as an oral tradition, passed down from grandmothers to daughters, each generation adding their own spin. These aren’t just about cleaning; they’re about reclaiming your time and energy, allowing you to enjoy those precious moments with your kids instead of constantly battling the mess.
That’s why I’ve compiled this ultimate guide to mom hacks clean house kids edition! We’re diving into easy DIY solutions, clever organization strategies, and time-saving techniques that will transform your home from chaotic to calm. Because let’s face it, a clean and organized home isn’t just about aesthetics; it’s about creating a more peaceful and functional environment for the whole family. So, ditch the overwhelm and get ready to discover the secrets to a cleaner, happier home, without sacrificing your sanity!
DIY Mom Hack: Transforming Old Baby Wipes Containers into Organized Bliss
Hey fellow moms! Let’s be honest, motherhood is a beautiful chaos. Between the endless laundry, the sticky fingers, and the constant search for that *one* toy, staying organized can feel like an impossible dream. But fear not! I’m here to share a super simple, budget-friendly DIY hack that will help you reclaim your sanity, one repurposed baby wipes container at a time. We’re turning those empty containers into versatile storage solutions that will declutter your home and make your life a little bit easier. Trust me, this is a game-changer!
What You’ll Need
Before we dive in, let’s gather our supplies. The beauty of this hack is that you probably already have most of these things lying around the house.
* **Empty Baby Wipes Containers:** The star of the show! Save those containers instead of tossing them. Any size or brand will work, but the larger ones are great for bigger items.
* **Scissors or Utility Knife:** For cutting fabric or paper. Be careful!
* **Hot Glue Gun and Glue Sticks:** My go-to for quick and easy bonding.
* **Decorative Paper, Fabric Scraps, or Paint:** Get creative! This is where you can personalize your containers to match your decor.
* **Mod Podge (Optional):** For sealing and protecting your decorative paper or fabric.
* **Ruler or Measuring Tape:** For precise cuts.
* **Pencil or Marker:** For marking measurements.
* **Sandpaper (Optional):** If your containers have any rough edges or sticky residue.
* **Cleaning Supplies:** To thoroughly clean the containers before decorating.
* **Labels (Optional):** To clearly identify the contents of each container.
Cleaning and Preparing the Containers
This is a crucial first step. We want to start with a clean slate, free of any lingering baby wipe residue or sticky labels.
1. **Empty the Container:** Make sure there are no wipes left inside.
2. **Remove the Label:** Some labels peel off easily, while others require a little more effort. If you’re struggling, try using a hairdryer to warm up the adhesive. This usually makes it much easier to peel off. You can also use Goo Gone or a similar adhesive remover.
3. **Wash the Container:** Wash the container thoroughly with warm soapy water. Rinse well and let it dry completely.
4. **Remove Sticky Residue (If Necessary):** If there’s any sticky residue left behind, use Goo Gone, rubbing alcohol, or even a paste of baking soda and water to scrub it away.
5. **Sand Rough Edges (Optional):** If the container has any rough edges, lightly sand them down with fine-grit sandpaper to prevent scratches or snags.
Decorating Your Containers: Three Fun Options
Now for the fun part! This is where you can let your creativity shine and personalize your containers to match your style and needs. I’m going to walk you through three different decorating options: using decorative paper, fabric scraps, and paint.
Option 1: Decorative Paper Decoupage
This is a classic and easy way to add a pop of color and pattern to your containers.
1. **Measure the Container:** Use a ruler or measuring tape to measure the height and circumference of the container.
2. **Cut the Paper:** Cut a piece of decorative paper to fit the measurements you just took. Add an extra inch or two to each dimension for overlap.
3. **Apply Mod Podge:** Apply a thin, even layer of Mod Podge to the container.
4. **Attach the Paper:** Carefully position the paper onto the container, smoothing out any wrinkles or bubbles as you go.
5. **Overlap and Secure:** Overlap the edges of the paper and secure them with more Mod Podge.
6. **Seal with Mod Podge:** Once the Mod Podge is dry, apply another layer of Mod Podge over the entire surface of the paper to seal and protect it. Let it dry completely.
7. **Trim Excess Paper:** Use scissors or a utility knife to trim any excess paper around the edges of the container.
Option 2: Fabric Scrap Chic
This is a great way to use up those fabric scraps you’ve been hoarding!
1. **Choose Your Fabric:** Select fabric scraps that complement each other and your decor.
2. **Cut the Fabric:** Cut the fabric into strips or squares, depending on the look you’re going for.
3. **Apply Hot Glue:** Apply a small amount of hot glue to the container.
4. **Attach the Fabric:** Carefully attach the fabric to the container, overlapping the edges slightly.
5. **Continue Gluing:** Continue gluing and attaching fabric until the entire container is covered.
6. **Trim Excess Fabric:** Use scissors to trim any excess fabric around the edges of the container.
7. **Secure Loose Ends:** Use hot glue to secure any loose ends or frayed edges.
Option 3: Painted Perfection
This is a simple and versatile option that allows you to customize the color and finish of your containers.
1. **Choose Your Paint:** Select a paint that is suitable for plastic, such as acrylic paint or spray paint.
2. **Prime the Container (Optional):** If you’re using a dark color or want to ensure better adhesion, prime the container with a plastic primer.
3. **Paint the Container:** Apply a thin, even coat of paint to the container. Let it dry completely.
4. **Apply a Second Coat (If Necessary):** Apply a second coat of paint if needed for full coverage. Let it dry completely.
5. **Seal the Paint (Optional):** Seal the paint with a clear sealant to protect it from scratches and wear.
Adding Labels (Optional but Recommended)
Labels are your best friend when it comes to staying organized. They help you quickly identify the contents of each container, saving you time and frustration.
1. **Choose Your Labeling Method:** You can use a label maker, write directly on the container with a permanent marker, or create custom labels on your computer and print them out.
2. **Label the Containers:** Clearly label each container with its contents. Be specific!
3. **Attach the Labels:** Attach the labels to the containers. If you’re using printed labels, you can use double-sided tape or glue to secure them.
Putting Your Repurposed Containers to Work
Now that your containers are clean, decorated, and labeled, it’s time to put them to work! Here are just a few ideas for how you can use them to organize your home:
* **Bathroom Organization:** Store cotton balls, cotton swabs, makeup brushes, hair accessories, and other bathroom essentials.
* **Craft Room Storage:** Organize paintbrushes, markers, beads, buttons, and other craft supplies.
* **Office Organization:** Store pens, pencils, paper clips, sticky notes, and other office supplies.
* **Toy Storage:** Organize small toys, building blocks, crayons, and other kids’ items.
* **Pantry Organization:** Store snacks, spices, tea bags, and other pantry staples.
* **Under-Sink Organization:** Store cleaning supplies, sponges, and other under-sink essentials.
* **Car Organization:** Store wipes, tissues, snacks, and other car essentials.
Tips and Tricks for Success
* **Don’t be afraid to experiment!** Try different decorating techniques and find what works best for you.
* **Use different sizes of containers** to accommodate different items.
* **Stackable containers** are great for maximizing space.
* **Get the kids involved!** Let them help decorate their own containers.
* **Regularly declutter your containers** to keep them organized and prevent them from becoming cluttered.
* Remember, the goal is to create a system that works for you and your family.
So there you have it! A simple, budget-friendly, and incredibly versatile DIY mom hack that will help you transform those empty baby wipes containers into organized bliss. Happy organizing!
Conclusion
So, there you have it! This simple yet incredibly effective mom hack for a clean house with kids is more than just a cleaning tip; it’s a game-changer for busy parents. It’s about reclaiming your sanity, creating a more peaceful home environment, and teaching your children valuable life skills, all while achieving a level of cleanliness you might have thought impossible with little ones running around.
Why is this a must-try? Because it’s realistic. It doesn’t demand perfection, it doesn’t require hours of dedicated cleaning time, and it works *with* your family’s lifestyle, not against it. It’s about incorporating small, manageable habits into your daily routine that, over time, make a huge difference. Think of it as a marathon, not a sprint. You’re not aiming for a spotless house overnight, but rather a consistently cleaner and more organized space that contributes to your overall well-being.
But don’t just take our word for it! The beauty of this mom hack is its adaptability. Feel free to experiment and find what works best for your family.
* **Themed Cleaning Days:** Instead of tackling everything at once, dedicate specific days to certain tasks. For example, “Toy Tidy Tuesday” or “Bathroom Blitz Thursday.” This can make the workload feel less overwhelming.
* **Gamification:** Turn cleaning into a game! Use a timer and challenge your kids to see how much they can clean in a set amount of time. Offer small rewards for participation and effort.
* **Personalized Chore Charts:** Create chore charts that are tailored to each child’s age and abilities. This ensures that everyone is contributing in a meaningful way.
* Music Makes it Better: Put on some upbeat music while you clean. It can make the task more enjoyable and energizing for everyone involved.
* Involve the Kids in the Planning: Sit down with your children and discuss the cleaning schedule and tasks. This gives them a sense of ownership and responsibility.
Ultimately, the goal is to create a sustainable cleaning routine that fits seamlessly into your family’s life. This mom hack provides a solid foundation, but it’s up to you to customize it to meet your specific needs and preferences.
We wholeheartedly encourage you to give this **mom hack** a try. Start small, be patient, and remember that progress, not perfection, is the key. And most importantly, share your experiences with us! We’d love to hear how this hack has worked for you, what variations you’ve tried, and any tips or tricks you’ve discovered along the way. Let’s build a community of supportive parents who are all striving to create cleaner, happier homes. Share your stories in the comments below – we can’t wait to hear from you!
Frequently Asked Questions (FAQ)
Q: My kids are really resistant to helping with chores. How can I motivate them?
A: This is a common challenge! Start by making chores age-appropriate and manageable. Don’t expect a toddler to clean the entire bathroom, but they can certainly help wipe down surfaces or put away toys. Focus on making it fun – use music, games, or even a reward system. Positive reinforcement is key. Instead of nagging, praise their efforts and highlight the positive impact their help has on the family. Consider creating a chore chart with visual aids for younger children. You can also involve them in the planning process, asking for their input on which chores they’d prefer to do. Finally, lead by example. If they see you actively participating in household tasks, they’re more likely to follow suit. Remember, consistency is crucial.
Q: I’m already overwhelmed with work and other responsibilities. How can I possibly fit more cleaning into my schedule?
A: The beauty of this mom hack is that it’s designed to be integrated into your existing routine, not to add extra stress. Start small. Focus on incorporating just one or two of the suggested habits into your day. For example, spend 5 minutes tidying up before leaving for work or school, or have everyone pitch in for a quick 15-minute clean-up after dinner. The key is to break down the task into manageable chunks. Also, consider delegating. If possible, enlist the help of other family members or even hire a cleaning service for occasional deep cleans. Remember, you don’t have to do it all yourself. Prioritize tasks and focus on the areas that make the biggest impact on your home’s cleanliness and your overall well-being.
Q: What if my kids make more mess than they clean?
A: This is perfectly normal, especially with younger children! Don’t get discouraged. Focus on teaching them the proper way to clean and encourage them to take responsibility for their own messes. Start with simple tasks and gradually increase the complexity as they get older. Be patient and provide guidance. Remember, the goal is not perfection, but rather to instill good habits and a sense of responsibility. Celebrate their efforts, even if the results aren’t perfect. And don’t be afraid to step in and correct any mistakes. Cleaning is a skill that takes time and practice to develop.
Q: What are some specific age-appropriate chores for kids?
A: Here’s a general guideline:
* **Toddlers (2-3 years old):** Putting toys away, wiping up spills, helping to dust low surfaces.
* **Preschoolers (4-5 years old):** Making their bed, setting the table, sorting laundry, watering plants.
* **School-aged children (6-12 years old):** Sweeping or vacuuming, emptying trash cans, cleaning their room, helping with meal preparation.
* **Teenagers (13+ years old):** Doing laundry, washing dishes, cleaning bathrooms, mowing the lawn.
Remember to adjust the chores based on your child’s individual abilities and maturity level.
Q: How do I deal with clutter? It seems like we’re constantly drowning in stuff.
A: Clutter can be a major obstacle to a clean house. Start by decluttering one area at a time. Don’t try to tackle everything at once. Go through your belongings and get rid of anything you don’t need, use, or love. Donate, sell, or discard unwanted items. Implement a “one in, one out” rule – for every new item you bring into the house, get rid of something similar. Invest in storage solutions to keep your belongings organized and out of sight. Regularly declutter to prevent clutter from accumulating. And involve your kids in the process, teaching them the importance of decluttering and organizing their own belongings.
Q: What are some eco-friendly cleaning product alternatives?
A: There are many natural and eco-friendly cleaning product alternatives that are just as effective as conventional cleaners. Vinegar, baking soda, lemon juice, and essential oils are all great options. You can use vinegar to clean windows, mirrors, and countertops. Baking soda is a great deodorizer and can be used to scrub surfaces. Lemon juice is a natural disinfectant and can be used to remove stains. Essential oils can add a pleasant scent to your cleaning solutions. There are also many commercially available eco-friendly cleaning products that are made with plant-based ingredients and are free of harsh chemicals.
Q: How can I maintain a clean house with pets?
A: Pets can definitely add to the cleaning challenge! Regular grooming is essential to minimize shedding. Vacuum frequently, especially in areas where your pets spend a lot of time. Use a lint roller to remove pet hair from furniture and clothing. Invest in a good quality air purifier to remove pet dander from the air. Clean up accidents immediately to prevent stains and odors. And consider using pet-friendly cleaning products that are safe for your furry friends.
Q: This sounds great, but what if I just don’t have the energy?
A: We understand! Parenting is exhausting. On those days, focus on the bare minimum. Prioritize tasks that will have the biggest impact on your well-being, such as clearing clutter from the kitchen counter or making the beds. Don’t be afraid to ask for help from your partner, family members, or friends. And remember, it’s okay to take a break and recharge. A clean house is important, but your mental and physical health are even more so. Give yourself permission to relax and enjoy time with your family. The cleaning can wait.

Leave a Comment