

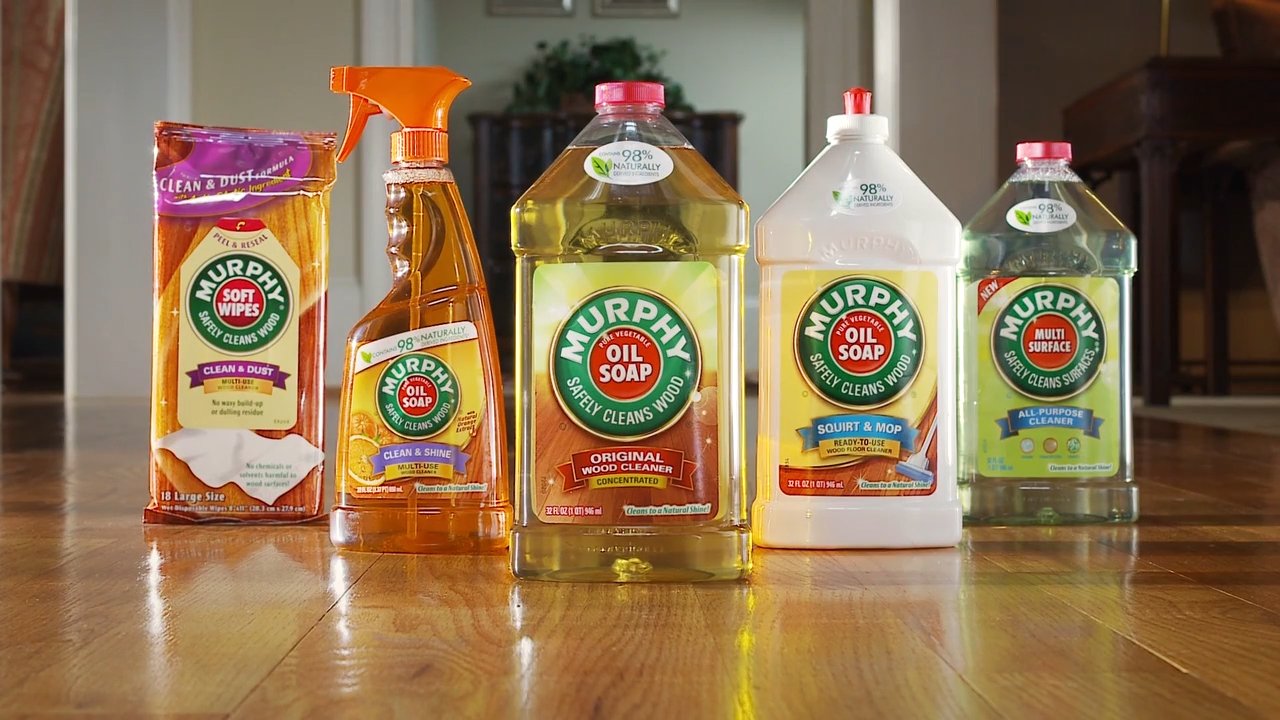
Murphy’s Oil Soap Cleaning Tips: Unlock the secrets to a sparkling home with this all-natural cleaner! Have you ever wondered how our grandmothers kept their homes so impeccably clean, with a warm, inviting glow? Chances are, Murphy’s Oil Soap was their secret weapon. This time-tested cleaner, with its rich history dating back to the late 19th century, isn’t just a cleaning product; it’s a tradition.
For generations, Murphy’s Oil Soap has been cherished for its gentle yet effective cleaning power. Unlike harsh chemicals that can damage your furniture and irritate your skin, Murphy’s Oil Soap is made with natural ingredients, making it a safe and eco-friendly choice for your home. But did you know its uses extend far beyond just wood floors?
In this article, I’m going to share some amazing Murphy’s Oil Soap Cleaning Tips and DIY hacks that will revolutionize your cleaning routine. From reviving antique furniture to tackling stubborn stains, you’ll discover how this versatile cleaner can simplify your life and leave your home smelling fresh and feeling loved. So, grab your bottle of Murphy’s Oil Soap, and let’s get started on creating a cleaner, healthier, and happier home, one DIY trick at a time!
Unlocking the Cleaning Power of Murphy’s Oil Soap: A DIY Guide
Hey there, fellow cleaning enthusiasts! I’m excited to share some of my favorite DIY cleaning hacks using the amazing Murphy’s Oil Soap. This stuff is a game-changer, not just for wood, but for so much more! I’ve been using it for years, and I’m constantly discovering new ways to make my home sparkle with its gentle yet effective formula. Let’s dive in!
Understanding Murphy’s Oil Soap
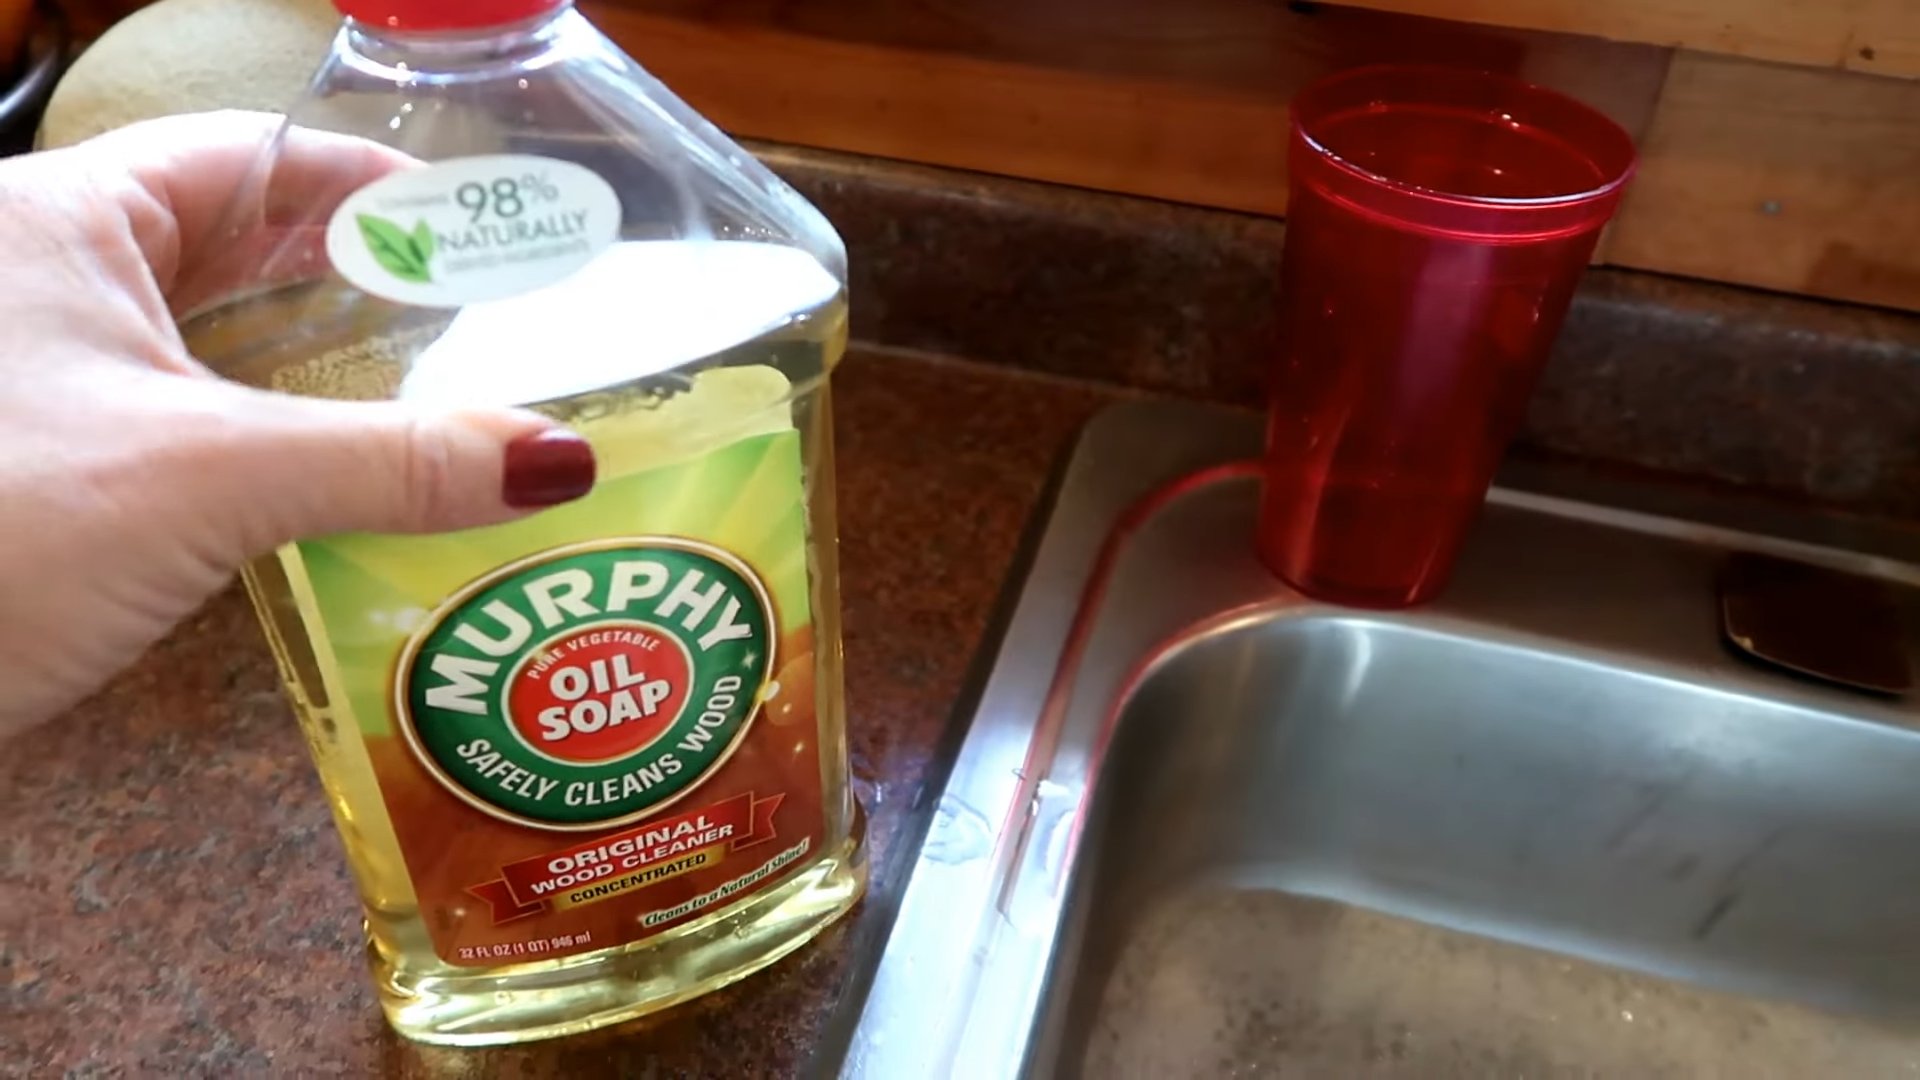
Before we get started, let’s quickly understand what makes Murphy’s Oil Soap so special. It’s a concentrated cleaner designed primarily for wood, but its gentle, pH-balanced formula makes it surprisingly versatile. It’s made with natural ingredients, including vegetable oil, and it’s known for its ability to clean without stripping away finishes or leaving behind a dull residue.
General Guidelines for Using Murphy’s Oil Soap
Before we jump into specific projects, here are some general guidelines to keep in mind:
* Dilution is Key: Murphy’s Oil Soap is concentrated, so you’ll almost always need to dilute it with water. Follow the instructions on the bottle for general cleaning. I usually start with a weaker solution and increase the concentration if needed.
* Test in an Inconspicuous Area: This is crucial, especially on delicate surfaces. Before cleaning an entire piece of furniture or a large area, test the solution in a hidden spot to ensure it doesn’t damage the finish or cause discoloration.
* Use Soft Cloths: Avoid abrasive scrubbers or harsh chemicals, as they can scratch or damage surfaces. Microfiber cloths are my go-to for most cleaning tasks.
* Rinse When Necessary: For some surfaces, rinsing with clean water after cleaning with Murphy’s Oil Soap is recommended to remove any residue.
* Dry Thoroughly: After cleaning, always dry the surface with a clean, dry cloth to prevent water spots or damage.
DIY Cleaning Projects with Murphy’s Oil Soap
Now for the fun part! Here are some of my favorite DIY cleaning projects using Murphy’s Oil Soap:
1. Reviving Wood Furniture
This is where Murphy’s Oil Soap truly shines! It’s fantastic for cleaning and restoring the natural beauty of wood furniture.
What You’ll Need:
* Murphy’s Oil Soap
* Warm water
* Two clean, soft cloths (microfiber is best)
* A bucket or bowl
Step-by-Step Instructions:
1. Prepare the Solution: Mix Murphy’s Oil Soap with warm water according to the instructions on the bottle. I usually use about ¼ cup of Murphy’s Oil Soap per gallon of water for general cleaning.
2. Dampen the Cloth: Dip one of the cloths into the solution and wring it out thoroughly. You want the cloth to be damp, not soaking wet.
3. Clean the Furniture: Gently wipe down the wood furniture with the damp cloth, following the grain of the wood. Pay attention to areas with dirt, grime, or buildup.
4. Wipe with a Clean, Damp Cloth: Use the second clean cloth, dampened with plain water, to wipe away any soap residue.
5. Dry Thoroughly: Dry the furniture with a clean, dry cloth.
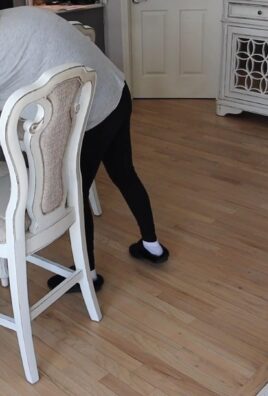
2. Cleaning Wood Floors
Murphy’s Oil Soap is a great option for cleaning wood floors, but it’s important to use the right technique to avoid damaging the finish.
What You’ll Need:
* Murphy’s Oil Soap
* Warm water
* A mop (microfiber or sponge mop)
* Two buckets (one for the cleaning solution, one for rinsing)
* A clean, dry towel
Step-by-Step Instructions:
1. Prepare the Solution: Mix Murphy’s Oil Soap with warm water according to the instructions on the bottle. For wood floors, I recommend using a slightly weaker solution than you would for furniture.
2. Prepare the Buckets: Fill one bucket with the Murphy’s Oil Soap solution and the other with clean water.
3. Mop the Floor: Dip the mop into the cleaning solution, wring it out thoroughly, and mop the floor in sections. Avoid soaking the floor with water.
4. Rinse the Mop: Rinse the mop in the bucket of clean water after each section to remove dirt and grime.
5. Wipe with a Clean, Dry Towel: After mopping, use a clean, dry towel to wipe up any excess water. This will help prevent water spots and ensure the floor dries quickly.
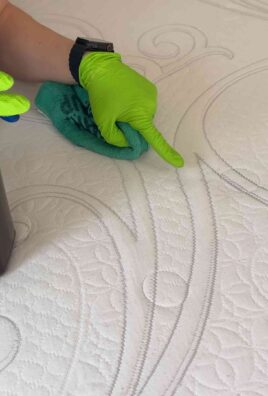
3. Cleaning Leather Furniture
Yes, you can even use Murphy’s Oil Soap on leather! It’s a gentle way to clean and condition leather furniture, but it’s crucial to test it in an inconspicuous area first.
What You’ll Need:
* Murphy’s Oil Soap
* Warm water
* Two clean, soft cloths (microfiber is best)
* Leather conditioner (optional)
Step-by-Step Instructions:
1. Prepare the Solution: Mix a very small amount of Murphy’s Oil Soap with warm water. I use about a teaspoon of Murphy’s Oil Soap per cup of water.
2. Test in an Inconspicuous Area: Apply the solution to a hidden area of the leather furniture and let it dry completely. Check for any discoloration or damage.
3. Dampen the Cloth: If the test is successful, dampen one of the cloths with the solution and wring it out thoroughly.
4. Clean the Furniture: Gently wipe down the leather furniture with the damp cloth.
5. Wipe with a Clean, Damp Cloth: Use the second clean cloth, dampened with plain water, to wipe away any soap residue.
6. Dry Thoroughly: Dry the furniture with a clean, dry cloth.
7. Apply Leather Conditioner (Optional): After cleaning, you can apply a leather conditioner to help keep the leather soft and supple.
4. Cleaning Kitchen Cabinets
Murphy’s Oil Soap is excellent for cutting through grease and grime on kitchen cabinets, leaving them clean and shiny.
What You’ll Need:
* Murphy’s Oil Soap
* Warm water
* Two clean, soft cloths (microfiber is best)
* A bucket or bowl
Step-by-Step Instructions:
1. Prepare the Solution: Mix Murphy’s Oil Soap with warm water according to the instructions on the bottle. I usually use about ¼ cup of Murphy’s Oil Soap per gallon of water.
2. Dampen the Cloth: Dip one of the cloths into the solution and wring it out thoroughly.
3. Clean the Cabinets: Gently wipe down the kitchen cabinets with the damp cloth, paying attention to areas with grease and grime.
4. Wipe with a Clean, Damp Cloth: Use the second clean cloth, dampened with plain water, to wipe away any soap residue.
5. Dry Thoroughly: Dry the cabinets with a clean, dry cloth.
5. Cleaning Painted Surfaces
Murphy’s Oil Soap can also be used to clean painted surfaces, such as walls and trim, without damaging the paint.
What You’ll Need:
* Murphy’s Oil Soap
* Warm water
* A clean, soft cloth (microfiber is best)
* A bucket or bowl
Step-by-Step Instructions:
1. Prepare the Solution: Mix Murphy’s Oil Soap with warm water according to the instructions on the bottle. I recommend using a weaker solution for painted surfaces.
2. Dampen the Cloth: Dip the cloth into the solution and wring it out thoroughly.
3. Clean the Surface: Gently wipe down the painted surface with the damp cloth.
4. Wipe with a Clean, Damp Cloth: Use a clean cloth, dampened with plain water, to wipe away any soap residue.
5. Dry Thoroughly: Dry the surface with a clean, dry cloth.
6. Cleaning Vinyl Floors
Vinyl floors can be easily cleaned with Murphy’s Oil Soap, leaving them looking shiny and new.
What You’ll Need:
* Murphy’s Oil Soap
* Warm water
* A mop (microfiber or sponge mop)
* Two buckets (one for the cleaning solution, one for rinsing)
* A clean, dry towel
Step-by-Step Instructions:
1. Prepare the Solution: Mix Murphy’s Oil Soap with warm water according to the instructions on the bottle.
2. Prepare the Buckets: Fill one bucket with the Murphy’s Oil Soap solution and the other with clean water.
3. Mop the Floor: Dip the mop into the cleaning solution, wring it out thoroughly, and mop the floor in sections.
4. R
Conclusion
So, there you have it! Unleashing the power of Murphy’s Oil Soap goes far beyond just cleaning wood floors. This versatile cleaner, with its gentle yet effective formula, truly earns its place as a household staple. We’ve explored how to use it to revitalize leather goods, banish grime from painted surfaces, and even tackle stubborn stains on delicate fabrics. The beauty of this DIY approach lies not only in its cost-effectiveness but also in its eco-friendliness, reducing your reliance on harsh chemicals and contributing to a healthier home environment.
But why is this *Murphy’s Oil Soap cleaning tips* approach a must-try? Simply put, it’s about achieving professional-level cleaning results without the professional price tag or the environmental guilt. It’s about taking control of your cleaning routine and tailoring it to your specific needs and preferences. It’s about discovering the satisfaction of restoring your belongings to their former glory with a simple, time-tested solution.
Don’t be afraid to experiment! While we’ve provided a comprehensive guide, the possibilities are truly endless. For instance, try adding a few drops of your favorite essential oil to the Murphy’s Oil Soap solution for a refreshing scent boost. Lavender, lemon, or eucalyptus are all excellent choices. Or, if you’re dealing with particularly stubborn stains on leather, consider pre-treating the area with a small amount of baking soda paste before applying the Murphy’s Oil Soap solution. For painted surfaces, always test in an inconspicuous area first to ensure compatibility. You can also use a microfiber cloth instead of a regular cloth for an even gentler cleaning experience.
We wholeheartedly encourage you to give these *Murphy’s Oil Soap cleaning tips* a try. We’re confident that you’ll be amazed by the results. From gleaming wood floors to supple leather furniture, you’ll rediscover the beauty and longevity of your cherished possessions.
But the journey doesn’t end here! We want to hear about your experiences. Did you discover a new and innovative way to use Murphy’s Oil Soap? Did you encounter any challenges or have any helpful tips to share? Please, share your thoughts and feedback in the comments section below. Your insights could help other readers unlock the full potential of this remarkable cleaner. Let’s build a community of DIY cleaning enthusiasts and share our knowledge to create cleaner, healthier, and more beautiful homes, one bottle of Murphy’s Oil Soap at a time. So go ahead, grab that bottle of Murphy’s Oil Soap, and get ready to be amazed!
Frequently Asked Questions (FAQ)
What exactly is Murphy’s Oil Soap, and what makes it so effective?
Murphy’s Oil Soap is a cleaning product formulated with a blend of water, soap, and plant-derived oils, primarily linseed oil. Its effectiveness stems from its ability to gently lift dirt and grime without stripping away natural oils or damaging surfaces. Unlike harsh chemical cleaners, Murphy’s Oil Soap cleans by emulsifying dirt, making it easy to wipe away. The oil component also helps to condition and protect surfaces, leaving them with a healthy sheen. It’s this unique combination of cleaning power and gentle conditioning that makes it a versatile and effective cleaning solution for a wide range of materials.
Is Murphy’s Oil Soap safe to use on all types of wood?
While Murphy’s Oil Soap is generally safe for most finished wood surfaces, it’s always best to test it in an inconspicuous area first, especially on antique or delicate wood furniture. Avoid using it on unfinished wood, as the soap can penetrate the wood and cause staining or warping. For wood floors, ensure they have a polyurethane or similar protective finish before using Murphy’s Oil Soap. If you’re unsure about the type of wood or finish, consult with a professional furniture restorer or flooring specialist.
How often should I use Murphy’s Oil Soap for cleaning?
The frequency of cleaning with Murphy’s Oil Soap depends on the surface and the level of use. For wood floors, cleaning every 1-2 weeks is generally sufficient for maintaining cleanliness and shine. For furniture, cleaning every 1-3 months is usually adequate. For leather goods, cleaning every 3-6 months is recommended to prevent drying and cracking. Always adjust the frequency based on your specific needs and the condition of the surface. Over-cleaning can lead to a buildup of soap residue, so it’s better to err on the side of less frequent cleaning.
Can I use Murphy’s Oil Soap on laminate or vinyl flooring?
Yes, Murphy’s Oil Soap can be used on laminate and vinyl flooring, but it’s crucial to use a diluted solution and avoid over-wetting the floor. Excessive moisture can seep into the seams and damage the flooring. Always wring out the mop or cloth thoroughly before cleaning, and dry the floor immediately after cleaning. It’s also a good idea to test the solution in an inconspicuous area first to ensure it doesn’t damage the finish.
What’s the best way to remove soap residue after cleaning with Murphy’s Oil Soap?
If you notice a buildup of soap residue after cleaning with Murphy’s Oil Soap, simply wipe the surface with a clean, damp cloth. You can also add a small amount of white vinegar to the water to help dissolve the residue. Be sure to dry the surface thoroughly after wiping to prevent water spots. Using the correct dilution ratio of Murphy’s Oil Soap to water is also crucial to prevent residue buildup.
Can I use Murphy’s Oil Soap to clean my car’s interior?
Yes, Murphy’s Oil Soap can be used to clean certain parts of your car’s interior, particularly leather seats and dashboards. However, it’s essential to use a very diluted solution and avoid getting the soap on electronic components or fabric upholstery. Always test the solution in an inconspicuous area first to ensure it doesn’t damage the material. After cleaning, wipe the surface with a clean, damp cloth and dry thoroughly.
Is Murphy’s Oil Soap environmentally friendly?
Murphy’s Oil Soap is considered a more environmentally friendly cleaning option compared to many harsh chemical cleaners. It’s made with plant-derived ingredients and is biodegradable. However, it’s not entirely free of chemicals, so it’s still important to use it responsibly and follow the manufacturer’s instructions. Look for the “eco-friendly” or “biodegradable” label on the bottle for a more sustainable option.
Where can I purchase Murphy’s Oil Soap?
Murphy’s Oil Soap is widely available at most grocery stores, drugstores, and home improvement stores. You can also purchase it online from various retailers. The price typically ranges from $5 to $10 per bottle, depending on the size and retailer.
What are some common mistakes to avoid when using Murphy’s Oil Soap?
Some common mistakes to avoid include using too much soap, over-wetting surfaces, not testing in an inconspicuous area first, and using it on unfinished wood. Always follow the manufacturer’s instructions and use the correct dilution ratio. Also, be sure to dry surfaces thoroughly after cleaning to prevent water spots and residue buildup.
Can Murphy’s Oil Soap be used to clean musical instruments?
While Murphy’s Oil Soap can be used to clean certain parts of some musical instruments, it’s crucial to exercise extreme caution and consult with a professional instrument repair technician first. Avoid using it on delicate finishes, such as varnish or lacquer, as it can damage them. If you decide to use it, test it in an inconspicuous area first and use a very diluted solution. Never use it on the inside of instruments or on parts that require specialized cleaning.
Leave a Comment