

Red Wine Stain Removal: the bane of every host’s existence and the silent killer of countless carpets and tablecloths! Let’s be honest, we’ve all been there – a lively gathering, a delicious glass of red, and then… disaster strikes. That crimson tide spreads across your pristine fabric, and panic sets in. But fear not, fellow wine enthusiasts and accident-prone individuals! I’m here to tell you that a red wine stain doesn’t have to mean the end of your favorite rug or shirt.
Throughout history, wine stains have been a common woe. From ancient Roman banquets to modern-day dinner parties, the risk of a spill has always loomed. While our ancestors might have relied on rudimentary methods, we now have a wealth of DIY tricks and hacks at our fingertips. And that’s exactly what I’m going to share with you!
Why do you need these red wine stain removal secrets? Because life is too short to stress over spilled wine! Instead of resigning yourself to a permanent stain or spending a fortune on professional cleaning, I’m going to equip you with simple, effective, and budget-friendly solutions. These DIY methods will save you time, money, and, most importantly, your sanity. So, grab your stained item, and let’s get to work! I’ll guide you through the best ways to tackle that pesky red wine stain and restore your belongings to their former glory.
DIY Red Wine Stain Removal: A Comprehensive Guide
Okay, so you’ve spilled red wine. Don’t panic! We’ve all been there. The key is to act fast. The longer the stain sits, the harder it is to remove. I’m going to walk you through several methods, from the classic salt trick to some more advanced techniques. Let’s get that stain out!
Method 1: The Salt Solution (For Fresh Stains)
This is my go-to method for fresh spills. It’s simple, effective, and uses something you probably already have in your kitchen.
What you’ll need:
* Table salt (coarse salt works best)
* Clean cloth or paper towels
* Vacuum (optional)
Step-by-step instructions:
1. Blot, Don’t Rub: Immediately after the spill, grab a clean cloth or paper towel and blot the stain. The goal here is to absorb as much of the wine as possible before it sets. Remember, blotting is key! Rubbing will only spread the stain and make it worse.
2. Cover Generously with Salt: Pour a generous amount of salt directly onto the red wine stain. You want to completely cover the affected area. The salt acts like a sponge, drawing the wine out of the fabric. Don’t be shy with the salt!
3. Wait Patiently: This is the hardest part! You need to let the salt sit for several hours, or even overnight, depending on the severity of the stain. You’ll notice the salt gradually turning pink as it absorbs the wine.
4. Vacuum or Brush Away: Once the salt has done its job, vacuum it up or brush it away with a clean cloth. If the stain is still visible, repeat steps 2 and 3.
5. Launder as Usual: After removing the salt, launder the item as usual, following the care instructions on the garment’s label. Before putting it in the dryer, double-check that the stain is completely gone. Drying a stained item will set the stain permanently.
Method 2: Boiling Water (For Fabric That Can Handle It)
This method works best on fabrics that can withstand high temperatures, like cotton or linen. Always check the care label before proceeding!
What you’ll need:
* Large pot
* Boiling water
* Large bowl or container
* Rubber bands (optional)
Step-by-step instructions:
1. Stretch the Fabric: Stretch the stained fabric tightly over a large bowl or container. Secure it with rubber bands if needed. The goal is to create a taut surface for the boiling water to pass through.
2. Pour Boiling Water: Carefully pour boiling water from a height of about one foot directly onto the stain. The force of the water helps to flush out the wine. Be extremely careful not to burn yourself!
3. Observe and Repeat: Watch as the stain begins to fade. You may need to repeat the pouring process several times until the stain is completely gone.
4. Launder as Usual: Once the stain is removed, launder the item as usual, following the care instructions on the garment’s label. Again, double-check for any remaining stain before drying.
Method 3: Club Soda (Another Quick Fix)
Club soda is another readily available option that can help lift red wine stains, especially when you act quickly.
What you’ll need:
* Club soda
* Clean cloth or sponge
Step-by-step instructions:
1. Blot the Stain: As with the salt method, start by blotting the stain with a clean cloth to remove as much excess wine as possible.
2. Saturate with Club Soda: Pour club soda directly onto the stain, saturating the affected area.
3. Blot Again: Use a clean cloth or sponge to blot the stain, working from the outside in. The bubbles in the club soda help to lift the stain from the fabric.
4. Repeat as Needed: Repeat steps 2 and 3 until the stain is significantly reduced or gone.
5. Launder as Usual: Launder the item as usual, following the care instructions on the garment’s label.
Method 4: White Wine (Fight Wine with Wine!)
This might sound counterintuitive, but white wine can actually help dilute and lift red wine stains.
What you’ll need:
* White wine (any kind will do)
* Clean cloth or sponge
Step-by-step instructions:
1. Blot the Stain: Blot the red wine stain with a clean cloth to remove excess liquid.
2. Pour White Wine: Pour white wine generously over the red wine stain.
3. Blot Again: Use a clean cloth or sponge to blot the stain, working from the outside in. The white wine will help to dilute the red wine and make it easier to remove.
4. Follow with Another Method: After using white wine, follow up with one of the other methods, such as salt or club soda, for best results.
5. Launder as Usual: Launder the item as usual, following the care instructions on the garment’s label.
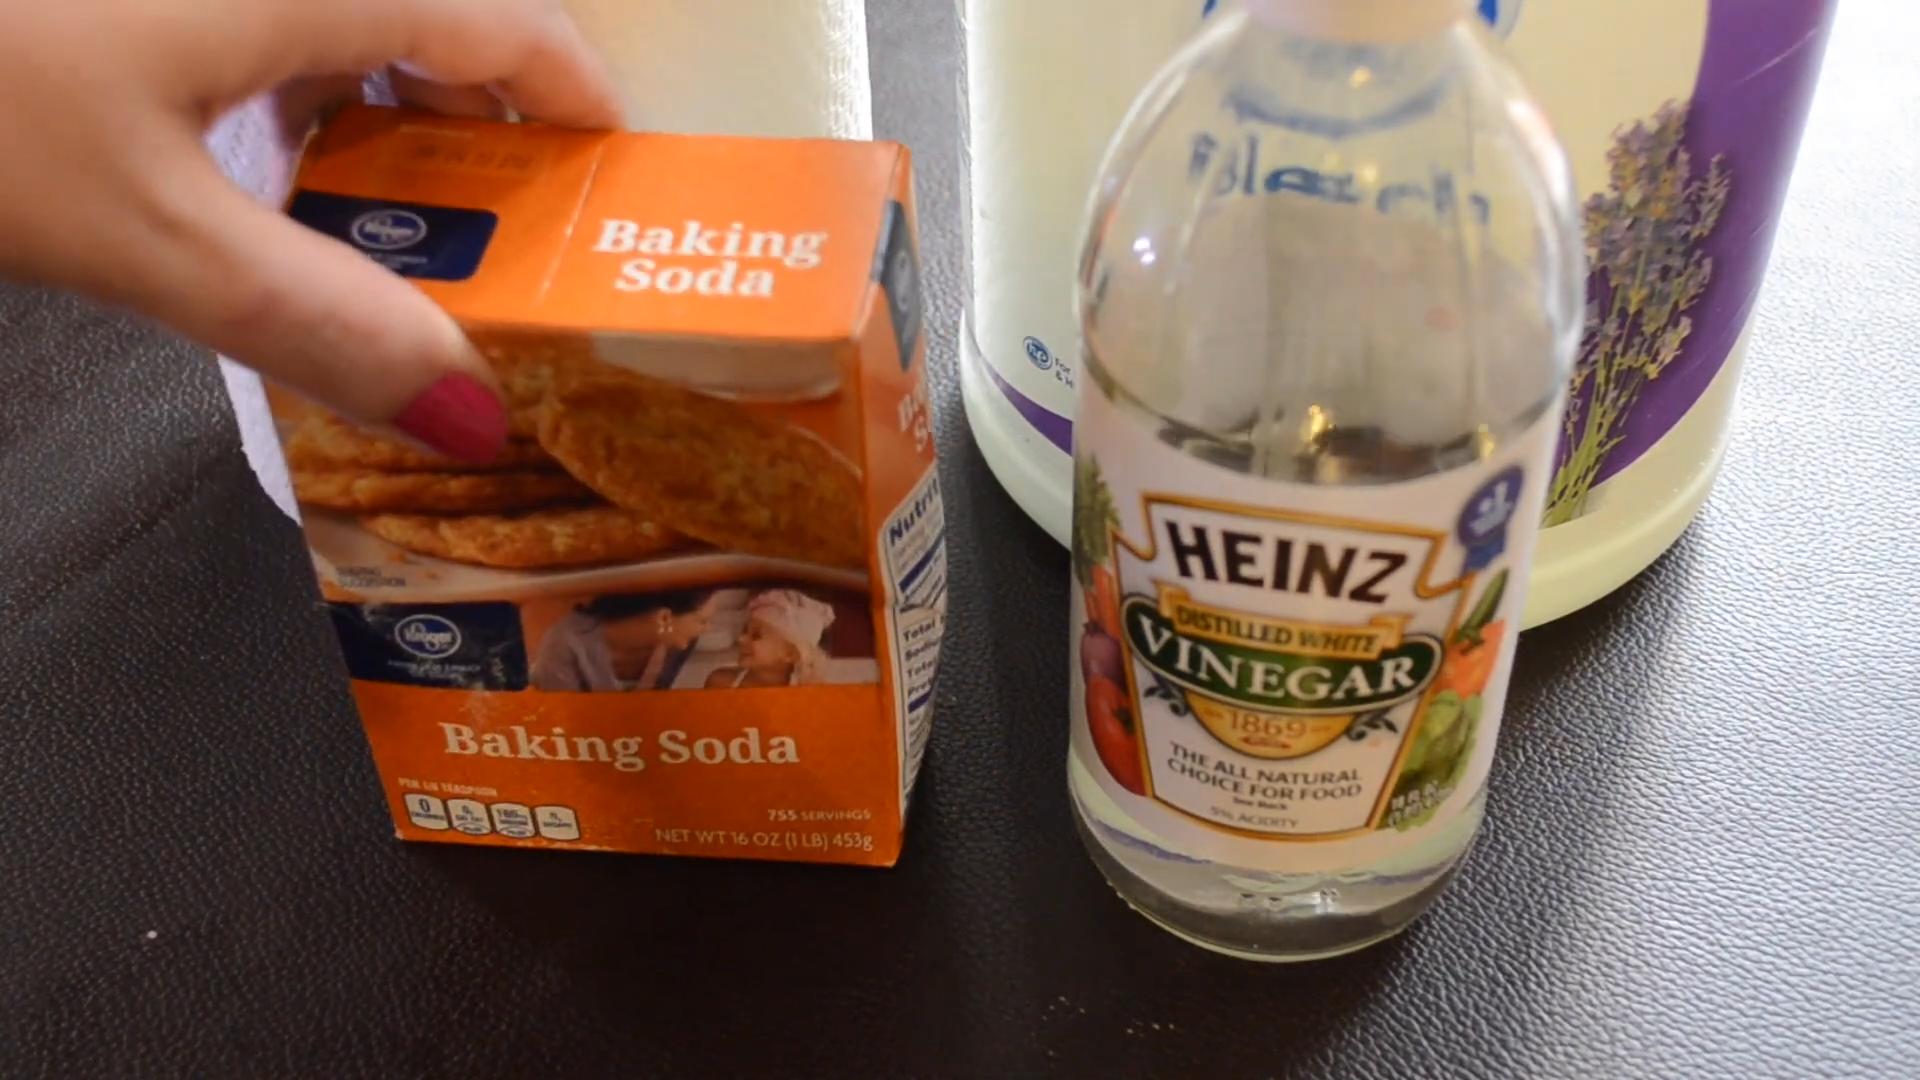
Method 5: Baking Soda Paste (For Stubborn Stains)
If the stain has been sitting for a while, or if the previous methods haven’t worked, try a baking soda paste.
What you’ll need:
* Baking soda
* Water
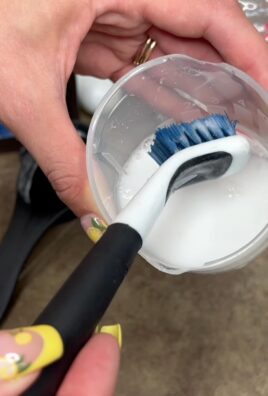
* Clean cloth or toothbrush
Step-by-step instructions:
1. Make a Paste: Mix baking soda with a small amount of water to create a thick paste.
2. Apply to Stain: Apply the baking soda paste generously to the red wine stain, covering it completely.
3. Let it Dry: Allow the paste to dry completely. This may take several hours or even overnight. As the paste dries, it will draw the stain out of the fabric.
4. Vacuum or Brush Away: Once the paste is dry, vacuum it up or brush it away with a clean cloth or toothbrush.
5. Launder as Usual: Launder the item as usual, following the care instructions on the garment’s label.
Method 6: Hydrogen Peroxide and Dish Soap (Use with Caution!)
This method is effective, but it should be used with caution, especially on delicate fabrics or colored items. Always test this solution on an inconspicuous area first to ensure it doesn’t cause discoloration.
What you’ll need:
* 3% hydrogen peroxide
* Dish soap (clear, non-bleach)
* Clean cloth or spray bottle
Step-by-step instructions:
1. Test First: Before applying the solution to the stain, test it on a hidden area of the fabric to ensure it doesn’t cause any discoloration.
2. Mix the Solution: Mix equal parts of 3% hydrogen peroxide and clear dish soap in a bowl or spray bottle.
3. Apply to Stain: Apply the solution to the red wine stain, either by pouring it directly onto the stain or spraying it on.
4. Let it Sit: Allow the solution to sit for 20-30 minutes.
5. Blot and Rinse: Blot the stain with a clean cloth, then rinse thoroughly with cold water.
6. Launder as Usual: Launder the item as usual, following the care instructions on the garment’s label.
Method 7: Stain Remover Products (For When All Else Fails)
If you’ve tried all the DIY methods and the stain is still lingering, it might be time to bring in the big guns: commercial stain removers.
What you’ll need:
* Your favorite stain remover product (make sure it’s safe for the fabric)
* Clean cloth
Step-by-step instructions:
1. Follow Product Instructions: Carefully follow the instructions on the stain remover product label.
2. Apply to Stain: Apply the stain remover directly to the red wine stain.
3. Let it Sit: Allow the stain remover to sit for the recommended amount of time.
4. Blot and Rinse: Blot the stain with a clean cloth, then rinse thoroughly with cold water.
5. Launder as Usual: Launder the item as usual, following the care instructions on the garment’s label.
Important Considerations:
* Act Fast: The sooner you treat the stain, the better your chances of removing it completely.
* Avoid Heat: Heat can set the stain, making it much harder to remove. Avoid using hot water or putting the item in the dryer until the stain is completely gone.
* Test First: Always test any cleaning solution on an
Conclusion
So, there you have it! Conquering red wine stains doesn’t require expensive professional cleaning or frantic trips to the store. This simple, effective DIY trick, using ingredients you likely already have in your pantry, is a game-changer for anyone who enjoys a glass of red. We’ve walked you through the process, highlighting its ease and efficiency, and hopefully, dispelled any lingering doubts about its effectiveness.
The beauty of this method lies not only in its simplicity but also in its adaptability. While we’ve focused on the classic baking soda and water paste, don’t be afraid to experiment! For particularly stubborn stains, consider pre-treating the area with a solution of white vinegar and water before applying the baking soda paste. The vinegar’s acidity can help break down the stain further, making it even easier for the baking soda to lift it away. Another variation involves using club soda instead of plain water to create the paste. The carbonation in club soda can provide an extra boost in lifting the stain. Remember to always test any solution on an inconspicuous area of the fabric first to ensure colorfastness.
This DIY red wine stain removal method is more than just a quick fix; it’s a sustainable and cost-effective solution for a common household mishap. It empowers you to tackle spills immediately, preventing them from setting and becoming permanent reminders of a fun evening. Plus, it’s a much gentler alternative to harsh chemical cleaners, which can damage delicate fabrics and pose potential health risks.
We wholeheartedly encourage you to give this DIY trick a try the next time you find yourself facing a red wine emergency. You’ll be amazed at how effectively it works, saving you time, money, and the frustration of dealing with stubborn stains. Don’t just take our word for it – experience the magic for yourself!
Once you’ve tried this method, we’d love to hear about your experience. Share your results, any variations you experimented with, and any tips you discovered along the way in the comments section below. Your feedback will not only help other readers but also contribute to a community of stain-fighting experts! Let’s work together to keep our homes and wardrobes red wine stain-free, one DIY solution at a time. So go ahead, raise a glass (carefully!), and embrace the confidence of knowing you have a reliable and readily available solution for any accidental spills.
Frequently Asked Questions (FAQs)
What types of fabrics does this DIY red wine stain removal method work on?
This method is generally safe and effective on most common fabrics, including cotton, linen, polyester, and blends. However, it’s crucial to exercise caution when dealing with delicate fabrics like silk, wool, or velvet. Always test the baking soda paste on an inconspicuous area of the fabric first to ensure it doesn’t cause any discoloration or damage. For these delicate materials, a gentler approach might be necessary, such as blotting the stain with a clean cloth and a mild detergent solution. If you’re unsure, it’s always best to consult a professional cleaner.
How quickly do I need to act after the red wine spill for this method to be effective?
The sooner you address the stain, the better your chances of completely removing it. Fresh stains are much easier to treat than those that have had time to set. Ideally, you should start the cleaning process within minutes of the spill. If you can’t get to it immediately, try to blot up as much of the excess wine as possible with a clean cloth or paper towel to prevent it from spreading and penetrating deeper into the fabric.
What if the red wine stain is old and has already set?
While fresh stains are easier to remove, this method can still be effective on older, set-in stains, although it may require more patience and repeated applications. Before applying the baking soda paste, try pre-treating the stain with a solution of white vinegar and water (1:1 ratio). Let it sit for 15-30 minutes to help loosen the stain. You might also consider using a stain remover specifically designed for red wine stains, following the product instructions carefully. After pre-treating, proceed with the baking soda paste method as described. Be prepared to repeat the process several times, gently blotting and scrubbing the area, until the stain is completely gone or significantly faded.
Can I use this method on carpets and upholstery?
Yes, this DIY red wine stain removal method is also suitable for carpets and upholstery. However, avoid over-wetting the area, as this can lead to mold growth or damage to the underlying padding. Apply the baking soda paste generously to the stained area, ensuring it covers the entire stain. Let it dry completely, which may take several hours or even overnight. Once dry, vacuum up the baking soda residue thoroughly. If the stain persists, repeat the process. For upholstery, consider using a soft-bristled brush to gently work the paste into the fibers.
How long should I leave the baking soda paste on the stain?
The baking soda paste should be left on the stain until it is completely dry. This typically takes several hours, or even overnight, depending on the thickness of the paste and the humidity of the environment. As the paste dries, it will draw the stain out of the fabric. Once dry, the paste will harden and can be easily vacuumed or brushed away.
What if the baking soda paste leaves a white residue on the fabric?
Sometimes, a white residue may remain after removing the baking soda paste, especially on darker fabrics. This is simply dried baking soda and can be easily removed. Use a clean, damp cloth to gently blot the area and wipe away the residue. Avoid rubbing, as this can spread the residue further. You can also use a vacuum cleaner with an upholstery attachment to remove any remaining particles.
Is it safe to use this method on colored fabrics?
While baking soda is generally safe for most colored fabrics, there is always a risk of color fading or discoloration, especially with delicate or brightly colored materials. It’s essential to test the baking soda paste on an inconspicuous area of the fabric first, such as an inside seam or hem, to ensure colorfastness. Apply a small amount of the paste, let it sit for the recommended time, and then rinse it off. If you notice any color change, discontinue use and consider consulting a professional cleaner.
Can I use other types of baking soda, like baking powder?
No, it’s crucial to use baking soda (sodium bicarbonate) specifically for this method. Baking powder contains additional ingredients, such as cream of tartar, which can potentially stain or damage the fabric. Baking soda’s absorbent properties are what make it effective in drawing out the red wine stain.
What other DIY methods are effective for red wine stain removal?
Besides the baking soda method, other popular DIY red wine stain removal techniques include using salt, boiling water (for certain fabrics), and a combination of hydrogen peroxide and dish soap. However, these methods may not be as universally effective or safe as the baking soda method, and it’s always best to test them on an inconspicuous area first.
When should I call a professional cleaner for red wine stain removal?
If you’ve tried the DIY method and the stain persists, or if you’re dealing with a delicate fabric or a valuable item, it’s best to consult a professional cleaner. They have the expertise and specialized equipment to safely and effectively remove stubborn stains without damaging the fabric. Don’t hesitate to seek professional help if you’re unsure or uncomfortable handling the stain yourself.
Leave a Comment