

Removing Pet Hair Effectively can feel like a never-ending battle, especially if you’re a proud pet parent like me! You love your furry friend, but sometimes you wish their fur would stay on them, not on your furniture, clothes, and well, basically everything else. I get it! For centuries, people have struggled with the shedding woes of their beloved animals. From ancient Egyptians who revered cats to modern-day dog lovers, pet ownership has always come with the challenge of managing pet hair.
But fear not! This isn’t just another article complaining about the fluff. I’m here to share some game-changing DIY tricks and hacks that will make removing pet hair effectively a breeze. We’ll dive into simple, cost-effective solutions using items you probably already have around the house. Why spend a fortune on fancy gadgets when you can conquer the fur storm with a little DIY ingenuity?
Imagine a life where you can wear your favorite black dress without fear, where your guests don’t leave covered in a layer of fur, and where you can finally sit on your couch without feeling like you’re cuddling a giant dust bunny. Sounds good, right? Let’s get started and reclaim your home from the furry invasion!
DIY Pet Hair Removal: Conquer the Furpocalypse!
Okay, fellow pet lovers, let’s be honest. We adore our furry companions, but the shedding? Not so much. It’s a constant battle against a never-ending tide of hair clinging to our clothes, furniture, and basically every surface imaginable. But fear not! I’m here to share my tried-and-true DIY methods for banishing pet hair and reclaiming your home. Get ready to say goodbye to the furpocalypse!
Gather Your Arsenal: Essential Tools and Supplies
Before we dive in, let’s make sure you have everything you need. This isn’t just about grabbing a lint roller; we’re going for a comprehensive hair-removal strategy!
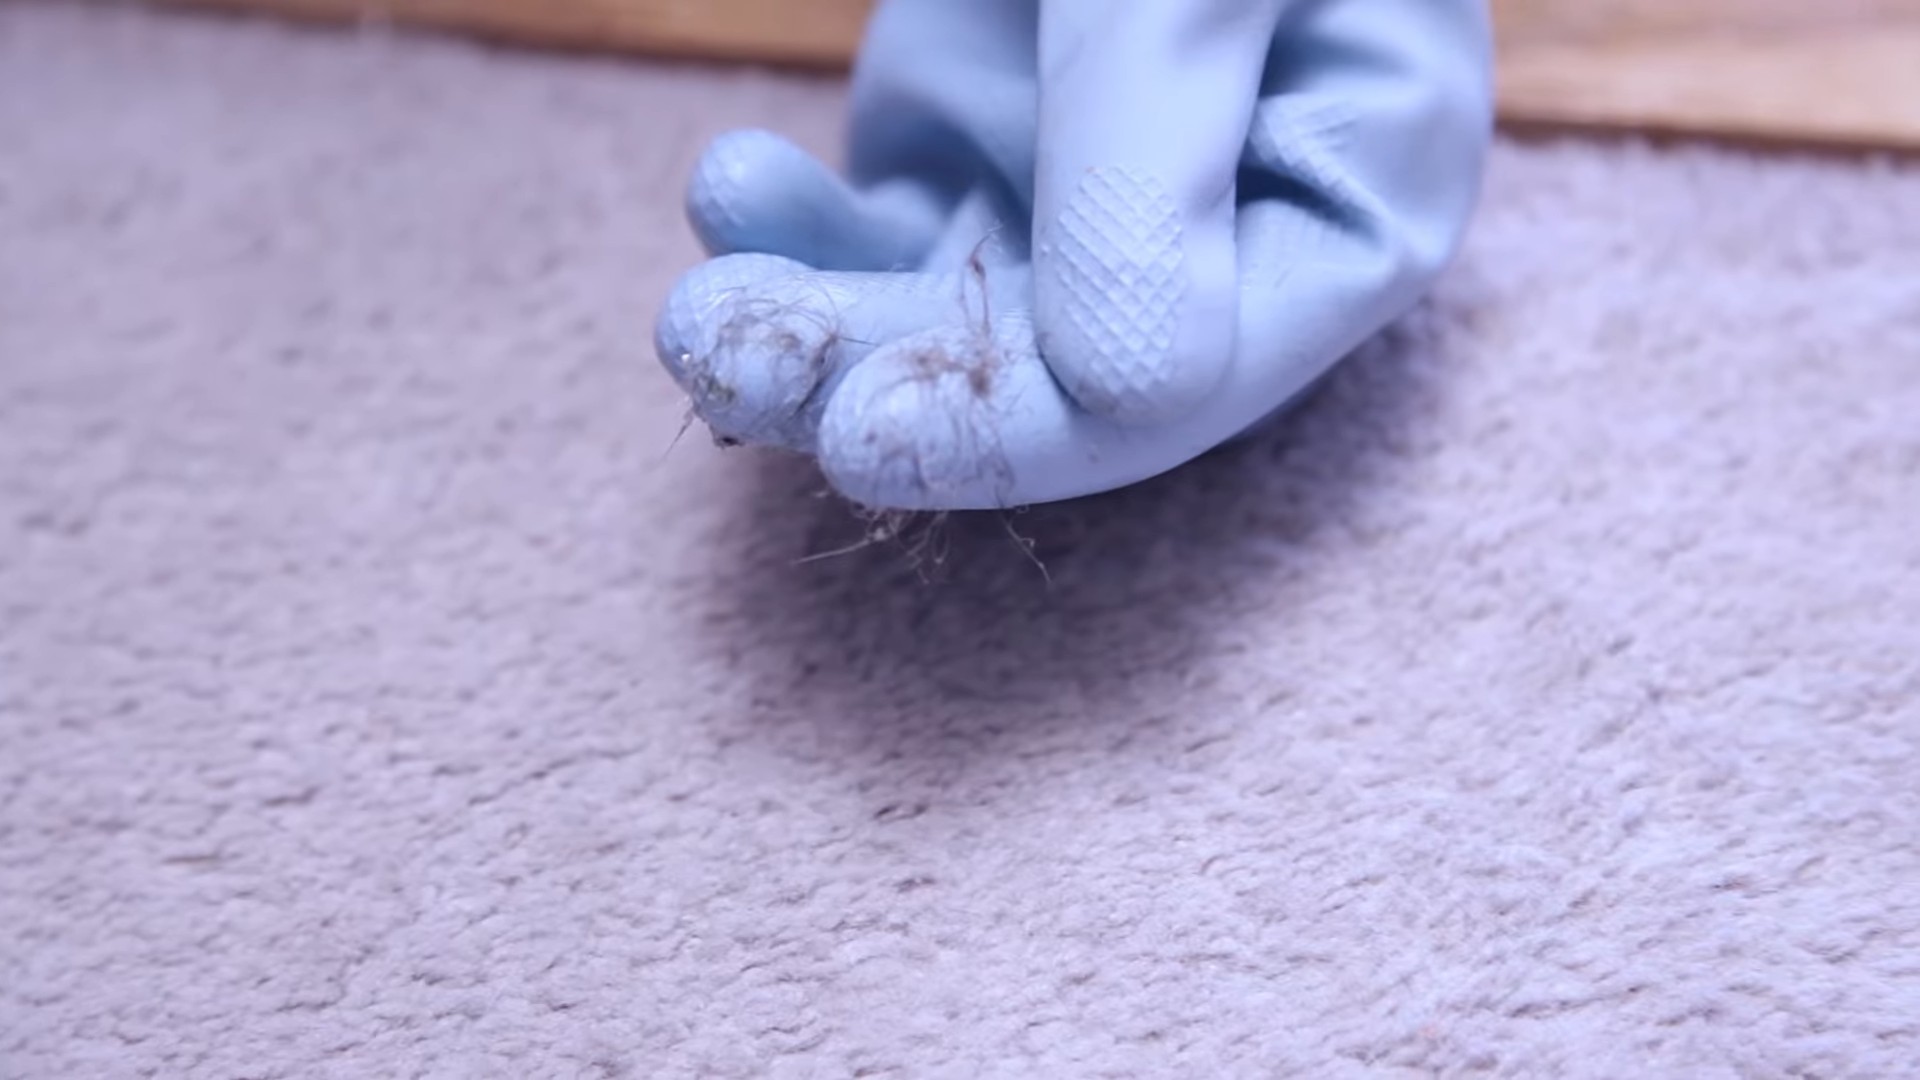
* Rubber Gloves: The kind you use for dishwashing. Trust me on this one.
* Spray Bottle: For water or fabric softener solution.
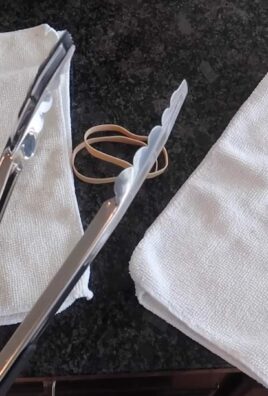
* Microfiber Cloths: These are your best friends for dusting and wiping.
* Vacuum Cleaner: Preferably one with a pet hair attachment.
* Lint Roller: A classic for a reason, but we’ll use it strategically.
* Squeegee: Yes, the kind you use for windows!
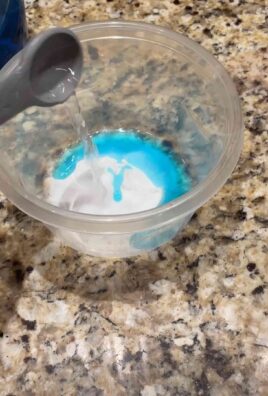
* Baking Soda: A natural deodorizer and cleaning agent.
* White Vinegar: Another cleaning powerhouse.
* Fabric Softener: Liquid or dryer sheets, your choice.
* Pet Brush: Prevention is key! Regular grooming is crucial.
* Old Toothbrush: For getting into those tricky crevices.
* Pumice Stone: For carpets and upholstery (use with caution!).
Phase 1: The Upholstery Assault
Upholstery is a magnet for pet hair. It clings to the fibers like it’s its job. Here’s how to tackle it:
1. The Rubber Glove Technique: This is my go-to method for quick and easy hair removal. Put on a rubber glove, dampen it slightly (not soaking wet!), and run your hand over the upholstery. The hair will cling to the glove like magic. Rinse the glove under running water to remove the accumulated hair, and repeat until the surface is clean. You’ll be amazed at how well this works!
2. The Squeegee Swipe: Similar to the rubber glove method, a squeegee can effectively gather pet hair from upholstery. Simply drag the squeegee across the fabric in short, overlapping strokes. The hair will ball up, making it easy to collect and discard. This works especially well on smoother fabrics like microfiber.
3. The Fabric Softener Spray: Mix a solution of fabric softener and water in a spray bottle (about 1 part fabric softener to 3 parts water). Lightly mist the upholstery with the solution. Let it sit for a few minutes to loosen the hair. Then, use a microfiber cloth to wipe away the hair. The fabric softener helps to reduce static cling, making it easier to remove the hair.
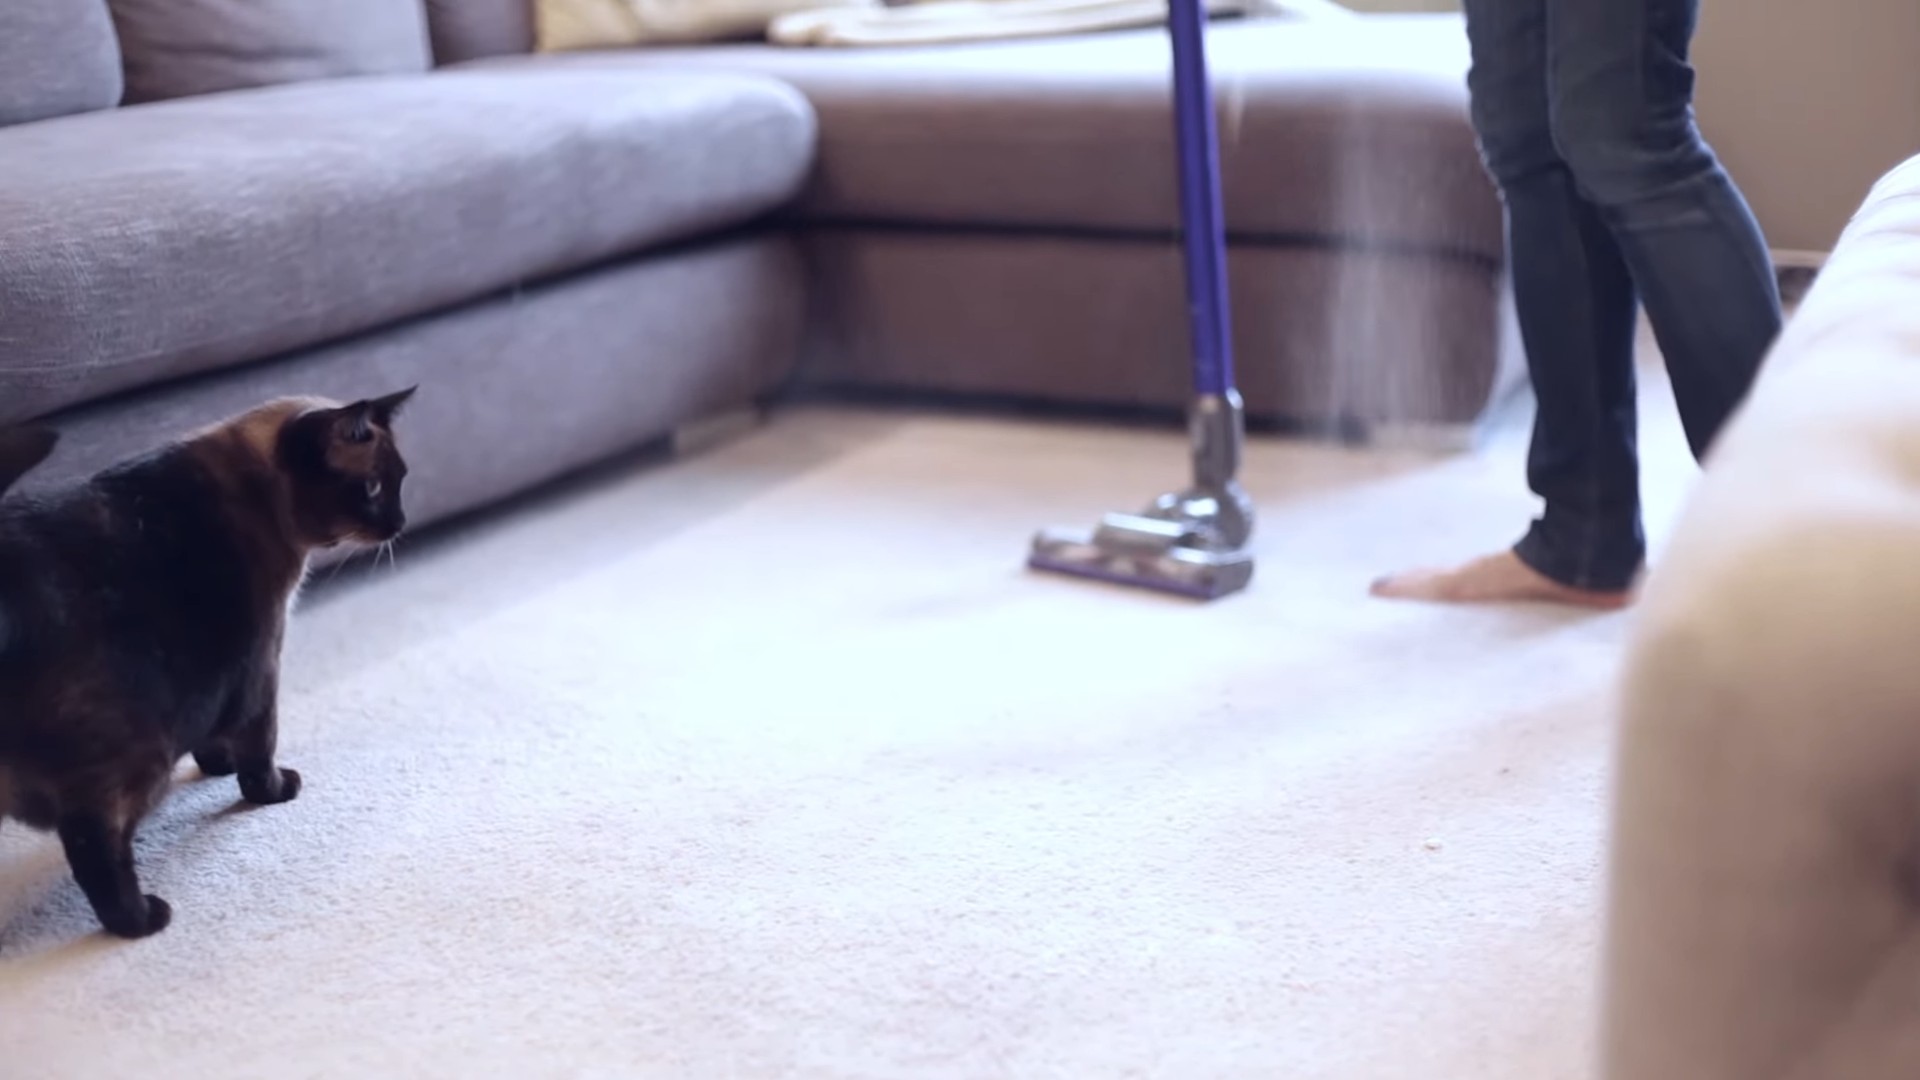
4. The Vacuum Power-Up: Use your vacuum cleaner with the pet hair attachment to thoroughly vacuum the upholstery. Pay special attention to seams, crevices, and areas where your pet likes to hang out. If you don’t have a pet hair attachment, a crevice tool or upholstery brush will also work.
5. The Baking Soda Boost: For stubborn odors and deeply embedded hair, sprinkle baking soda liberally over the upholstery. Let it sit for at least 30 minutes, or even overnight. Then, vacuum it up thoroughly. The baking soda will absorb odors and help to loosen the hair.
6. The Pumice Stone Power Play: This is for serious hair infestations on durable fabrics only! Gently rub a pumice stone over the affected area in a circular motion. Be very careful not to apply too much pressure, as you could damage the fabric. This method is best for carpets and rugs, but can also be used on some upholstery fabrics with caution. Always test in an inconspicuous area first!
Phase 2: Clothing Combat
Pet hair on clothing is a constant struggle. Here’s how to keep your wardrobe fur-free:
1. The Lint Roller Lifesaver: The classic lint roller is your best friend for quick touch-ups. Keep one in your car, your purse, and your laundry room. Roll it over your clothes before you leave the house to remove any stray hairs.
2. The Dryer Sheet Defense: Toss your clothes in the dryer with a dryer sheet for about 10 minutes before washing them. The dryer sheet will help to loosen the hair and prevent it from clinging to the fabric during the wash cycle. Clean the lint trap afterwards!
3. The White Vinegar Wash: Add 1/2 cup of white vinegar to your washing machine during the rinse cycle. The vinegar will help to loosen the hair and prevent it from clinging to your clothes. It also acts as a natural fabric softener and deodorizer.
4. The Rubber Glove Grab: Just like with upholstery, a damp rubber glove can work wonders on clothing. Run your hand over the fabric to collect the hair. This is especially effective on sweaters and other knit fabrics.
5. The Static Guard Solution: Spray your clothes with static guard to reduce static cling, which attracts pet hair. This is a good preventative measure to take before you leave the house.
Phase 3: Floor Domination
From carpets to hardwood, pet hair seems to find its way onto every type of flooring. Here’s how to conquer the floor fur:
1. The Vacuum Vanguard: Vacuum your floors regularly, at least once a week, or more often if you have a heavy shedder. Use a vacuum cleaner with a pet hair attachment or a beater bar to effectively remove the hair.
2. The Microfiber Mop Magic: Use a microfiber mop to dust your hardwood floors. The microfiber will attract and trap the hair, leaving your floors clean and shiny.
3. The Baking Soda Carpet Refresh: Sprinkle baking soda liberally over your carpets and rugs. Let it sit for at least 30 minutes, or even overnight. Then, vacuum it up thoroughly. The baking soda will absorb odors and help to loosen the hair.
4. The Squeegee Sweep: Believe it or not, a squeegee can also be used to remove pet hair from carpets and rugs. Drag the squeegee across the surface in short, overlapping strokes. The hair will ball up, making it easy to collect and discard. This works especially well on low-pile carpets.
5. The Broom Brigade: For hardwood floors, a good old-fashioned broom can be surprisingly effective. Sweep the floors regularly to remove loose hair and debris.
Phase 4: Preventative Measures: Staying Ahead of the Shed
The best way to deal with pet hair is to prevent it from accumulating in the first place. Here are some preventative measures you can take:
1. Regular Grooming: Brush your pet regularly, ideally every day, to remove loose hair before it has a chance to shed all over your house. Choose a brush that is appropriate for your pet’s coat type.
2. Bathing Basics: Bathe your pet regularly, but not too often, as this can dry out their skin. Use a pet-specific shampoo and conditioner to help control shedding.
3. Dietary Delights: Feed your pet a high-quality diet that is rich in omega-3 fatty acids. This can help to improve their coat health and reduce shedding.
4. Designated Pet Zones: If possible, designate certain areas of your house as “pet zones” and limit your pet’s access to other areas. This can help to contain the shedding to specific areas, making it easier to clean.
5. Furniture Covers: Use furniture covers to protect your upholstery from pet hair. These can be easily removed and washed, making them a convenient way to keep your furniture clean.
6. Air Purifier Advantage: Consider using an air purifier with a HEPA filter to remove pet dander and hair from the air. This can help to reduce allergens and improve air quality.
Bonus Tip: The Sticky Tape Trick
For those hard-to-reach areas, like the inside of your car or the crevices of your furniture, try wrapping sticky tape (duct tape or packing tape) around your hand, sticky side out. Then, dab the tape onto the affected area to pick up the hair.
Final Thoughts: Winning the War on Pet Hair
Removing pet hair is an ongoing battle, but with these DIY methods and preventative measures, you can definitely win the war! Remember to be consistent with your cleaning routine and to groom your pet regularly. And most importantly, don’t let the shedding get you down. Enjoy the love and companionship of your furry friend, and embrace the occasional hairball. After all, a little bit of fur is a small price to pay for the joy they bring to our lives!
Conclusion
So, there you have it! This simple, yet incredibly effective DIY trick for removing pet hair effectively is a game-changer for pet owners everywhere. Forget spending a fortune on specialized gadgets that promise the world but often underdeliver. This method utilizes items you likely already have in your home, making it not only budget-friendly but also incredibly convenient.
Why is this a must-try? Because it works! We’ve all been there, battling stubborn pet hair clinging to our furniture, carpets, and clothing. It’s a never-ending cycle of vacuuming, lint rolling, and still finding those pesky hairs everywhere. This DIY solution offers a powerful alternative, lifting and gathering pet hair with ease, leaving your surfaces cleaner and fresher. The satisfaction of seeing that clump of fur disappear is truly unparalleled.
But the beauty of this trick lies in its adaptability. While the core method remains the same, feel free to experiment with variations to suit your specific needs and preferences. For instance, if you’re dealing with particularly delicate fabrics, consider using a softer rubber glove or a slightly dampened sponge. For larger areas like carpets, attaching the rubber glove to a broom handle can provide extra reach and leverage. You can also add a few drops of essential oil to your cleaning solution for a pleasant scent boost – lavender or citrus oils are particularly effective at neutralizing pet odors.
Don’t be afraid to get creative! Perhaps you’ll discover a new and improved technique that works even better for your specific type of pet hair and surfaces. The key is to experiment and find what works best for you.
We are confident that once you try this DIY trick, you’ll wonder how you ever lived without it. It’s a simple, effective, and affordable way to keep your home clean and fur-free, allowing you to spend less time cleaning and more time enjoying the company of your beloved pets.
We wholeheartedly encourage you to give this method a try. And more importantly, we want to hear about your experience! Share your results, tips, and variations in the comments below. Let’s create a community of pet owners who are winning the battle against pet hair, one DIY trick at a time. Your insights could be invaluable to others struggling with the same issue. Together, we can conquer the fur!
Now, go forth and reclaim your home from the tyranny of pet hair! You’ll be amazed at the difference this simple trick can make.
Frequently Asked Questions (FAQ)
Q: What types of surfaces does this DIY pet hair removal trick work best on?
A: This trick is surprisingly versatile and works well on a variety of surfaces. It’s particularly effective on upholstery, carpets, rugs, car interiors, and even clothing. However, it’s always a good idea to test a small, inconspicuous area first, especially on delicate fabrics, to ensure that the method doesn’t cause any damage or discoloration. For smooth surfaces like hardwood floors or tile, a slightly dampened microfiber cloth might be a better option.
Q: What kind of rubber glove is best for removing pet hair?
A: A standard household rubber glove, like the kind you use for washing dishes, works perfectly well. The key is to choose a glove with a textured surface, as this will help to grip and lift the pet hair more effectively. Avoid gloves that are too smooth or slippery, as they won’t provide enough friction. You can also use a specialized pet grooming glove, which is designed with small rubber bristles specifically for removing loose fur. These gloves can be particularly useful for removing hair directly from your pet, as well as from furniture.
Q: How often should I use this DIY pet hair removal method?
A: The frequency depends on how much your pet sheds and how much pet hair accumulates in your home. If you have a heavy-shedding pet, you may need to use this method several times a week. For pets that shed less, once a week or even less frequently may be sufficient. Regularly using this trick will prevent pet hair from building up and becoming more difficult to remove.
Q: Can I use this trick on my pet directly to remove loose fur?
A: Yes, absolutely! In fact, using a rubber glove to groom your pet can be a very effective way to remove loose fur before it ends up all over your house. Simply dampen the glove slightly and gently stroke your pet’s fur in the direction of hair growth. The rubber will attract and collect the loose fur, which you can then easily remove from the glove. This is a great way to bond with your pet while also keeping your home cleaner.
Q: What if I don’t have a rubber glove? Are there any alternatives?
A: Yes, there are several alternatives you can use if you don’t have a rubber glove. A slightly dampened sponge can work in a similar way, although it may not be as effective at gripping the pet hair. You can also try using a pumice stone, but be very careful not to scratch or damage the surface you’re cleaning. Another option is to use a lint roller, although this can be more time-consuming and expensive in the long run. Ultimately, a rubber glove is the most effective and affordable option, but these alternatives can work in a pinch.
Q: How do I clean the rubber glove after using it to remove pet hair?
A: Cleaning the rubber glove is easy. Simply rinse it under warm water to remove the accumulated pet hair. You can also use a mild soap or detergent to help loosen any stubborn hairs. Once the glove is clean, allow it to air dry completely before storing it. Avoid using harsh chemicals or abrasive cleaners, as these can damage the rubber.
Q: Is this DIY trick safe for all types of fabrics and surfaces?
A: While this trick is generally safe for most fabrics and surfaces, it’s always a good idea to test a small, inconspicuous area first to ensure that it doesn’t cause any damage or discoloration. Be particularly cautious when using this method on delicate fabrics like silk or velvet, as they may be more susceptible to damage. Avoid using excessive pressure or scrubbing too vigorously, as this can also damage the surface.
Q: Can this method remove embedded pet hair from carpets?
A: This method can be effective at removing embedded pet hair from carpets, but it may require a bit more effort. Start by vacuuming the carpet thoroughly to remove any loose debris. Then, dampen the rubber glove and rub it over the carpet in a circular motion. The rubber will help to loosen and lift the embedded pet hair. You may need to repeat this process several times to remove all of the hair. For particularly stubborn pet hair, you can try using a carpet rake or a specialized pet hair removal tool.
Q: Will this DIY trick work on all types of pet hair?
A: This trick is generally effective on all types of pet hair, but it may work better on some types than others. For example, it may be more effective on short, coarse hair than on long, fine hair. However, with a little patience and persistence, you should be able to remove most types of pet hair using this method.
Q: What are some other tips for preventing pet hair from accumulating in my home?
A: In addition to using this DIY pet hair removal trick, there are several other things you can do to prevent pet hair from accumulating in your home. Regularly groom your pet to remove loose fur before it has a chance to shed. Use furniture covers to protect your upholstery from pet hair. Vacuum your home frequently, paying particular attention to areas where your pet spends a lot of time. Consider investing in an air purifier to help remove pet dander and hair from the air. By taking these steps, you can significantly reduce the amount of pet hair in your home and make it easier to keep clean.
Leave a Comment