

Simple Home Cleaning Routine: Are you tired of spending your entire weekend scrubbing and dusting? Do you dream of a sparkling clean home without sacrificing your precious free time? I know I do! That’s why I’m so excited to share some game-changing DIY tricks and hacks that will transform your cleaning routine from a dreaded chore into a manageable task.
For centuries, maintaining a clean home has been a cornerstone of healthy living and a reflection of personal pride. From ancient civilizations using natural remedies to modern innovations in cleaning technology, the pursuit of a tidy and hygienic living space has been a constant throughout history. But let’s be honest, in today’s busy world, who has the time for elaborate cleaning rituals?
That’s where this article comes in! We’re diving deep into the world of DIY cleaning solutions and time-saving strategies that will revolutionize your approach to housework. You’ll discover how to create effective cleaning products using everyday ingredients, learn clever hacks to tackle stubborn messes, and develop a simple home cleaning routine that fits seamlessly into your lifestyle. Say goodbye to overwhelming cleaning sessions and hello to a consistently clean and comfortable home, without the stress!
DIY Deep Cleaning Your Home: A Room-by-Room Guide
Okay, let’s be honest, cleaning isn’t exactly anyone’s favorite pastime. But a clean home? That’s a game-changer! It boosts your mood, reduces stress, and just makes everything feel…better. So, I’m going to walk you through my tried-and-true method for deep cleaning your home, room by room. We’ll break it down into manageable steps, so it doesn’t feel overwhelming. Trust me, you’ve got this!
General Supplies You’ll Need
Before we dive into specific rooms, let’s gather our cleaning arsenal. Having everything ready beforehand will save you time and energy. Here’s my go-to list:
* Microfiber cloths: These are amazing for dusting, wiping surfaces, and polishing. Stock up!
* All-purpose cleaner: Choose your favorite – I prefer a natural, eco-friendly option.
* Glass cleaner: For sparkling windows and mirrors.
* Bathroom cleaner: Specifically designed for tackling soap scum and grime.
* Toilet bowl cleaner: A must-have for obvious reasons.
* Disinfectant spray: For high-touch surfaces like doorknobs and light switches.
* Vacuum cleaner: With attachments for different surfaces.
* Mop and bucket: Or a steam mop, if you have one.
* Sponges: For scrubbing stubborn messes.
* Scrub brush: For grout and other tough-to-reach areas.
* Rubber gloves: To protect your hands.
* Trash bags: For decluttering as you go.
* Dustpan and brush: For quick cleanups.
* Baking soda: A natural cleaning powerhouse!
* White vinegar: Another natural cleaning superstar.
* Old toothbrush: Perfect for cleaning grout and small crevices.
* Essential oils (optional): For adding a fresh scent to your cleaning solutions.
The Kitchen: Conquering the Heart of the Home
The kitchen is often the busiest room in the house, which means it can get dirty quickly. Let’s tackle it step-by-step:
1. Clear the countertops: Remove everything from your countertops – appliances, utensils, mail, everything! This gives you a clear space to work and allows you to clean thoroughly.
2. Load the dishwasher (or wash dishes by hand): Get those dirty dishes out of the way! If you have a dishwasher, load it up. If not, fill your sink with hot, soapy water and get to scrubbing.
3. Clean the countertops: Spray your all-purpose cleaner onto the countertops and wipe them down with a microfiber cloth. Pay attention to any spills or sticky spots.
4. Clean the stovetop: Remove the grates and burner caps. Soak them in hot, soapy water while you clean the stovetop itself. Use a sponge or scrub brush to remove any food residue. For stubborn stains, try a paste of baking soda and water. Rinse and dry the grates and burner caps before replacing them.
5. Clean the microwave: Heat a cup of water with a tablespoon of vinegar in the microwave for a few minutes. This will loosen any splatters and make them easier to wipe away. Carefully remove the cup and wipe down the inside of the microwave with a damp cloth.
6. Clean the oven: This is often the most dreaded task, but it doesn’t have to be! If you have a self-cleaning oven, run the self-cleaning cycle. If not, you can use a commercial oven cleaner or make your own paste of baking soda and water. Apply the paste to the inside of the oven, let it sit overnight, and then scrub it clean the next day.
7. Clean the sink: Scrub the sink with a sponge and your all-purpose cleaner. Pay attention to the drain, which can be a breeding ground for bacteria. Rinse thoroughly.
8. Clean the refrigerator: Remove all the food from the refrigerator. Discard any expired or spoiled items. Wipe down the shelves and drawers with a solution of warm water and baking soda. Replace the food.
9. Sweep and mop the floor: Sweep the floor to remove any loose dirt and debris. Then, mop the floor with your chosen floor cleaner.
10. Wipe down cabinets and drawers: Use a damp cloth and all-purpose cleaner to wipe down the exterior of your cabinets and drawers. Pay attention to areas around the handles, which tend to get greasy.
11. Empty the trash can: Replace the trash bag and wipe down the inside of the trash can with a disinfectant spray.
The Bathroom: Banishing Bacteria and Grime
The bathroom is another area that requires regular deep cleaning. Here’s how I tackle it:
1. Clear the countertops: Remove everything from the countertops – toiletries, makeup, hair products, everything!
2. Clean the mirror: Spray the mirror with glass cleaner and wipe it down with a microfiber cloth.
3. Clean the countertops and sink: Spray the countertops and sink with your bathroom cleaner. Use a sponge or scrub brush to remove any soap scum or grime. Rinse thoroughly.
4. Clean the toilet: Pour toilet bowl cleaner into the toilet bowl and let it sit for a few minutes. Then, scrub the bowl with a toilet brush and flush. Wipe down the exterior of the toilet with a disinfectant spray.
5. Clean the shower or bathtub: Spray the shower or bathtub with your bathroom cleaner. Let it sit for a few minutes, then scrub with a sponge or scrub brush. Pay attention to the grout, which can be prone to mildew. Rinse thoroughly. For stubborn mildew stains, try a solution of bleach and water (use caution and wear gloves).
6. Clean the showerhead: Mineral deposits can build up on the showerhead, reducing water pressure. To clean it, fill a plastic bag with white vinegar and secure it around the showerhead with a rubber band. Let it soak for a few hours or overnight. Then, remove the bag and run the shower to flush out any remaining vinegar.
7. Sweep and mop the floor: Sweep the floor to remove any loose dirt and debris. Then, mop the floor with your chosen floor cleaner.
8. Wipe down cabinets and drawers: Use a damp cloth and all-purpose cleaner to wipe down the exterior of your cabinets and drawers.
9. Replace towels: Put out fresh, clean towels.
10. Empty the trash can: Replace the trash bag and wipe down the inside of the trash can with a disinfectant spray.
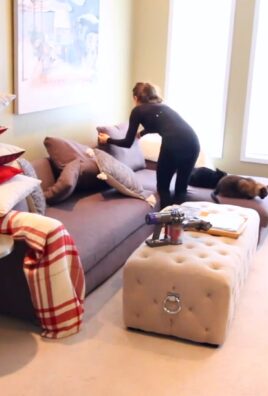
The Living Room: Dusting and Decluttering
The living room is where we relax and unwind, so it’s important to keep it clean and comfortable.
1. Declutter: Remove any items that don’t belong in the living room – books, toys, clothes, etc. Put them away in their proper places.
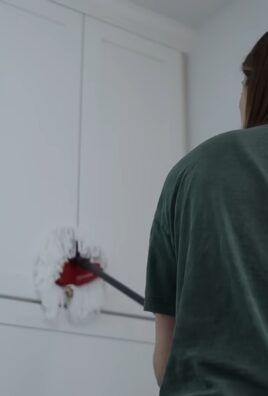
2. Dust: Dust all surfaces, including furniture, shelves, picture frames, and lamps. Use a microfiber cloth or a duster with a long handle to reach high places.
3. Vacuum or sweep the floor: Vacuum the carpet or sweep the hardwood floor to remove any dirt and debris.
4. Clean the windows: Spray the windows with glass cleaner and wipe them down with a microfiber cloth.
5. Clean the upholstery: Vacuum the upholstery of your furniture to remove any dust and crumbs. If there are any stains, spot clean them with a upholstery cleaner.
6. Wash or dry clean curtains: Check the care label on your curtains and wash or dry clean them as needed.
7. Dust electronics: Use a dry microfiber cloth to dust your television, stereo, and other electronic devices.
8. Fluff pillows and blankets: Fluff your pillows and blankets to make them look fresh and inviting.
9. Straighten up: Arrange your furniture and accessories to create a tidy and organized space.
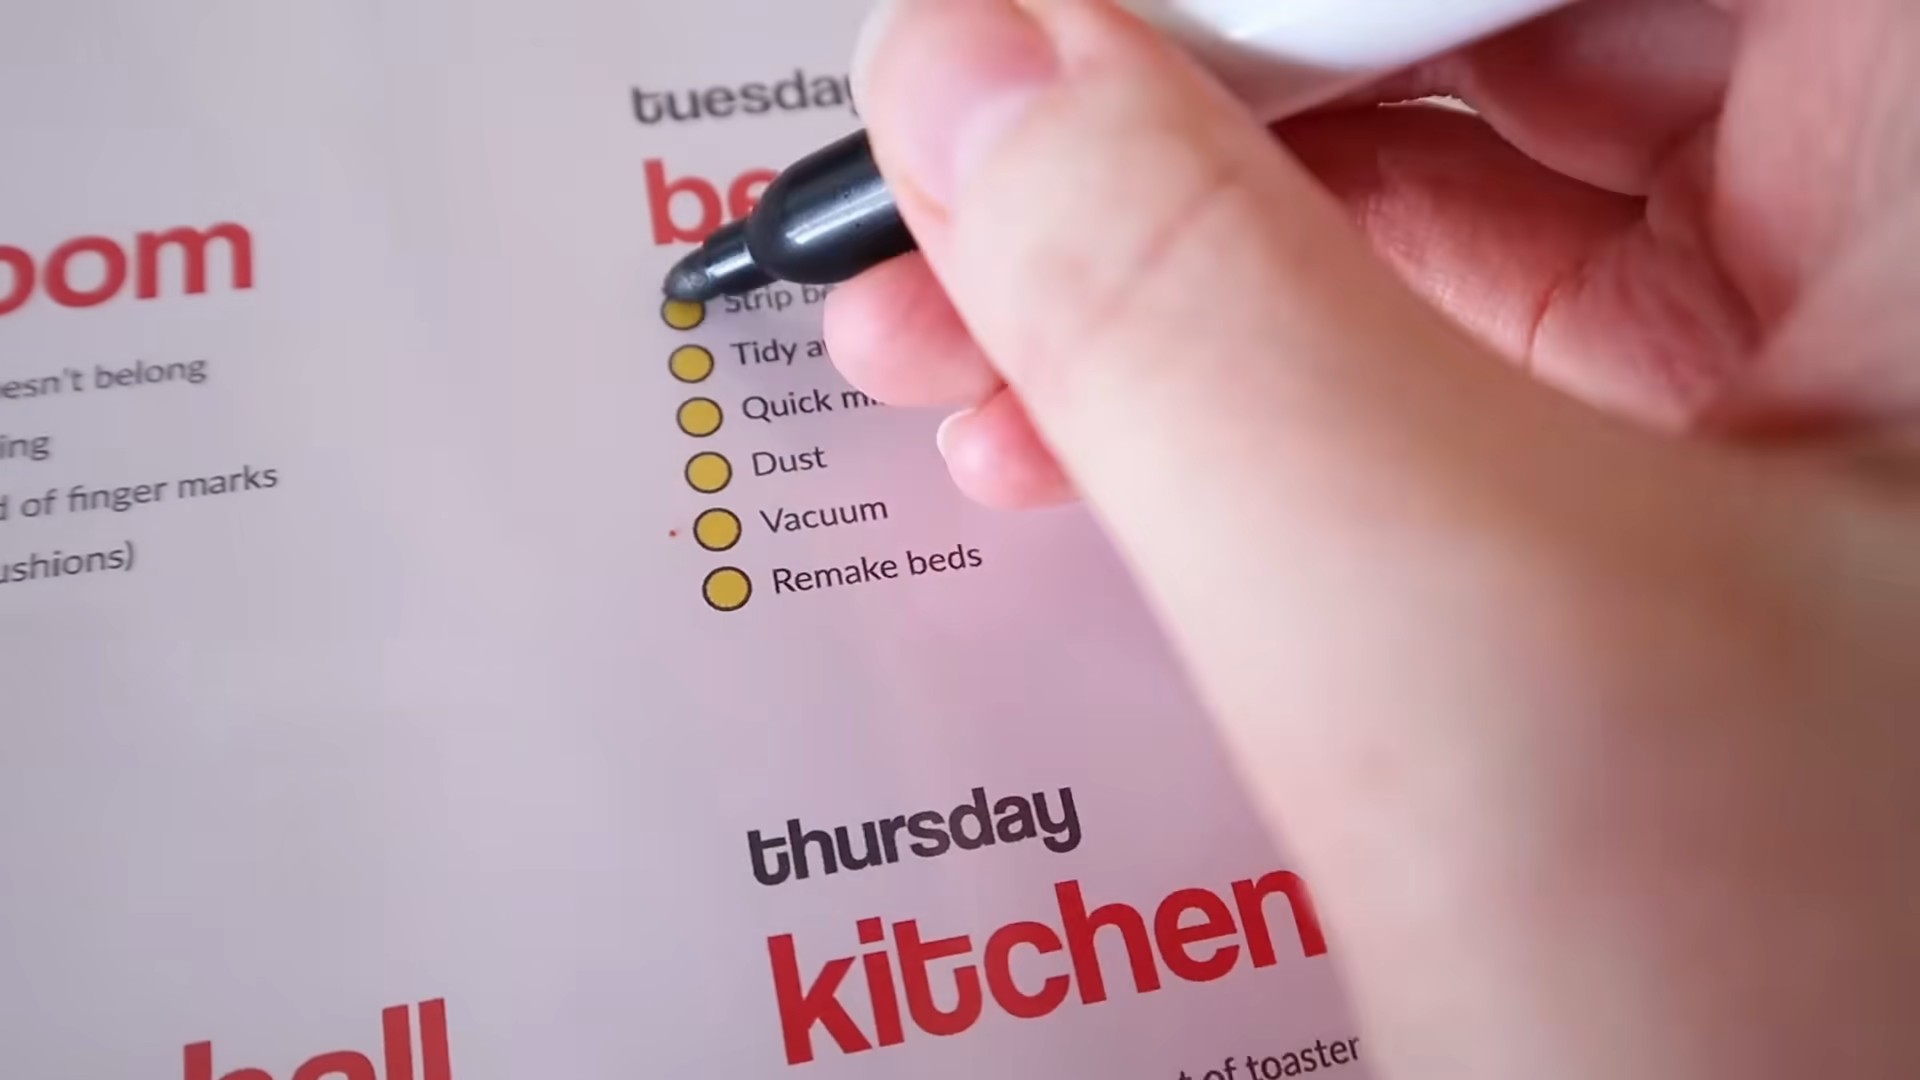
The Bedrooms: Creating a Sanctuary for Sleep
Your bedroom should be a peaceful and relaxing sanctuary. Here’s how to keep it clean and clutter-free:
1. Make the bed: Start by making the bed. This instantly makes the room look tidier.
2. Declutter: Remove any items that don’t belong in the bedroom – clothes, books, papers, etc. Put them away in their proper places.
3. Dust: Dust all surfaces, including furniture, shelves, picture frames, and lamps.
4. Vacuum or sweep the floor: Vacuum the carpet or sweep the hardwood floor to remove any dirt and debris.
5. Clean the windows: Spray the windows with glass cleaner and wipe them down with a microfiber cloth.
6. Wash bedding: Wash your sheets, pillowcases, and duvet cover regularly.
7. Organize closets and drawers: Take some time to organize your closets and
Conclusion
So, there you have it! Transforming your cleaning routine with these simple DIY tricks isn’t just about saving money; it’s about taking control of the ingredients you’re bringing into your home and creating a healthier, more sustainable living space. We’ve shown you how to ditch harsh chemicals and embrace the power of natural ingredients to achieve sparkling results. From the invigorating lemon-infused all-purpose cleaner to the gentle yet effective baking soda scrub, these methods are designed to be both powerful and eco-friendly.
Why is this a must-try? Because it’s a win-win! You’re reducing your exposure to potentially harmful chemicals, saving money on expensive store-bought products, and contributing to a healthier planet, all while achieving a cleaner, fresher home. Plus, the satisfaction of creating something yourself is incredibly rewarding.
But don’t stop there! The beauty of DIY is its adaptability. Feel free to experiment with different essential oils to create your own signature scents. Lavender, tea tree, eucalyptus – the possibilities are endless! You could also try adding a touch of white vinegar to your all-purpose cleaner for extra grime-fighting power, or using castile soap as a base for a gentler, more moisturizing cleaning solution. For those stubborn stains, consider making a paste of baking soda and water and letting it sit on the affected area for a few minutes before scrubbing.
Remember, the key to a successful simple home cleaning routine is consistency. Incorporate these DIY tricks into your regular cleaning schedule, and you’ll be amazed at the difference they make. Not only will your home be cleaner, but you’ll also feel good knowing that you’re making a positive impact on your health and the environment.
We’re confident that once you try these DIY cleaning solutions, you’ll never go back to store-bought products again. They’re effective, affordable, and, most importantly, safe for you and your family. So, roll up your sleeves, gather your ingredients, and get ready to experience the joy of a truly clean home, naturally.
We encourage you to try these DIY cleaning tricks and share your experiences with us! Let us know which recipes worked best for you, what variations you tried, and any tips or tricks you discovered along the way. Your feedback is invaluable and helps us create even better content for our community. Share your stories in the comments below, and let’s inspire each other to create healthier, happier homes, one DIY cleaning project at a time. We can’t wait to hear from you!
Frequently Asked Questions (FAQ)
Are these DIY cleaning solutions safe for all surfaces?
That’s a great question! While most of these DIY cleaning solutions are generally safe for a wide range of surfaces, it’s always a good idea to test them in an inconspicuous area first, especially on delicate materials like wood, marble, or granite. For example, vinegar, while a fantastic cleaner, can etch certain types of stone. Similarly, lemon juice can be acidic and may damage some surfaces. Always err on the side of caution and test before applying liberally. If you’re unsure, consult the manufacturer’s instructions for the specific surface you’re cleaning.
Can I use any type of essential oil in these recipes?
While you can technically use any essential oil you like, it’s important to choose high-quality, pure essential oils for the best results and to avoid potential skin irritations or allergic reactions. Look for essential oils that are labeled as “100% pure” and are sourced from reputable suppliers. Also, consider the properties of different essential oils. For example, lavender is known for its calming and relaxing properties, while tea tree oil has antibacterial and antifungal properties. Choose essential oils that align with your desired cleaning outcome and personal preferences. Always dilute essential oils properly before using them, as they can be quite potent.
How long will these DIY cleaning solutions last?
The shelf life of your DIY cleaning solutions will depend on the ingredients you use and how you store them. Generally, solutions made with water should be used within a week or two to prevent bacterial growth. Solutions made with vinegar or alcohol will last longer, typically for several months. To maximize the shelf life of your DIY cleaning solutions, store them in airtight containers in a cool, dark place. Label each container with the date you made the solution so you can keep track of its freshness. If you notice any changes in color, odor, or consistency, it’s best to discard the solution and make a fresh batch.
What if I don’t have all the ingredients listed in the recipes?
Don’t worry! The beauty of DIY cleaning is that you can often substitute ingredients based on what you have on hand. For example, if you don’t have lemon juice, you can use white vinegar instead. If you don’t have castile soap, you can use dish soap (though be mindful of the potential for suds). The key is to understand the properties of each ingredient and find a suitable alternative. If you’re unsure about a substitution, do a quick online search to see if it’s recommended. And remember, experimentation is part of the fun!
Are these DIY cleaning solutions safe for pets and children?
While these DIY cleaning solutions are generally safer than conventional cleaning products, it’s still important to take precautions when using them around pets and children. Keep all cleaning solutions out of reach of children and pets. Avoid spraying cleaning solutions directly onto surfaces that pets or children may lick or touch. If you’re using essential oils, be aware that some essential oils can be toxic to pets. Do your research and choose pet-safe essential oils if you have pets. When cleaning floors, allow them to dry completely before allowing pets or children to walk on them. If you’re concerned about potential sensitivities, consider using a milder cleaning solution or cleaning when pets and children are not present.
How can I make my simple home cleaning routine more sustainable?
There are many ways to make your simple home cleaning routine more sustainable. Start by using reusable cleaning cloths instead of paper towels. Invest in a good quality spray bottle that you can refill instead of buying new spray bottles each time. Compost food scraps instead of throwing them away. Use natural cleaning ingredients like vinegar, baking soda, and lemon juice. Consider making your own laundry detergent and dish soap. By making small changes to your cleaning habits, you can significantly reduce your environmental impact.

Leave a Comment