

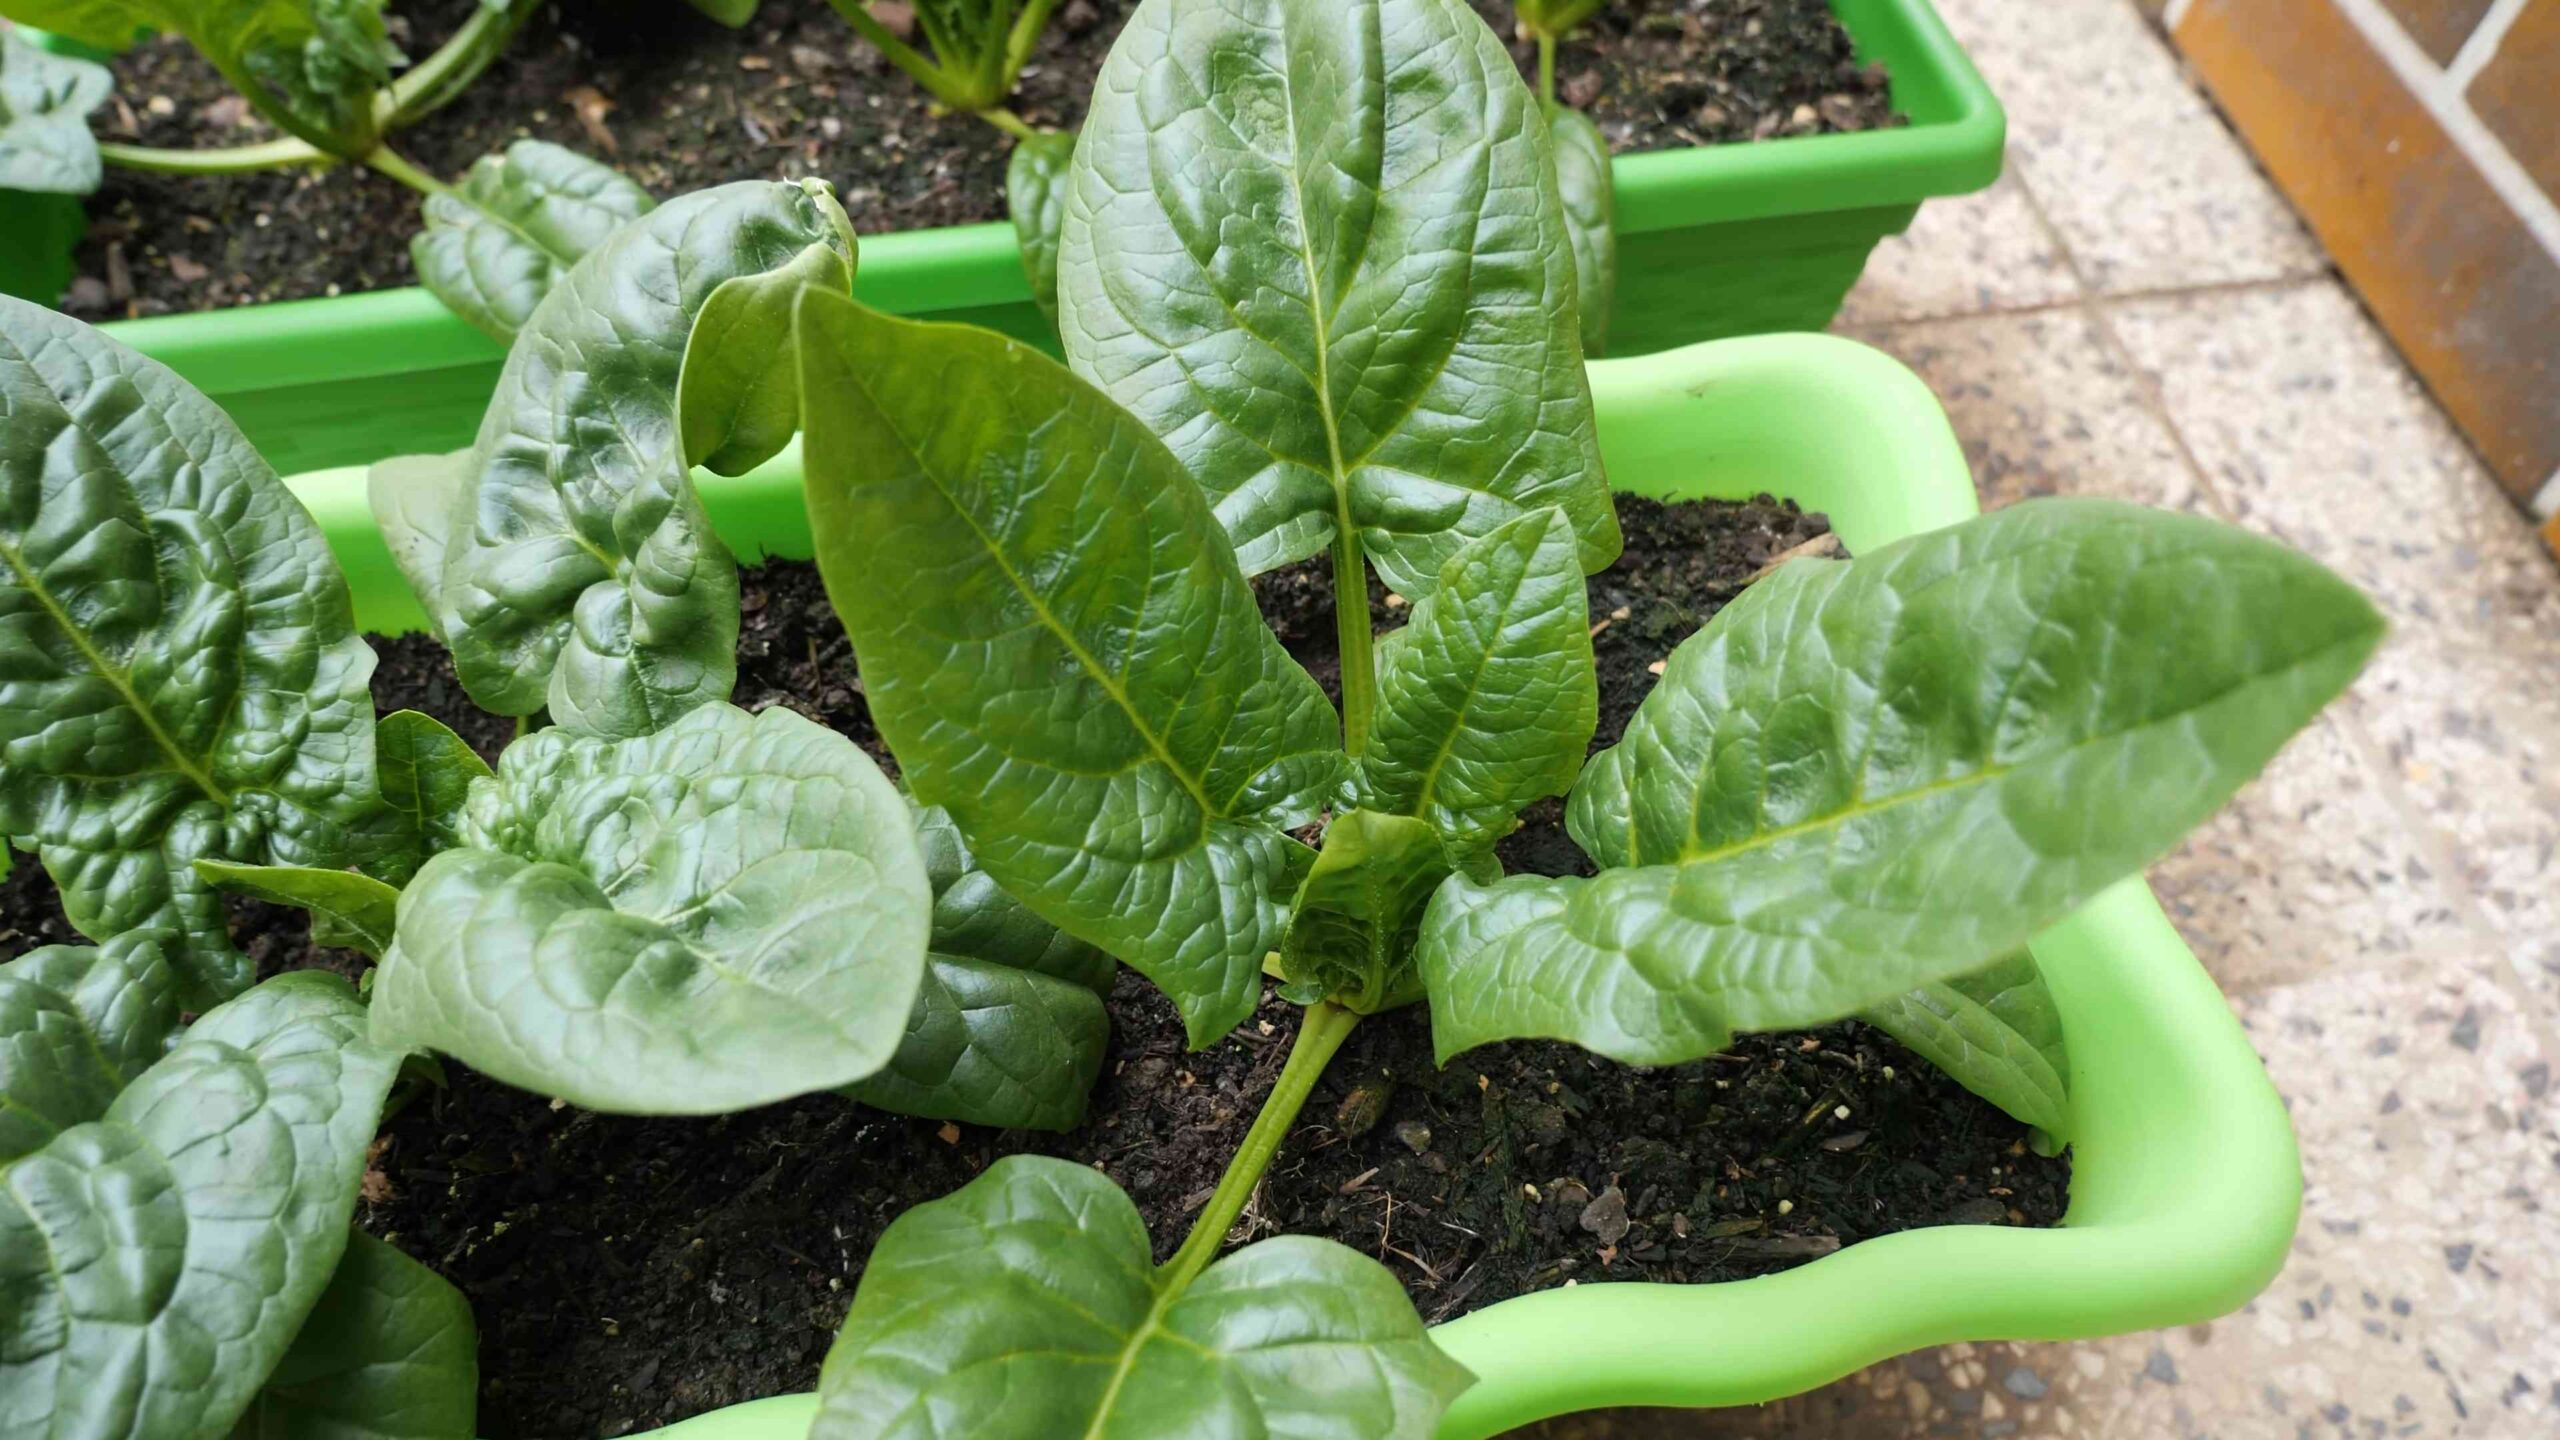
Soil Free Spinach Growing: Imagine harvesting crisp, vibrant spinach leaves right from your own home, without ever getting your hands dirty in soil! Sounds like a dream, right? Well, it’s a dream that can easily become a reality with the magic of hydroponics. For centuries, cultures around the globe have experimented with soilless cultivation, from the floating gardens of ancient Aztecs to modern-day vertical farms. But you don’t need to be an expert to enjoy the benefits.
I’m here to show you how incredibly simple and rewarding soil free spinach growing can be. In today’s fast-paced world, finding time for traditional gardening can be a challenge. Plus, dealing with pests, soil diseases, and unpredictable weather can be frustrating. That’s where this DIY guide comes in! We’ll explore a simple, beginner-friendly hydroponic system that allows you to grow delicious, nutrient-rich spinach indoors, year-round. Say goodbye to store-bought spinach and hello to fresh, homegrown goodness, all without the hassle of soil. Let’s get started!
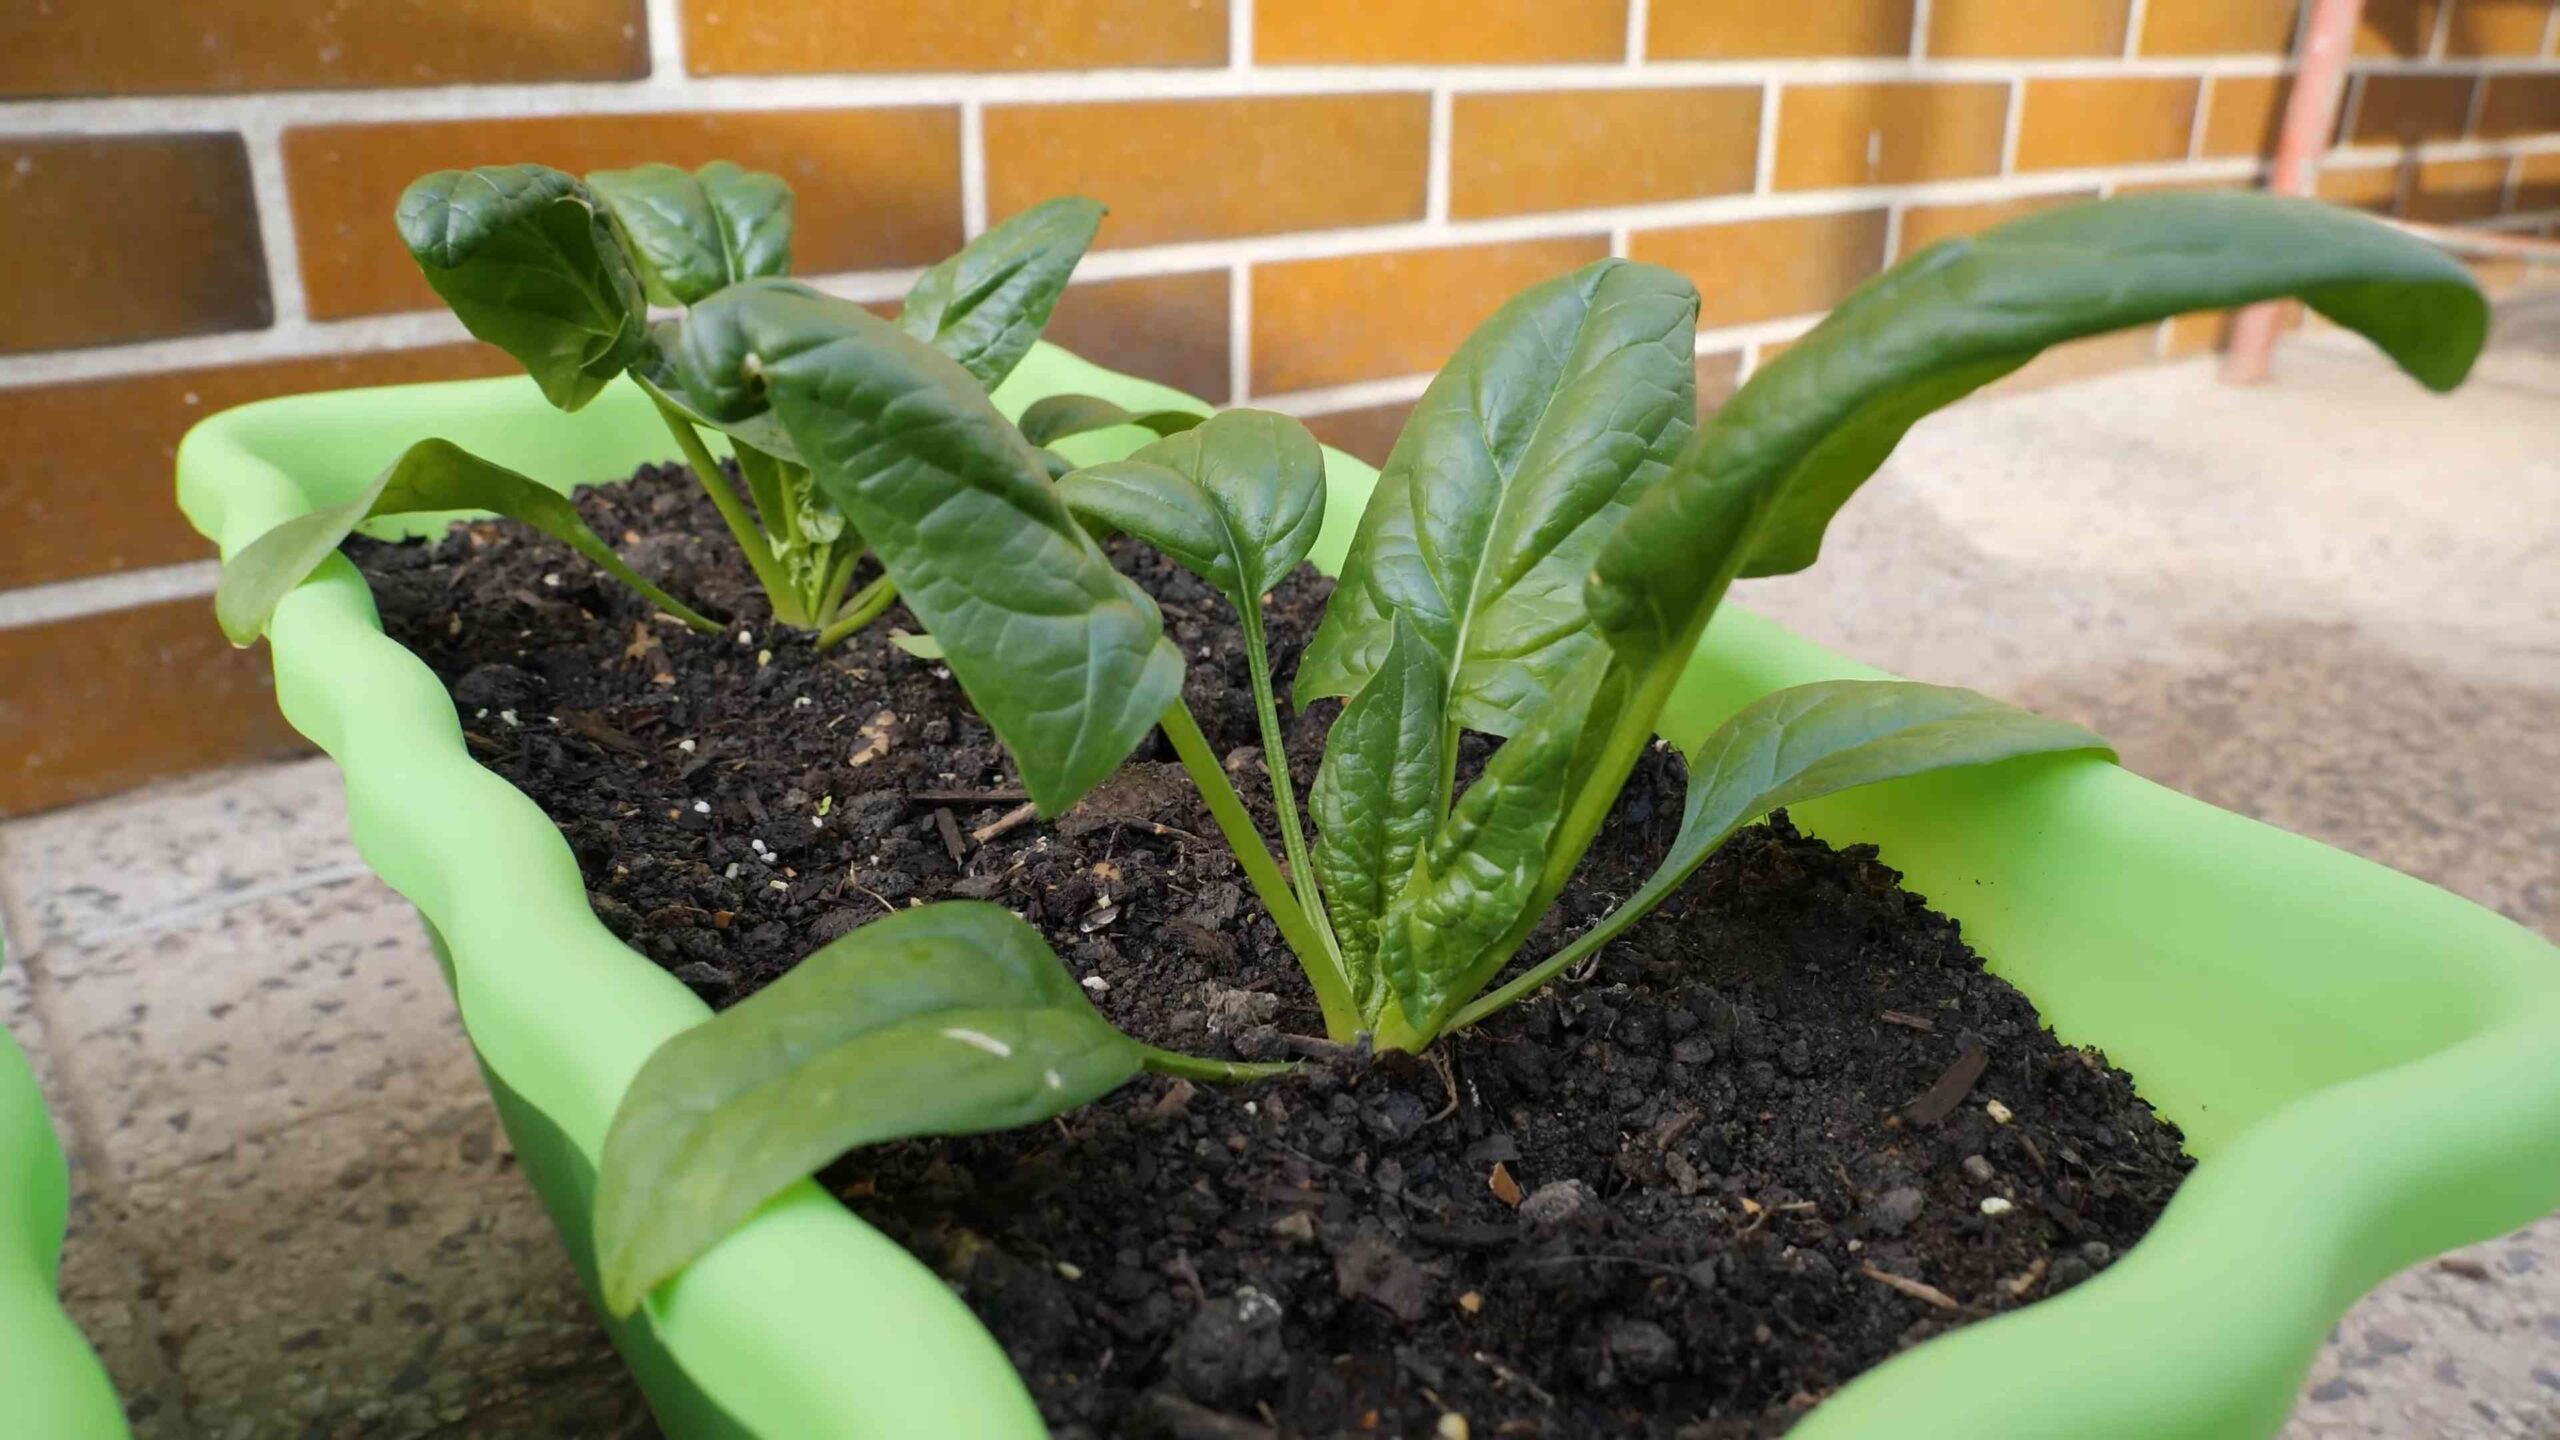
Growing Spinach Without Soil: A DIY Hydroponic Adventure!
Hey there, fellow plant enthusiasts! Ever dreamt of harvesting fresh, crisp spinach right from your kitchen, without getting your hands dirty in soil? Well, you’re in the right place! I’m going to walk you through a super fun and surprisingly easy DIY hydroponic system that will have you enjoying soil-free spinach in no time. Get ready to ditch the dirt and embrace the future of gardening!
What You’ll Need: The Supply List
Before we dive in, let’s gather our supplies. Don’t worry, most of these are easily accessible and won’t break the bank.
* A Deep Container: Think a plastic storage bin (opaque is best to prevent algae growth), a large bucket, or even a repurposed tote. Aim for something at least 6 inches deep.
* Net Pots: These are small, slotted containers that will hold your spinach seedlings. You can find them at most garden centers or online. I usually go for 2-inch net pots.
* Hydroponic Growing Medium: This replaces the soil. Rockwool cubes, coco coir, or even clay pebbles (LECA) work great. I personally love coco coir for spinach.
* Hydroponic Nutrients: This is your plant food! You’ll need a balanced hydroponic nutrient solution specifically formulated for leafy greens. Look for something with a good nitrogen content.
* Air Pump and Air Stone: These are crucial for oxygenating the nutrient solution, which is essential for healthy root growth.
* Air Tubing: To connect the air pump to the air stone.
* pH Testing Kit: Maintaining the correct pH is vital for nutrient absorption. A simple pH testing kit from a garden center will do the trick.
* pH Up and pH Down Solutions: To adjust the pH of your nutrient solution if needed.
* Spinach Seeds: Choose your favorite variety! I recommend ‘Baby’s Leaf’ or ‘Space’ for hydroponics.
* Seed Starting Tray and Dome: For germinating your spinach seeds.
* Grow Lights (Optional but Recommended): Especially if you don’t have a sunny spot. LED grow lights are energy-efficient and work wonders.
* Measuring Cups and Spoons: For accurately mixing your nutrient solution.
* Drill (Optional): If your container doesn’t have pre-made holes for the net pots.
* Marker: For labeling.
Section 1: Germinating Your Spinach Seeds
This is the first step to spinach success! We need to get those little seeds sprouting before we can move them to our hydroponic system.
1. Prepare Your Seed Starting Tray: Fill your seed starting tray with a seed starting mix or coco coir. Moisten the medium thoroughly.
2. Sow the Seeds: Plant 2-3 spinach seeds in each cell of the tray, about ¼ inch deep.
3. Cover and Water: Cover the tray with the humidity dome to create a warm, moist environment. Gently water the seeds using a spray bottle.
4. Provide Light: Place the tray under grow lights or in a bright, sunny location.
5. Keep Moist: Check the tray daily and mist with water as needed to keep the medium moist but not soggy.
6. Wait for Germination: Spinach seeds typically germinate in 5-10 days. Once the seedlings emerge, remove the humidity dome.
Section 2: Building Your DIY Hydroponic System
Now for the fun part! Let’s assemble our soil-free spinach paradise.
1. Prepare Your Container: If your container doesn’t have pre-made holes, use a drill to create holes that are slightly smaller than the diameter of your net pots. Space the holes evenly across the lid or top of the container, allowing enough room for the spinach plants to grow. I usually aim for about 4-6 inches between each hole.
2. Prepare the Growing Medium: If you’re using rockwool cubes, soak them in water for a few hours before using them. If you’re using coco coir, rinse it thoroughly to remove any excess salts. Clay pebbles should also be rinsed.
3. Place the Net Pots: Insert the net pots into the holes you created in the container lid.
4. Add the Growing Medium: Fill each net pot with your chosen growing medium. Leave a little space at the top.
5. Prepare the Nutrient Solution: Follow the instructions on your hydroponic nutrient solution to mix the correct concentration. Use measuring cups and spoons to ensure accuracy. I usually start with a half-strength solution for young seedlings.
6. Fill the Container: Pour the nutrient solution into the container, making sure the bottom of the net pots are submerged in the solution. You want the solution to wick up into the growing medium.
7. Install the Air Pump and Air Stone: Connect the air tubing to the air pump and the air stone. Place the air stone at the bottom of the container and turn on the air pump. You should see bubbles rising to the surface, indicating that the solution is being oxygenated.
8. Check the pH: Use your pH testing kit to check the pH of the nutrient solution. Spinach prefers a pH between 6.0 and 7.0. Adjust the pH using pH up or pH down solutions as needed. Add small amounts at a time and retest until you reach the desired pH.
Section 3: Transplanting and Growing Your Spinach
Time to move those seedlings into their new home!
1. Gently Remove Seedlings: Carefully remove the spinach seedlings from the seed starting tray, trying to keep as much of the root system intact as possible.
2. Plant in Net Pots: Place one or two seedlings in each net pot, nestled in the growing medium.
3. Provide Light: Place the hydroponic system under grow lights or in a bright, sunny location. If using grow lights, position them about 6-12 inches above the plants.
4. Monitor the Nutrient Solution: Check the nutrient solution level regularly and add more as needed. Replace the entire solution every 1-2 weeks to prevent nutrient buildup.
5. Maintain pH: Check the pH of the nutrient solution every few days and adjust as needed.
6. Adjust Nutrient Strength: As the spinach plants grow, you may need to increase the strength of the nutrient solution. Follow the instructions on your nutrient solution for recommended concentrations.
7. Prune as Needed: Remove any yellowing or damaged leaves to encourage healthy growth.
8. Harvest Your Spinach: You can start harvesting spinach leaves when they are about 4-6 inches long. Simply snip off the outer leaves, leaving the inner leaves to continue growing. This is called “cut and come again” harvesting, and it allows you to enjoy fresh spinach for weeks!
Troubleshooting Tips
Even with the best planning, sometimes things don’t go exactly as expected. Here are a few common issues and how to address them:
* Yellowing Leaves: This could be a sign of nutrient deficiency. Make sure you’re using a balanced hydroponic nutrient solution and that the pH is within the optimal range. It could also indicate overwatering, so ensure the roots aren’t constantly submerged.
* Slow Growth: This could be due to insufficient light, incorrect pH, or nutrient deficiency. Check your grow lights, pH, and nutrient solution.
* Algae Growth: Algae can grow in the nutrient solution if it’s exposed to too much light. Use an opaque container to prevent algae growth. You can also add a small amount of hydrogen peroxide to the solution to kill algae.
* Root Rot: This is caused by a lack of oxygen in the nutrient solution. Make sure your air pump and air stone are working properly.
Choosing the Right Spinach Variety
While most spinach varieties can be grown hydroponically, some perform better than others. Here are a few of my favorites:
* Baby’s Leaf: This is a classic choice for hydroponics. It’s fast-growing and produces tender, mild-flavored leaves.
* Space: This variety is known for its disease resistance and high yields.
* Tyee: This is a bolt-resistant variety, meaning it’s less likely to go to seed in warm weather.
* Regiment: Another great bolt-resistant option with smooth leaves.
Tips for Success
Here are a few extra tips to help you achieve spinach-growing success:
* Start with High-Quality Seeds: Using fresh, high-quality seeds will increase your chances of successful germination.
* Maintain a Consistent Temperature: Spinach prefers cooler temperatures, around 60-70°F (15-21°C).
* Provide Adequate Air Circulation: Good air circulation will help prevent fungal diseases.
* Monitor for Pests: While hydroponics is less prone to
Conclusion
So, there you have it! Growing spinach without soil might seem like a futuristic concept, but it’s surprisingly simple, incredibly rewarding, and a fantastic way to enjoy fresh, nutritious greens right from your own home, regardless of your space constraints. This method, focusing on hydroponics, offers a cleaner, more controlled environment for your spinach, minimizing the risk of soilborne diseases and pests that can plague traditional gardening.
Why is this DIY trick a must-try? Because it empowers you to take control of your food source. You know exactly what’s going into your spinach – no mystery fertilizers or pesticides. It’s also a fantastic learning experience, especially for those new to gardening or interested in sustainable living. Imagine the satisfaction of harvesting crisp, vibrant spinach leaves that you nurtured from seed to salad, all without getting your hands dirty in soil!
Beyond the basic method outlined, there’s plenty of room for experimentation. Want to add a nutrient boost? Consider incorporating diluted seaweed extract or fish emulsion into your nutrient solution. For a spicier kick, try growing baby mustard greens alongside your spinach in the same hydroponic setup. You can also experiment with different lighting options. While natural sunlight is ideal, a simple grow light can extend your growing season, especially during the darker winter months. Think about using a timer for your grow light to ensure consistent light exposure, promoting healthy growth.
Don’t be afraid to get creative with your container choices too. While a simple plastic bin works perfectly well, you could repurpose old buckets, storage containers, or even build a custom hydroponic system using PVC pipes. The possibilities are endless!
The key to successful soil free spinach growing lies in consistent monitoring and adjustment. Keep an eye on the pH of your nutrient solution, ensuring it stays within the optimal range for spinach growth. Regularly check the water level and top it off as needed. And most importantly, observe your plants closely. Are the leaves vibrant green and healthy? Are the roots developing well? Any signs of discoloration or wilting could indicate a nutrient deficiency or other issue that needs to be addressed.
We wholeheartedly encourage you to give this DIY trick a try. It’s a fun, educational, and ultimately delicious way to grow your own food. Once you’ve experienced the joy of harvesting your own soil-free spinach, we’re confident you’ll be hooked!
But don’t just take our word for it. We want to hear about your experiences! Share your photos, tips, and challenges in the comments section below. Let’s build a community of soil-free spinach growers and learn from each other. What variations did you try? What challenges did you overcome? Your insights could help others succeed in their own hydroponic adventures. So, grab your seeds, gather your supplies, and get growing! We can’t wait to see what you create.
Frequently Asked Questions (FAQ)
What exactly is hydroponics, and why is it good for growing spinach?
Hydroponics is a method of growing plants without soil, using mineral nutrient solutions in water. It’s beneficial for spinach because it allows for precise control over the nutrients the plants receive, leading to faster growth and higher yields. It also eliminates soilborne diseases and pests, reducing the need for pesticides. Furthermore, hydroponics is space-efficient, making it ideal for urban gardeners or those with limited outdoor space.
What kind of nutrient solution should I use for growing spinach hydroponically?
You can purchase commercially available hydroponic nutrient solutions specifically formulated for leafy greens. Look for a balanced formula containing macronutrients like nitrogen, phosphorus, and potassium, as well as micronutrients like iron, manganese, and zinc. Alternatively, you can create your own nutrient solution using readily available ingredients, but this requires more research and careful measurement to ensure the correct balance. Always follow the instructions on the nutrient solution label and dilute it appropriately. A general rule of thumb is to start with a weaker solution and gradually increase the concentration as the plants grow.
How often should I change the nutrient solution?
The frequency of changing the nutrient solution depends on several factors, including the size of your container, the number of plants, and the rate of nutrient uptake. As a general guideline, change the nutrient solution every 1-2 weeks. However, it’s important to monitor the pH and nutrient levels regularly. If the pH drifts significantly or the nutrient levels become depleted, you may need to change the solution more frequently. You can use a pH meter and a TDS (Total Dissolved Solids) meter to monitor these parameters.
What kind of lighting is best for growing spinach indoors?
Spinach needs adequate light to thrive. Natural sunlight is ideal, but if you’re growing spinach indoors, you’ll need to supplement with artificial lighting. Fluorescent grow lights or LED grow lights are both good options. LED lights are more energy-efficient and have a longer lifespan, but they can be more expensive upfront. Aim for at least 14-16 hours of light per day. You can use a timer to automate the lighting schedule. Position the lights close enough to the plants to provide sufficient light intensity, but not so close that they burn the leaves.
What is the ideal pH level for the nutrient solution?
The ideal pH level for growing spinach hydroponically is between 6.0 and 6.5. This range allows the plants to efficiently absorb nutrients from the solution. You can use a pH meter to measure the pH of the solution and adjust it as needed using pH up or pH down solutions, which are available at most garden supply stores.
How do I prevent algae growth in my hydroponic system?
Algae growth can be a common problem in hydroponic systems, especially if the nutrient solution is exposed to light. To prevent algae growth, keep the nutrient solution covered and out of direct sunlight. You can also use opaque containers to block light. Adding a small amount of hydrogen peroxide to the nutrient solution can also help to control algae growth, but be careful not to use too much, as it can harm the plants. Regularly cleaning the container and components of your hydroponic system can also help to prevent algae buildup.
How long does it take to grow spinach hydroponically?
Spinach typically takes about 30-45 days to mature when grown hydroponically, depending on the variety and growing conditions. You can start harvesting baby spinach leaves as early as 21 days.
What are some common problems I might encounter, and how do I fix them?
Some common problems include nutrient deficiencies, pest infestations, and diseases. Nutrient deficiencies can be identified by discoloration or stunted growth. Adjust the nutrient solution accordingly. Pests can be controlled with organic pesticides or by introducing beneficial insects. Diseases can be prevented by maintaining good hygiene and providing adequate ventilation. Regularly inspect your plants for any signs of problems and address them promptly.
Can I grow other vegetables using the same hydroponic system as spinach?
Yes, you can grow other leafy greens like lettuce, kale, and arugula in the same hydroponic system as spinach. However, it’s important to consider the specific nutrient requirements and growing conditions of each plant. Some plants may require different pH levels or nutrient concentrations. Research the specific needs of each plant before growing them together.
How do I harvest the spinach?
You can harvest spinach by cutting off the outer leaves as needed, allowing the inner leaves to continue growing. This is known as “cut and come again” harvesting. Alternatively, you can harvest the entire plant at once. Use a clean knife or scissors to cut the leaves or the entire plant at the base. Wash the harvested spinach thoroughly before eating.

Leave a Comment