

Sweet Potato Greens Growing can be a game-changer for your home garden! Imagine harvesting vibrant, nutritious greens right from your backyard, even if you thought sweet potatoes were just for their tubers. Forget those expensive grocery store trips for leafy greens; with a few simple tricks, you can unlock a continuous supply of delicious and healthy foliage.
Historically, sweet potato leaves have been a staple in many cultures, particularly in Asia and Africa, where they’re prized for their nutritional value and versatility in cooking. They’re packed with vitamins, minerals, and antioxidants, making them a fantastic addition to your diet. Plus, growing them is incredibly rewarding!
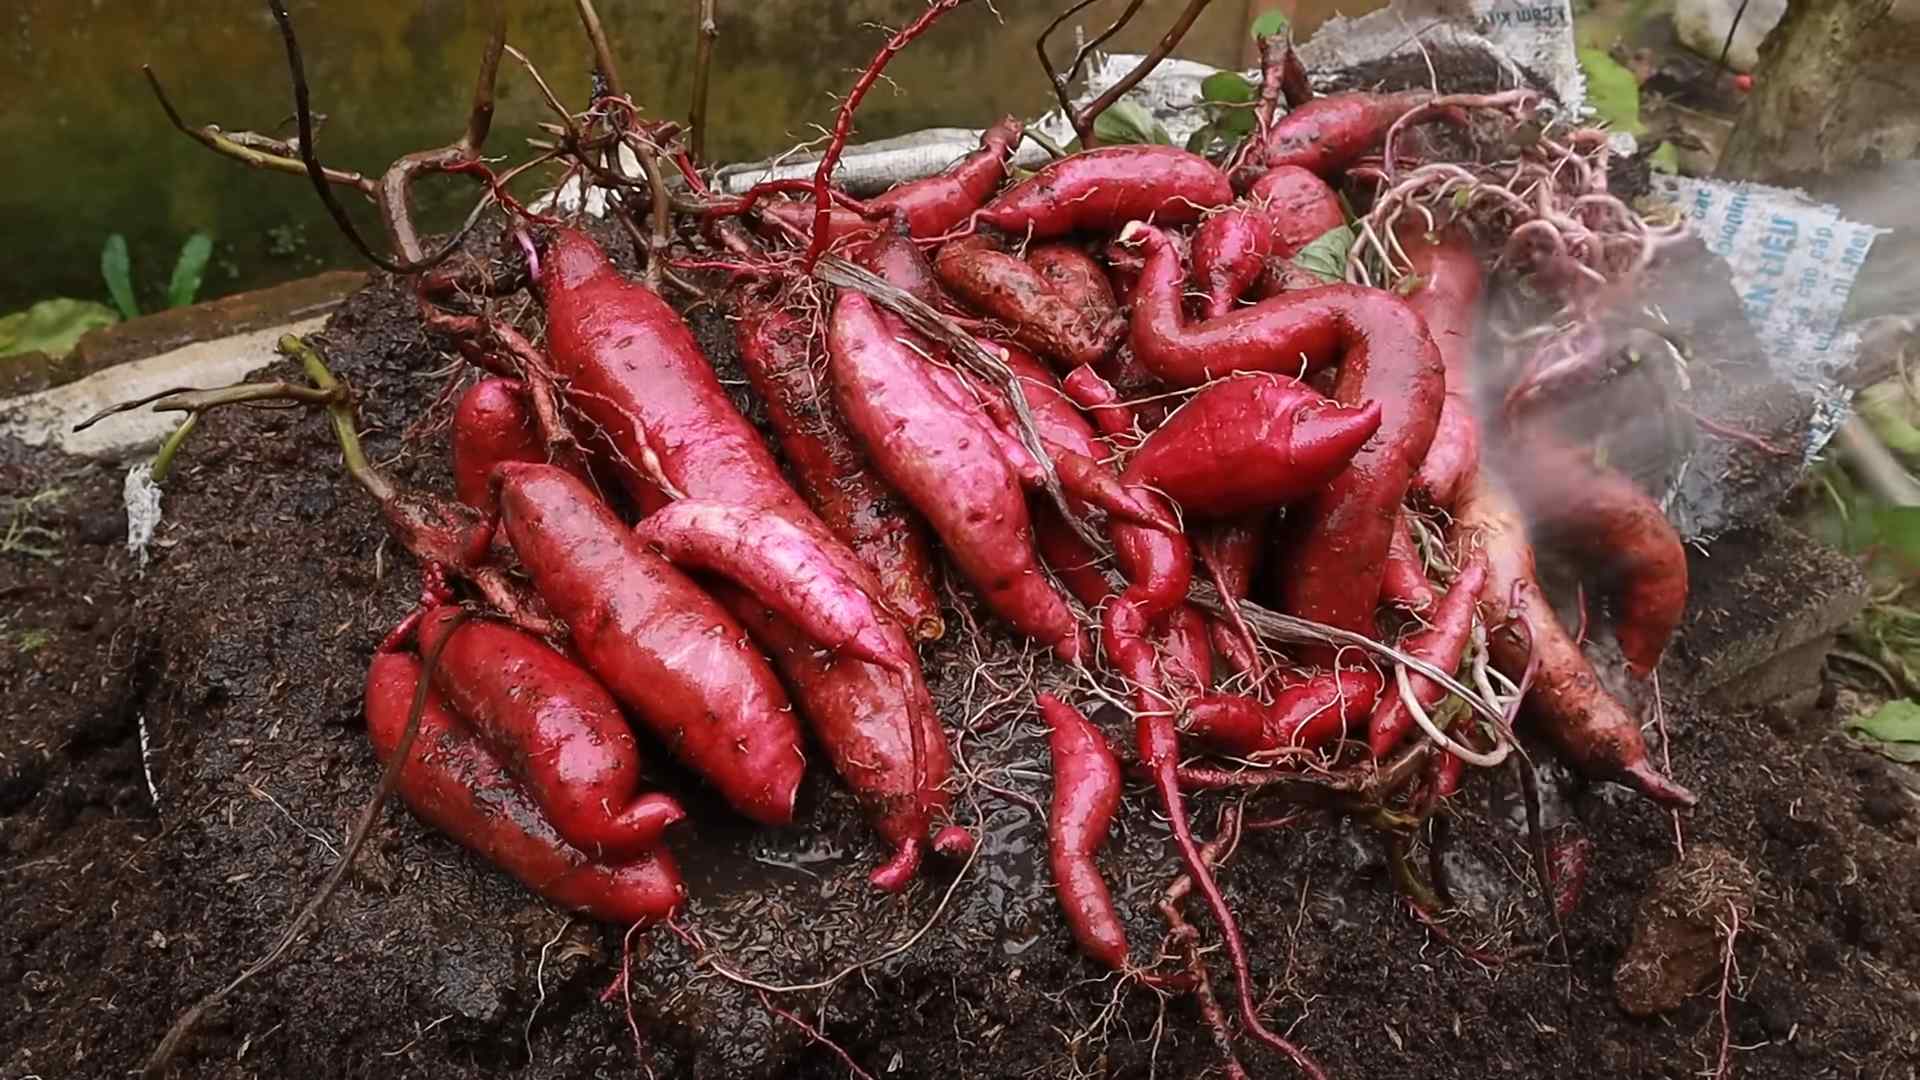
But why should you bother with sweet potato greens growing? Well, for starters, it’s an incredibly sustainable way to supplement your diet. It reduces your reliance on store-bought produce, minimizes food waste, and connects you more deeply with the food you eat. I’ve found that it’s also a fantastic way to utilize sweet potatoes that might be sprouting or past their prime. Instead of tossing them, you can give them a new life and enjoy a bounty of fresh greens. This DIY guide will walk you through everything you need to know, from sprouting your sweet potatoes to harvesting and enjoying your homegrown greens. Let’s get started!
Growing Sweet Potato Greens: A Delicious and Sustainable DIY Project
Hey there, fellow gardeners! Did you know you can eat the leaves of sweet potatoes? Not only are they edible, but they’re also incredibly nutritious and delicious! Plus, it’s a fantastic way to reduce food waste and get more out of your sweet potatoes. I’m going to walk you through how to grow your own sweet potato greens, even if you don’t have a huge garden. Let’s get started!
What You’ll Need
Before we dive in, let’s gather our supplies. This is a pretty low-cost project, which is always a win in my book!
* A sweet potato (organic is best, to avoid any sprout inhibitors)
* A glass or jar
* Toothpicks
* Water
* Potting soil (if you plan to transplant)
* A pot or container (again, if you plan to transplant)
* Optional: Liquid fertilizer (for established plants)
Sprouting Your Sweet Potato: The Water Method
This is the easiest and most common method for sprouting a sweet potato. It’s like a science experiment you can eat!
1. Prepare the Sweet Potato: First, give your sweet potato a good wash to remove any dirt. This will help prevent mold growth later on.
2. Insert Toothpicks: Now, grab your toothpicks. You’ll need to insert them around the middle of the sweet potato, spacing them evenly. These toothpicks will act as little “legs” to hold the sweet potato partially submerged in water. Aim for about four toothpicks.
3. Submerge in Water: Fill your glass or jar with water. The water level should be high enough to cover the bottom third to half of the sweet potato. The top portion should remain exposed to air.
4. Find a Sunny Spot: Place your sweet potato setup in a warm, sunny location. A windowsill is perfect!
5. Change the Water Regularly: This is crucial! Change the water every 2-3 days to prevent bacterial growth and keep the water fresh.
6. Wait and Watch: Now comes the waiting game. It can take anywhere from a week to several weeks for sprouts to appear. Be patient! You should start to see roots emerging from the bottom and sprouts (the future leaves) appearing on top.
7. Encourage Growth: Once you have a good amount of roots and sprouts (at least a few inches long), you can encourage further growth by adding a very diluted liquid fertilizer to the water every other water change. This isn’t essential, but it can give your sprouts a boost.
Transplanting to Soil (Optional, but Recommended)
While you can technically harvest greens directly from the water-sprouted sweet potato, transplanting to soil will give you a much more robust and productive plant.
1. Prepare Your Pot: Choose a pot that’s at least 12 inches in diameter. Sweet potatoes like room to grow! Fill the pot with good quality potting soil.
2. Carefully Remove Sprouts: Once your sprouts are a decent size (6-8 inches long), gently remove them from the sweet potato. You can either twist them off or use a clean knife to cut them. Try to get a little bit of root with each sprout if possible.
3. Plant the Sprouts: Make a small hole in the soil for each sprout. Plant the sprout deep enough so that the roots are covered and the base of the stem is just above the soil line.
4. Water Thoroughly: After planting, water the sprouts thoroughly.
5. Provide Sunlight: Place the pot in a sunny location. Sweet potato greens need at least 6 hours of sunlight per day.
6. Keep the Soil Moist: Water regularly to keep the soil consistently moist, but not soggy.
Growing Directly in Soil (Another Option)
If you prefer, you can plant the entire sweet potato directly into soil. This method can be a bit slower to get started, but it can also result in a larger, more productive plant.
1. Choose a Large Container: Select a large container, at least 18 inches in diameter, to accommodate the sweet potato and its future growth.
2. Prepare the Soil: Fill the container with well-draining potting soil.
3. Plant the Sweet Potato: Bury the sweet potato about halfway in the soil, leaving the top half exposed.
4. Water Well: Water the soil thoroughly after planting.
5. Provide Sunlight: Place the container in a sunny location.
6. Be Patient: It may take a few weeks for sprouts to emerge from the sweet potato. Keep the soil consistently moist during this time.
Caring for Your Sweet Potato Greens
Once your sweet potato greens are growing, here’s how to keep them happy and healthy:
* Sunlight: Sweet potato greens thrive in full sun. Aim for at least 6 hours of direct sunlight per day.
* Watering: Water regularly to keep the soil consistently moist. Avoid letting the soil dry out completely.
* Fertilizing: Feed your plants with a liquid fertilizer every 2-3 weeks. This will help them produce more leaves.
* Pest Control: Keep an eye out for pests like aphids and spider mites. If you spot any, treat them with insecticidal soap or neem oil.
* Pruning: Pruning encourages bushier growth. Pinch off the tips of the vines regularly to promote branching.
Harvesting Your Sweet Potato Greens
Now for the fun part – harvesting!
1. Wait for Maturity: Allow the leaves to reach a decent size before harvesting. They should be at least 4-6 inches long.
2. Harvest Regularly: You can harvest leaves as needed. Simply snip off the leaves with scissors or pruning shears.
3. Don’t Over-Harvest: Avoid removing more than one-third of the leaves at a time. This will allow the plant to continue growing and producing.
4. Enjoy Your Harvest: Sweet potato greens can be used in a variety of dishes. They can be steamed, sautéed, or added to soups and stews. They have a mild, slightly sweet flavor similar to spinach.
Troubleshooting
Sometimes things don’t go exactly as planned. Here are a few common issues you might encounter and how to fix them:
* No Sprouts: If your sweet potato isn’t sprouting, make sure it’s in a warm, sunny location and that you’re changing the water regularly. Also, check to see if your sweet potato has been treated with a sprout inhibitor. If so, try a different sweet potato.
* Yellowing Leaves: Yellowing leaves can be a sign of overwatering or nutrient deficiency. Make sure the soil is well-draining and that you’re fertilizing regularly.
* Pests: If you notice pests, treat them with insecticidal soap or neem oil.
* Mold: If you see mold growing on the sweet potato, rinse it off and change the water more frequently.
Delicious Ways to Use Sweet Potato Greens
Okay, you’ve grown your greens, now what? Here are some of my favorite ways to enjoy them:
* Sautéed: Sautéed with garlic and a little olive oil is a simple and delicious way to enjoy sweet potato greens.
* In Soups and Stews: Add them to your favorite soups and stews for a boost of nutrients and flavor.
* In Salads: Young, tender leaves can be added to salads.
* Steamed: Steamed sweet potato greens are a healthy and nutritious side dish.
* In Stir-Fries: Add them to stir-fries for a quick and easy meal.
* Sweet Potato Green Chips: Toss the leaves with olive oil and salt, then bake until crispy for a healthy chip alternative.
Why Grow Sweet Potato Greens?
Besides being delicious, growing your own sweet potato greens has several benefits:
* Sustainability: It’s a great way to reduce food waste and get more out of your sweet potatoes.
* Nutrition: Sweet potato greens are packed with vitamins and minerals.
* Cost-Effective: It’s a cheap and easy way to grow your own food.
* Fun: It’s a fun and rewarding project for gardeners of all levels.
So there you have it! Growing sweet potato greens is a simple and rewarding project that anyone can do. Give it a try and enjoy the delicious and nutritious bounty of your own backyard (or windowsill!). Happy gardening!
Conclusion
So, there you have it! Transforming sweet potato scraps into vibrant, edible greens is not just a fun experiment; it’s a sustainable way to add fresh, nutritious ingredients to your meals. This simple DIY trick, requiring minimal effort and resources, offers a fantastic opportunity to reduce food waste and cultivate your own little indoor garden. The subtle, slightly sweet flavor of sweet potato greens makes them incredibly versatile in the kitchen.
Why is this a must-try? Because it’s a win-win-win! You’re reducing food waste, saving money on groceries, and gaining access to fresh, healthy greens right at your fingertips. It’s a project that’s perfect for families, educators, and anyone looking to connect with nature in a meaningful way, even within the confines of an apartment. Plus, it’s incredibly rewarding to watch something grow from what would otherwise be discarded.
Beyond the basic method, there are plenty of ways to experiment and personalize your sweet potato greens growing experience. Consider trying different varieties of sweet potatoes to see if the flavor of the greens varies. You could also experiment with different growing mediums, such as coco coir or perlite, to see which yields the best results. For a decorative touch, use a beautiful glass jar or repurposed container as your growing vessel. You can even train the vines to climb a small trellis or support structure, creating a living piece of art in your home.
Another variation is to harvest the greens at different stages of growth. Younger leaves will be more tender and mild, while older leaves will have a slightly more robust flavor. Experiment with both to find your preferred taste and texture. You can also try blanching the greens before using them in salads or stir-fries to soften them slightly.
Don’t be afraid to get creative with how you use your homegrown sweet potato greens. Add them to salads, stir-fries, soups, stews, omelets, or even smoothies. They’re a great source of vitamins A and C, as well as fiber and antioxidants. They can be used as a substitute for spinach or other leafy greens in many recipes.
We wholeheartedly encourage you to give this DIY trick a try. It’s a simple, rewarding, and sustainable way to add fresh, healthy greens to your diet. Once you’ve experienced the joy of growing your own sweet potato greens, we’re confident you’ll be hooked!
And most importantly, we want to hear about your experience! Share your photos, tips, and recipes with us in the comments below. Let us know what challenges you faced, what successes you celebrated, and how you’re using your homegrown greens in your cooking. Your feedback will not only help us improve this guide but also inspire others to embark on their own sweet potato greens growing journey. Let’s create a community of urban gardeners, one sweet potato slip at a time!
Frequently Asked Questions (FAQ)
What kind of sweet potato should I use?
You can use any variety of sweet potato to grow greens. However, organic sweet potatoes are recommended to avoid any potential pesticide residue. Beauregard, Jewel, and Garnet are all popular choices that are readily available in most grocery stores. Experimenting with different varieties can also be a fun way to discover subtle differences in the flavor of the greens. Remember that the color of the sweet potato flesh doesn’t necessarily dictate the color of the greens, which are typically a vibrant green regardless of the potato variety.
How long does it take for sweet potato greens to grow?
The time it takes for sweet potato greens to grow depends on several factors, including the variety of sweet potato, the growing conditions (light, temperature, humidity), and the size of the potato. Generally, you can expect to see sprouts emerging within 1-2 weeks. Once the sprouts have developed into leaves, you can start harvesting them in about 3-4 weeks. Regular harvesting will encourage further growth and provide a continuous supply of greens.
How do I harvest sweet potato greens?
Harvesting sweet potato greens is easy. Simply use a pair of scissors or your fingers to pinch off the leaves and stems that you want to use. It’s best to harvest the outer leaves first, as these are typically the oldest and most mature. Avoid removing more than one-third of the plant’s foliage at any one time, as this can stress the plant and slow down its growth. Regular harvesting will encourage the plant to produce more leaves, so don’t be afraid to snip away!
How often should I water my sweet potato?
The frequency of watering will depend on the growing conditions. Generally, you should water your sweet potato when the top inch of soil feels dry to the touch. Avoid overwatering, as this can lead to root rot. The goal is to keep the soil consistently moist but not soggy. In warmer climates or during the summer months, you may need to water more frequently. Conversely, in cooler climates or during the winter months, you may need to water less frequently.
What kind of light do sweet potato greens need?
Sweet potato greens thrive in bright, indirect light. A sunny windowsill is an ideal location. Avoid placing the plant in direct sunlight, as this can scorch the leaves. If you don’t have a sunny windowsill, you can supplement with artificial light, such as a grow light. Aim for at least 6-8 hours of light per day. Insufficient light can result in leggy growth and pale leaves.
Are sweet potato greens edible?
Yes, sweet potato greens are absolutely edible and nutritious! They have a mild, slightly sweet flavor that is similar to spinach or Swiss chard. They can be eaten raw in salads or cooked in stir-fries, soups, stews, and other dishes. Sweet potato greens are a good source of vitamins A and C, as well as fiber and antioxidants.
Can I grow sweet potato greens in water only?
Yes, you can grow sweet potato greens in water only, at least initially. This is the method described in the article. However, for long-term growth and optimal nutrient uptake, it’s best to eventually transplant the sweet potato into soil. Growing in water only can deplete the nutrients in the water over time, leading to stunted growth.
How do I transplant sweet potato greens from water to soil?
Once your sweet potato has developed a good root system and plenty of healthy greens, you can transplant it into a pot filled with well-draining potting soil. Gently remove the sweet potato from the water, being careful not to damage the roots. Dig a hole in the soil that is large enough to accommodate the roots. Place the sweet potato in the hole and cover the roots with soil. Water thoroughly and place the pot in a sunny location.
Can I grow sweet potato greens outdoors?
Yes, you can grow sweet potato greens outdoors, provided that the weather is warm enough. Sweet potatoes are tropical plants and thrive in temperatures between 70°F and 85°F (21°C and 29°C). If you live in a colder climate, you can start the sweet potato indoors and then transplant it outdoors once the weather warms up. Choose a sunny location with well-draining soil.
Are there any pests or diseases that affect sweet potato greens?
Sweet potato greens are generally resistant to pests and diseases. However, they can occasionally be affected by aphids, spider mites, or whiteflies. These pests can be controlled with insecticidal soap or neem oil. Overwatering can also lead to fungal diseases, such as root rot. To prevent this, make sure to water only when the top inch of soil feels dry to the touch.
How long will a sweet potato continue to produce greens?
With proper care, a sweet potato can continue to produce greens for several months. However, eventually, the potato will start to deplete its nutrient reserves and the production of greens will slow down. At this point, you can either replace the sweet potato with a fresh one or try fertilizing the plant with a balanced liquid fertilizer.
Can I eat the sweet potato itself after growing the greens?
While technically you *can* eat the sweet potato after growing the greens, it’s generally not recommended. The potato will have expended a lot of its energy and nutrients in producing the greens, so it may be less flavorful and nutritious than a fresh sweet potato. Additionally, the potato may have started to rot or develop mold, especially if it has been growing in water for an extended period of time. It’s best to discard the potato after it has finished producing greens and start with a fresh one.


Leave a Comment