

Things to clean often – are you tired of that nagging feeling that your home isn’t as fresh as it could be? I know I am! We all strive for a clean and healthy living space, but sometimes life gets in the way, and certain areas get overlooked. That’s why I’ve put together this ultimate guide to the often-forgotten spots that desperately need your attention.
Throughout history, cleanliness has been associated with well-being and even spiritual purity. From ancient Roman bathhouses to the meticulous cleaning rituals of various cultures, the desire for a clean environment is deeply ingrained in us. But let’s be honest, keeping up with everything can feel overwhelming.
This isn’t just about aesthetics; it’s about your health and peace of mind. Did you know that regularly cleaning certain items can significantly reduce allergens, bacteria, and even prevent the spread of illness? I’m going to share some simple yet effective DIY tricks and hacks to tackle those hidden grime zones. By incorporating these things to clean often into your routine, you’ll not only create a more inviting home but also boost your overall well-being. So, grab your cleaning supplies, and let’s get started on creating a cleaner, healthier, and happier home together!
DIY Deep Cleaning Schedule: Conquer Your Home, One Task at a Time!
Okay, let’s be honest, cleaning isn’t exactly anyone’s favorite pastime. But a clean home is a happy home, right? And it doesn’t have to be a monumental, overwhelming task. I’ve found that breaking it down into a manageable schedule makes all the difference. This isn’t about perfection; it’s about progress and maintaining a healthy, comfortable living space. So, grab your cleaning supplies, put on some music, and let’s get started!
Daily Tasks: The Foundation of a Clean Home
These are the little things that, when done consistently, prevent major messes from building up. Think of them as your daily defense against chaos!
- Make the bed: Seriously, this takes less than a minute and instantly makes your bedroom look tidier.
- Wipe down kitchen counters and sink: After every meal, give your counters and sink a quick wipe. This prevents food residue from hardening and attracting pests.
- Sweep or vacuum high-traffic areas: A quick sweep or vacuum in the kitchen or entryway can prevent dirt from spreading throughout the house.
- Do a load of laundry: Don’t let laundry pile up! Doing a load every day or every other day keeps it manageable.
- Empty trash cans: Especially in the kitchen and bathrooms.
Weekly Tasks: Maintaining a Clean Baseline
These tasks require a bit more effort but are crucial for maintaining a clean and healthy home.
- Clean bathrooms: This includes scrubbing toilets, sinks, showers, and floors.
- Vacuum or mop all floors: Get those corners and under furniture!
- Dust all surfaces: Don’t forget shelves, picture frames, and electronics.
- Clean kitchen appliances: Wipe down the exterior of your refrigerator, microwave, and oven.
- Change bed linens: Fresh sheets are the best!
- Empty all trash cans and replace liners: A clean start for the week.
Monthly Tasks: Deep Cleaning for a Fresh Start
These tasks go beyond the surface and address areas that often get overlooked.
- Clean refrigerator: Remove all items, wipe down shelves and drawers, and discard expired food.
- Clean microwave: Heat a cup of water with lemon juice for a few minutes, then wipe down the interior.
- Clean oven: Use a self-cleaning cycle or a baking soda paste to remove baked-on grime.
- Wash shower curtains or liners: Prevent mildew buildup.
- Clean dishwasher: Run a cycle with vinegar or a dishwasher cleaner.
- Wash washing machine: Run an empty cycle with bleach or a washing machine cleaner.
- Clean garbage disposal: Grind ice cubes and lemon peels to freshen it up.
- Dust light fixtures and ceiling fans: These areas accumulate dust quickly.
- Wash windows and mirrors: For a streak-free shine.
Seasonal Tasks: Tackling the Big Projects
These are the tasks that require the most time and effort but are essential for maintaining a healthy and well-maintained home. I usually tackle these during spring and fall cleaning.
- Deep clean carpets and rugs: Rent a carpet cleaner or hire a professional.
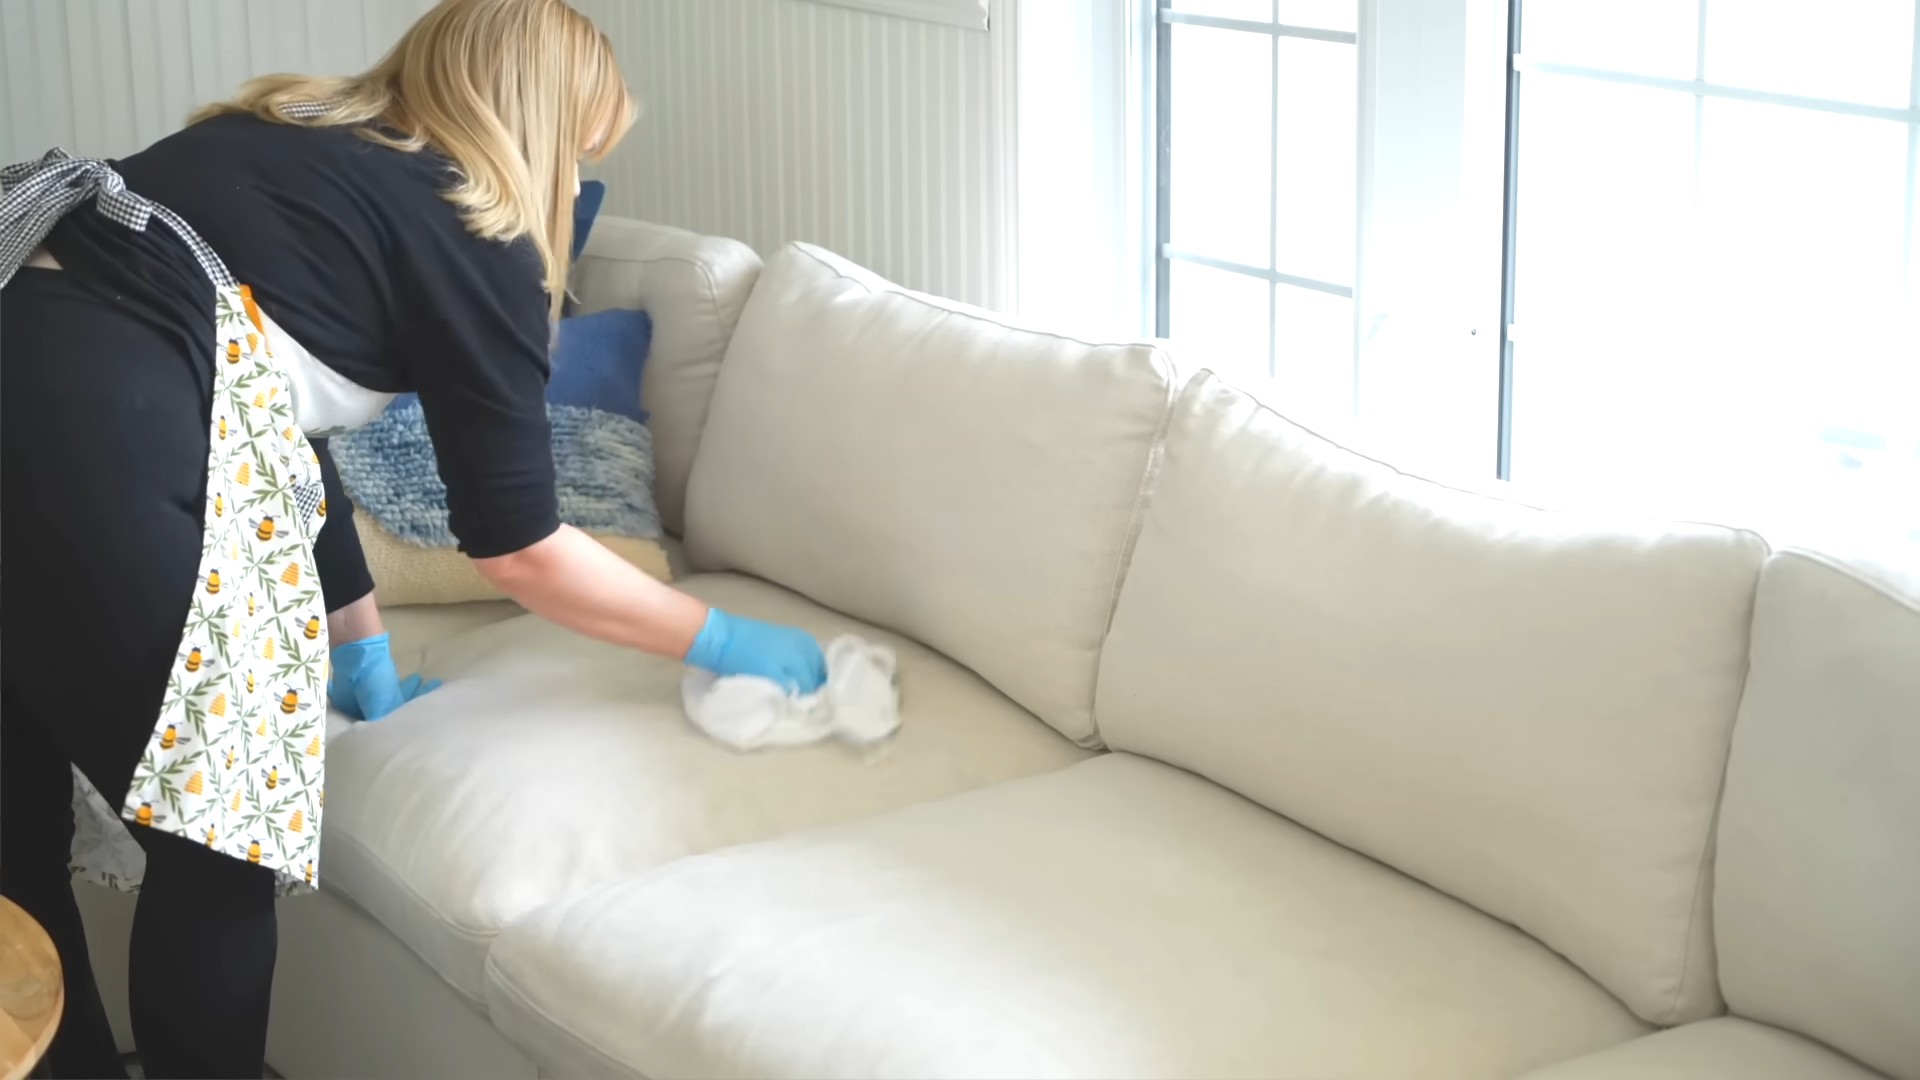
- Clean upholstery: Vacuum and spot clean furniture.
- Wash or dry clean curtains and drapes: Remove dust and allergens.
- Clean windows inside and out: A thorough cleaning for maximum sunlight.
- Clean gutters: Remove leaves and debris to prevent water damage.
- Power wash exterior surfaces: Clean siding, decks, and patios.
- Organize closets and drawers: Declutter and donate unwanted items.
- Clean out the garage or shed: Get rid of clutter and organize tools and equipment.
- Inspect and clean appliances: Check refrigerator coils, dryer vents, and other appliance components.
Step-by-Step Instructions for Key Cleaning Tasks
Now, let’s dive into some specific cleaning tasks with detailed instructions.
1. Cleaning the Bathroom: A Sparkling Sanctuary
Bathrooms can quickly become breeding grounds for bacteria and grime. Here’s how to tackle them effectively:
- Gather your supplies: You’ll need a toilet bowl cleaner, bathroom cleaner (spray or wipes), glass cleaner, scrub brush, sponge, microfiber cloths, and gloves.
- Ventilate the bathroom: Open a window or turn on the exhaust fan.
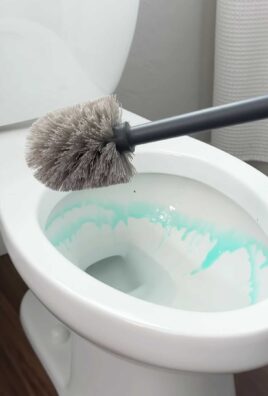
- Apply toilet bowl cleaner: Squirt cleaner under the rim and let it sit for a few minutes.
- Spray bathroom cleaner on surfaces: This includes the sink, countertop, shower walls, and tub. Let it sit for a few minutes to loosen grime.
- Scrub the toilet: Use a toilet brush to scrub the bowl thoroughly, including under the rim. Flush the toilet.
- Scrub the shower and tub: Use a scrub brush or sponge to remove soap scum and mildew. Rinse thoroughly.
- Clean the sink and countertop: Use a sponge or microfiber cloth to wipe down the surfaces. Rinse thoroughly.
- Clean the mirror and glass surfaces: Spray with glass cleaner and wipe with a clean microfiber cloth.
- Sweep or mop the floor: Remove any loose dirt and debris, then mop with a bathroom cleaner.
- Replace towels and bath mat: Fresh towels make a big difference!
2. Cleaning the Kitchen: A Food-Safe Zone
The kitchen is the heart of the home, but it can also be a hotbed for germs and messes. Here’s how to keep it clean and sanitary:
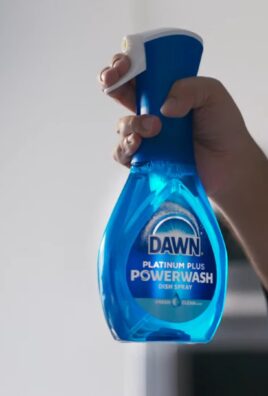
- Gather your supplies: You’ll need dish soap, kitchen cleaner (spray or wipes), glass cleaner, scrub brush, sponge, microfiber cloths, and gloves.
- Clear the countertops: Remove all items from the countertops to make cleaning easier.
- Wash dishes: Load the dishwasher or wash dishes by hand.
- Wipe down countertops and backsplash: Use a kitchen cleaner to remove food residue and grease.
- Clean the sink: Scrub the sink with dish soap and a scrub brush. Rinse thoroughly.
- Clean the stovetop: Remove grates and burners and clean them separately. Wipe down the stovetop with a kitchen cleaner.
- Clean the microwave: Heat a cup of water with lemon juice for a few minutes, then wipe down the interior.
- Clean the exterior of appliances: Wipe down the refrigerator, oven, and dishwasher with a kitchen cleaner.
- Sweep or mop the floor: Remove any loose dirt and debris, then mop with a kitchen cleaner.
- Empty the trash can and replace the liner: A fresh start for the kitchen.
3. Cleaning the Refrigerator: Keeping Food Fresh and Safe
A clean refrigerator is essential for preventing food spoilage and maintaining a healthy kitchen.
- Gather your supplies: You’ll need a bucket of warm water, dish soap, a sponge, microfiber cloths, and a trash bag.
- Unplug the refrigerator: This is important for safety.
- Remove all items from the refrigerator: Discard any expired or spoiled food.
- Remove shelves and drawers: Wash them with warm soapy water and a sponge. Rinse thoroughly and dry with a microfiber cloth.
- Wipe down the interior of the refrigerator: Use a sponge and warm soapy water to clean the walls, ceiling, and floor of the refrigerator. Pay attention to spills and stains.
- Clean the door seals: Use a damp cloth to wipe down the door seals.
- Replace shelves and drawers: Make sure they are dry before putting them back in the refrigerator.
- Organize food items: Place items back in the refrigerator in an organized manner. Keep frequently used items within easy reach.
- Plug in the refrigerator: Allow it to cool down before adding more food.
4. Cleaning Windows: Let the Sunshine In!
Clean windows can make a huge difference in the brightness and appearance of your home.
- Gather your supplies: You’ll need a bucket of warm water, dish soap, a sponge, a squeegee, and microfiber cloths.
- Prepare the cleaning solution: Mix a few drops of dish soap with warm water in the bucket.
- Wash the windows: Dip the sponge in the cleaning solution and wash the windows thoroughly.
- Squeegee the windows: Use a squeegee to remove

Conclusion
So, there you have it! Mastering this simple yet incredibly effective DIY cleaning trick for tackling those “things to clean often” is a game-changer for maintaining a sparkling home and a healthier living environment. We’ve walked you through the process, highlighting its ease, affordability, and the significant impact it can have on your daily life.
Why is this a must-try? Because it’s more than just cleaning; it’s about reclaiming your time and energy. Think about it: how much time do you spend scrubbing away at stubborn grime, only to be left with mediocre results? This DIY solution cuts through the grease, lifts away dirt, and sanitizes surfaces with minimal effort. It’s a powerful combination that saves you valuable time and money, allowing you to focus on the things that truly matter.
But the benefits don’t stop there. This method is also incredibly versatile. Feel free to experiment with variations to suit your specific needs and preferences. For instance, if you’re dealing with particularly stubborn stains, consider adding a tablespoon of borax to the mixture for an extra boost of cleaning power. Or, if you prefer a more natural scent, infuse your solution with a few drops of your favorite essential oil, such as lemon, lavender, or tea tree. These additions not only enhance the cleaning process but also leave your home smelling fresh and inviting.
Another variation to consider is adjusting the ratios of ingredients based on the specific surface you’re cleaning. For delicate surfaces, you might want to dilute the solution further to prevent any potential damage. Conversely, for heavily soiled areas, you can increase the concentration of the cleaning agents for a more potent effect. The key is to experiment and find what works best for you and your home.
We understand that trying new things can sometimes feel daunting, but we assure you that this DIY cleaning trick is incredibly simple and straightforward. The ingredients are readily available, the process is easy to follow, and the results are truly remarkable. You’ll be amazed at how quickly and effectively you can transform your home into a clean and inviting space.
Don’t just take our word for it – give it a try! We’re confident that you’ll be thrilled with the results. And once you’ve experienced the magic of this DIY cleaning solution, we encourage you to share your experience with us. Let us know what variations you tried, what surfaces you cleaned, and what results you achieved. Your feedback is invaluable and helps us to continue refining and improving our cleaning tips and tricks.
So, grab your supplies, roll up your sleeves, and get ready to experience the joy of a truly clean home. With this DIY cleaning trick, you’ll be well on your way to conquering those “things to clean often” and creating a healthier, happier living environment for yourself and your family. We can’t wait to hear about your success!
Frequently Asked Questions (FAQ)
What exactly are the “things to clean often” that this DIY trick is best suited for?
This DIY cleaning solution is incredibly versatile and can be used on a wide range of surfaces and items that require frequent cleaning. Some of the most common applications include:
* Kitchen countertops and backsplashes: These areas are prone to spills, splatters, and grease buildup, making them ideal candidates for regular cleaning with this solution.
* Bathroom surfaces: Sinks, toilets, showers, and tubs can quickly accumulate soap scum, mildew, and hard water stains. This DIY cleaner effectively tackles these issues, leaving your bathroom sparkling clean.
* Doorknobs and light switches: These high-touch surfaces are breeding grounds for germs and bacteria. Regular cleaning with this solution helps to prevent the spread of illness.
* Appliance exteriors: Refrigerators, ovens, microwaves, and dishwashers can quickly become covered in fingerprints, food splatters, and grease. This cleaner effectively removes these blemishes, keeping your appliances looking their best.
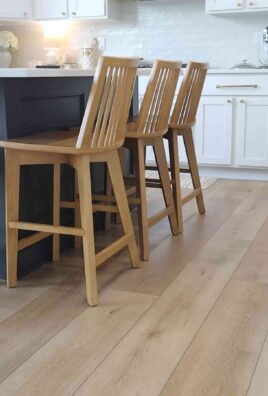
* Floors: This solution can be used to clean a variety of floor types, including tile, linoleum, and hardwood (be sure to test in an inconspicuous area first).
* Garbage cans: Regular cleaning with this solution helps to eliminate odors and prevent the buildup of bacteria.
* Children’s toys: Keep your children safe by regularly cleaning their toys with this gentle yet effective solution.
* Pet bowls and accessories: Maintain a healthy environment for your furry friends by regularly cleaning their bowls and accessories with this solution.Is this DIY cleaning solution safe for all surfaces?
While this DIY cleaning solution is generally safe for most surfaces, it’s always a good idea to test it in an inconspicuous area first, especially on delicate or sensitive materials. Avoid using it on surfaces that are known to be damaged by acidic or alkaline cleaners. For example, unsealed granite or marble may be etched by vinegar. Also, be cautious when using it on painted surfaces, as it may cause discoloration or fading over time. Always dilute the solution appropriately and avoid prolonged contact with any surface.
Can I use different types of vinegar in this recipe?
White distilled vinegar is generally recommended for cleaning due to its high acidity and lack of color, which minimizes the risk of staining. However, you can experiment with other types of vinegar, such as apple cider vinegar, if you prefer. Keep in mind that apple cider vinegar has a lower acidity than white vinegar, so you may need to use a higher concentration for optimal cleaning power. Also, be aware that apple cider vinegar has a slight color, which could potentially stain light-colored surfaces.
How long will the DIY cleaning solution last?
This DIY cleaning solution can be stored for several weeks in an airtight container. However, it’s best to use it within a few weeks for optimal effectiveness. Over time, the cleaning power of the solution may diminish slightly. Store the solution in a cool, dark place to prolong its shelf life.
Can I add essential oils to this cleaning solution?
Yes, adding essential oils to this cleaning solution is a great way to enhance its scent and add additional cleaning benefits. Some popular essential oils for cleaning include lemon, lavender, tea tree, eucalyptus, and peppermint. When adding essential oils, start with a few drops and adjust to your preference. Be sure to use high-quality essential oils that are safe for cleaning. Also, keep in mind that some essential oils may not be safe for use around pets or children, so do your research before adding them to the solution.
What if I don’t have all the ingredients on hand? Can I substitute anything?
While the recommended ingredients provide the best results, you can make some substitutions if necessary. For example, if you don’t have baking soda, you can try using washing soda instead. If you don’t have vinegar, you can try using lemon juice, although it’s less acidic and may not be as effective. However, it’s important to note that substitutions may affect the overall cleaning power and effectiveness of the solution.
How often should I clean “things to clean often” with this solution?
The frequency of cleaning depends on the specific item and how often it’s used. High-touch surfaces like doorknobs and light switches should be cleaned daily, while other items like countertops and floors can be cleaned weekly or as needed. Use your best judgment and adjust the cleaning schedule based on your individual needs and preferences. Regular cleaning with this DIY solution will help to maintain a clean and healthy home environment.
Leave a Comment