

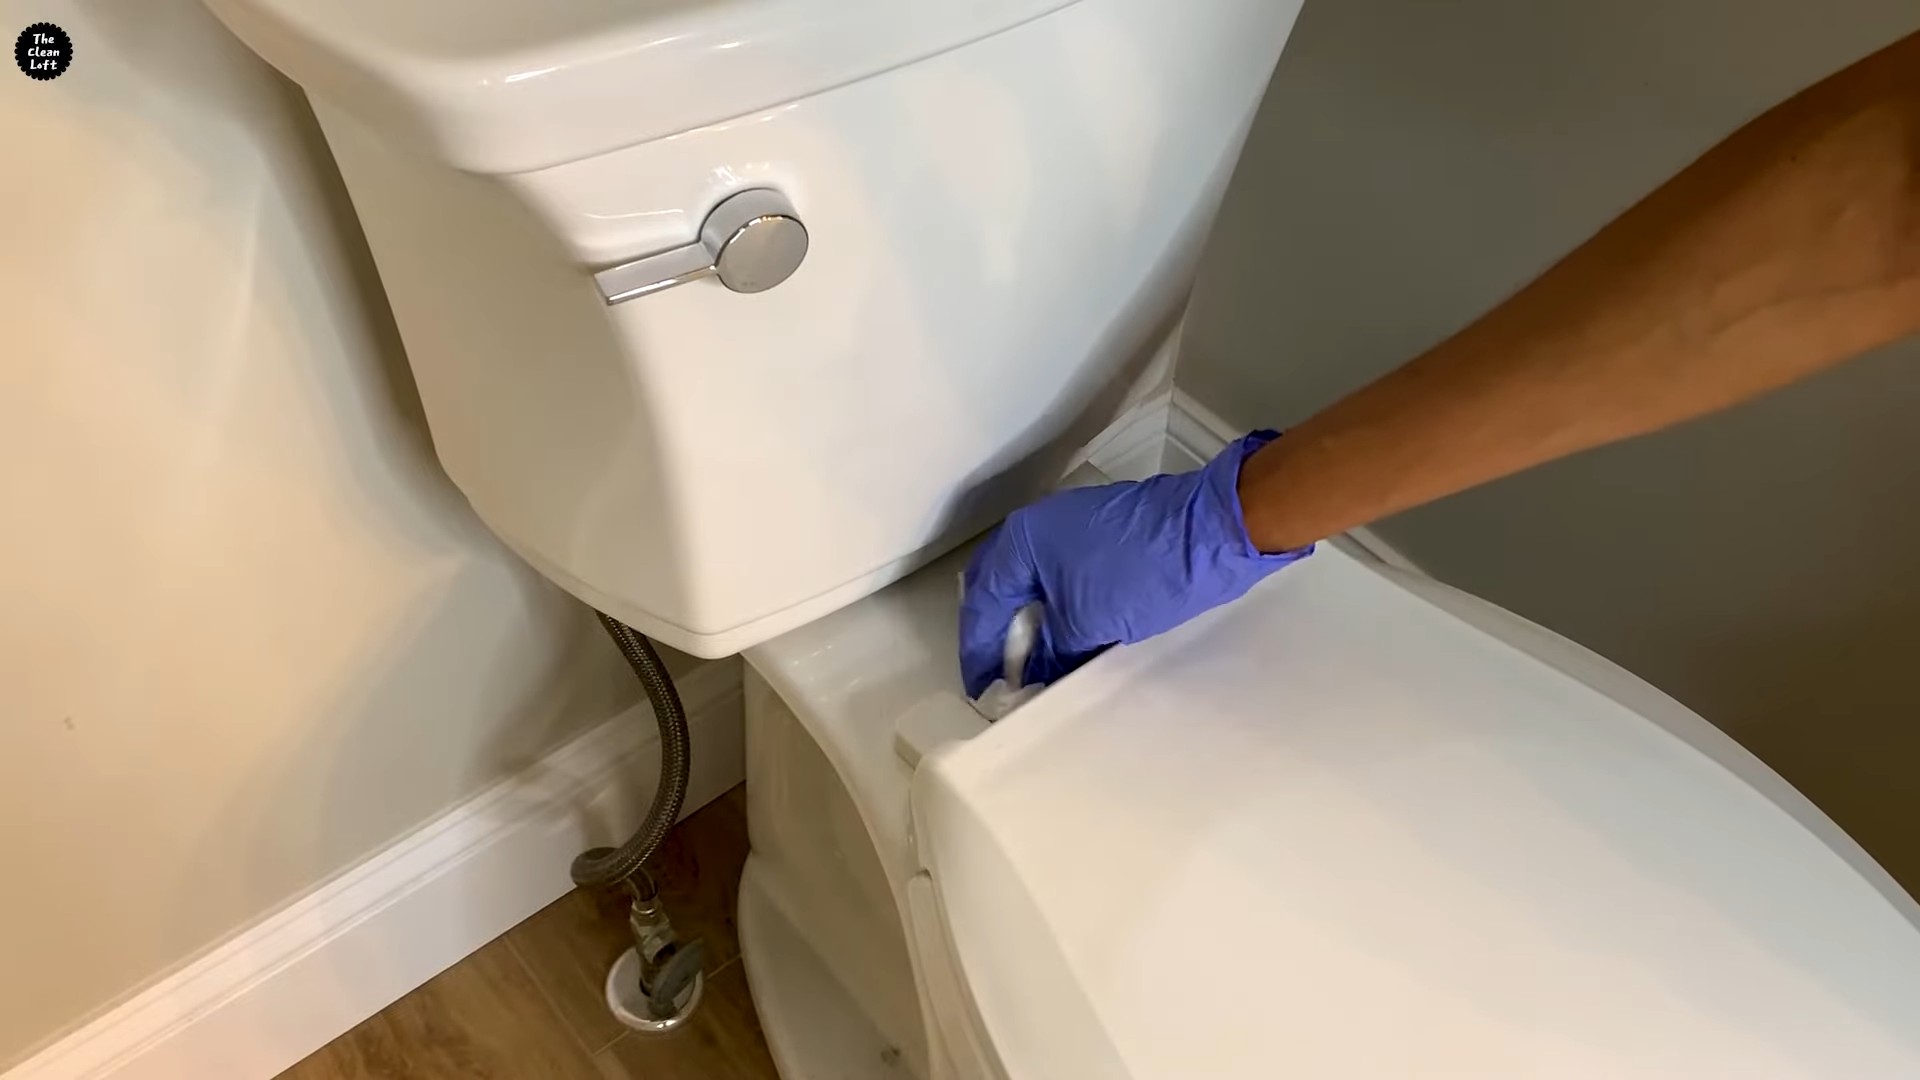
Toilet cleaning hacks – we all need them, right? Let’s be honest, tackling the toilet isn’t exactly anyone’s favorite chore. But what if I told you there are simple, DIY tricks that can make this task quicker, easier, and even a little less… unpleasant?
For centuries, maintaining hygiene has been a cornerstone of healthy living. While our ancestors may not have had the same cleaning products we do today, they certainly understood the importance of a sparkling clean privy! From using natural herbs and abrasive materials to the modern chemical solutions, the quest for a spotless toilet has been a long and ongoing one.
In today’s busy world, who has time to spend hours scrubbing? That’s where these toilet cleaning hacks come in. I’m going to share some of my favorite DIY methods that use common household items to banish stains, eliminate odors, and leave your toilet bowl gleaming. These aren’t just quick fixes; they’re smart, effective solutions that will save you time, money, and a whole lot of elbow grease. Get ready to transform your toilet cleaning routine with these simple yet powerful tips!
DIY Toilet Cleaning Power: Hacks to a Sparkling Throne!
Okay, let’s face it, cleaning the toilet isn’t exactly anyone’s favorite chore. But a sparkling clean toilet bowl is a must-have for a fresh and hygienic bathroom. I’m going to share some of my favorite DIY toilet cleaning hacks that are not only effective but also use ingredients you probably already have at home. Get ready to ditch those harsh chemicals and embrace a naturally clean throne!
Hack #1: The Baking Soda and Vinegar Fizz
This is a classic for a reason! The combination of baking soda and vinegar creates a fizzing action that helps loosen grime and stains. It’s like a mini science experiment that cleans your toilet!
What you’ll need:
* 1 cup baking soda
* 2 cups white vinegar
* Toilet brush
* Spray bottle (optional, for targeted cleaning)
Step-by-step instructions:
1. Prep the Bowl: First, flush the toilet to wet the bowl. This helps the baking soda stick better.
2. Sprinkle the Baking Soda: Pour the baking soda directly into the toilet bowl, making sure to coat the sides as much as possible.
3. Add the Vinegar: Slowly pour the white vinegar over the baking soda. Get ready for the fizz!
4. Let it Fizz: Allow the mixture to fizz and work its magic for at least 30 minutes. For tougher stains, you can let it sit for a few hours or even overnight. I usually do this before bed so it can work its magic while I sleep.
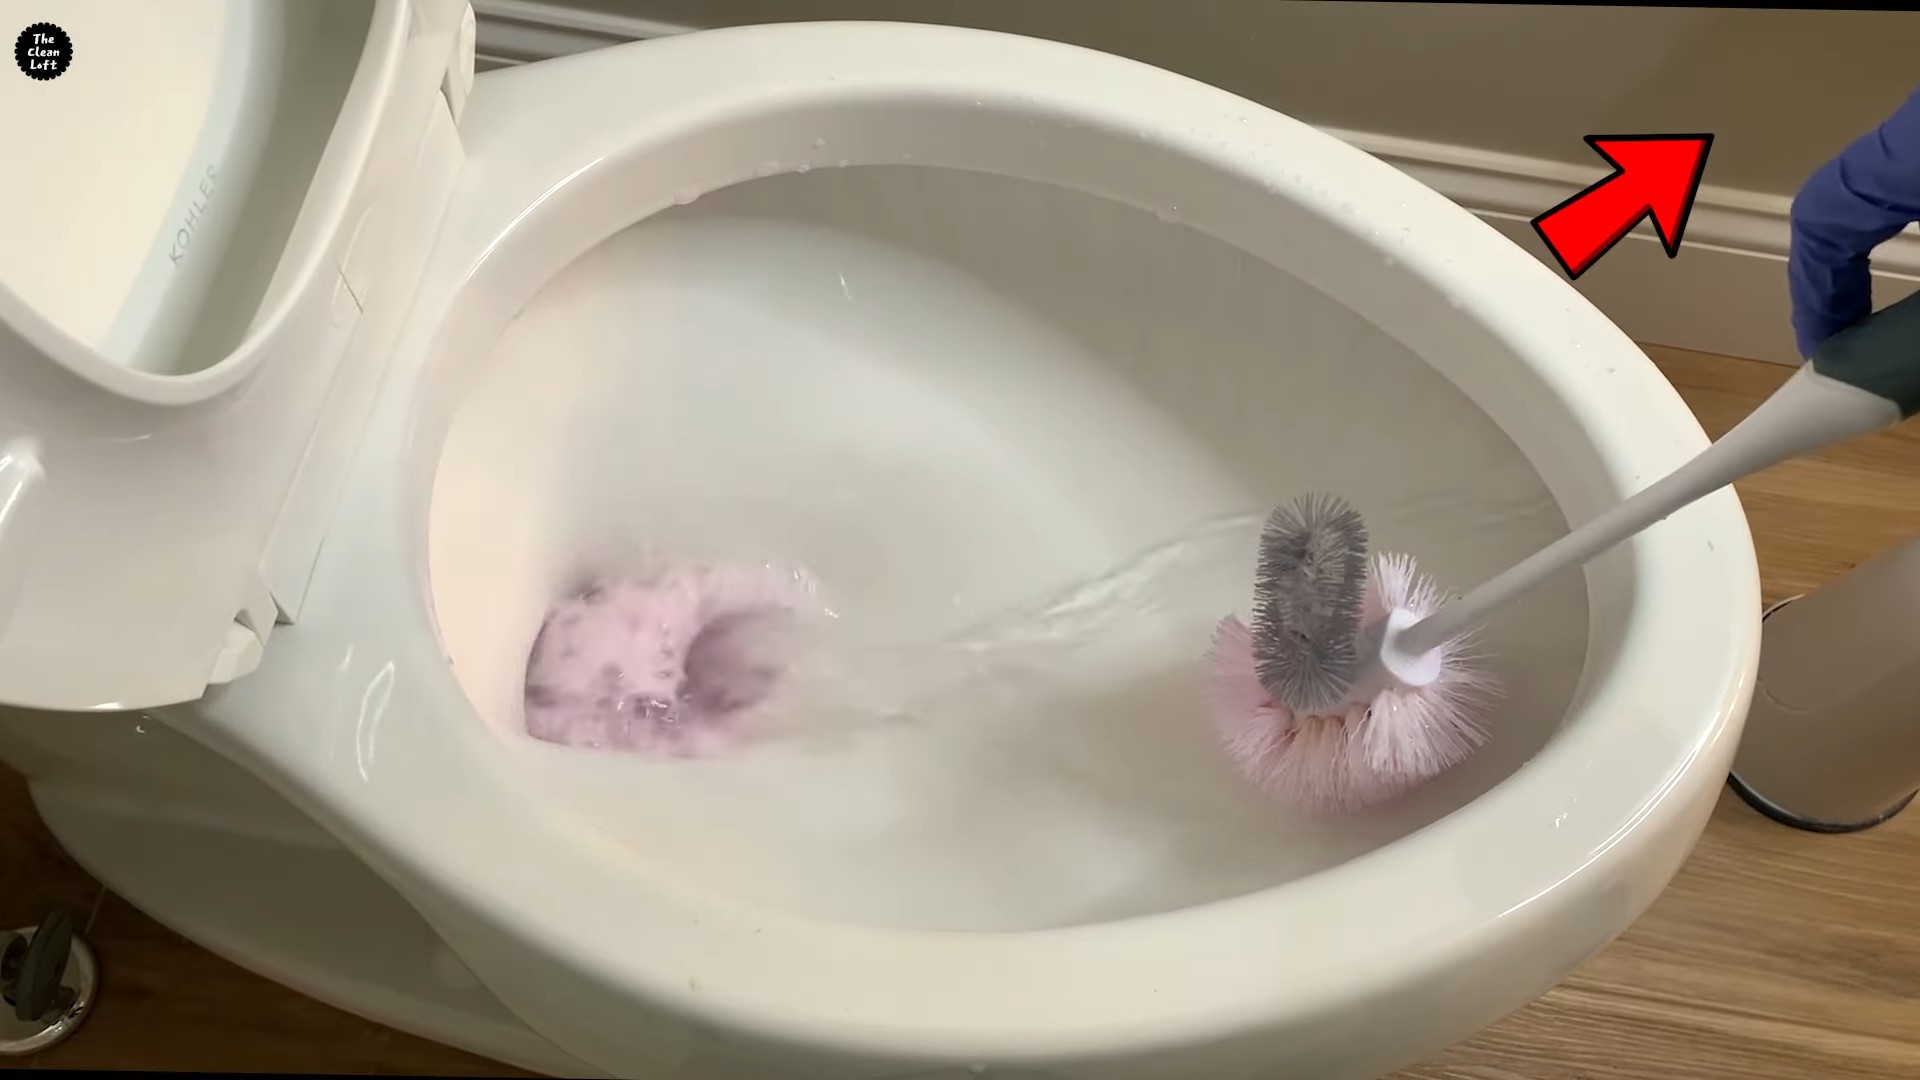
5. Scrub-a-dub-dub: After the fizzing action has subsided, use your toilet brush to thoroughly scrub the entire bowl, paying extra attention to any stained areas.
6. Flush it Away: Flush the toilet to rinse away the baking soda and vinegar mixture, along with all the loosened grime.
7. Repeat if Necessary: If you still see some stubborn stains, repeat the process. Sometimes, a second round is all it takes!
Hack #2: The Lemon Juice Brightener
Lemon juice is a natural disinfectant and deodorizer. Its citric acid helps break down stains and leaves your toilet smelling fresh and clean. Plus, it’s a much more pleasant scent than those chemical cleaners!
What you’ll need:
* 1 cup lemon juice (freshly squeezed or bottled)
* Toilet brush
* Spray bottle (optional, for targeted cleaning)
Step-by-step instructions:
1. Pour it In: Pour the lemon juice directly into the toilet bowl, making sure to coat the sides.
2. Let it Sit: Allow the lemon juice to sit for at least an hour. The longer it sits, the better it will work on stains. I sometimes leave it overnight for really tough stains.
3. Scrub Time: Use your toilet brush to scrub the entire bowl, focusing on any stained areas.
4. Flush and Admire: Flush the toilet to rinse away the lemon juice and enjoy the fresh, clean scent.
Hack #3: The Borax Booster
Borax is a natural mineral that acts as a powerful cleaner and disinfectant. It’s great for tackling tough stains and odors. Always handle borax with care and avoid direct contact with skin and eyes.
What you’ll need:
* 1/2 cup borax
* Toilet brush
* Hot water
Step-by-step instructions:
1. Pour in the Borax: Pour the borax directly into the toilet bowl.
2. Add Hot Water: Slowly pour a cup or two of hot water into the bowl. The hot water helps the borax dissolve and work more effectively.
3. Let it Soak: Allow the borax to soak in the bowl for at least 30 minutes, or even overnight for stubborn stains.
4. Scrub Thoroughly: Use your toilet brush to scrub the entire bowl, paying close attention to any stained areas.
5. Flush and Rinse: Flush the toilet to rinse away the borax and enjoy your sparkling clean toilet.
Hack #4: The Coca-Cola Surprise
Believe it or not, Coca-Cola can actually clean your toilet! The phosphoric acid in Coke helps break down stains and grime. It’s a bit of a surprising hack, but it works!
What you’ll need:
* 1 can (12 oz) Coca-Cola
* Toilet brush
Step-by-step instructions:
1. Pour it Around: Pour the entire can of Coca-Cola around the rim of the toilet bowl, allowing it to coat the sides and flow down into the water.
2. Let it Sit: Allow the Coke to sit in the bowl for at least an hour, or even overnight for tougher stains.
3. Scrub-a-dub: Use your toilet brush to scrub the entire bowl, paying extra attention to any stained areas.
4. Flush and Enjoy: Flush the toilet to rinse away the Coke and admire your surprisingly clean toilet.
Hack #5: The Denture Tablet Dissolver
Denture tablets are designed to clean dentures, but they can also work wonders on toilet bowl stains! They contain cleaning agents that help break down grime and bacteria.
What you’ll need:
* 2-3 denture cleaning tablets
* Toilet brush
Step-by-step instructions:
1. Drop them In: Drop the denture cleaning tablets into the toilet bowl.
2. Let them Fizz: Allow the tablets to fizz and dissolve completely. This usually takes about 20-30 minutes.
3. Brush and Flush: Use your toilet brush to give the bowl a quick scrub, then flush the toilet.
Hack #6: The Essential Oil Refresher
This hack is all about adding a pleasant scent to your toilet bowl while also providing some cleaning benefits. Essential oils like tea tree, eucalyptus, and lavender have antibacterial and antifungal properties.
What you’ll need:
* 10-15 drops of your favorite essential oil (tea tree, eucalyptus, lavender, lemon, etc.)
* 1/2 cup baking soda
* Toilet brush
Step-by-step instructions:
1. Mix it Up: In a small bowl, combine the baking soda and essential oil. Mix well to create a paste.
2. Apply to the Bowl: Apply the paste to the inside of the toilet bowl, focusing on the rim and any stained areas.
3. Let it Sit: Allow the paste to sit for at least 30 minutes.
4. Scrub and Flush: Use your toilet brush to scrub the bowl, then flush the toilet.
Preventative Measures: Keeping Your Toilet Sparkling Longer
Okay, so we’ve covered how to clean a dirty toilet. But what about preventing it from getting so dirty in the first place? Here are a few tips I’ve found helpful:
* Flush Regularly: This seems obvious, but flushing after every use helps prevent stains from setting in.
* Weekly Quick Clean: Give your toilet a quick scrub with a toilet brush and a mild cleaner once a week to prevent buildup.
* Toilet Bowl Cleaner Tablets: Use toilet bowl cleaner tablets to help keep your toilet clean between deep cleans. Just make sure to choose a brand that’s safe for your plumbing.
* Avoid Harsh Chemicals: Harsh chemicals can damage your toilet and plumbing over time. Stick to natural cleaning solutions whenever possible.
* Address Hard Water Issues: If you have hard water, it can contribute to staining. Consider installing a water softener or using a hard water stain remover.
Dealing with Stubborn Stains: When the Hacks Aren’t Enough
Sometimes, despite our best efforts, stubborn stains just won’t budge. Here are a few extra tips for dealing with those particularly challenging stains:
* Pumice Stone: A pumice stone can be used to gently scrub away hard water stains and mineral deposits. Be very careful when using a pumice stone, as it can scratch the porcelain if you apply too much pressure. Wet the pumice stone and the toilet bowl before scrubbing, and use gentle, circular motions.
* CLR (Calcium, Lime, Rust Remover): CLR is a commercially available cleaner that’s specifically designed to remove calcium, lime, and rust stains. Follow the instructions on the bottle carefully and wear gloves when using CLR.
* Professional Help: If you’ve tried everything and your toilet is still stained, it might be time to call a professional plumber. They may have specialized tools and cleaning solutions that can tackle even the toughest stains.
Important Safety Tips
Before you start cleaning, keep these safety tips in mind:
* Wear Gloves: Protect your hands from harsh chemicals and bacteria by wearing gloves.
* Ventilation: Make sure your bathroom is well-ventilated
Conclusion
So, there you have it! This simple, yet incredibly effective DIY toilet cleaning bomb trick is a game-changer for anyone looking to maintain a sparkling clean and fresh-smelling bathroom without resorting to harsh chemicals or expensive store-bought cleaners. We’ve shown you how easy it is to create your own powerful cleaning solution using ingredients you likely already have in your pantry.
Why is this a must-try? Because it’s cost-effective, eco-friendly, and genuinely works! Think about it: no more shelling out money for those individually wrapped toilet bowl cleaners that contribute to plastic waste. No more breathing in overpowering fumes that leave you feeling lightheaded. This DIY approach puts you in control, allowing you to customize the ingredients to suit your preferences and needs.
This DIY toilet cleaning bomb is a powerful, natural, and affordable solution for a sparkling clean toilet.
But the fun doesn’t stop there! Feel free to experiment with variations to personalize your toilet cleaning experience. Want a stronger scent? Add a few extra drops of your favorite essential oil, like lavender for relaxation or tea tree for its antibacterial properties. For extra scrubbing power, consider adding a tablespoon of borax to the mixture. You can even play around with the molds you use – silicone ice cube trays, small muffin tins, or even cookie cutters can create fun and unique shapes. Imagine dropping a star-shaped cleaning bomb into your toilet – it’s a small touch that can make a big difference in your cleaning routine!
We’ve found that adding a bit of citric acid really boosts the fizzing action and helps to lift away stubborn stains. If you have hard water, this is a particularly helpful addition. And for those who prefer a completely unscented option, simply omit the essential oils altogether. The baking soda and citric acid will still work their magic to clean and deodorize.
The beauty of this DIY toilet cleaning bomb is its versatility. It’s not just for regular cleaning; it’s also great for tackling those occasional tough stains. Simply drop a bomb into the bowl, let it fizz and dissolve for a few minutes (or even overnight for really stubborn stains), and then give it a scrub with your toilet brush. You’ll be amazed at how easily the stains lift away.
We are confident that once you try this DIY toilet cleaning bomb, you’ll never go back to store-bought cleaners. It’s a simple, effective, and satisfying way to keep your toilet clean and fresh.
So, what are you waiting for? Gather your ingredients, follow our easy instructions, and get ready to experience the joy of a sparkling clean toilet, naturally! We encourage you to try this fantastic DIY toilet cleaning trick and share your experiences with us. Let us know what variations you tried, what scents you loved, and how well it worked for you. Share your photos and videos on social media using #DIYToiletBombs and let’s create a community of clean-bathroom enthusiasts! We can’t wait to hear your success stories!
Frequently Asked Questions (FAQ)
What exactly are the benefits of using DIY toilet cleaning bombs compared to commercial cleaners?
DIY toilet cleaning bombs offer a multitude of advantages over their commercially produced counterparts. Firstly, they are significantly more cost-effective. The ingredients required – baking soda, citric acid, essential oils, and water – are typically inexpensive and readily available, often already present in your household. Secondly, they are environmentally friendly. By making your own cleaning products, you reduce your reliance on plastic packaging and harsh chemicals that can pollute waterways. Commercial cleaners often contain phosphates, chlorine bleach, and other harmful substances that can be detrimental to the environment and your health. DIY bombs, on the other hand, are made with natural ingredients that are biodegradable and less likely to cause harm. Thirdly, you have complete control over the ingredients. This is particularly beneficial for individuals with sensitivities or allergies to certain chemicals commonly found in commercial cleaners. You can customize the recipe to suit your specific needs and preferences, choosing essential oils that you enjoy and avoiding any ingredients that may cause irritation. Finally, they are just as effective, if not more so, than many commercial cleaners. The combination of baking soda and citric acid creates a powerful fizzing action that helps to lift away stains and deodorize the toilet bowl.
How long do these DIY toilet cleaning bombs last, and how should I store them?
The shelf life of your DIY toilet cleaning bombs depends largely on how well they are stored. Ideally, you should store them in an airtight container in a cool, dry place. Moisture is the enemy, as it can activate the ingredients and cause the bombs to fizz prematurely, reducing their effectiveness. A glass jar with a tight-fitting lid or a plastic container with a secure seal works well. When stored properly, these bombs can last for several months, typically up to six months. However, it’s always best to use them within a few months of making them to ensure maximum fizzing power. If you notice that the bombs are starting to crumble or lose their scent, it’s a sign that they are starting to degrade and should be used soon. Avoid storing them in humid environments, such as the bathroom itself, as this will shorten their lifespan.
Can I use different essential oils, and what are the best options for cleaning and deodorizing?
Absolutely! One of the best things about making your own toilet cleaning bombs is the ability to customize the scent with your favorite essential oils. The possibilities are endless! However, some essential oils are particularly well-suited for cleaning and deodorizing due to their antibacterial, antifungal, and antiviral properties. Tea tree oil is a popular choice for its powerful antiseptic qualities. Lavender oil is known for its calming scent and also possesses antibacterial properties. Lemon oil is a great option for its fresh, citrusy scent and its ability to cut through grease and grime. Eucalyptus oil is another excellent choice for its refreshing scent and its ability to kill germs. Peppermint oil can help to freshen the air and deter pests. When choosing essential oils, be sure to use pure, high-quality oils for the best results. You can experiment with different combinations to create your own signature scent. A blend of lemon and tea tree oil, for example, is a powerful cleaning combination, while a blend of lavender and chamomile oil can create a more relaxing and soothing atmosphere. Remember to use essential oils sparingly, as they are highly concentrated. A few drops per bomb is usually sufficient.
Are there any safety precautions I should take when making and using these toilet cleaning bombs?
While DIY toilet cleaning bombs are generally safe to use, it’s always important to take a few precautions to ensure your safety. Firstly, avoid direct contact with the ingredients, especially citric acid, as it can be irritating to the skin and eyes. Wear gloves when mixing the ingredients and avoid touching your face. If you do get any of the mixture on your skin, rinse it off immediately with water. Secondly, keep the ingredients and finished bombs out of reach of children and pets. While the ingredients are generally non-toxic, they can be harmful if ingested in large quantities. Thirdly, avoid mixing these bombs with other cleaning products, especially those containing bleach, as this can create dangerous fumes. Finally, always test the bombs in an inconspicuous area of your toilet bowl before using them regularly, especially if you have an older or delicate toilet. This will help to ensure that the bombs do not damage the finish.
My toilet bowl has stubborn stains. Will these bombs be effective, and how can I maximize their cleaning power?
Yes, these DIY toilet cleaning bombs can be effective at removing stubborn stains, but you may need to adjust your approach slightly. For tough stains, try the following: First, drop a bomb into the toilet bowl and allow it to fizz and dissolve completely. Then, let the mixture sit in the bowl for several hours, or even overnight, to allow the ingredients to penetrate the stain. Next, use a toilet brush to scrub the stained area thoroughly. You may need to apply some elbow grease to remove particularly stubborn stains. For added cleaning power, consider adding a tablespoon of borax to the mixture when making the bombs. Borax is a natural mineral that acts as a powerful cleaning agent. You can also try using a pumice stone to gently scrub away stubborn stains. Be careful not to scratch the toilet bowl with the pumice stone. If the stains persist, you may need to repeat the process or try a stronger cleaning solution. However, always avoid using harsh chemicals like bleach, as they can damage your toilet and be harmful to your health.
Can I use these bombs in other areas of my bathroom, such as the sink or shower?
While these DIY toilet cleaning bombs are primarily designed for use in the toilet bowl, you can potentially use them in other areas of your bathroom, such as the sink or shower, with some modifications. However, it’s important to exercise caution and test the bombs in an inconspicuous area first to ensure that they do not damage the surface. For the sink, you can simply drop a bomb into the basin, allow it to fizz and dissolve, and then use a sponge or cloth to wipe down the surfaces. For the shower, you can place a bomb on the shower floor and allow the steam to activate it, releasing its cleaning and deodorizing properties. However, be sure to rinse the shower floor thoroughly after use to prevent any residue from building up. Avoid using these bombs on delicate surfaces, such as marble or granite, as the citric acid can etch the stone. Also, avoid using them on metal surfaces, as they can cause corrosion. If you’re unsure whether a surface is safe to clean with these bombs, it’s always best


Leave a Comment