

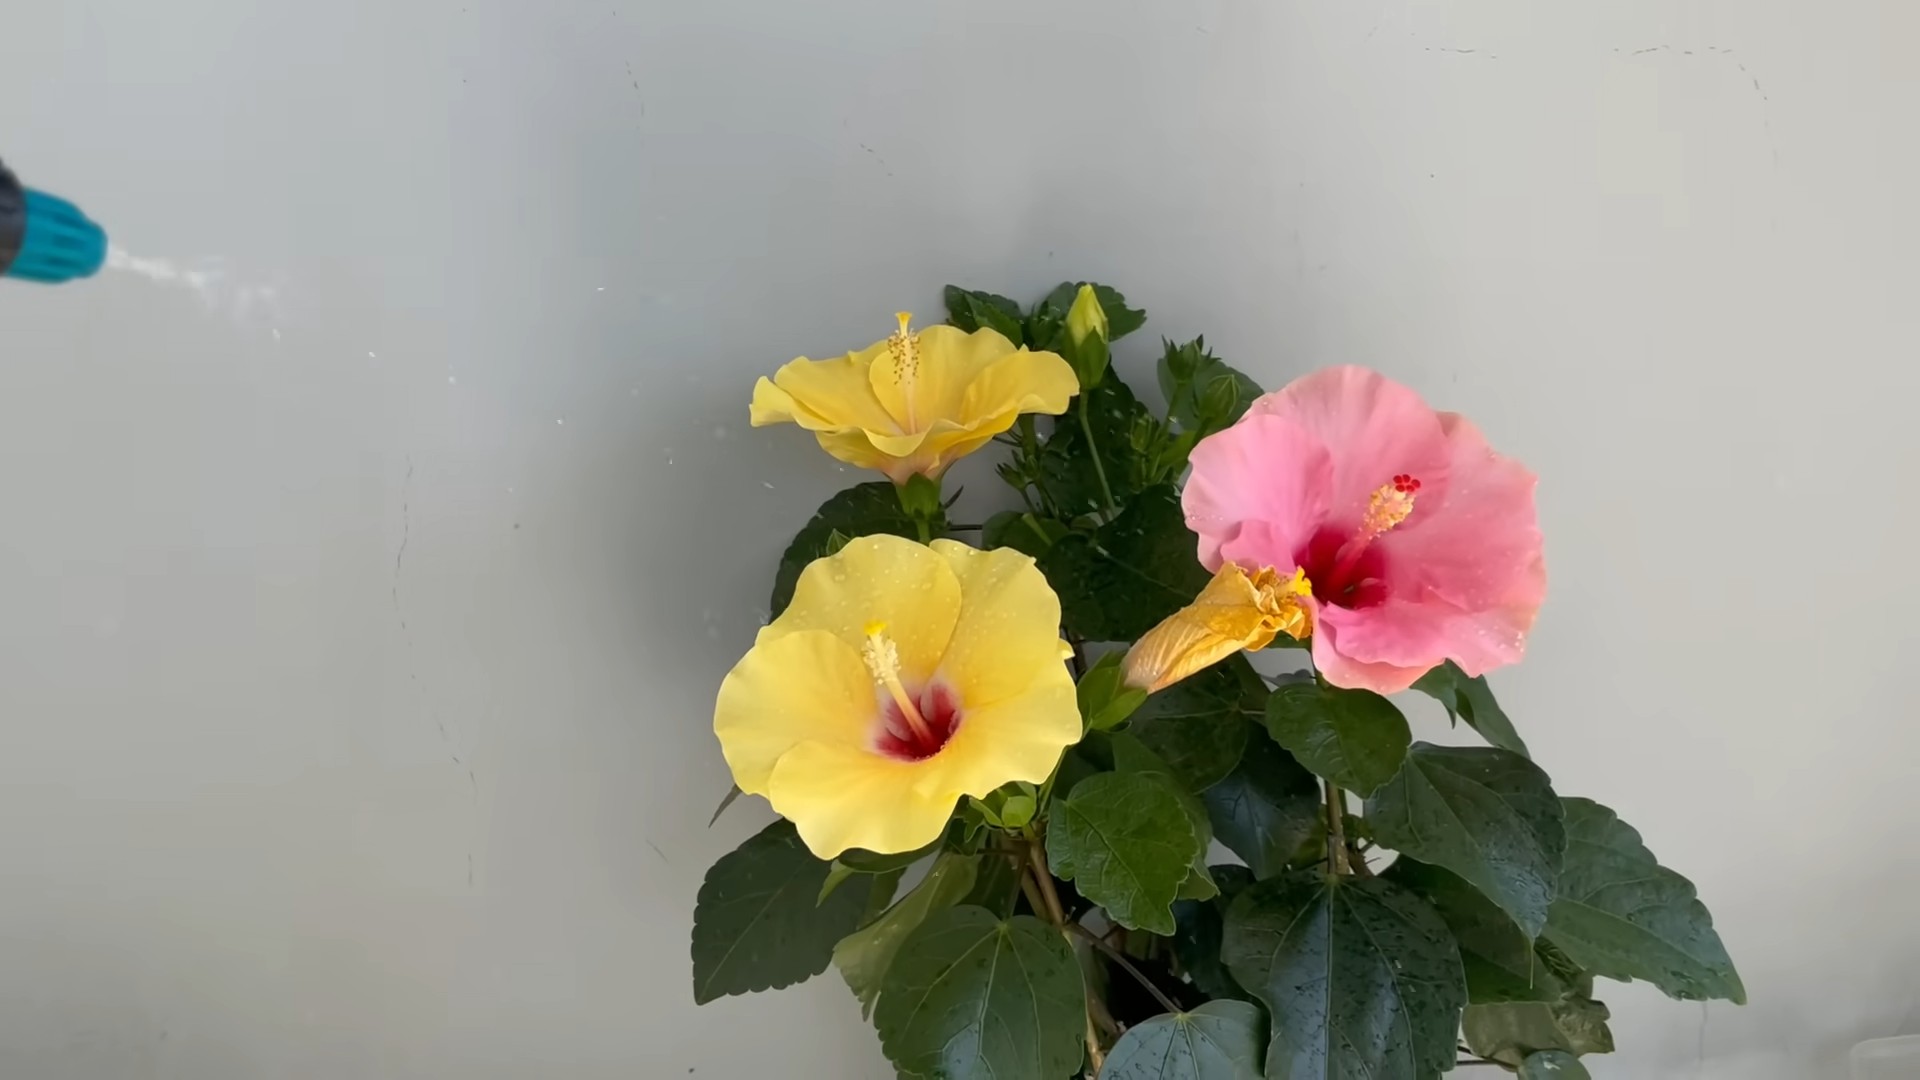
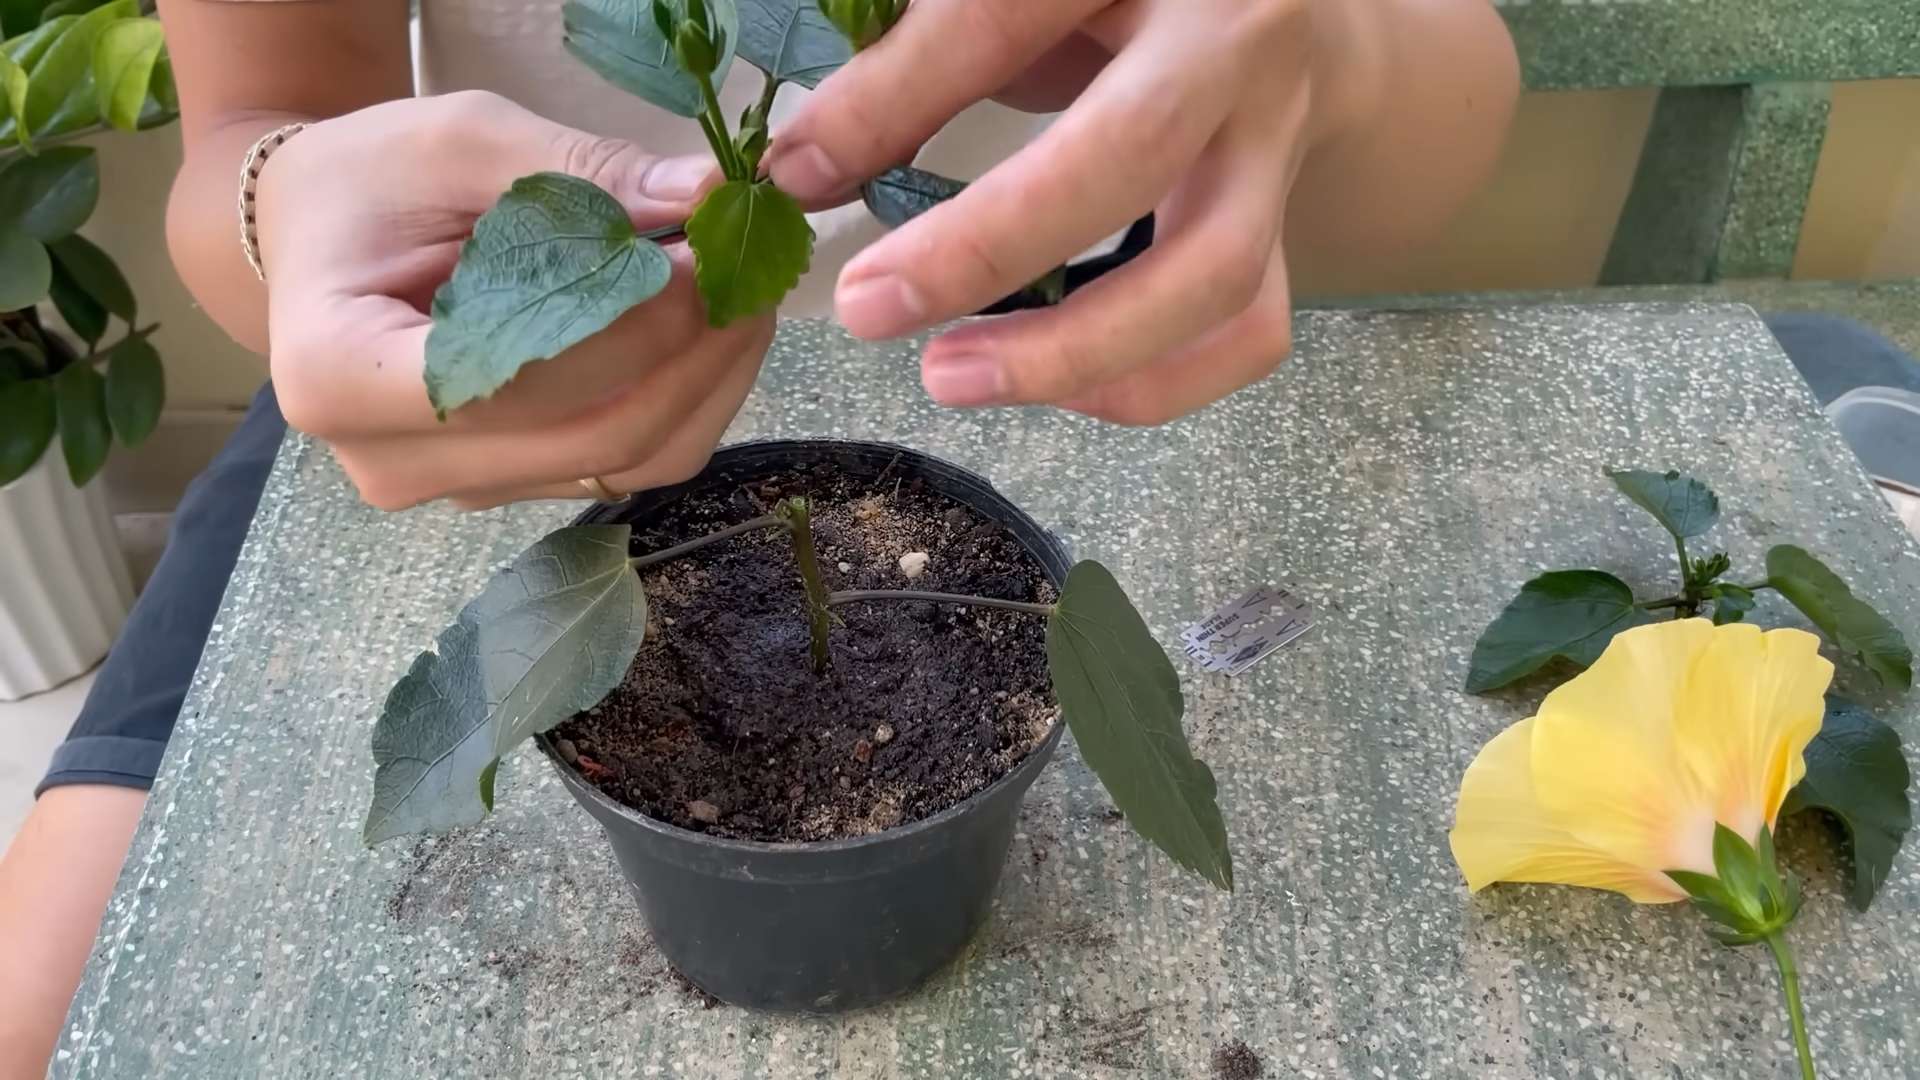
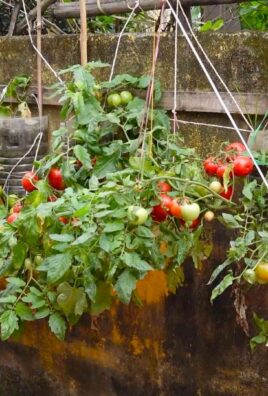
Vibrant Hibiscus Flowers – just the name conjures images of tropical paradises, doesn’t it? I’ve always been captivated by their bold colors and exotic beauty. But did you know that cultivating these beauties at home is easier than you might think? For centuries, hibiscus has been cherished in various cultures, from being a symbol of delicate beauty in Hawaii to representing fleeting fame in Victorian England. These flowers aren’t just pretty faces; they hold a rich history and cultural significance.
Are you dreaming of adding a touch of the tropics to your own backyard? Maybe you’re tired of lackluster blooms or struggling to keep your hibiscus thriving. Well, you’re in the right place! This article is packed with simple, yet effective, DIY tricks and hacks that will transform your hibiscus from drab to fab. I’m going to share my secrets for achieving those show-stopping vibrant hibiscus flowers you’ve always admired.
We’ll cover everything from soil secrets to pest control solutions, all designed to help you unlock the full potential of your hibiscus plants. Get ready to roll up your sleeves and discover how easy it is to create your own little slice of paradise, one vibrant bloom at a time! Let’s get started!
DIY: Transforming Paper Towels into Stunning Hibiscus Flowers
Hey there, fellow crafters! I’m so excited to share this super fun and surprisingly easy DIY project with you: turning ordinary paper towels into vibrant hibiscus flowers. These beauties are perfect for adding a touch of tropical flair to any space, from party decorations to home accents. Trust me, once you get the hang of it, you’ll be making a whole bouquet!
Materials You’ll Need:
Before we dive in, let’s gather our supplies. Here’s what you’ll need:
* Paper Towels: Choose a good quality, absorbent paper towel. I prefer the kind that are white, so the colors really pop, but you can experiment with patterned ones too!
* Liquid Watercolors or Food Coloring: This is where the magic happens! Liquid watercolors give a really vibrant, translucent look. Food coloring works great too, just be mindful that it can stain.
* Small Bowls or Cups: For mixing your colors.
* Water: To dilute the watercolors or food coloring.
* Paintbrushes: A variety of sizes will come in handy for different effects.
* Floral Wire: To create the stems. I usually go for 18-gauge wire, it’s sturdy enough to hold the flower’s weight.
* Green Floral Tape: To wrap the stems and give them a realistic look.
* Scissors: For cutting the paper towels and floral wire.
* Hot Glue Gun and Glue Sticks: For assembling the flower (adult supervision required!).
* Pencil or Chopstick: To curl the petals.
* Optional: Glitter, beads, or other embellishments to add extra sparkle!
Preparing the Paper Towels:
This step is crucial for creating the delicate, layered look of the hibiscus.
1. Separate the Paper Towels: Most paper towels are two-ply. Carefully separate the layers. You’ll want to work with single-ply sheets. This will make them easier to manipulate and absorb the color better.
2. Cut into Squares: Cut the single-ply paper towels into squares. I usually aim for squares that are around 4×4 inches, but you can experiment with different sizes to create flowers of varying dimensions. The size of the square will determine the size of your petals.
3. Stack the Squares: Stack about 6-8 squares together. This will create a nice, full petal.
Coloring the Paper Towels:
Now for the fun part! This is where you can really get creative with your color combinations.
1. Prepare Your Dyes: In separate bowls or cups, mix your liquid watercolors or food coloring with water. Start with a small amount of dye and gradually add more water until you achieve the desired color intensity. Remember, the color will appear lighter once the paper towel dries. I like to test the color on a scrap piece of paper towel before I start coloring the squares.
2. Dyeing Techniques: There are a few different ways you can color the paper towel squares:
* Dip Dyeing: Dip the edges of the stacked squares into the dye, allowing the color to wick up into the paper. This creates a beautiful gradient effect. You can dip different edges into different colors for a multi-toned petal.
* Painting: Use a paintbrush to apply the dye directly to the paper towel squares. You can create patterns, ombre effects, or even just paint the entire square a solid color.
* Spraying: If you have a spray bottle, you can dilute the dye even further and spray it onto the paper towel squares. This creates a softer, more diffused look.
3. Drying the Squares: Once you’ve colored the squares, carefully separate them and lay them flat on a protected surface (like a piece of parchment paper or a plastic tablecloth) to dry completely. This may take several hours, depending on the humidity. You can speed up the drying process with a hairdryer on a low setting, but be careful not to scorch the paper.
Creating the Petals:
Once the colored squares are dry, it’s time to transform them into petals.
1. Folding the Squares: Take one of your colored squares and fold it in half diagonally, creating a triangle. Then, fold the triangle in half again.
2. Cutting the Petal Shape: Using your scissors, round off the open corner of the folded triangle. This will create the rounded shape of the petal. You can also experiment with different shapes, like pointed or scalloped edges.
3. Unfolding the Petal: Carefully unfold the petal. You should now have a petal shape with a hole in the center.
4. Curling the Petals: This is what gives the hibiscus flower its characteristic shape. Take your pencil or chopstick and gently curl the edges of the petal outwards. You can curl all the edges in the same direction, or alternate directions for a more natural look.
Assembling the Flower:
Now comes the exciting part – putting all the petals together to create your hibiscus flower!
1. Creating the Center: Cut a small strip of paper towel (about 1 inch wide and 4 inches long). Fold it in half lengthwise and fringe one edge with scissors. Roll the fringed strip tightly to create the flower’s center. Secure the end with a dab of hot glue.
2. Attaching the First Layer of Petals: Apply a small amount of hot glue to the base of one of your petals (the part closest to the center hole). Attach the petal to the base of the flower’s center, overlapping the edge slightly. Repeat this process with 4-5 more petals, creating a circle around the center.
3. Adding Subsequent Layers: Continue adding layers of petals, slightly overlapping each petal with the previous one. You can use different colors or sizes of petals in each layer to create a more dynamic look. I usually use about 3-4 layers of petals for each flower.
4. Creating the Calyx (Optional): The calyx is the green part at the base of the flower. To create it, cut a small circle of green paper towel and fringe the edges. Glue the calyx to the base of the flower, covering the hot glue and adding a touch of realism.
Adding the Stem:
No flower is complete without a stem!
1. Attaching the Floral Wire: Apply a generous amount of hot glue to the base of the flower. Insert one end of the floral wire into the glue, holding it in place until the glue cools and hardens.
2. Wrapping the Stem: Starting at the base of the flower, wrap the floral wire with green floral tape. Stretch the tape slightly as you wrap it, which will help it adhere to the wire. Continue wrapping the tape down the entire length of the wire.
Finishing Touches:
Now that your hibiscus flower is assembled, you can add some finishing touches to make it even more special.
1. Adding Embellishments (Optional): You can add glitter, beads, or other embellishments to the petals or center of the flower. A little bit of sparkle can really make your hibiscus flower stand out!
2. Adjusting the Petals: Take a moment to adjust the petals, fluffing them out and making sure they are evenly spaced. You can also use your pencil or chopstick to further curl or shape the petals.
3. Displaying Your Flowers: Once you’re happy with your hibiscus flower, you can display it in a vase, use it to decorate a wreath, or even attach it to a hair clip or brooch. The possibilities are endless!
And there you have it! Your very own handmade hibiscus flower made from paper towels. I hope you enjoyed this tutorial and that you’re inspired to create your own beautiful blooms. Happy crafting!
Conclusion
So, there you have it! Transforming vibrant hibiscus flowers into a stunning, all-natural hibiscus syrup is not only surprisingly simple, but it’s also a rewarding experience that unlocks a world of flavor possibilities. Forget store-bought syrups laden with artificial colors and preservatives; this DIY method puts you in complete control of the ingredients, ensuring a pure, delicious, and visually captivating final product.
Why is this a must-try? Because this homemade hibiscus syrup is more than just a sweetener; it’s a versatile culinary tool. Imagine the vibrant ruby hue swirling into your favorite cocktails, adding a floral and tart complexity that elevates your mixology game. Picture drizzling it over pancakes or waffles for a breakfast treat that’s both beautiful and bursting with flavor. Envision using it to create refreshing hibiscus lemonade on a hot summer day, a drink that’s as visually appealing as it is thirst-quenching. The possibilities are truly endless.
But the benefits extend beyond just taste and aesthetics. By making your own hibiscus syrup, you’re embracing a more sustainable and conscious approach to food. You’re reducing your reliance on processed products and connecting with the natural world in a tangible way. Plus, you get the satisfaction of knowing exactly what’s going into your body.
Ready to experiment? Consider these variations to personalize your hibiscus syrup:
* **Spice it up:** Add a cinnamon stick, a few cloves, or a star anise to the simmering syrup for a warm, aromatic twist.
* **Citrus infusion:** Incorporate lemon or orange zest for a brighter, more citrusy flavor profile.
* **Herbal enhancement:** Infuse the syrup with fresh ginger, mint, or rosemary for a unique and complex flavor.
* **Honey substitution:** Replace some or all of the sugar with honey for a more natural and nuanced sweetness.
Don’t be afraid to get creative and tailor the recipe to your own preferences. The beauty of DIY is the freedom to experiment and discover new flavor combinations.
We wholeheartedly encourage you to try this DIY hibiscus syrup recipe. It’s a simple yet transformative project that will add a touch of magic to your kitchen and your culinary creations. Once you’ve made your own batch, we’d love to hear about your experience! Share your photos, your variations, and your favorite ways to use your homemade hibiscus syrup in the comments below. Let’s inspire each other to embrace the beauty and flavor of natural ingredients. This is a great way to use those beautiful hibiscus flowers.
Frequently Asked Questions (FAQ)
What type of hibiscus flowers should I use?
The best hibiscus flowers for making syrup are those of the *Hibiscus sabdariffa* species, also known as roselle hibiscus. These flowers have a naturally tart and fruity flavor that is perfect for syrup making. You can find dried hibiscus flowers online, at specialty spice shops, or even in some well-stocked grocery stores. Fresh hibiscus flowers can also be used if you have access to them, but you may need to adjust the amount used as fresh flowers tend to be less concentrated in flavor. Make sure the flowers are food grade and free from pesticides.
How long does homemade hibiscus syrup last?
When stored properly in an airtight container in the refrigerator, homemade hibiscus syrup can last for approximately 2-3 weeks. To extend its shelf life, you can add a tablespoon of vodka or other high-proof alcohol as a preservative. You can also freeze the syrup in ice cube trays for longer storage. Once frozen, transfer the cubes to a freezer bag for easy use.
Can I use less sugar in the recipe?
Yes, you can reduce the amount of sugar in the recipe, but keep in mind that sugar acts as a preservative and contributes to the syrup’s thickness. If you use less sugar, the syrup may be thinner and have a shorter shelf life. You can also experiment with alternative sweeteners like honey, agave nectar, or stevia, but be aware that these sweeteners may alter the flavor of the syrup. Start by reducing the sugar by a small amount and taste as you go, adjusting to your preference.
My hibiscus syrup is too thick/thin. What can I do?
If your syrup is too thick, add a tablespoon or two of water and simmer for a few more minutes until it reaches your desired consistency. If your syrup is too thin, continue simmering it for a longer period of time, allowing the excess water to evaporate. Be careful not to overcook it, as it can become too thick and caramelized.
Can I use this syrup in cocktails? What are some good cocktail recipes?
Absolutely! Hibiscus syrup is a fantastic addition to cocktails, adding a beautiful color and a tart, floral flavor. Here are a few cocktail ideas:
* **Hibiscus Margarita:** Combine tequila, lime juice, hibiscus syrup, and a splash of orange liqueur.
* **Hibiscus Gin Fizz:** Mix gin, lemon juice, hibiscus syrup, and top with soda water.
* **Hibiscus Mojito:** Muddle mint, lime, and sugar, then add rum, hibiscus syrup, and top with soda water.
* **Hibiscus Champagne Cocktail:** Add a splash of hibiscus syrup to a glass of champagne or sparkling wine.
Experiment with different combinations and find your favorite hibiscus-infused cocktail!
Can I use this syrup for anything besides drinks?
Definitely! Hibiscus syrup is incredibly versatile and can be used in a variety of culinary applications:
* **Desserts:** Drizzle it over pancakes, waffles, ice cream, or yogurt. Use it as a glaze for cakes or pastries.
* **Salad dressings:** Add a touch of hibiscus syrup to vinaigrettes for a sweet and tangy flavor.
* **Marinades:** Use it as a marinade for chicken, fish, or tofu.
* **Jams and jellies:** Incorporate it into homemade jams and jellies for a unique flavor twist.
* **Baking:** Add it to cake batters, cookie doughs, or muffin mixes for a hint of hibiscus flavor and color.
Where can I find hibiscus flowers if I can’t find them locally?
If you’re having trouble finding hibiscus flowers locally, you can easily purchase them online from various retailers. Look for reputable suppliers that sell food-grade hibiscus flowers. You can also check with specialty spice shops or health food stores in your area, as they may carry dried hibiscus flowers.
Is there a difference between using dried and fresh hibiscus flowers?
Yes, there is a difference. Dried hibiscus flowers have a more concentrated flavor than fresh flowers. When using fresh flowers, you may need to use a larger quantity to achieve the same level of flavor. Also, dried flowers have a longer shelf life and are more readily available.
Can I make a larger batch of hibiscus syrup?
Yes, you can easily scale up the recipe to make a larger batch of hibiscus syrup. Simply increase the quantities of all the ingredients proportionally. Keep in mind that a larger batch may require a longer simmering time. Ensure you have enough storage containers before you begin.
What if my hibiscus syrup crystallizes?
Crystallization can occur if there is too much sugar in the syrup. To fix this, gently reheat the syrup over low heat, stirring constantly until the sugar crystals dissolve. You can also add a small amount of lemon juice or vinegar to help prevent crystallization.
Leave a Comment