

Vinegar and soap grime removal – sounds like a science experiment gone right, doesn’t it? But trust me, it’s a game-changer for anyone battling that stubborn, unsightly buildup in their bathroom or kitchen. I know I’ve been there, scrubbing away for what feels like hours, only to be met with minimal progress.
Grime, in its many forms, has plagued households for centuries. From ancient Roman bathhouses to modern-day apartments, the struggle to keep surfaces clean is a timeless one. While our ancestors might have relied on harsher methods, we now have a gentler, more effective solution at our fingertips.
Why is this DIY trick so essential? Because nobody wants to spend their precious free time wrestling with soap scum! Not only is it visually unappealing, but it can also harbor bacteria and make your surfaces feel rough and unpleasant. Plus, harsh chemical cleaners can be expensive and harmful to the environment. This vinegar and soap grime removal method is a natural, affordable, and incredibly effective way to restore your surfaces to their sparkling glory. I’m excited to share this simple yet powerful hack that will save you time, money, and a whole lot of elbow grease!

DIY Vinegar and Soap Scum Destroyer: A Sparkling Clean Bathroom Awaits!
Okay, let’s face it: soap scum is the bane of every bathroom cleaner’s existence. It’s stubborn, unsightly, and seems to multiply overnight. But fear not, my friends! I’m here to share my secret weapon: a simple, effective, and budget-friendly DIY solution using vinegar and dish soap. Get ready to say goodbye to that grimy buildup and hello to a sparkling clean bathroom!
What You’ll Need: Your Arsenal Against Grime
Before we dive in, let’s gather our supplies. This is a pretty straightforward project, so you probably already have most of these items on hand.
* White Vinegar: The star of the show! White vinegar’s acidity is what breaks down the soap scum.
* Dish Soap: I prefer Dawn, but any grease-cutting dish soap will work wonders.
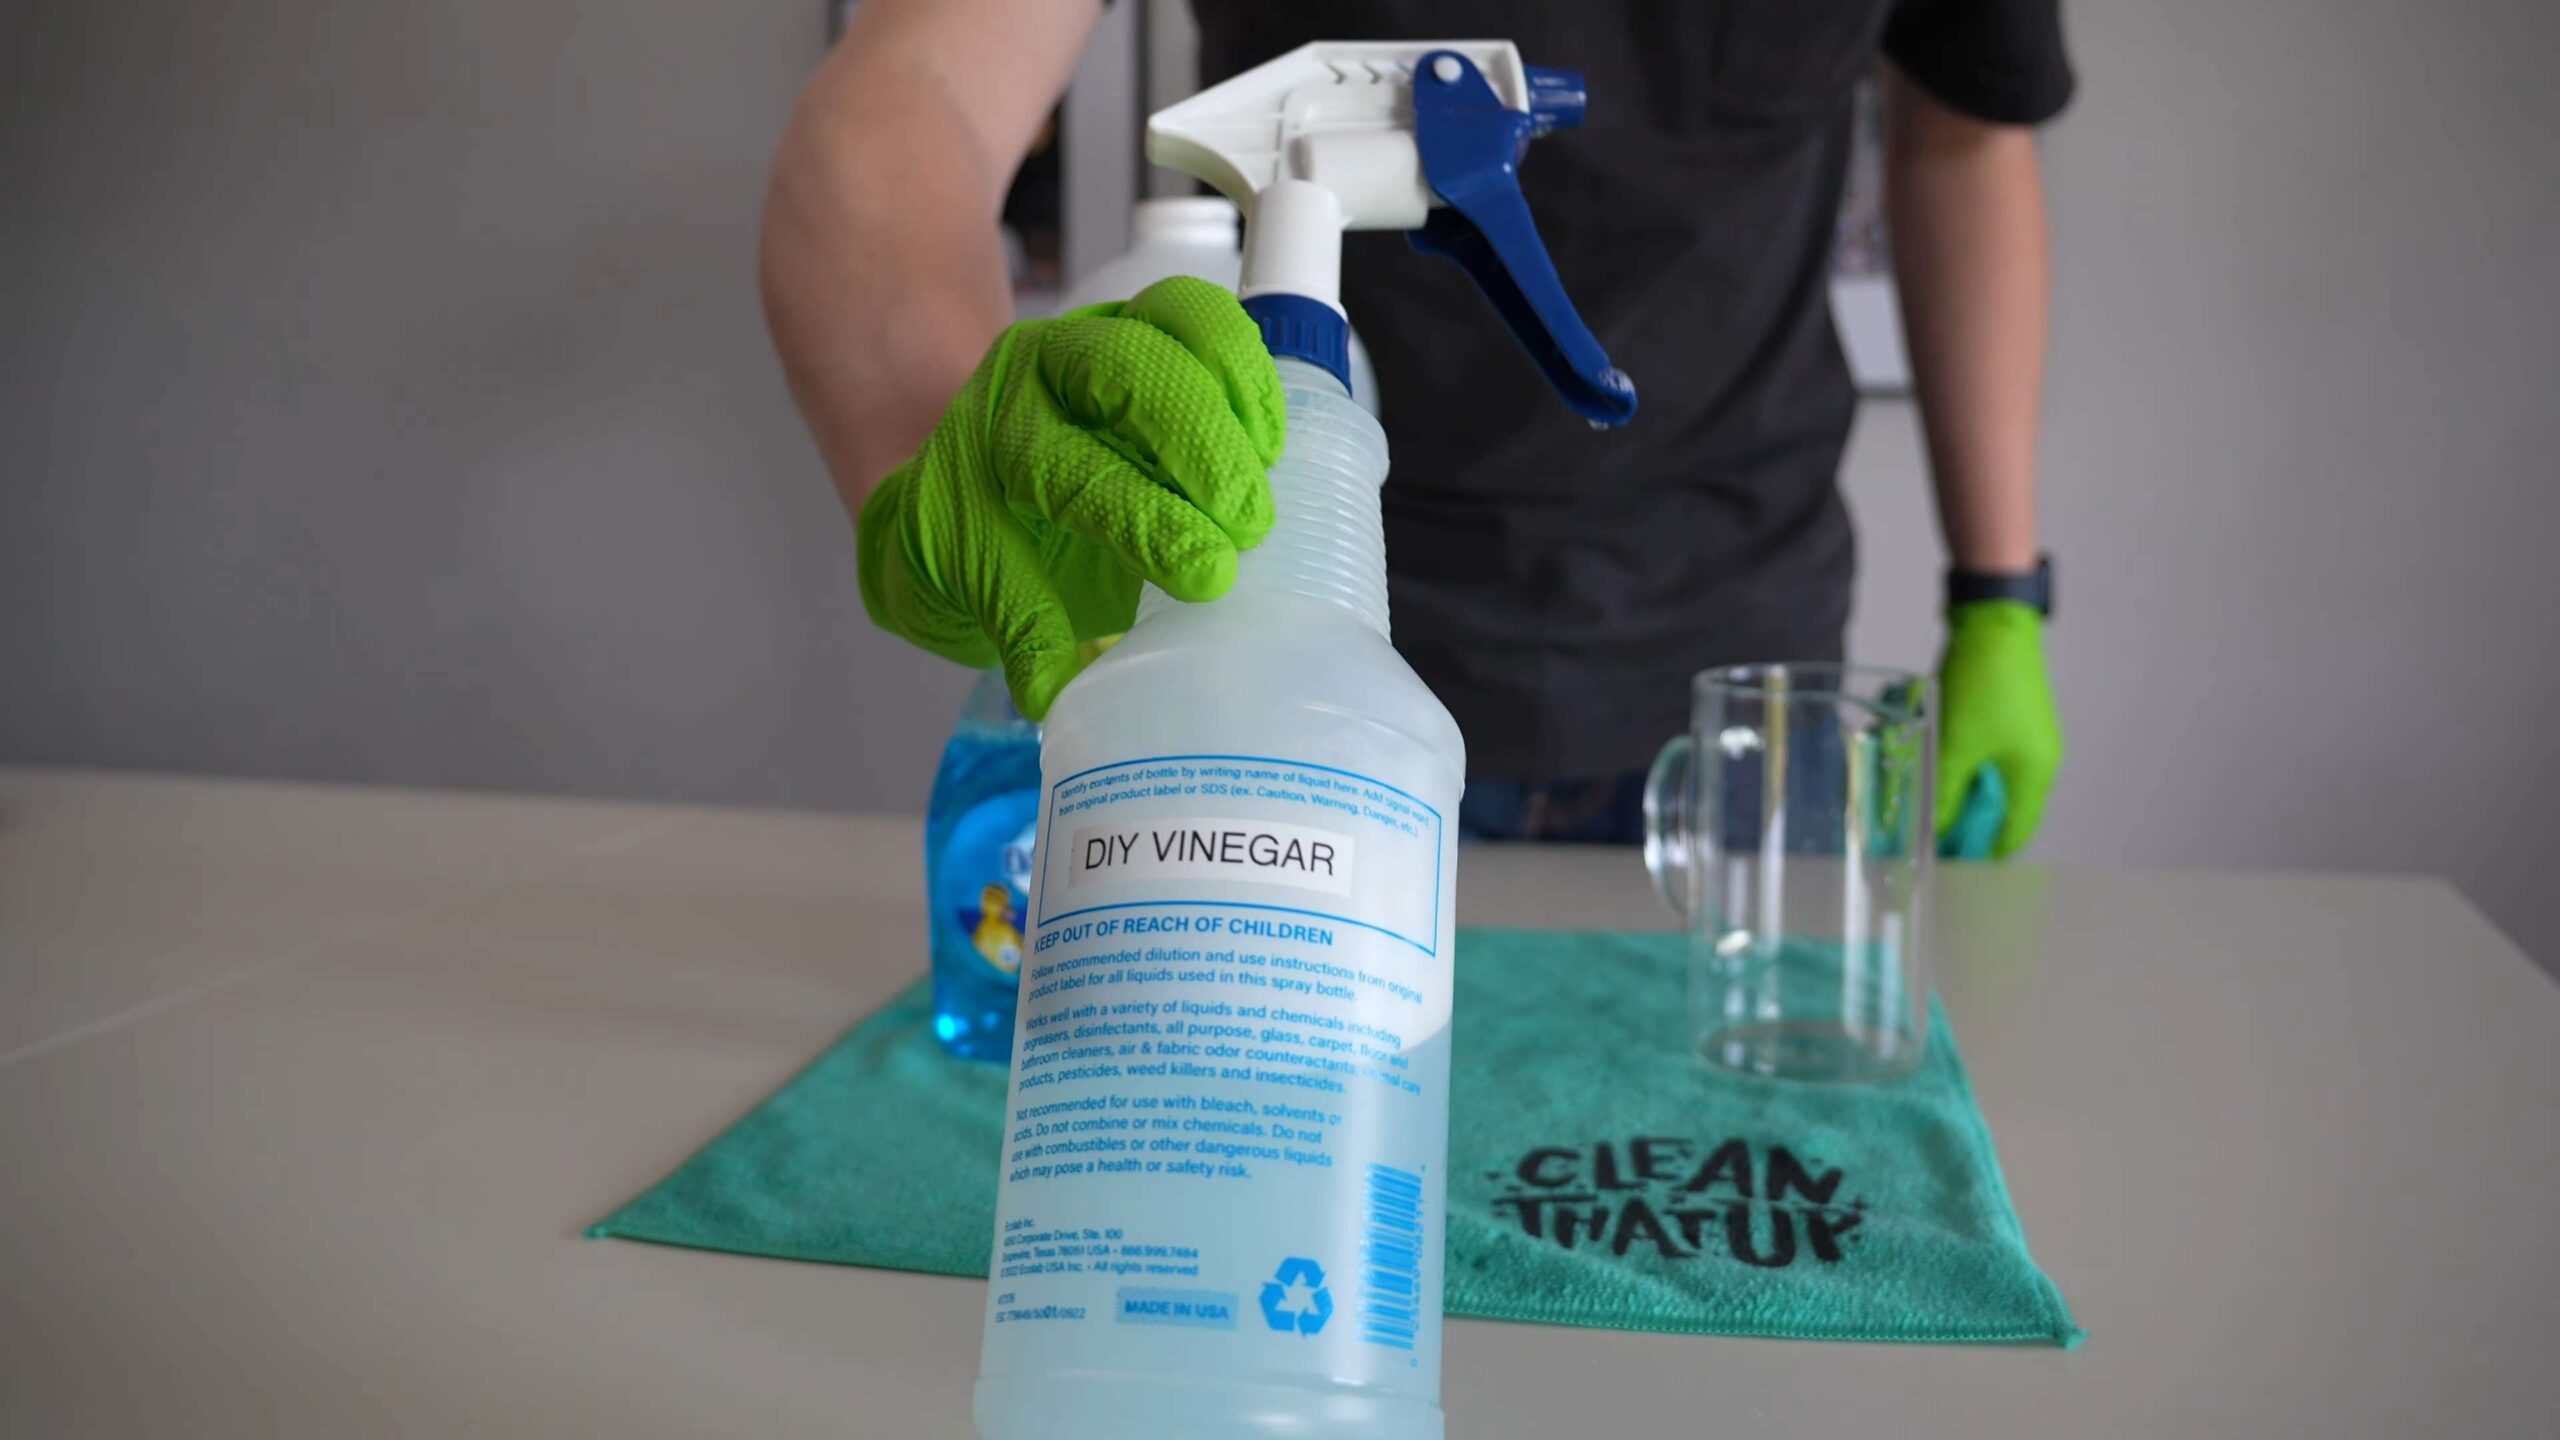
* Spray Bottle: For easy application. Make sure it’s clean!
* Microfiber Cloths or Sponges: Microfiber cloths are my go-to for cleaning because they’re super absorbent and won’t scratch surfaces.
* Scrub Brush (Optional): For those extra stubborn areas. An old toothbrush works great for grout!
* Gloves: Protect your hands from the vinegar and soap.
* Safety Glasses (Optional but Recommended): Especially if you’re tackling overhead areas.
* Kettle or Microwave: For heating the vinegar (more on that later).
* Measuring Cup: To ensure the right vinegar to soap ratio.
The Magic Ratio: Getting the Mixture Just Right
The key to this DIY cleaner’s success is the perfect ratio of vinegar to dish soap. Too much of one or the other, and you might not get the results you’re hoping for.
* The Golden Rule: I’ve found that a 1:1 ratio works best. That means equal parts vinegar and dish soap.
Step-by-Step Instructions: Unleashing the Cleaning Power
Alright, let’s get down to business! Follow these steps, and you’ll be amazed at how easily you can conquer that soap scum.
1. Heat the Vinegar: This is a crucial step! Heating the vinegar significantly increases its cleaning power. I usually heat mine in the microwave for about 2-3 minutes, or until it’s hot but not boiling. You can also heat it in a kettle. Be careful when handling hot vinegar!
2. Mix the Solution: In your measuring cup, combine equal parts of the heated vinegar and dish soap. Gently stir the mixture to combine. Avoid shaking it vigorously, as this can create excessive bubbles.
3. Pour into Spray Bottle: Carefully pour the vinegar and soap mixture into your spray bottle.
4. Apply to Affected Areas: Generously spray the solution onto the areas covered in soap scum. This includes shower walls, shower doors, faucets, and even the bathtub.
5. Let it Sit: This is where the magic happens! Allow the solution to sit on the soap scum for at least 15-20 minutes. For really tough buildup, you can let it sit for up to an hour. The longer it sits, the easier it will be to remove the grime.
6. Scrub (If Necessary): After the solution has had time to work its magic, use a microfiber cloth, sponge, or scrub brush to scrub away the loosened soap scum. You’ll likely find that it comes off much easier than it did before. For grout, use an old toothbrush to get into those tight spaces.
7. Rinse Thoroughly: Once you’ve scrubbed away the soap scum, rinse the area thoroughly with clean water. Make sure to remove all traces of the vinegar and soap solution.
8. Dry and Shine: Finally, dry the cleaned area with a clean microfiber cloth. This will prevent water spots and leave your bathroom surfaces sparkling.
Tackling Different Areas: A Targeted Approach
While the basic method remains the same, here are some tips for tackling specific areas in your bathroom:
Shower Walls and Doors
* Glass Shower Doors: These are notorious for soap scum buildup. Pay extra attention to the bottom of the door, where water tends to pool. After cleaning, consider using a squeegee after each shower to prevent future buildup.
* Tile Walls: If you have tile walls, focus on the grout lines. The toothbrush is your best friend here!
* Acrylic Shower Walls: Be gentle! Avoid using abrasive scrub brushes that could scratch the surface.
Faucets and Showerheads
* Hard Water Stains: If you also have hard water stains, you might need to soak the faucets and showerheads in vinegar for a longer period. You can even fill a plastic bag with vinegar and secure it around the showerhead with a rubber band.
* Chrome Fixtures: Be careful not to leave the vinegar on chrome for too long, as it can potentially damage the finish.
Bathtub
* Around the Drain: This area tends to accumulate a lot of soap scum and hair. Make sure to clean it thoroughly.
* Non-Slip Surfaces: If your bathtub has a non-slip surface, you might need to use a slightly stiffer brush to remove the grime.
Dealing with Stubborn Soap Scum: When Extra Measures are Needed
Sometimes, soap scum is just plain stubborn. If you’re dealing with a particularly tough case, here are a few extra tips and tricks:
* Reapply and Repeat: Don’t be afraid to reapply the vinegar and soap solution and let it sit for a longer period. Sometimes, multiple applications are necessary.
* Baking Soda Paste: For really stubborn areas, you can make a paste of baking soda and water and apply it to the soap scum. Let it sit for a few minutes, then scrub with a brush.
* Magic Eraser: A Magic Eraser can also be effective for removing soap scum, but be careful not to use it on delicate surfaces, as it can be abrasive.
* Steam Cleaner: If you have a steam cleaner, it can be a powerful tool for loosening and removing soap scum.
Preventing Future Buildup: Staying Ahead of the Grime
The best way to deal with soap scum is to prevent it from building up in the first place. Here are a few tips to help you keep your bathroom sparkling clean:
* Squeegee After Each Shower: This is the single most effective thing you can do to prevent soap scum buildup on shower doors and walls.
* Ventilate Your Bathroom: Run the exhaust fan during and after showers to reduce humidity, which can contribute to soap scum formation.
* Use Liquid Soap Instead of Bar Soap: Bar soap tends to leave more residue than liquid soap.
* Regular Cleaning: Make it a habit to clean your bathroom regularly, even if it’s just a quick wipe-down.
* Water Softener: If you have hard water, consider installing a water softener. Hard water minerals contribute to soap scum buildup.
Safety First: Protecting Yourself and Your Surfaces
While this DIY cleaner is relatively safe, it’s important to take a few precautions:
* Ventilation: Make sure your bathroom is well-ventilated when using vinegar.
* Gloves: Wear gloves to protect your hands from the vinegar and soap.
* Eye Protection: Consider wearing safety glasses, especially when cleaning overhead areas.
* Test on a Small Area: Before applying the solution to a large area, test it on a small, inconspicuous spot to make sure it doesn’t damage the surface.
* Avoid Mixing with Bleach: Never mix vinegar with bleach, as this can create toxic fumes.
Why This Works: The Science Behind the Sparkle
So, what makes this vinegar and soap solution so effective? It all comes down to the chemistry:
* Vinegar’s Acidity: Vinegar is a mild acid, which helps to break down the alkaline components of soap scum.
* Dish Soap’s Grease-Cutting Power: Dish soap contains surfactants, which help to lift and remove grease and grime.
* Heat’s Amplifying Effect: Heating the vinegar increases its acidity and makes it more effective at dissolving soap scum.
By combining these three factors, you create a powerful cleaning solution that can tackle even the toughest soap scum buildup.
Final Thoughts: Enjoy Your Sparkling Clean Bathroom!
And there you have it! A simple, effective, and budget-friendly DIY solution for conquering soap scum. With a little elbow grease and the power of vinegar and soap, you can transform your bathroom from grimy to gleaming. So, go ahead, give it a try, and enjoy your sparkling clean bathroom! I promise, you’ll be amazed at the results. Happy cleaning!
Conclusion
So, there you have it! This simple yet incredibly effective vinegar and soap grime removal trick is a game-changer for anyone battling stubborn bathroom buildup. Forget spending a fortune on harsh chemical cleaners that often leave behind unpleasant odors and potential health hazards. This DIY solution harnesses the natural power of vinegar and the degreasing action of dish soap to dissolve grime, leaving your surfaces sparkling clean and fresh.
Why is this a must-try? Because it’s cost-effective, eco-friendly, and, most importantly, it works! You likely already have the ingredients in your pantry, saving you a trip to the store and reducing your environmental impact. The process is straightforward and requires minimal effort, freeing up your time for more enjoyable activities. Plus, the satisfaction of seeing years of built-up grime disappear before your eyes is truly rewarding.
But the beauty of this method lies in its versatility. While the basic recipe of equal parts vinegar and dish soap is a powerhouse, feel free to experiment with variations to suit your specific needs and preferences. For instance, if you’re dealing with particularly stubborn grime, you can preheat the vinegar in the microwave for a few seconds (be careful not to boil it!) to enhance its cleaning power. Adding a few drops of your favorite essential oil, like lemon or lavender, can infuse your bathroom with a refreshing scent. For colored grout, test the solution in an inconspicuous area first to ensure it doesn’t cause any discoloration. You can also use a scrub brush with stiffer bristles for textured surfaces or a magic eraser for those extra tough spots.
Consider using a spray bottle for easy application on shower walls and doors. For bathtubs, you might prefer pouring the solution directly onto the surface and letting it sit for a longer period. Remember to always rinse thoroughly with water after scrubbing to remove any remaining residue.
We are confident that this vinegar and soap grime removal method will become your go-to solution for a sparkling clean bathroom. It’s a simple, effective, and sustainable way to tackle one of the most common household cleaning challenges.
Now, it’s your turn! We encourage you to try this DIY trick and experience the difference for yourself. Don’t be shy about experimenting with variations to find what works best for your home. And most importantly, share your results with us! We’d love to hear about your experiences, any modifications you made, and the before-and-after transformations you achieved. Post your photos and stories in the comments section below – let’s build a community of grime-fighting experts! Your tips and insights could help others discover the joy of a sparkling clean bathroom, achieved with the power of simple, natural ingredients. So go ahead, give it a try, and let us know what you think!
Frequently Asked Questions (FAQ)
What kind of vinegar should I use?
White distilled vinegar is the best choice for cleaning due to its high acidity and lack of color, which minimizes the risk of staining surfaces. Apple cider vinegar can also be used, but it may leave a slight odor and could potentially stain lighter-colored grout or surfaces. Avoid using other types of vinegar, such as balsamic or red wine vinegar, as they are likely to stain.
What kind of dish soap is recommended?
Any standard dish soap will work for this grime removal method. However, for heavily soiled areas, a dish soap with degreasing properties is recommended. Avoid using dish soaps that contain bleach or other harsh chemicals, as they may react negatively with the vinegar. A clear dish soap is preferable to avoid any potential staining from colored dyes.
Will the vinegar smell linger?
The vinegar smell will dissipate relatively quickly after cleaning. To speed up the process, open a window or turn on a ventilation fan. You can also add a few drops of your favorite essential oil to the cleaning solution to mask the vinegar scent. Lemon, lavender, and eucalyptus are popular choices for a fresh, clean aroma.
Is this solution safe for all surfaces?
While vinegar is generally safe for most bathroom surfaces, it’s essential to exercise caution on certain materials. Avoid using vinegar on natural stone surfaces like marble, granite, and limestone, as the acidity can etch and damage them. It’s also not recommended for unsealed grout, as it can penetrate and weaken the grout over time. Always test the solution in an inconspicuous area first to ensure it doesn’t cause any discoloration or damage.
How long should I let the solution sit on the grime?
The amount of time the solution needs to sit depends on the severity of the grime buildup. For light grime, 15-20 minutes may be sufficient. For heavier grime, you may need to let it sit for 30 minutes to an hour, or even longer. You can also reapply the solution if needed. Check the area periodically to see if the grime is loosening.
What if the grime is still not coming off?
If the grime is particularly stubborn, try the following:
* Preheat the vinegar: Heating the vinegar slightly (but not boiling it) can increase its cleaning power.
* Use a more abrasive scrubber: A scrub brush with stiffer bristles or a magic eraser can help to dislodge stubborn grime.
* Reapply the solution: Apply a fresh coat of the vinegar and soap mixture and let it sit for a longer period.
* Make a paste: Mix baking soda with the vinegar and soap solution to create a paste. Apply the paste to the grime, let it sit for a while, and then scrub.
* Steam cleaning: Use a steam cleaner to loosen the grime before applying the vinegar and soap solution.
Can I use this solution on shower doors with water spots?
Yes, this solution is effective for removing water spots from shower doors. The vinegar helps to dissolve the mineral deposits that cause water spots. After applying the solution, scrub the doors with a non-abrasive sponge or microfiber cloth and rinse thoroughly with water. You can also use a squeegee to prevent future water spots.
How often should I use this cleaning method?
The frequency of cleaning depends on how quickly grime builds up in your bathroom. For most bathrooms, cleaning once a week or every other week is sufficient. However, if you have hard water or a lot of soap scum buildup, you may need to clean more frequently. Regular cleaning will prevent grime from becoming too difficult to remove.
Can I store the leftover cleaning solution?
Yes, you can store the leftover cleaning solution in a sealed spray bottle or container. However, it’s best to use it within a few weeks, as the effectiveness of the solution may decrease over time. Store the solution in a cool, dark place away from direct sunlight.
Is this solution safe for septic systems?
Yes, this solution is generally safe for septic systems. Vinegar is a natural and biodegradable substance that won’t harm the bacteria in your septic tank. However, it’s important to use the solution in moderation and avoid pouring large amounts down the drain at once.
Can I add bleach to this solution for extra cleaning power?
No, never mix vinegar and bleach, as this combination creates toxic chlorine gas, which can be harmful to your health. Always use vinegar and bleach separately and rinse surfaces thoroughly between applications.
What are some other uses for vinegar and soap?
Besides grime removal, vinegar and soap can be used for a variety of other cleaning tasks, such as:
* Cleaning windows and mirrors
* Removing hard water stains
* Cleaning coffee makers
* Deodorizing drains
* Cleaning laundry
* Removing mildew
How can I prevent soap scum buildup in the future?
Here are some tips for preventing soap scum buildup:
* Use liquid soap instead of bar soap, as bar soap tends to create more soap scum.
* Wipe down shower walls and doors after each use.
* Install a water softener to reduce hard water minerals.
* Ventilate your bathroom properly to prevent moisture buildup.
* Regularly clean your bathroom with vinegar and soap.


Leave a Comment