

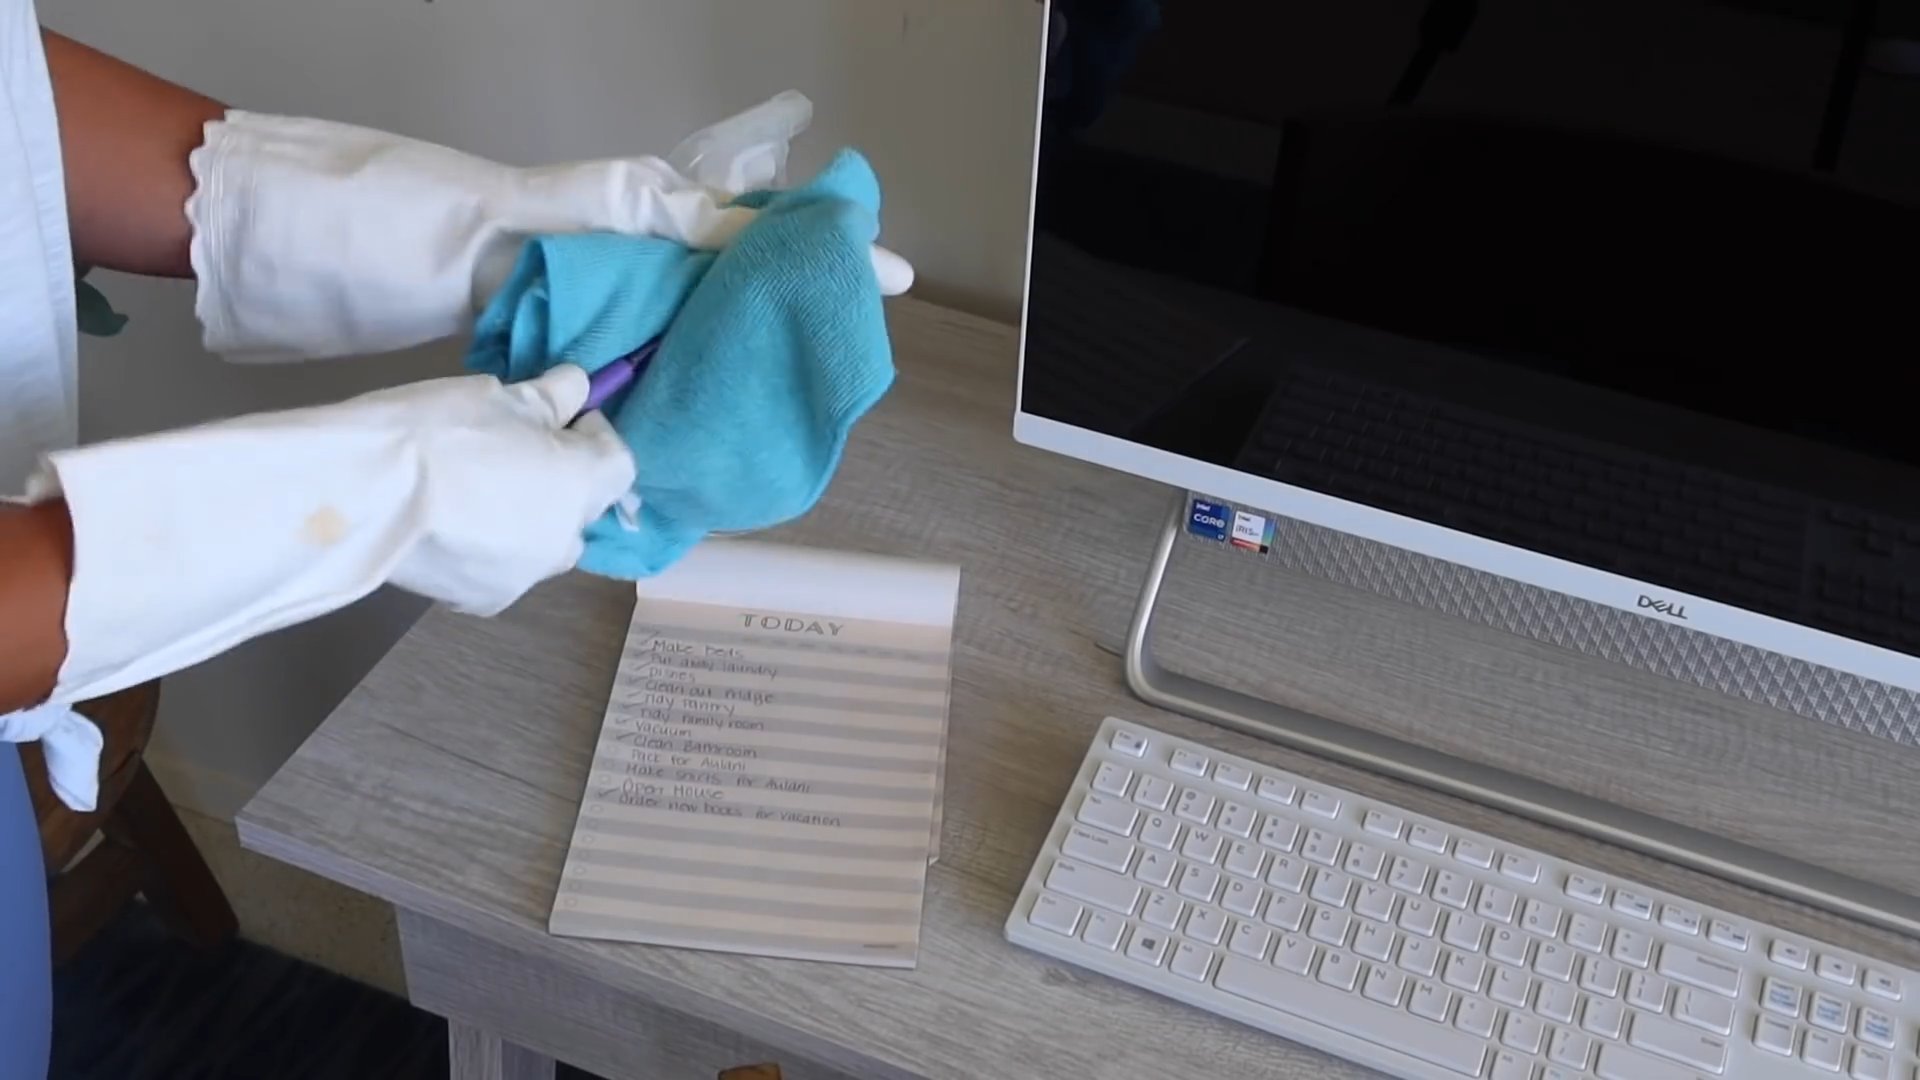
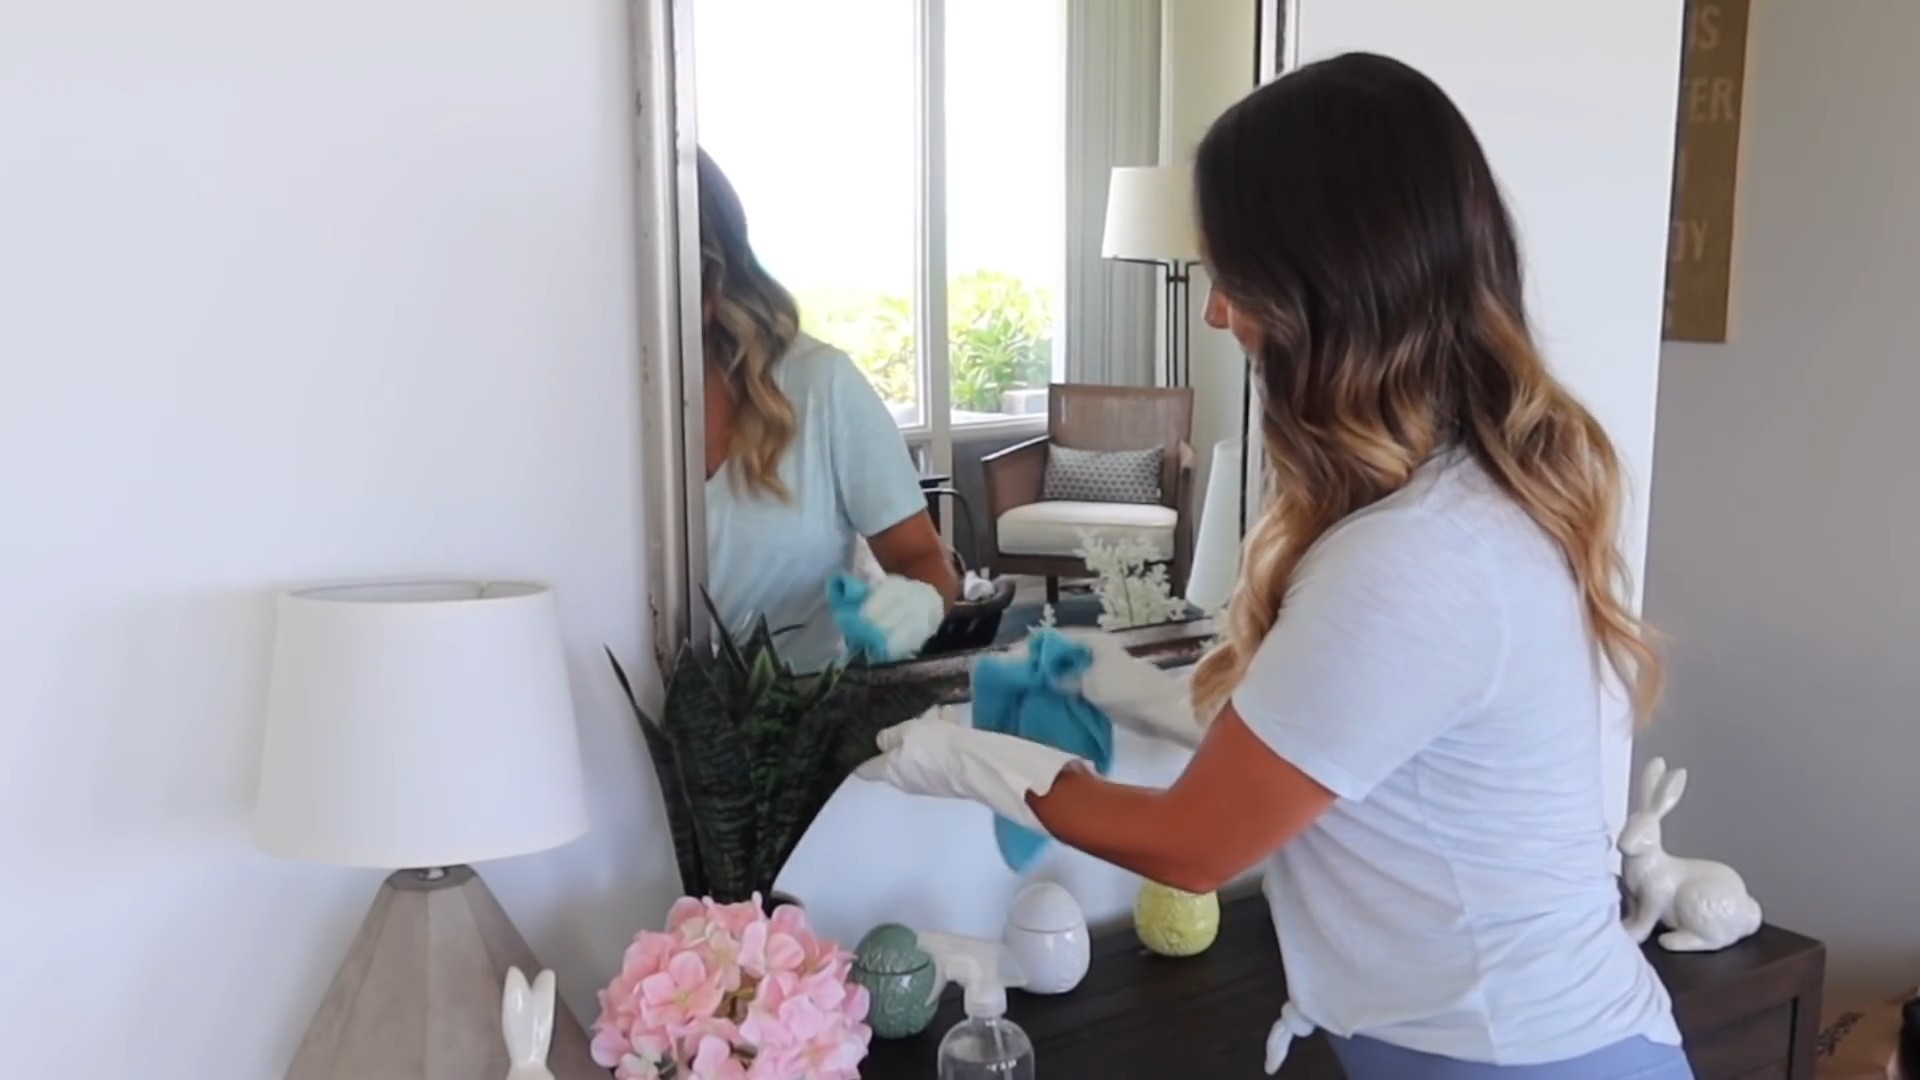
Weekly cleaning missed spots – we all have them! You know, those little nooks and crannies that somehow escape our attention during our regular cleaning routine. It’s like they’re playing hide-and-seek, and we’re always “it.” But fear not, fellow cleaning enthusiasts! I’m here to share some game-changing DIY tricks and hacks to conquer those pesky overlooked areas and achieve a truly sparkling home.
For generations, maintaining a clean home has been a symbol of pride and well-being. From ancient rituals of sweeping and dusting to the modern marvels of vacuum cleaners and microfiber cloths, the pursuit of cleanliness has been a constant throughout history. But even with all the advancements, those sneaky weekly cleaning missed spots persist!
Why is it so important to tackle these hidden grime zones? Well, beyond the obvious aesthetic benefits, addressing these areas can significantly improve your indoor air quality, reduce allergens, and even prevent the spread of germs. Plus, let’s be honest, there’s a certain satisfaction that comes from knowing you’ve truly cleaned every inch of your space. So, let’s dive in and discover some simple yet effective DIY solutions to banish those overlooked spots for good!
DIY Deep Clean: Conquering Those Pesky Missed Spots in Your Weekly Cleaning Routine
Okay, let’s be honest. We all have those spots in our homes that seem to magically repel our cleaning efforts. You know, the ones you *swear* you cleaned last week, but somehow they’re already sporting a fresh layer of dust, grime, or mystery goo. Don’t worry, you’re not alone! I’m here to share my tried-and-true DIY deep clean hacks to tackle those neglected areas and finally achieve a truly sparkling home.
Identifying the Usual Suspects
Before we dive into the cleaning frenzy, let’s pinpoint those common culprits. These are the areas I consistently find myself battling:
* Baseboards: Dust bunnies and scuff marks love to congregate here.
* Light Fixtures: Especially those hard-to-reach ceiling fans and chandeliers.
* Door Frames and Trim: Fingerprints, smudges, and general grime accumulate quickly.
* Behind Toilets: A breeding ground for dust and, well, other things.
* Under Furniture: The land of lost socks and dust mountains.
* Grout Lines: Stains and discoloration can make your tiles look dingy.
* Inside Appliances: Ovens, microwaves, and dishwashers often get overlooked.
* Window Tracks: Dirt, debris, and even insects can accumulate here.
* Doorknobs and Light Switches: High-touch surfaces that harbor germs.
* Showerheads: Mineral buildup can reduce water pressure and harbor bacteria.
Essential Cleaning Supplies
To wage war on these missed spots, you’ll need the right arsenal. Here’s my go-to list:
* Microfiber Cloths: These are my absolute favorite for dusting and wiping surfaces.
* All-Purpose Cleaner: Choose a cleaner that’s safe for your surfaces.
* Baking Soda: A natural and effective cleaner and deodorizer.
* White Vinegar: Another natural powerhouse for cleaning and disinfecting.
* Dish Soap: For cutting through grease and grime.
* Old Toothbrush: Perfect for scrubbing grout and tight spaces.
* Cotton Swabs: Ideal for cleaning small crevices and details.
* Spray Bottle: For mixing cleaning solutions.
* Vacuum Cleaner with Attachments: For reaching under furniture and cleaning upholstery.
* Extendable Duster: For those high-up, hard-to-reach areas.
* Rubber Gloves: To protect your hands.
* Magic Eraser: For removing stubborn scuff marks and stains.
* Squeegee: For streak-free window cleaning.
* Bowl or Bucket: For mixing cleaning solutions.
Tackling the Baseboards, Door Frames, and Trim
These areas are magnets for dust and grime. Here’s how I tackle them:
1. Dust First: Use a microfiber cloth or vacuum cleaner attachment to remove loose dust and debris. I like to use the brush attachment on my vacuum to get into the corners.
2. Prepare Your Cleaning Solution: In a bowl, mix warm water with a few drops of dish soap or your favorite all-purpose cleaner.
3. Wipe Down Surfaces: Dip a microfiber cloth into the cleaning solution, wring out the excess, and wipe down the baseboards, door frames, and trim. Pay special attention to areas with scuff marks or grime.
4. Magic Eraser for Stubborn Marks: For stubborn scuff marks, gently rub with a magic eraser. Be careful not to overdo it, as it can remove paint if you scrub too hard.
5. Dry with a Clean Cloth: Use a clean, dry microfiber cloth to dry the surfaces and prevent water spots.
Conquering Light Fixtures
Cleaning light fixtures can be a bit of a chore, but it’s worth it to brighten up your space.
1. Safety First: Turn off the power to the light fixture at the circuit breaker.
2. Dust the Fixture: Use an extendable duster or a microfiber cloth to remove dust from the fixture. For ceiling fans, use a fan duster or a pillowcase to trap the dust.
3. Clean the Bulbs: Remove the light bulbs and wipe them down with a damp microfiber cloth. Let them dry completely before reinserting them.
4. Wash Glass Components: If the fixture has glass components, carefully remove them and wash them with warm, soapy water. Rinse thoroughly and dry with a soft cloth.
5. Wipe Down the Fixture: Use a damp microfiber cloth to wipe down the rest of the fixture.
6. Reassemble and Restore Power: Once everything is dry, reassemble the fixture and turn the power back on.
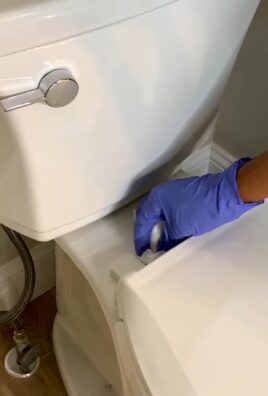
Cleaning Behind Toilets
This area is often overlooked, but it’s important to keep it clean for hygiene reasons.
1. Gather Your Supplies: You’ll need an all-purpose cleaner, a toilet bowl cleaner, a scrub brush, and paper towels.
2. Spray and Wipe: Spray the area behind the toilet with all-purpose cleaner and let it sit for a few minutes.
3. Scrub the Area: Use a scrub brush to scrub away any grime or stains. Pay special attention to the base of the toilet and the floor around it.
4. Clean the Toilet Bowl: Apply toilet bowl cleaner to the inside of the toilet bowl and let it sit for the recommended time.
5. Flush and Wipe: Flush the toilet and wipe down the exterior with a damp paper towel.
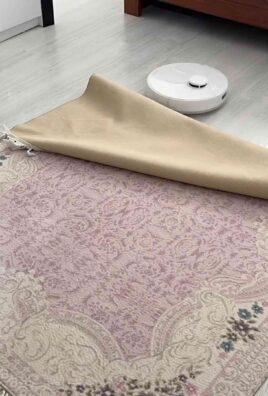
Reaching Under Furniture
Dust and debris love to hide under furniture. Here’s how to get to them:
1. Use a Vacuum with Attachments: Use the crevice tool or the upholstery attachment on your vacuum cleaner to reach under furniture.
2. Move Furniture if Possible: If possible, move the furniture to get better access to the area underneath.
3. Use an Extendable Duster: An extendable duster can also be helpful for reaching under furniture.
4. Consider Furniture Risers: If you have trouble reaching under your furniture, consider using furniture risers to raise it up a few inches.
Grout Cleaning Power
Dirty grout can make your entire bathroom or kitchen look dingy. Here’s my favorite grout-cleaning method:
1. Baking Soda Paste: Mix baking soda with a little water to form a paste.
2. Apply to Grout: Apply the paste to the grout lines and let it sit for 10-15 minutes.
3. Scrub with a Toothbrush: Use an old toothbrush to scrub the grout lines.
4. Rinse Thoroughly: Rinse the grout lines with water and wipe away any remaining baking soda paste.
5. Vinegar for Stubborn Stains: For stubborn stains, spray the grout lines with white vinegar after scrubbing with baking soda. Let it fizz for a few minutes, then rinse with water.
Inside Appliance Refresh
Let’s give those appliances some love!
Oven Cleaning
1. Self-Cleaning Cycle (If Applicable): If your oven has a self-cleaning cycle, use it according to the manufacturer’s instructions.
2. Baking Soda Paste (For Non-Self-Cleaning Ovens): Mix baking soda with water to form a paste.
3. Coat the Oven: Coat the inside of the oven with the baking soda paste, avoiding the heating elements.
4. Let it Sit Overnight: Let the paste sit overnight.
5. Scrub and Wipe: The next day, scrub the oven with a sponge or scrub brush. Wipe away the baking soda paste with a damp cloth.
6. Vinegar Rinse: Spray the oven with white vinegar and wipe it down again with a damp cloth.
Microwave Cleaning
1. Vinegar Steam: Fill a microwave-safe bowl with water and add a few tablespoons of white vinegar.
2. Microwave for 5 Minutes: Microwave the mixture for 5 minutes, or until the water boils.
3. Let it Sit: Let the microwave sit for a few minutes to allow the steam to loosen any grime.
4. Wipe Clean: Carefully remove the bowl and wipe down the inside of the microwave with a damp cloth.
Dishwasher Cleaning
1. Remove Debris: Remove any food debris from the bottom of the dishwasher.
2. Vinegar Rinse: Place a dishwasher-safe cup filled with white vinegar on the top rack of the dishwasher.
3. Run a Cycle: Run the dishwasher on a hot cycle.
4. Baking Soda Refresh: Sprinkle a cup of baking soda on the bottom of the dishwasher and run a short cycle to
Conclusion
So, there you have it! This simple yet incredibly effective DIY trick for tackling those weekly cleaning missed spots is a game-changer for anyone striving for a truly spotless home. We’ve all been there – diligently cleaning, only to discover lingering grime in corners, along baseboards, or behind appliances days later. This method, focusing on preventative measures and targeted cleaning solutions, eliminates that frustration and ensures a consistently clean and fresh environment.
Why is this a must-try? Because it saves you time, energy, and ultimately, money. Instead of spending hours re-cleaning problem areas, you’re proactively addressing them with minimal effort. The satisfaction of knowing your home is thoroughly clean, down to the often-overlooked details, is truly rewarding. Plus, it’s a fantastic way to extend the life of your surfaces and appliances by preventing the buildup of stubborn dirt and grime.
But don’t just take our word for it! We encourage you to experiment with variations to find what works best for your home and lifestyle. For instance, if you have particularly stubborn stains, consider adding a tablespoon of borax to your cleaning solution for an extra boost. Or, if you prefer a more natural approach, try using a mixture of white vinegar and water with a few drops of your favorite essential oil for a refreshing scent. For those hard-to-reach areas, like behind the toilet or under the refrigerator, invest in a long-handled cleaning brush or a microfiber duster with an extendable arm. These tools will make the job much easier and more efficient.
Another variation to consider is the frequency of your spot checks. While we recommend weekly cleaning missed spots, you might find that certain areas require more frequent attention, especially in high-traffic zones or homes with pets. Adjust your schedule accordingly to maintain optimal cleanliness.
The beauty of this DIY trick lies in its adaptability. It’s not a rigid formula but rather a flexible framework that you can customize to suit your specific needs and preferences. The key is to be consistent and proactive, addressing potential problem areas before they become major cleaning challenges.
We are confident that incorporating this DIY trick into your cleaning routine will make a noticeable difference in the overall cleanliness and freshness of your home. It’s a small investment of time that yields significant and lasting results.
Now, it’s your turn! We urge you to give this DIY trick a try and see for yourself the transformative power of targeted cleaning. And most importantly, we want to hear about your experience! Share your tips, variations, and success stories in the comments below. Let’s create a community of clean-home enthusiasts who are passionate about sharing their knowledge and helping each other achieve a spotless and healthy living environment. Your feedback is invaluable and will help us refine and improve this DIY trick for the benefit of everyone. So, grab your cleaning supplies, put on your favorite music, and get ready to conquer those weekly cleaning missed spots once and for all! We can’t wait to hear from you!
Frequently Asked Questions (FAQ)
What exactly are “weekly cleaning missed spots”?
These are the areas in your home that often get overlooked during regular cleaning routines. They are typically out-of-sight or require a little extra effort to reach, leading to a buildup of dust, grime, and even mold over time. Common examples include:
* Behind toilets
* Underneath appliances (refrigerator, stove, dishwasher)
* Along baseboards and door frames
* Corners of rooms, especially near the floor
* Inside cabinets and drawers
* Light fixtures and ceiling fans
* Grout lines in bathrooms and kitchens
* Window tracks and sills
* Doorknobs and light switches
Why is it important to address these missed spots regularly?
Ignoring these areas can lead to several problems:
* Hygiene concerns: Dust, dirt, and mold can harbor bacteria and allergens, impacting your indoor air quality and potentially causing health issues.
* Aesthetic issues: Buildup of grime can make your home look dirty and unkempt, even if the rest of the house is clean.
* Damage to surfaces: Neglecting these areas can lead to permanent staining, discoloration, or even structural damage over time. For example, mold growth in grout lines can weaken the tile adhesive.
* Pest infestations: Crumbs and food debris in hidden areas can attract pests like ants, cockroaches, and rodents.
How often should I focus on these weekly cleaning missed spots?
We recommend dedicating a small amount of time each week to address these areas. A 15-30 minute spot check can make a significant difference in maintaining overall cleanliness. However, the frequency may vary depending on your lifestyle, the size of your home, and the number of occupants. Homes with pets or young children may require more frequent attention.
What cleaning solutions are best for tackling these areas?
The best cleaning solutions depend on the type of surface and the nature of the grime. Here are some general recommendations:
* All-purpose cleaner: Effective for most surfaces, including baseboards, door frames, and countertops.
* Bathroom cleaner: Specifically formulated to remove soap scum, mildew, and hard water stains in bathrooms.
* Glass cleaner: Ideal for cleaning windows, mirrors, and glass surfaces.
* Grout cleaner: Designed to penetrate and remove dirt and stains from grout lines.
* White vinegar and water: A natural and versatile cleaning solution that can be used on a variety of surfaces.
* Baking soda paste: Effective for removing stubborn stains and odors.
Always test cleaning solutions in an inconspicuous area first to ensure they don’t damage the surface.
What tools do I need to effectively clean these missed spots?
Having the right tools can make the job much easier and more efficient. Here are some essential tools:
* Microfiber cloths: Excellent for dusting and wiping surfaces.
* Sponges: Useful for scrubbing and cleaning larger areas.
* Cleaning brushes: Ideal for reaching tight spaces and scrubbing stubborn grime.
* Toothbrushes: Perfect for cleaning grout lines and other small crevices.
* Vacuum cleaner with attachments: Essential for removing dust and debris from carpets, upholstery, and hard-to-reach areas.
* Long-handled duster: Great for cleaning ceiling fans, light fixtures, and other high areas.
* Extendable cleaning brush: Helps reach under appliances and behind furniture.
* Spray bottles: For dispensing cleaning solutions.
How can I prevent these areas from getting dirty in the first place?
Prevention is key to minimizing the amount of time and effort required for cleaning. Here are some preventative measures:
* Regular dusting: Dusting regularly prevents dust from accumulating in corners and on surfaces.
* Wiping up spills immediately: Promptly cleaning up spills prevents stains and grime from setting in.
* Using doormats: Doormats trap dirt and debris before they enter your home.
* Ventilating bathrooms: Running the exhaust fan during and after showers helps prevent moisture buildup and mold growth.
* Decluttering: Reducing clutter makes it easier to clean and prevents dust from accumulating in hidden areas.
* Using shelf liners: Shelf liners protect shelves from spills and stains.
What if I find mold or mildew in these missed spots?
If you discover mold or mildew, it’s important to address it promptly to prevent it from spreading. For small areas, you can try cleaning it with a mixture of bleach and water (always wear gloves and eye protection when working with bleach). For larger infestations, it’s best to consult with a professional mold remediation service.
Can I use this DIY trick if I have allergies or sensitivities to certain cleaning products?
Yes, absolutely! You can easily adapt this DIY trick to accommodate your allergies or sensitivities. Opt for natural cleaning solutions like white vinegar, baking soda, and lemon juice. Always read the labels of cleaning products carefully and choose hypoallergenic or fragrance-free options. Wear gloves and a mask to minimize exposure to potential allergens.
How do I get my family members involved in maintaining these weekly cleaning missed spots?
Make it a team effort! Assign specific tasks to each family member and create a rotating schedule. Turn it into a fun activity by playing music or offering rewards for completing tasks. Emphasize the importance of cleanliness and hygiene to encourage everyone to participate.

Leave a Comment