

Wood Cutting Board Care: It’s more than just wiping down your trusty kitchen companion! Have you ever wondered why your beautiful wooden cutting board seems to be losing its luster, or worse, harboring unwanted smells? I know I have! For generations, wooden cutting boards have been a staple in kitchens worldwide, prized for their durability, natural beauty, and gentle touch on knives. From rustic farmhouses to modern culinary spaces, they’ve been a symbol of home-cooked goodness.
But here’s the thing: unlike their plastic counterparts, wooden cutting boards require a little extra TLC to keep them in tip-top shape. Neglecting proper wood cutting board care can lead to dryness, cracking, and even bacterial growth – yikes! That’s why I’m so excited to share these simple yet effective DIY tricks and hacks that will not only extend the life of your beloved board but also ensure a safe and hygienic food preparation surface. Think of it as a spa day for your cutting board! Ready to learn how to keep your wooden cutting board looking and performing its best? Let’s dive in!
Revive Your Beloved Wooden Cutting Board: A DIY Guide
Hey there, fellow kitchen enthusiasts! I’m so excited to share my go-to method for keeping my wooden cutting boards in tip-top shape. A well-maintained wooden cutting board is a kitchen essential, not just for its aesthetic appeal but also for its hygienic benefits. Unlike plastic boards, wood possesses natural antibacterial properties. However, it requires a little TLC to prevent drying, cracking, and harboring unwanted odors. This guide will walk you through a simple, effective DIY process to clean, sanitize, and condition your wooden cutting board, ensuring it lasts for years to come.
Understanding the Importance of Cutting Board Care
Before we dive in, let’s quickly touch on why this is so important. Wood, being a natural material, is porous. This means it can absorb liquids and food particles, which, if left unattended, can lead to bacterial growth and unpleasant smells. Regular cleaning and oiling help to combat these issues, keeping your board safe and beautiful.
What You’ll Need
Here’s a list of the supplies you’ll need for this project. Don’t worry, most of these are probably already in your kitchen!
* Mild Dish Soap: Avoid harsh detergents that can strip the wood of its natural oils.
* White Vinegar: A natural disinfectant and deodorizer.
* Baking Soda: For tackling stubborn stains and odors.
* Coarse Salt (Kosher or Sea Salt): Acts as a gentle abrasive for scrubbing.
* Lemon (or Lime): Adds a fresh scent and helps to disinfect.
* Clean Rags or Sponges: Microfiber cloths work great.
* Food-Grade Mineral Oil: Essential for conditioning the wood.
* Beeswax (Optional): To create a cutting board butter for added protection.
* Double Boiler or Microwave (Optional): For melting beeswax.
* Heat-Safe Container (Optional): For melting beeswax.
* Soft Cloth or Paper Towels: For applying oil and wax.
* Scraper or Spatula: For removing stuck-on food.
Phase 1: Cleaning and Sanitizing Your Cutting Board
This is the first and most crucial step. We need to get rid of any lingering food particles and bacteria before we can move on to conditioning.
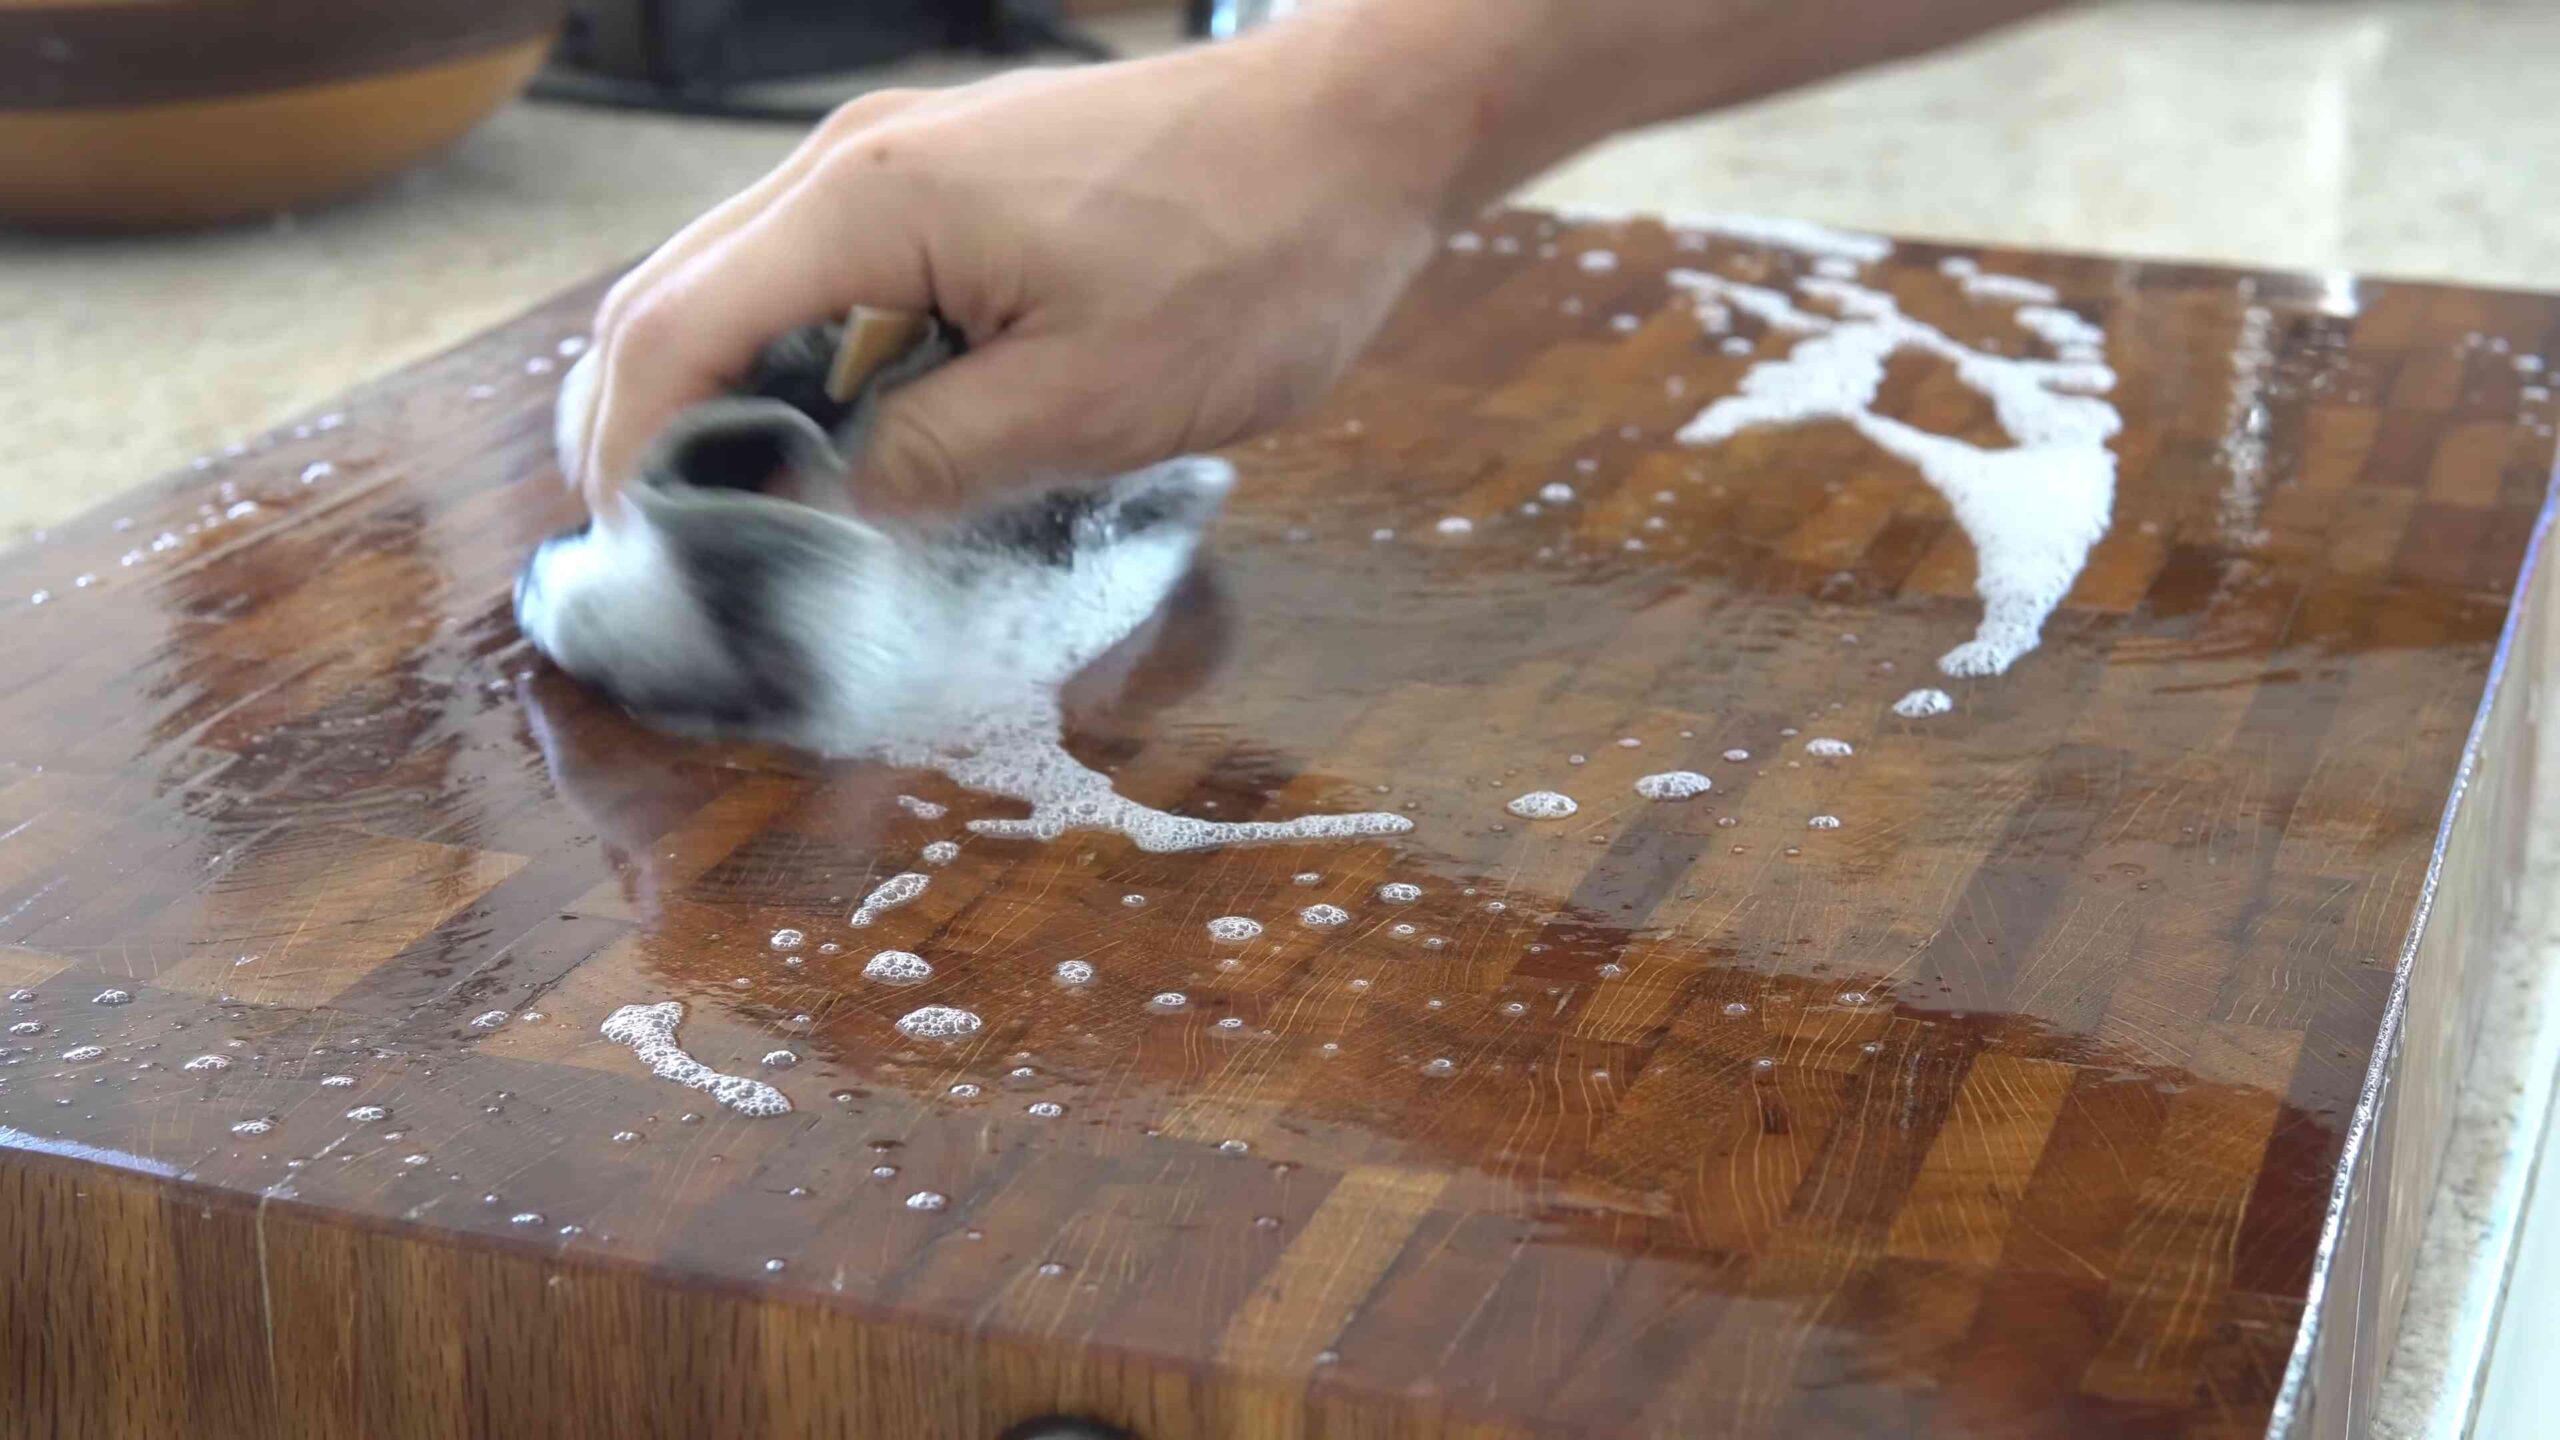
1. Remove Loose Debris: Start by scraping off any stuck-on food particles with a scraper or spatula. This prevents them from being ground into the wood during the cleaning process.
2. Wash with Soap and Water: Wash the cutting board with warm water and mild dish soap. Use a sponge or rag to scrub the surface thoroughly. Make sure to get into all the nooks and crannies.
3. Rinse Thoroughly: Rinse the cutting board with hot water to remove all traces of soap.
4. Sanitize with Vinegar: Pour white vinegar over the entire surface of the cutting board. Let it sit for 5-10 minutes. Vinegar is a natural disinfectant that will kill bacteria and help to neutralize odors.
5. Rinse Again: Rinse the cutting board thoroughly with hot water.
6. Tackle Stubborn Stains and Odors (Baking Soda & Lemon): If your cutting board has stubborn stains or lingering odors, sprinkle baking soda over the surface. Cut a lemon (or lime) in half and use it to scrub the baking soda into the wood. The combination of baking soda and lemon juice creates a powerful cleaning and deodorizing effect. Let it sit for 5-10 minutes.
7. Rinse One Last Time: Rinse the cutting board thoroughly with hot water.
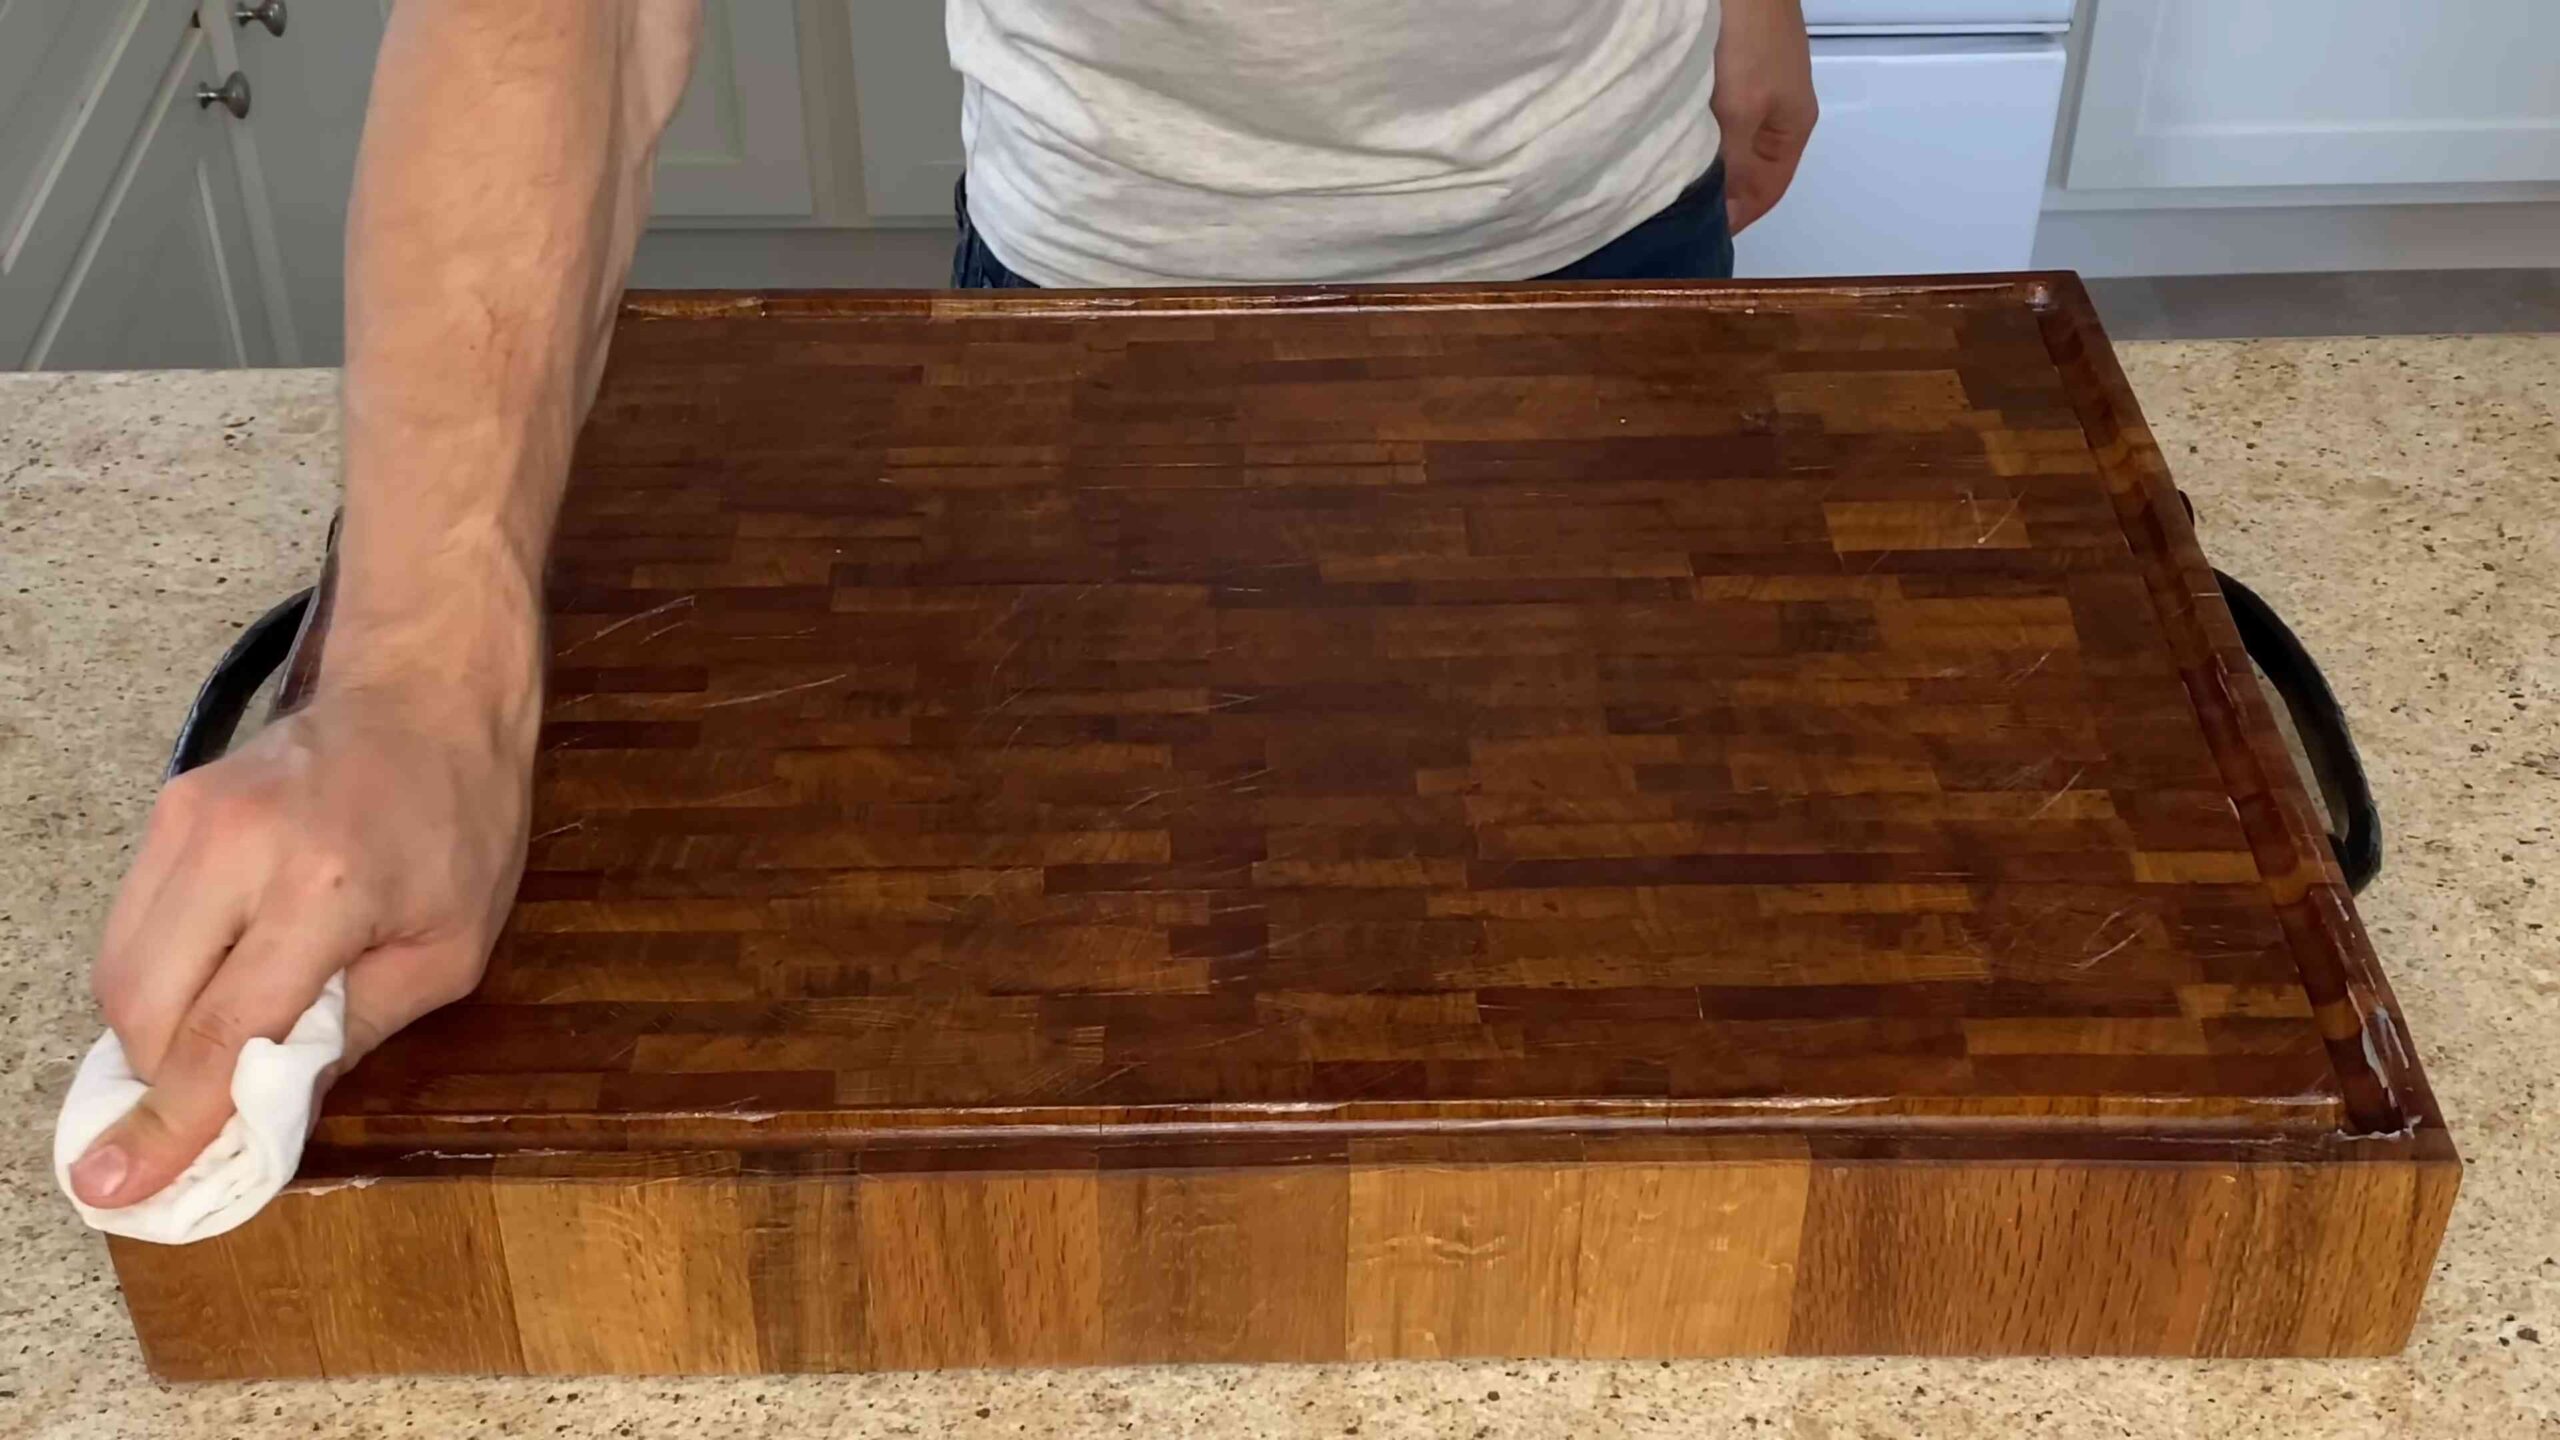
8. Dry Completely: This is super important! Use a clean towel to dry the cutting board as much as possible. Then, stand it on its side to air dry completely. This can take several hours, or even overnight. Make sure it’s completely dry before moving on to the next phase. Drying it vertically helps prevent warping.
Phase 2: Conditioning Your Cutting Board with Mineral Oil
Once your cutting board is completely dry, it’s time to replenish the natural oils that were lost during the cleaning process. This will prevent the wood from drying out, cracking, and absorbing moisture.
1. Apply Mineral Oil Generously: Pour a generous amount of food-grade mineral oil onto the surface of the cutting board.
2. Rub the Oil In: Use a clean cloth or paper towel to rub the oil into the wood, working with the grain. Make sure to cover the entire surface, including the edges and sides.
3. Let the Oil Soak In: Allow the oil to soak into the wood for at least a few hours, or preferably overnight. The longer it soaks, the better. You’ll notice the wood absorbing the oil, becoming darker and richer in color.
4. Apply Additional Coats (If Needed): If the wood is very dry, it may absorb the oil quickly. In this case, apply additional coats of oil until the wood is saturated and no longer absorbs the oil readily.
5. Wipe Off Excess Oil: After the oil has soaked in, use a clean cloth or paper towel to wipe off any excess oil. You don’t want the surface to be sticky or greasy.
Phase 3: Adding Protection with Cutting Board Butter (Optional)
This step is optional, but I highly recommend it for added protection and a beautiful finish. Cutting board butter is a mixture of mineral oil and beeswax that creates a water-resistant barrier on the surface of the wood.
1. Melt the Beeswax: In a double boiler or microwave, melt the beeswax. If using a microwave, heat in short intervals (30 seconds) and stir in between to prevent overheating.
2. Combine with Mineral Oil: Once the beeswax is melted, slowly add the mineral oil, stirring constantly until the mixture is smooth and well combined. A good ratio is typically 1 part beeswax to 4 parts mineral oil, but you can adjust this to your preference. More beeswax will create a harder, more protective butter.
3. Let it Cool and Harden: Pour the mixture into a heat-safe container and let it cool and harden completely. This will take several hours.
4. Apply the Cutting Board Butter: Once the butter is solid, use a clean cloth or paper towel to apply a thin layer to the surface of the cutting board.
5. Rub it In: Rub the butter into the wood, working with the grain.
6. Let it Sit: Allow the butter to sit on the surface for at least 30 minutes, or preferably overnight.
7. Buff the Surface: Use a clean, dry cloth to buff the surface of the cutting board, removing any excess butter and creating a smooth, polished finish.
Maintaining Your Cutting Board
Now that you’ve revived your cutting board, here are a few tips to keep it in good condition:
* Wash After Each Use: Wash your cutting board with warm water and mild dish soap after each use.
* Dry Thoroughly: Always dry your cutting board completely after washing.
* Oil Regularly: Oil your cutting board every few weeks, or whenever it starts to look dry.
* Avoid Dishwashers: Never put your wooden cutting board in the dishwasher. The high heat and harsh detergents can damage the wood.
* Store Properly: Store your cutting board on its side to allow for proper air circulation.
* Address Scratches: Minor scratches can be sanded down with fine-grit sandpaper. Be sure to re-oil the board after sanding.
* Separate Boards: Consider using separate cutting boards for raw meats and other foods to prevent cross-contamination.
Troubleshooting
* Warping: If your cutting board warps, try placing it on a flat surface with a heavy object on top. You can also try dampening the concave side of the board and letting it dry under pressure.
* Cracking: Cracks can be difficult to repair. If the crack is small, you can try filling it with wood glue and clamping it until it dries. However, if the crack is large, it may be necessary to replace the board.
* Mold: If you find mold on your cutting board, discard it immediately. Mold can be harmful to your health.
Choosing the Right Oil
It’s crucial to use food-grade mineral oil for conditioning your cutting board. Other oils, such as vegetable oil or olive oil, can go rancid and create unpleasant odors. Food-grade mineral oil is odorless, tasteless, and safe for contact with food. You can find it at most drugstores or online retailers.
A Note on Wood Types
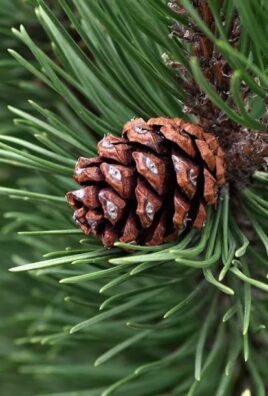
Different types of wood have different properties. Hardwoods like maple, walnut, and cherry are generally preferred for cutting boards because they are durable and resistant to bacteria. Softwoods like pine are not recommended because they are more porous and can harbor bacteria more easily. Bamboo is also a popular choice because it is sustainable and relatively hard.
I hope this guide has been helpful!
Conclusion
So, there you have it! Mastering the art of wood cutting board care isn’t just about keeping your kitchen looking tidy; it’s about extending the life of a valuable tool, preventing the spread of bacteria, and ultimately, ensuring the safety and quality of the food you prepare. This simple DIY approach, using readily available ingredients like mineral oil and beeswax, offers a cost-effective and surprisingly satisfying way to maintain your wooden cutting boards.
Why is this DIY trick a must-try? Because it’s more than just cleaning. It’s about nourishing the wood, preventing it from drying out and cracking, and creating a barrier against moisture and bacteria. A well-maintained cutting board is a happy cutting board, and a happy cutting board translates to a safer and more enjoyable cooking experience. Think of it as an investment in your kitchen and your health.
But don’t stop there! Feel free to experiment with variations. For example, you can infuse your mineral oil with herbs like rosemary or thyme for a subtle, natural fragrance. Just steep the herbs in the oil for a few weeks before using it. Another option is to add a touch of lemon essential oil to your beeswax polish for its antibacterial properties and refreshing scent. Remember to always use food-grade essential oils.
For those who prefer a completely plant-based approach, consider using coconut oil instead of mineral oil. While coconut oil can sometimes become rancid over time, its natural antibacterial properties make it a worthwhile alternative. Just be sure to apply it sparingly and allow it to fully absorb into the wood.
The key is to find what works best for you and your cutting boards. Different types of wood may require slightly different approaches. Hardwoods like maple and cherry are generally more durable and require less frequent oiling than softer woods like pine. Pay attention to how your cutting board feels and looks. If it appears dry or feels rough, it’s time for a treatment.
We strongly encourage you to give this DIY wood cutting board care method a try. It’s a simple, rewarding, and effective way to protect your investment and enhance your cooking experience. And most importantly, we want to hear about your results! Share your experiences, tips, and variations in the comments below. Let’s build a community of informed and enthusiastic wood cutting board caretakers! Did you find a particular ratio of beeswax to mineral oil that worked best for you? Did you try a different type of oil with success? Your insights could be invaluable to others. So, get started, get creative, and get ready to enjoy the benefits of a beautifully maintained wood cutting board for years to come.
Frequently Asked Questions (FAQ)
What type of mineral oil should I use?
You should always use food-grade mineral oil for treating your wood cutting boards. This type of mineral oil is specifically refined to be safe for contact with food. Avoid using industrial or medicinal mineral oil, as these may contain impurities that could be harmful. Food-grade mineral oil is readily available at most pharmacies, supermarkets, and online retailers. Look for labels that explicitly state “food-grade” or “safe for food contact.”
How often should I oil my wood cutting board?
The frequency of oiling depends on how often you use your cutting board and the humidity of your environment. As a general rule, oil your cutting board at least once a month, or more frequently if it appears dry or feels rough. A good way to tell if your cutting board needs oiling is to sprinkle a few drops of water on the surface. If the water beads up, the board is still adequately oiled. If the water soaks in quickly, it’s time to re-oil. New cutting boards may require more frequent oiling initially, as the wood is still absorbing oil.
Can I use olive oil instead of mineral oil?
While olive oil is a natural and readily available option, it’s generally not recommended for treating wood cutting boards. Olive oil can become rancid over time, leading to an unpleasant odor and potentially affecting the taste of your food. Mineral oil, on the other hand, is non-drying and doesn’t go rancid. If you prefer a plant-based oil, consider using coconut oil, but be aware that it can also become rancid if not applied sparingly and allowed to fully absorb. Walnut oil is another good option, but avoid it if anyone in your household has a nut allergy.
How do I clean my wood cutting board after each use?
After each use, wash your wood cutting board with hot, soapy water. Use a scrub brush or sponge to remove any food particles. Rinse thoroughly with hot water and dry immediately with a clean towel. Avoid soaking your cutting board in water, as this can cause it to warp or crack. You can also sanitize your cutting board by wiping it down with a solution of one part white vinegar to five parts water.
How do I make the beeswax polish?
Making beeswax polish is simple. You’ll need beeswax and mineral oil. The ratio is typically around 1 part beeswax to 4 parts mineral oil, but you can adjust this to your preference. Start by melting the beeswax in a double boiler or a heat-safe bowl set over a pot of simmering water. Once the beeswax is completely melted, remove it from the heat and slowly stir in the mineral oil until the mixture is smooth and well combined. Pour the polish into a jar or container and let it cool completely. The polish will solidify as it cools.
How do I apply the beeswax polish?
Once the beeswax polish has solidified, you can apply it to your clean, dry wood cutting board. Use a clean cloth or applicator to rub a thin layer of polish onto the entire surface of the board. Allow the polish to sit for 15-20 minutes to allow the beeswax to penetrate the wood. Then, use a clean cloth to buff the board, removing any excess polish. The board should feel smooth and slightly waxy to the touch.
How do I remove stains and odors from my wood cutting board?
For stubborn stains and odors, try using a paste of baking soda and water. Apply the paste to the affected area and let it sit for a few minutes. Then, scrub gently with a brush or sponge and rinse thoroughly with hot water. You can also use lemon juice or salt to help remove odors. Cut a lemon in half and rub it over the surface of the board, or sprinkle salt on the board and rub it with a lemon half. Rinse thoroughly after using either of these methods.
Can I put my wood cutting board in the dishwasher?
No, never put your wood cutting board in the dishwasher. The high heat and harsh detergents can cause the wood to warp, crack, and dry out. Always hand wash your wood cutting board with hot, soapy water and dry it immediately.
How do I store my wood cutting board?
Store your wood cutting board in a dry, well-ventilated area. Avoid storing it in a damp or humid environment, as this can promote the growth of mold and bacteria. You can store your cutting board flat on a shelf or on its side in a cutting board rack.
My wood cutting board has cracks. Can I still use it?
Small cracks can be repaired with wood glue. However, if the cracks are large or deep, it’s best to replace the cutting board. Cracks can harbor bacteria and make the board difficult to clean properly.


Leave a Comment